Synology DS925+ vs QNAP TS-464 NAS
The Synology DS925+ versus QNAP TS-464 – Buy NEW or Buy QNAP?
Every so often in the NAS market, a new model arrives that challenges not just its predecessors but also its closest competitors. With the 2025 release of the Synology DS925+, buyers now face an interesting dilemma: go with Synology’s latest compact powerhouse, or choose QNAP’s TS-464—a device that has already proven itself since its release in 2022/2023 and offers a wide array of features at a competitive price. The DS925+ brings notable upgrades to CPU architecture, system memory scalability, and integration within Synology’s tightly controlled ecosystem. Meanwhile, the TS-464 has spent years benefiting from firmware maturity, PCIe expandability, and a more open hardware approach that appeals to power users and tinkerers alike. But which device is ultimately the better buy in 2025? Should you embrace Synology’s ecosystem with its newer, high-performance release, or does QNAP’s more versatile and budget-friendly offering still hold strong in the face of newer competition? Let’s dive into the details to help you decide which NAS deserves your next investment.
Synology DS925+ vs QNAP TS-464 – Hardware Specifications
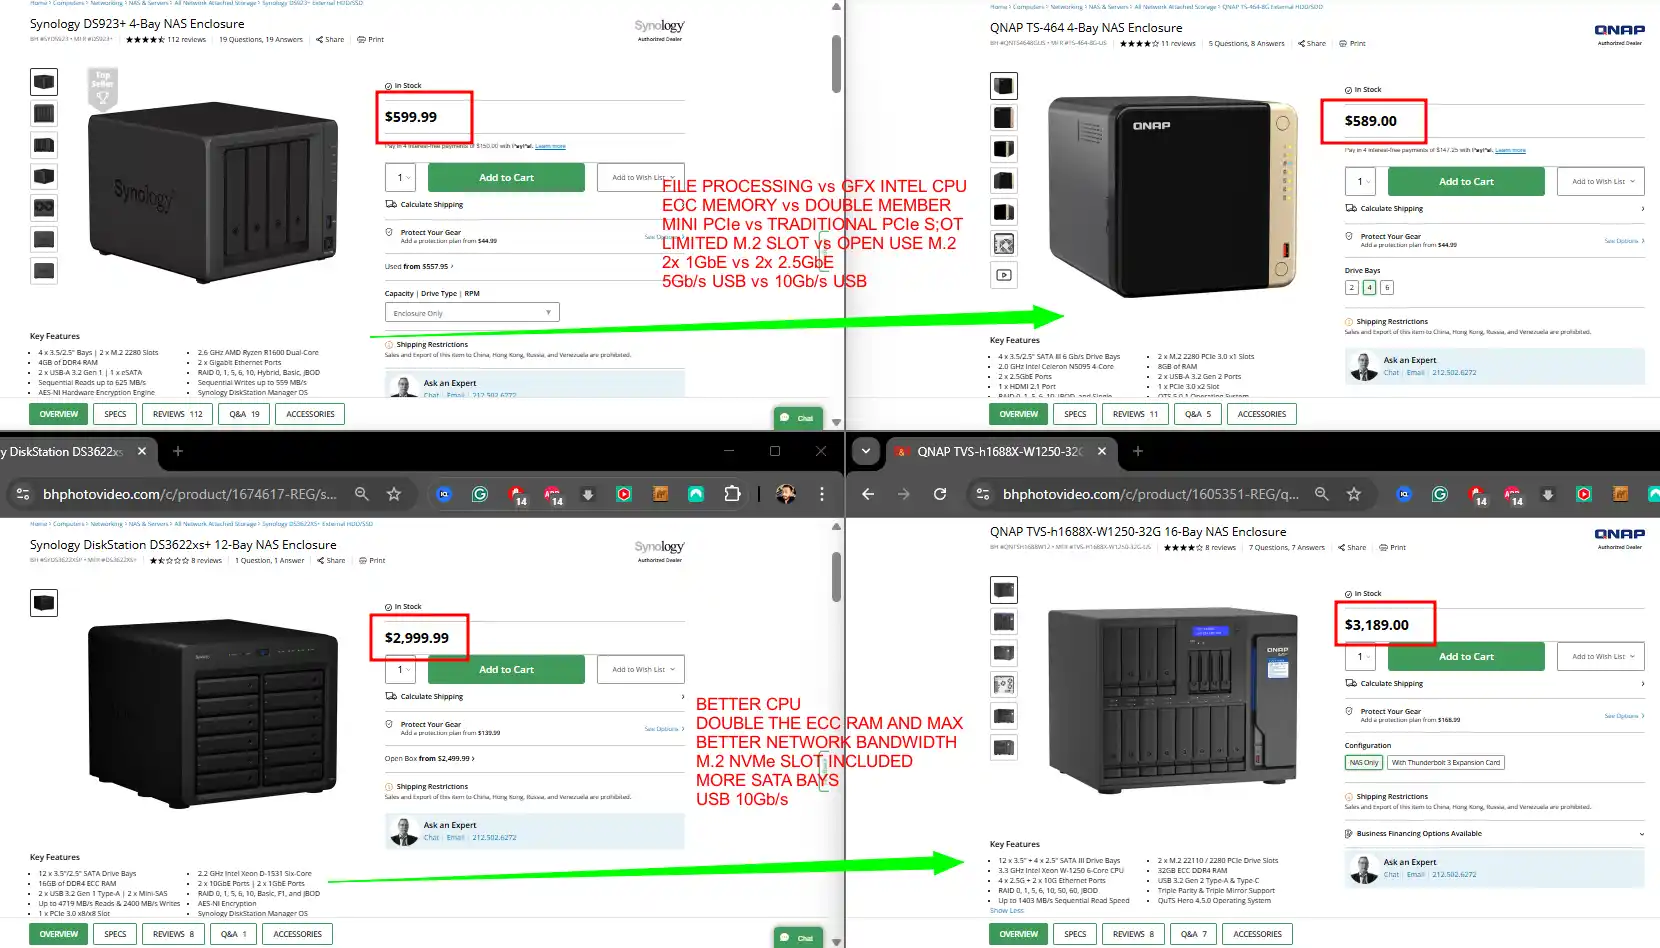
When placing the 2025 Synology DS925+ alongside the 2022/2023 QNAP TS-464, one might expect the newer model to clearly dominate in every area. But hardware comparisons in the NAS market are rarely so simple. While both units are aimed at tech-savvy home users and small businesses looking for reliable, always-on storage solutions, their approaches to hardware—and the user needs they prioritize—are noticeably different. The DS925+ emphasizes streamlined performance, reduced noise, and integration within Synology’s tightly managed ecosystem. The QNAP TS-464, meanwhile, leans into raw hardware flexibility, DIY expandability, and a more open feature set for power users. Below is a detailed hardware breakdown of both NAS devices, showing where each shines and where compromises were made.
| Category | Synology DS925+
|
QNAP TS-464
|
Advantage / Notes |
|---|---|---|---|
| CPU Model | AMD Ryzen V1500B | Intel Celeron N5105 | Different architectures; depends on workload |
| CPU Cores / Threads | 4 Cores / 8 Threads | 4 Cores / 4 Threads | DS925+ has more threads |
| CPU Frequency | 2.2 GHz | 2.0 GHz (base) / 2.9 GHz (turbo) | TS-464 has higher clock speeds |
| Architecture | 64-bit | 64-bit | – |
| Hardware Encryption Engine | Yes | Yes | – |
| Memory (Pre-installed) | 4 GB DDR4 ECC SODIMM | 4 GB DDR4 non-ECC SODIMM | DS925+ uses ECC memory |
| Total Memory Slots | 2 | 2 | – |
| Max Memory Capacity | 32 GB (2x 16 GB ECC) | 16 GB officially, 32 GB unofficially | DS925+ officially supports more RAM |
| Drive Bays | 4 | 4 | – |
| Max Drive Bays (with Expansion) | 9 (DX525) | Up to 8/12/16 (TL-D800S or TL-D1600S) | TS-464 supports more total drives |
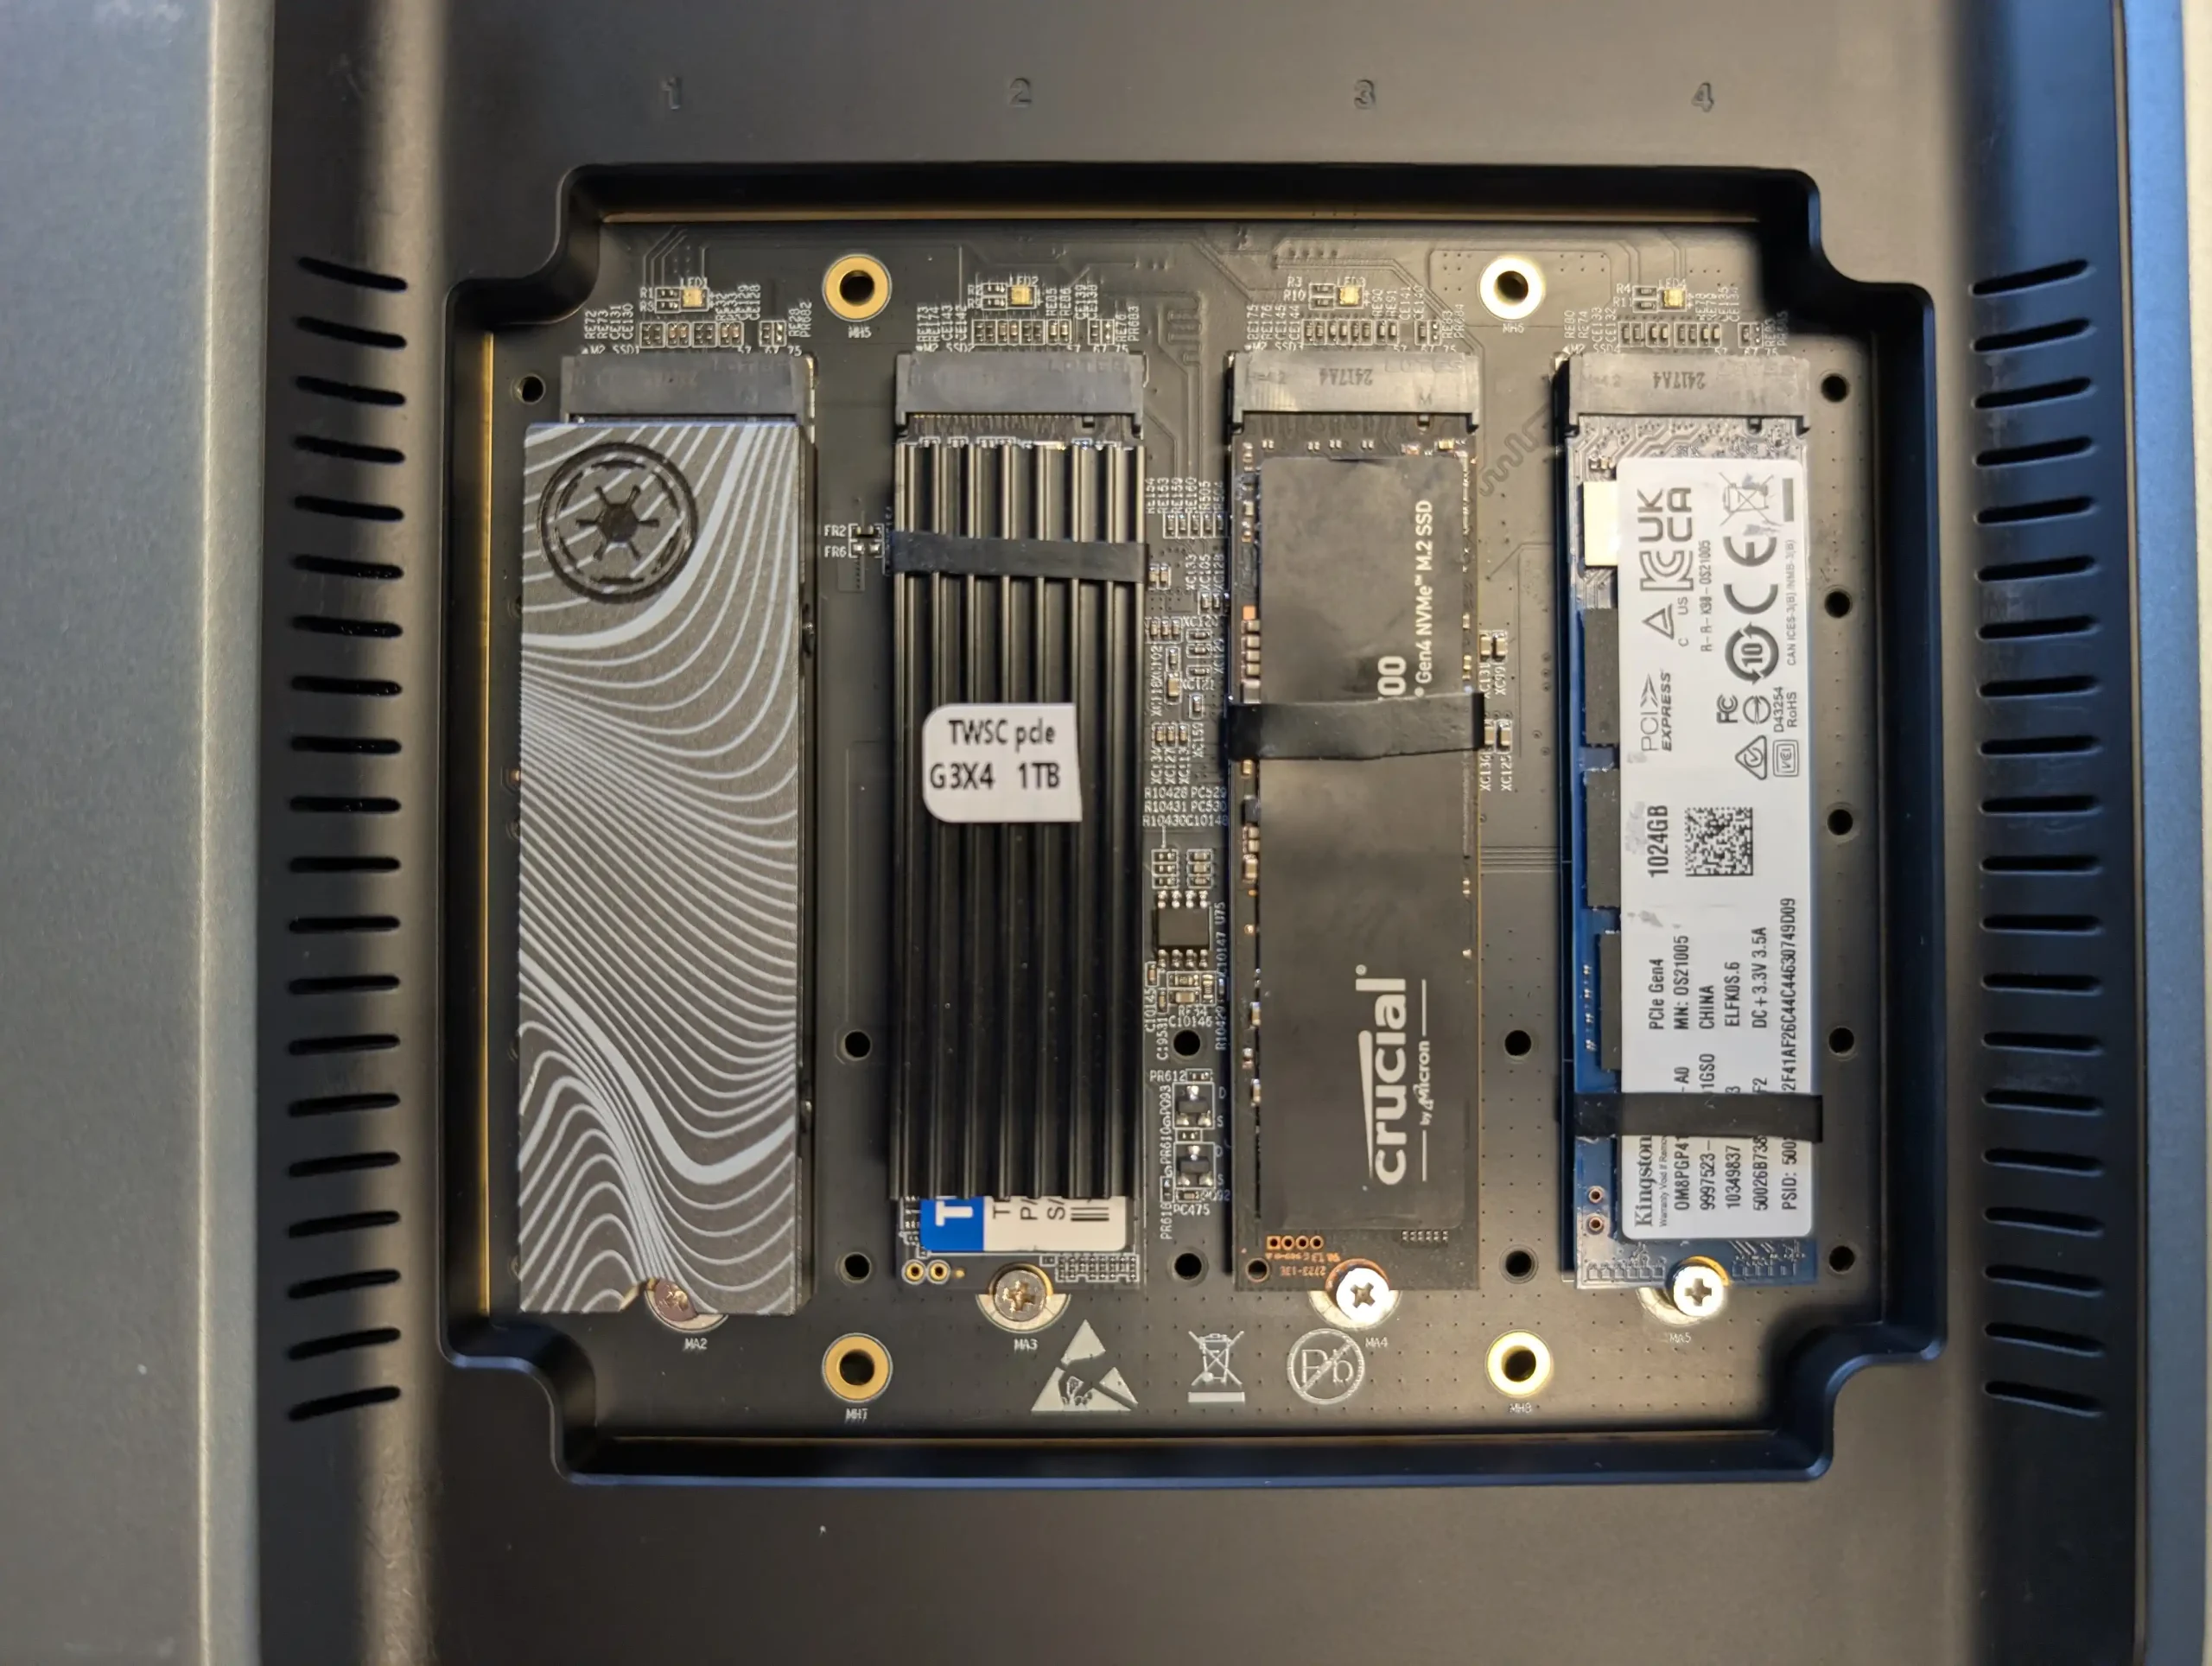
| M.2 Drive Slots | 2 x NVMe (cache only, unless you use Synology SSDs) | 2 x NVMe (cache or storage) | TS-464 offers more flexibility |
| Supported Drive Types | Synology-only verified HDD/SSD | Full third-party drive compatibility | TS-464 supports Seagate, WD, Toshiba, Kingston, Samsung, etc. |
| Hot Swappable Drives | Yes (SATA only) | Yes (SATA only) | – |
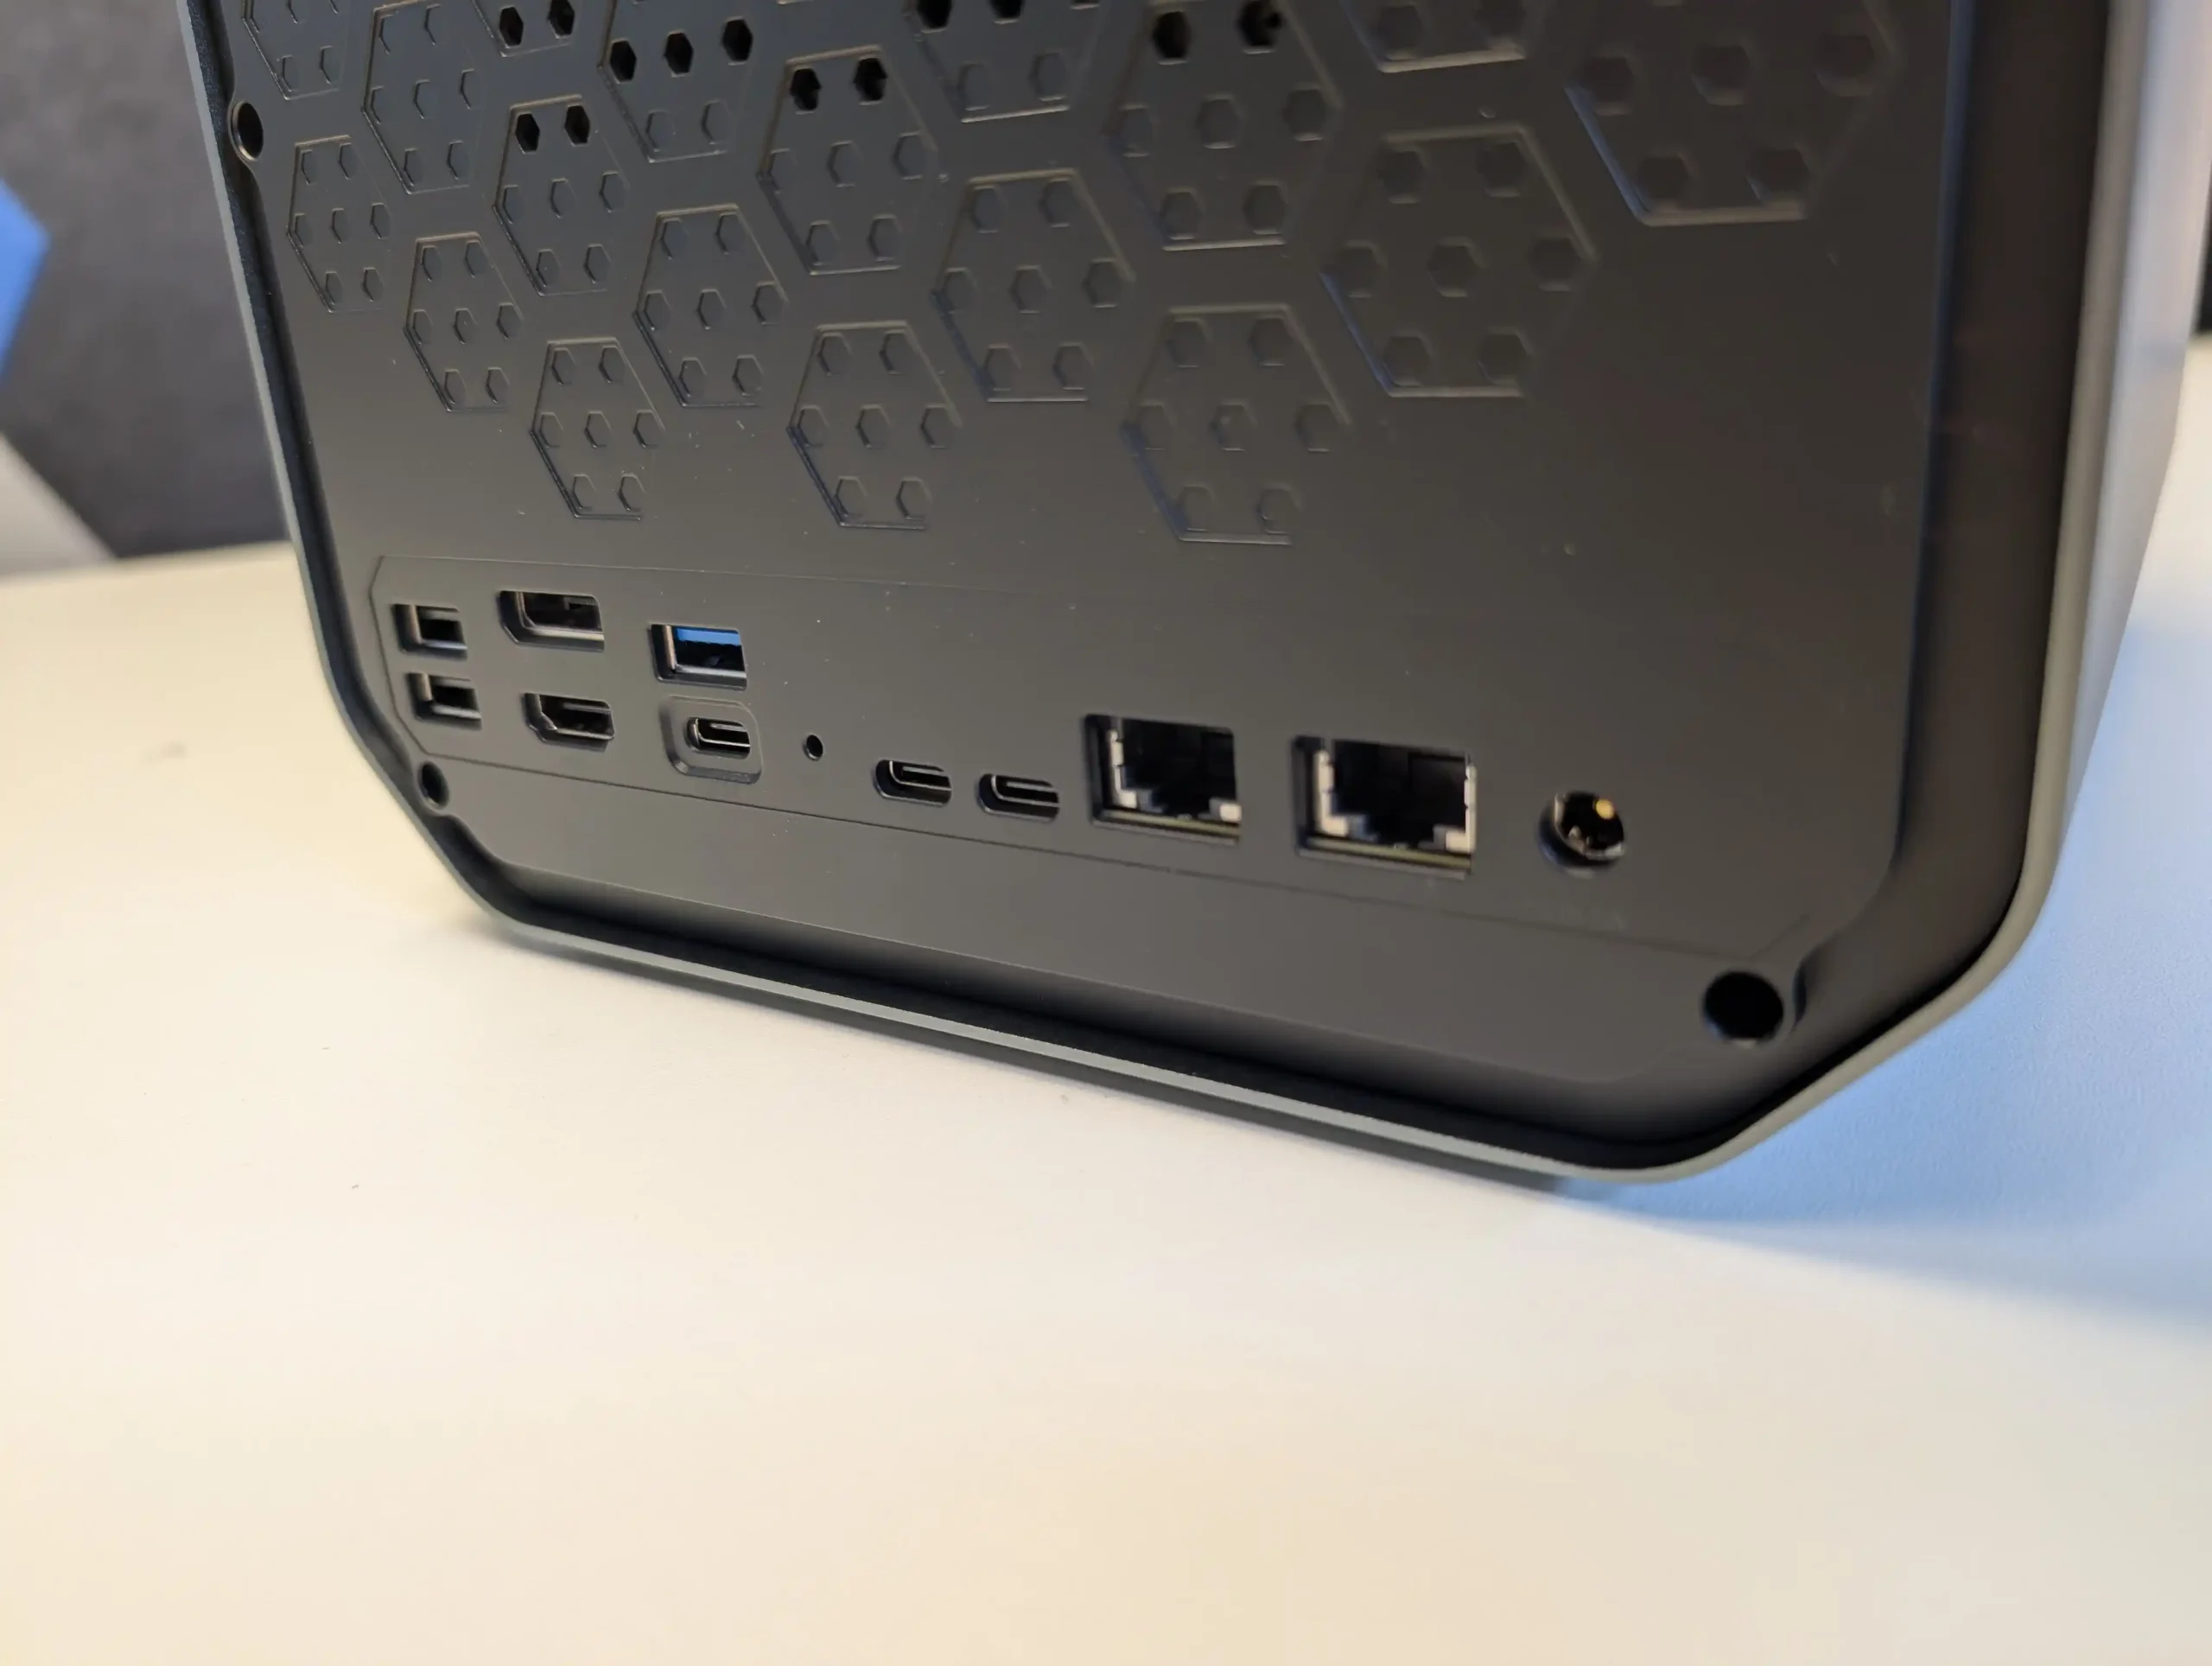
| LAN Ports | 2 x 2.5GbE | 2 x 2.5GbE | – |
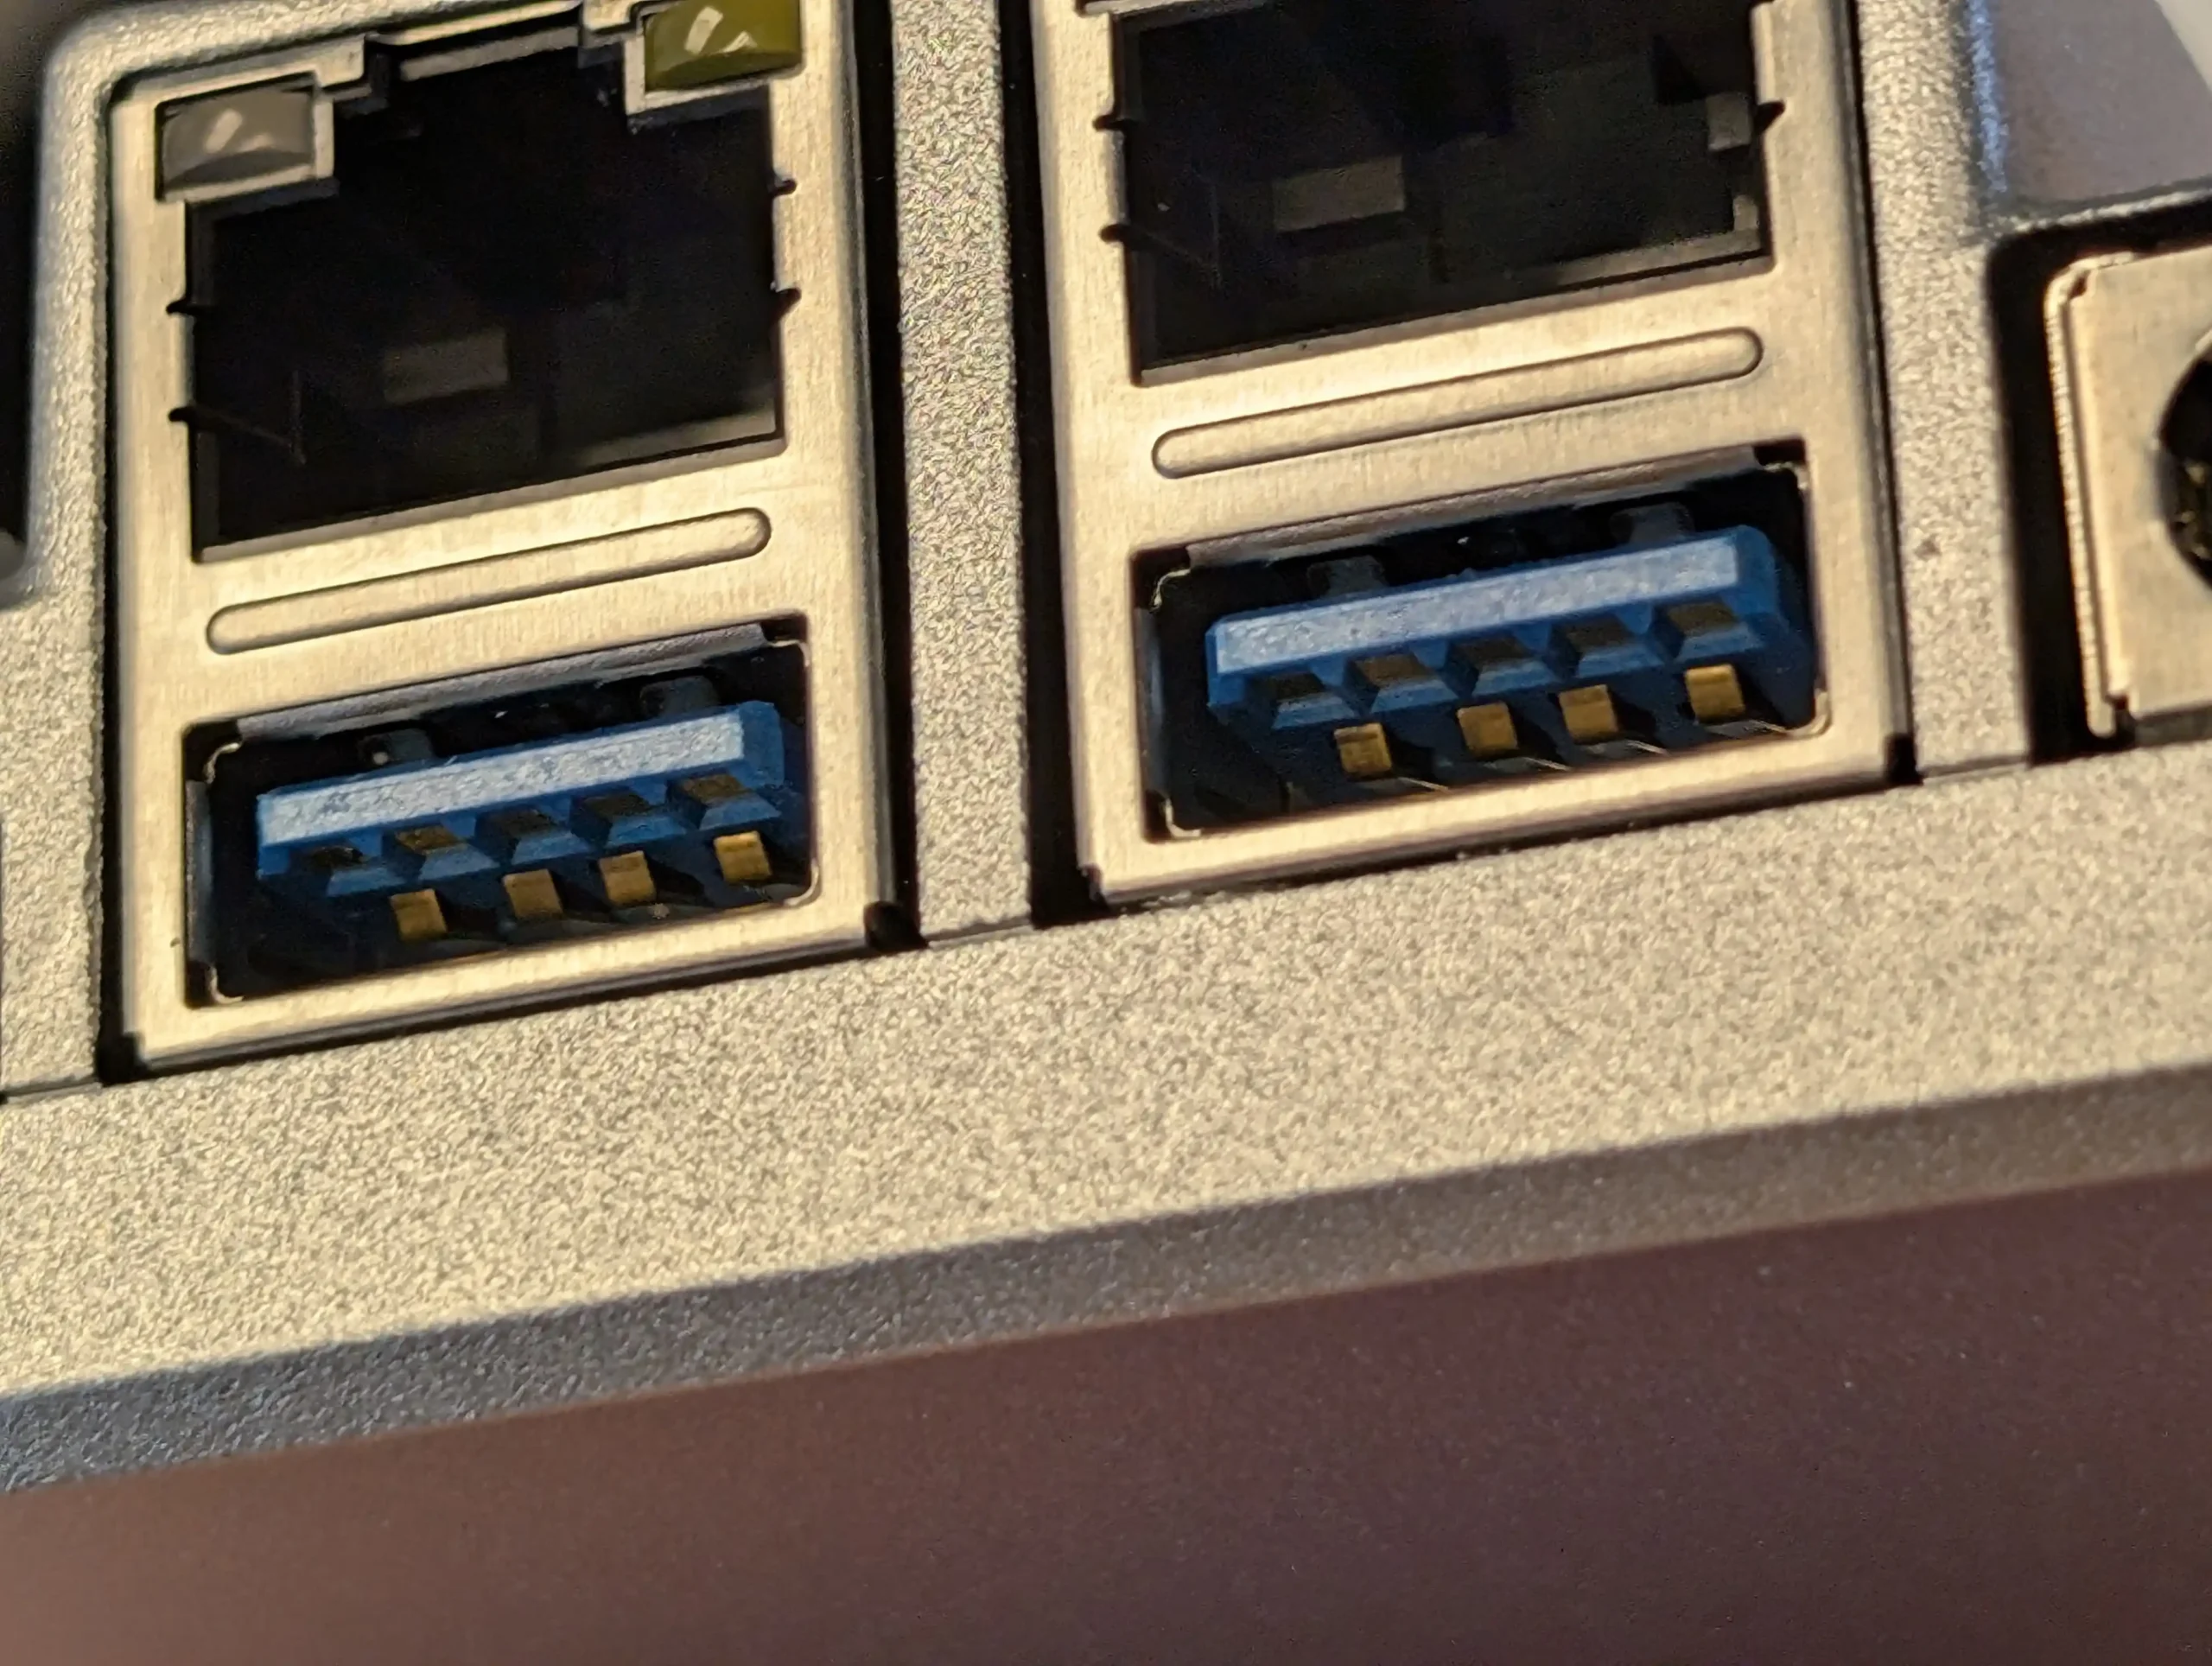
| USB Ports | 2 x USB 3.2 Gen 1 | 2 x USB 3.2 Gen 2 Type-A | TS-464 has faster and more versatile ports |
| Expansion Port Type | USB Type-C (for DX525 only) | USB Type-C / USB-A (for TL & TR series) | TS-464 supports more expansion chassis |
| PCIe Slot | None | 1 x PCIe Gen3 x2 | TS-464 allows 10GbE or AI/GPU card upgrades |
| Dimensions (HxWxD) | 166 x 199 x 223 mm | 168 x 170 x 226 mm | Virtually the same size |
| Weight | 2.26 kg | 2.18 kg | TS-464 is slightly lighter |
| System Fans | 2 x 92mm | 1 x 120mm | DS925+ may offer better airflow; TS-464 is quieter |
| Fan Modes | Full-Speed, Cool, Quiet | Smart Fan Control | Comparable flexibility |
| LED Brightness Control | Yes | Yes | – |
| Power Recovery | Yes | Yes | – |
| Noise Level (Idle) | 20.5 dB(A) | 18.6 dB(A) | TS-464 is quieter |
| Power Supply | 100W External Adapter | 90W External Adapter | TS-464 is more power efficient |
| Power Consumption (Access / Hibernate) | 37.91W / 12.33W | 26.08W / 9.48W | TS-464 uses less power |
| BTU (Access / Hibernate) | 129.27 / 42.05 | 89.03 / 32.38 | TS-464 generates less heat |
| Operating Temp | 0°C to 40°C | 0°C to 40°C | – |
| Storage Temp | -20°C to 60°C | -20°C to 70°C | TS-464 is rated for slightly higher extremes |
| Humidity | 5% to 95% RH | 5% to 95% RH | – |
| Warranty | 3 years (extendable to 5) | 3 years (extendable with license or bundle) | – |

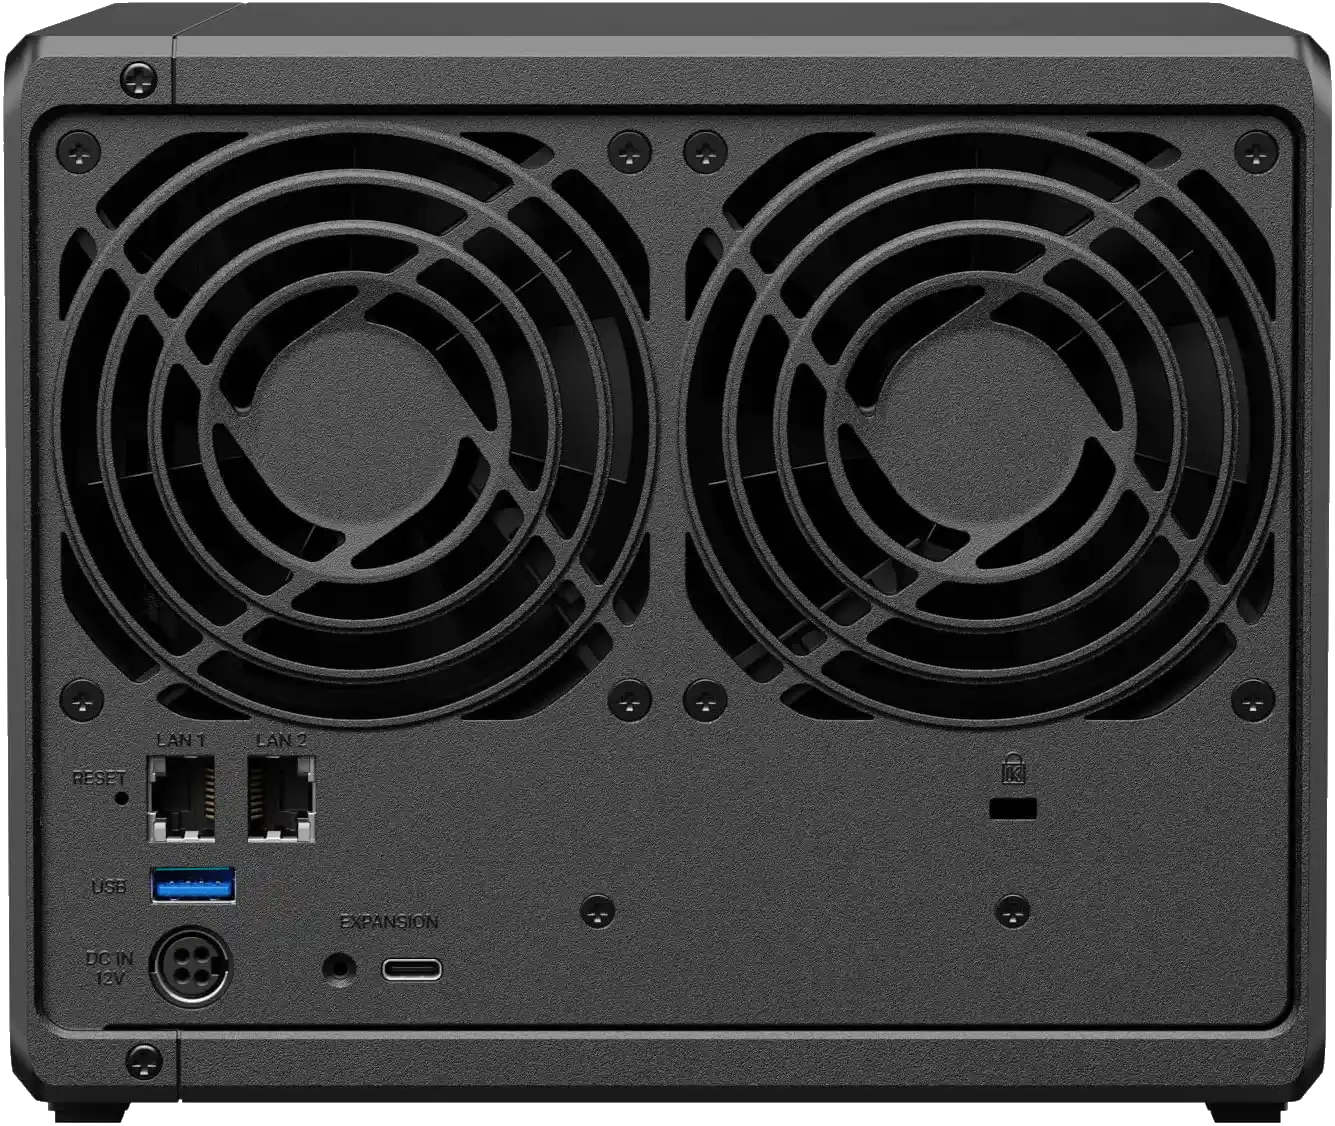
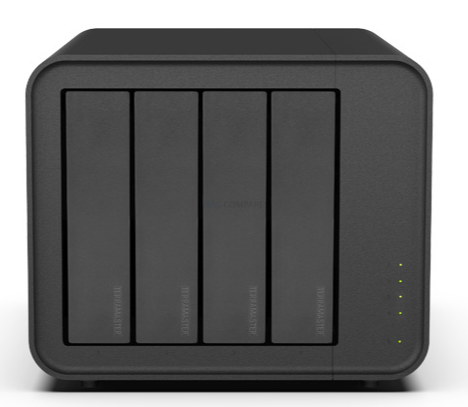
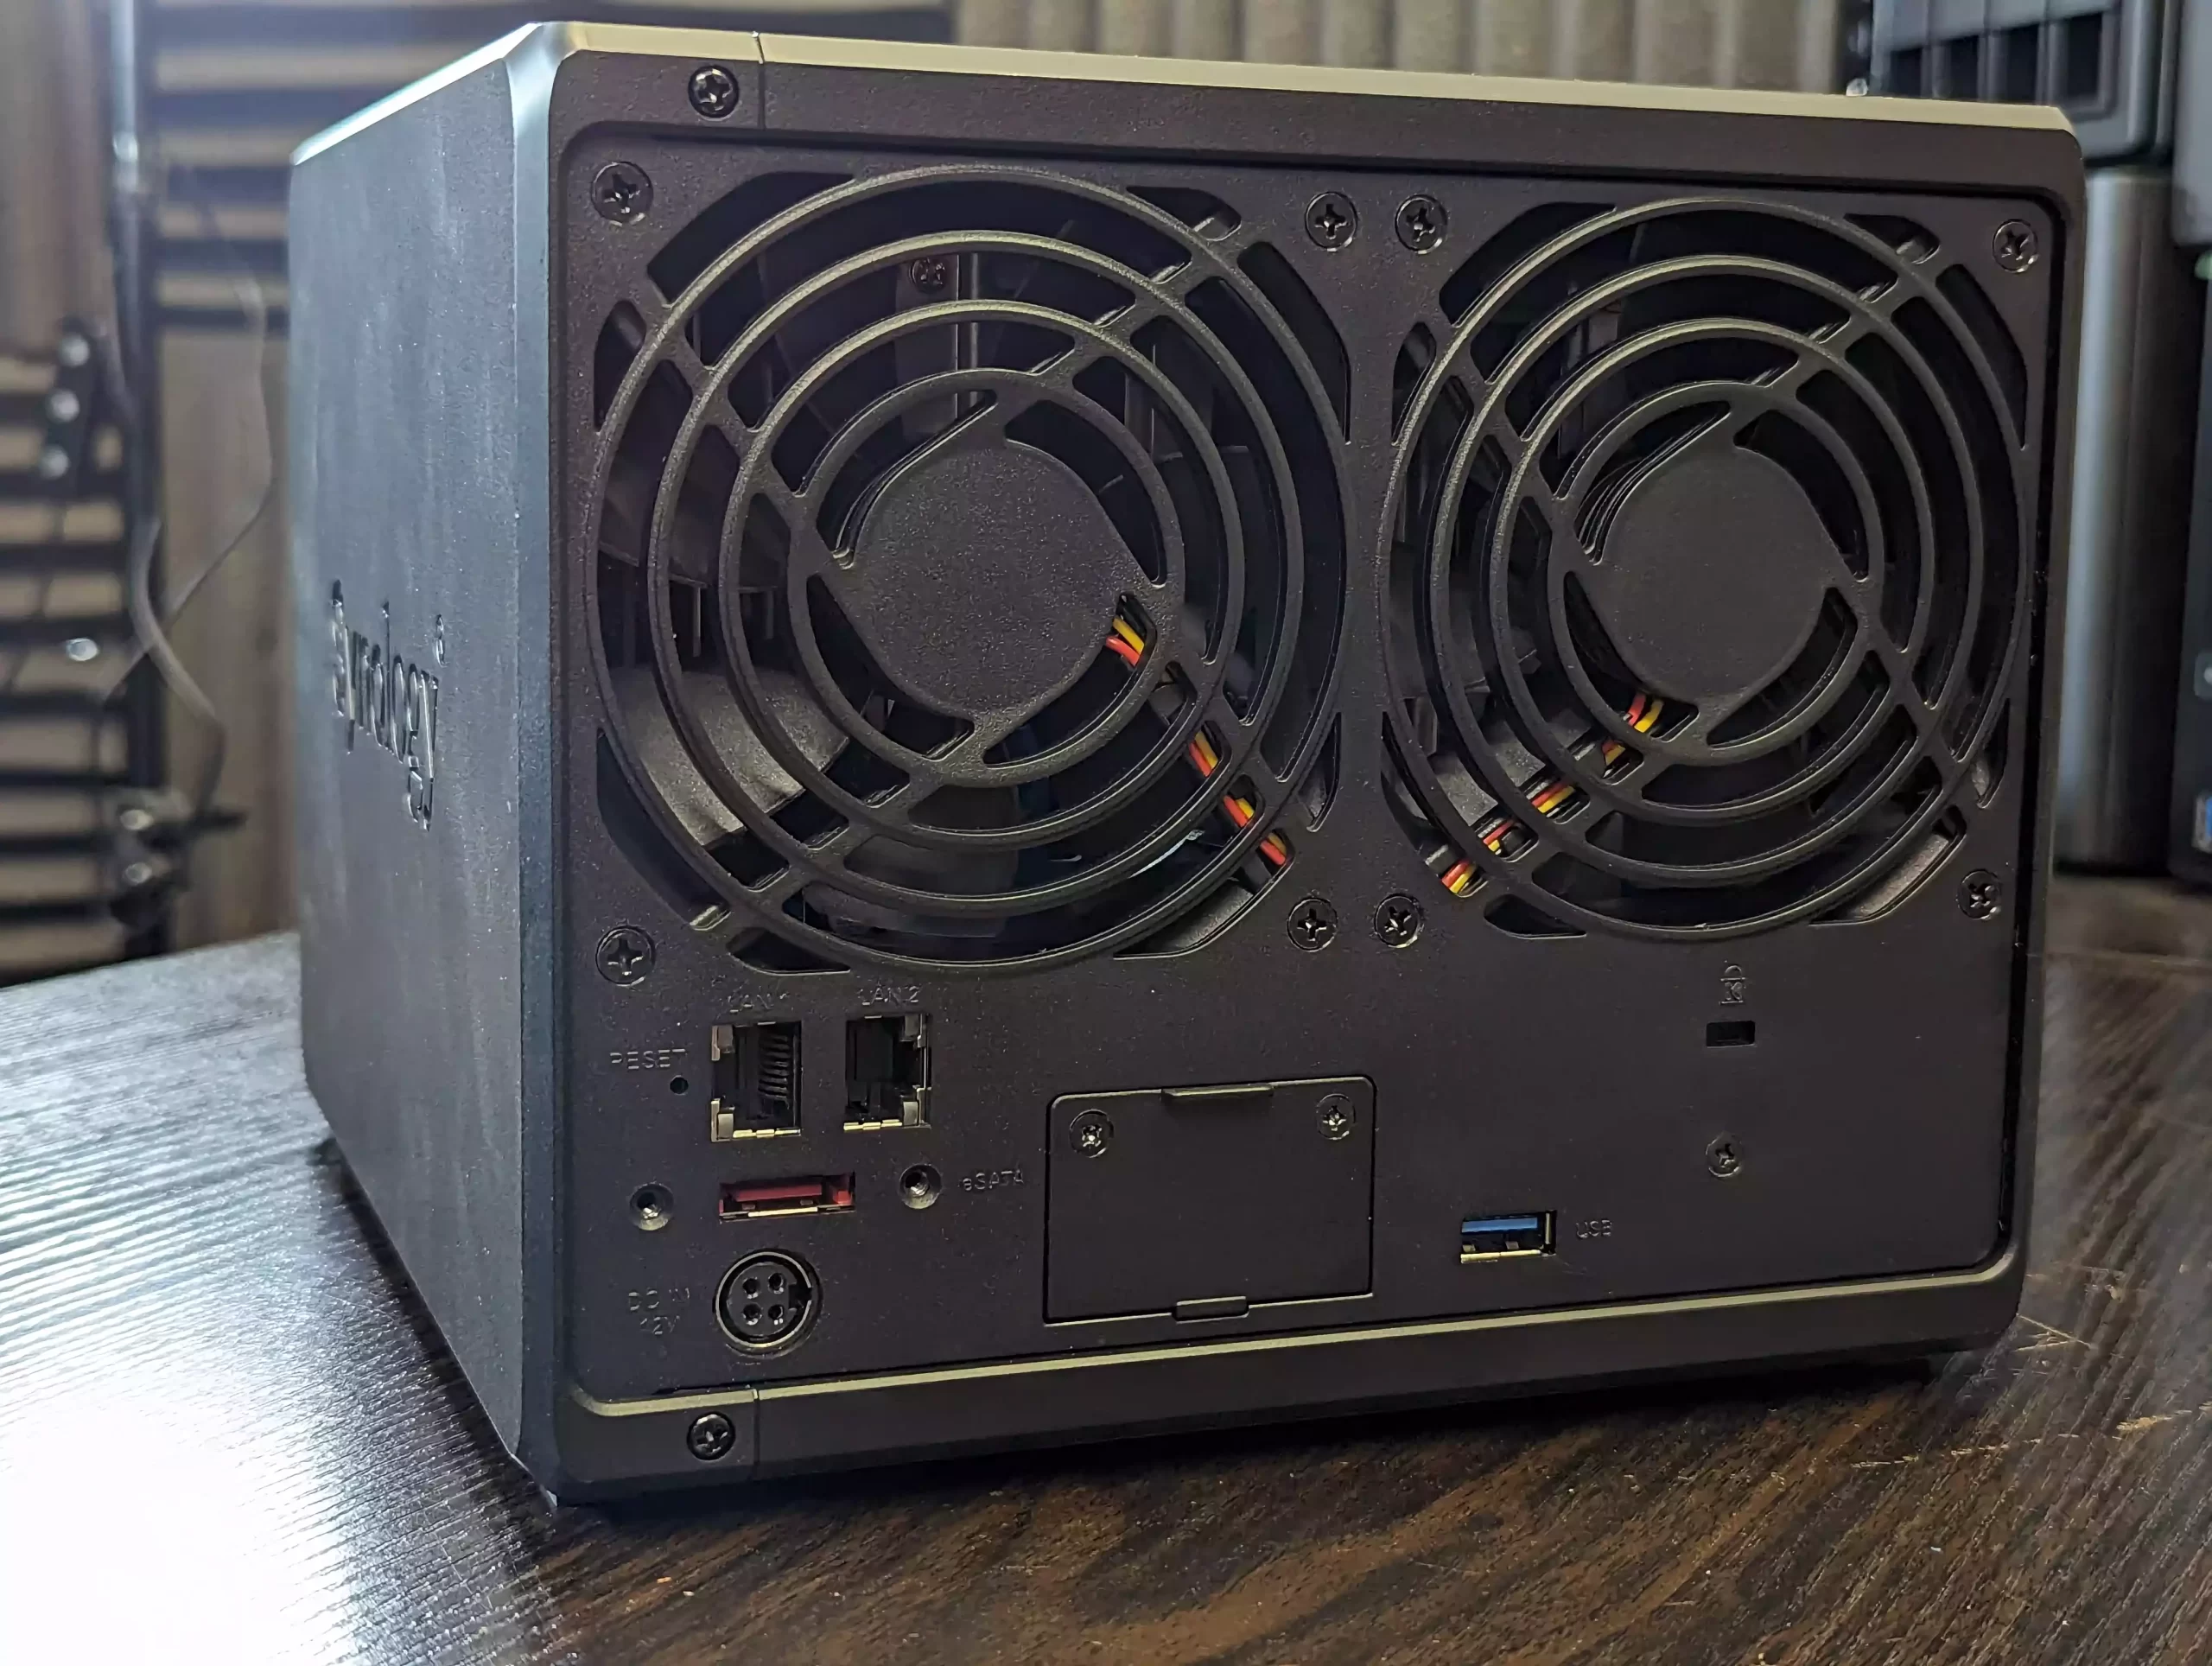
The DS925+ delivers a refined hardware experience out of the box, with its newer AMD Embedded Ryzen V1500B 4 Core/ 8 thread processor, dual 2.5GbE ports for faster LAN connectivity, and modern I/O including USB-C. It features two M.2 NVMe slots (for cache only, unless you use the Synology SNV3400 drives from Synology), dual memory slots supporting up to 32GB of ECC DDR4 RAM, and a compact metal chassis designed for quiet, efficient operation. It also runs cooler and quieter than many of its rivals, making it an ideal fit for environments where noise levels matter—such as living rooms, home studios, or small offices. This makes the DS925+ a “plug-and-play” NAS with premium internal components and minimal need for user intervention.
 |
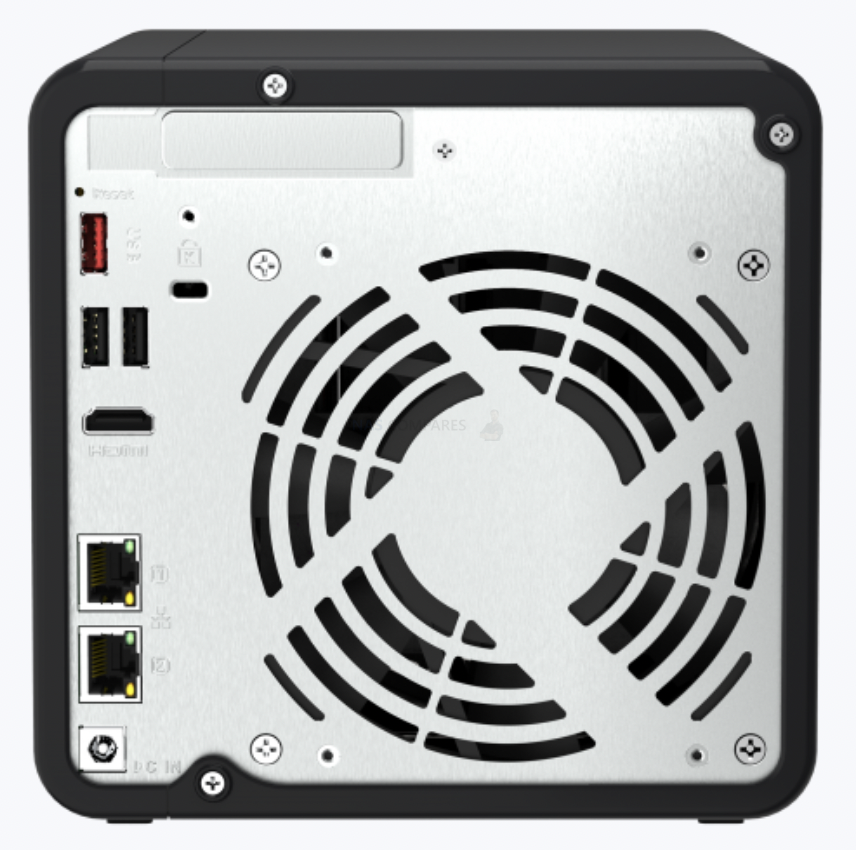 |
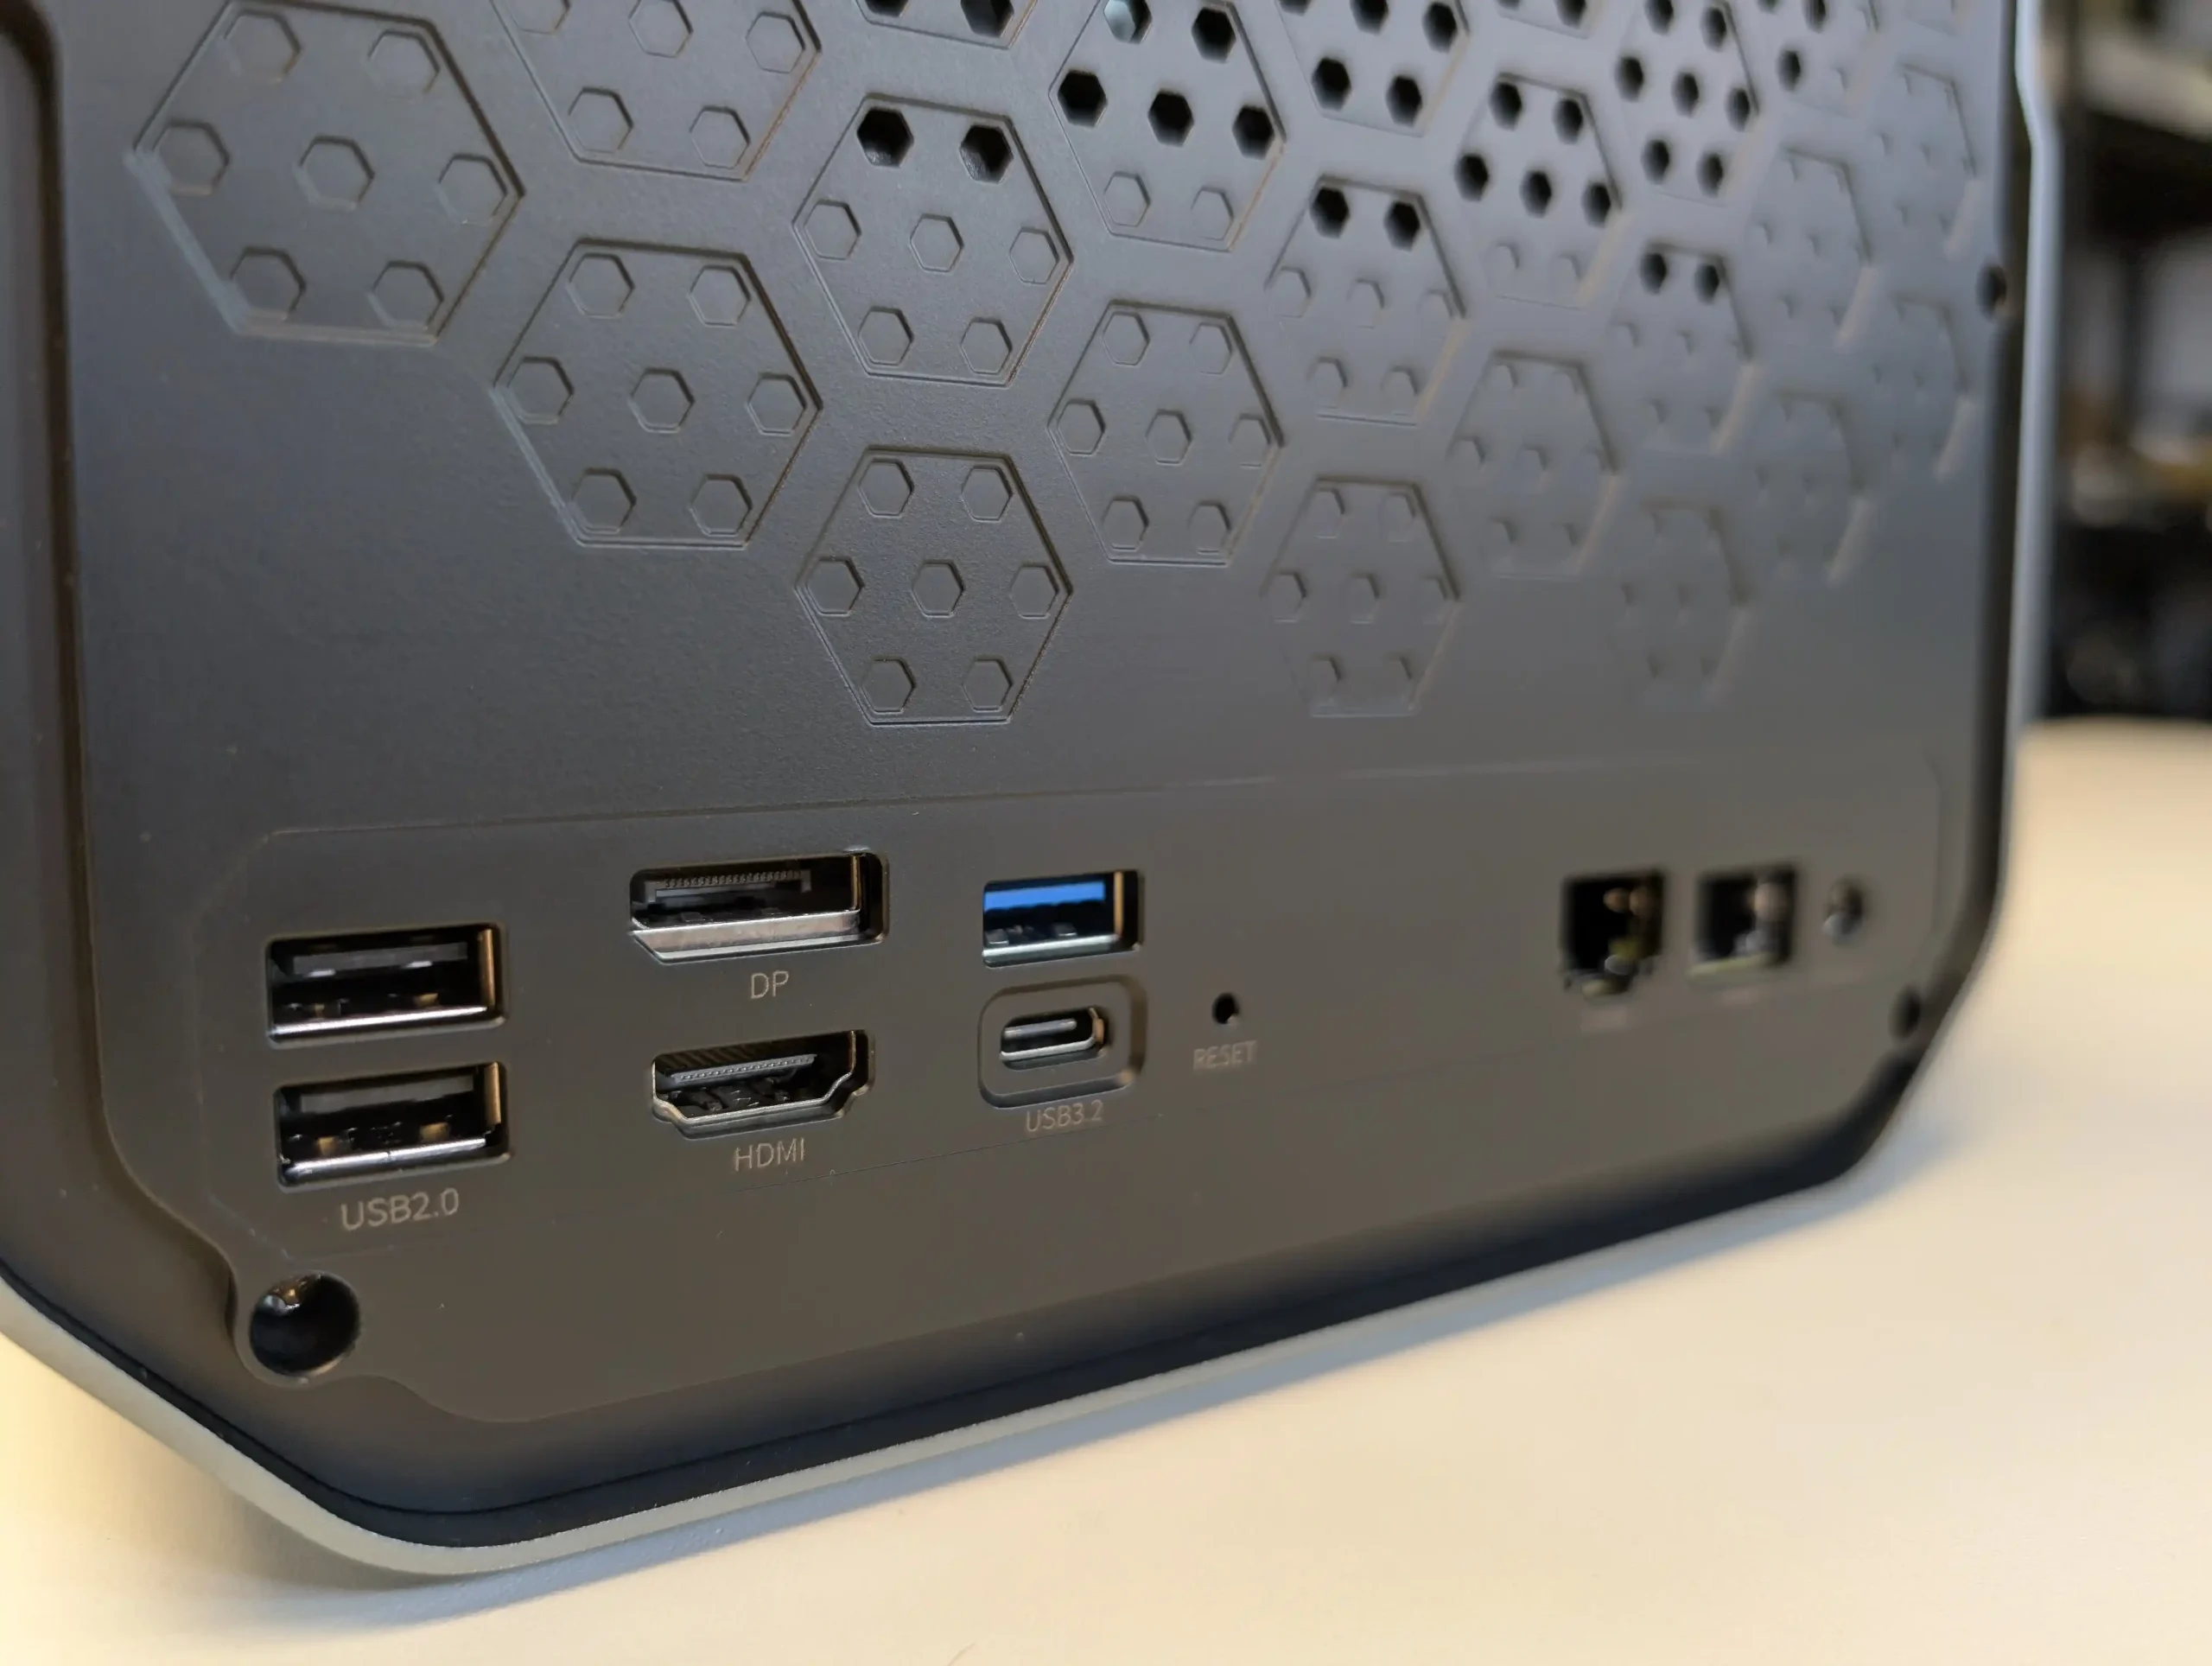
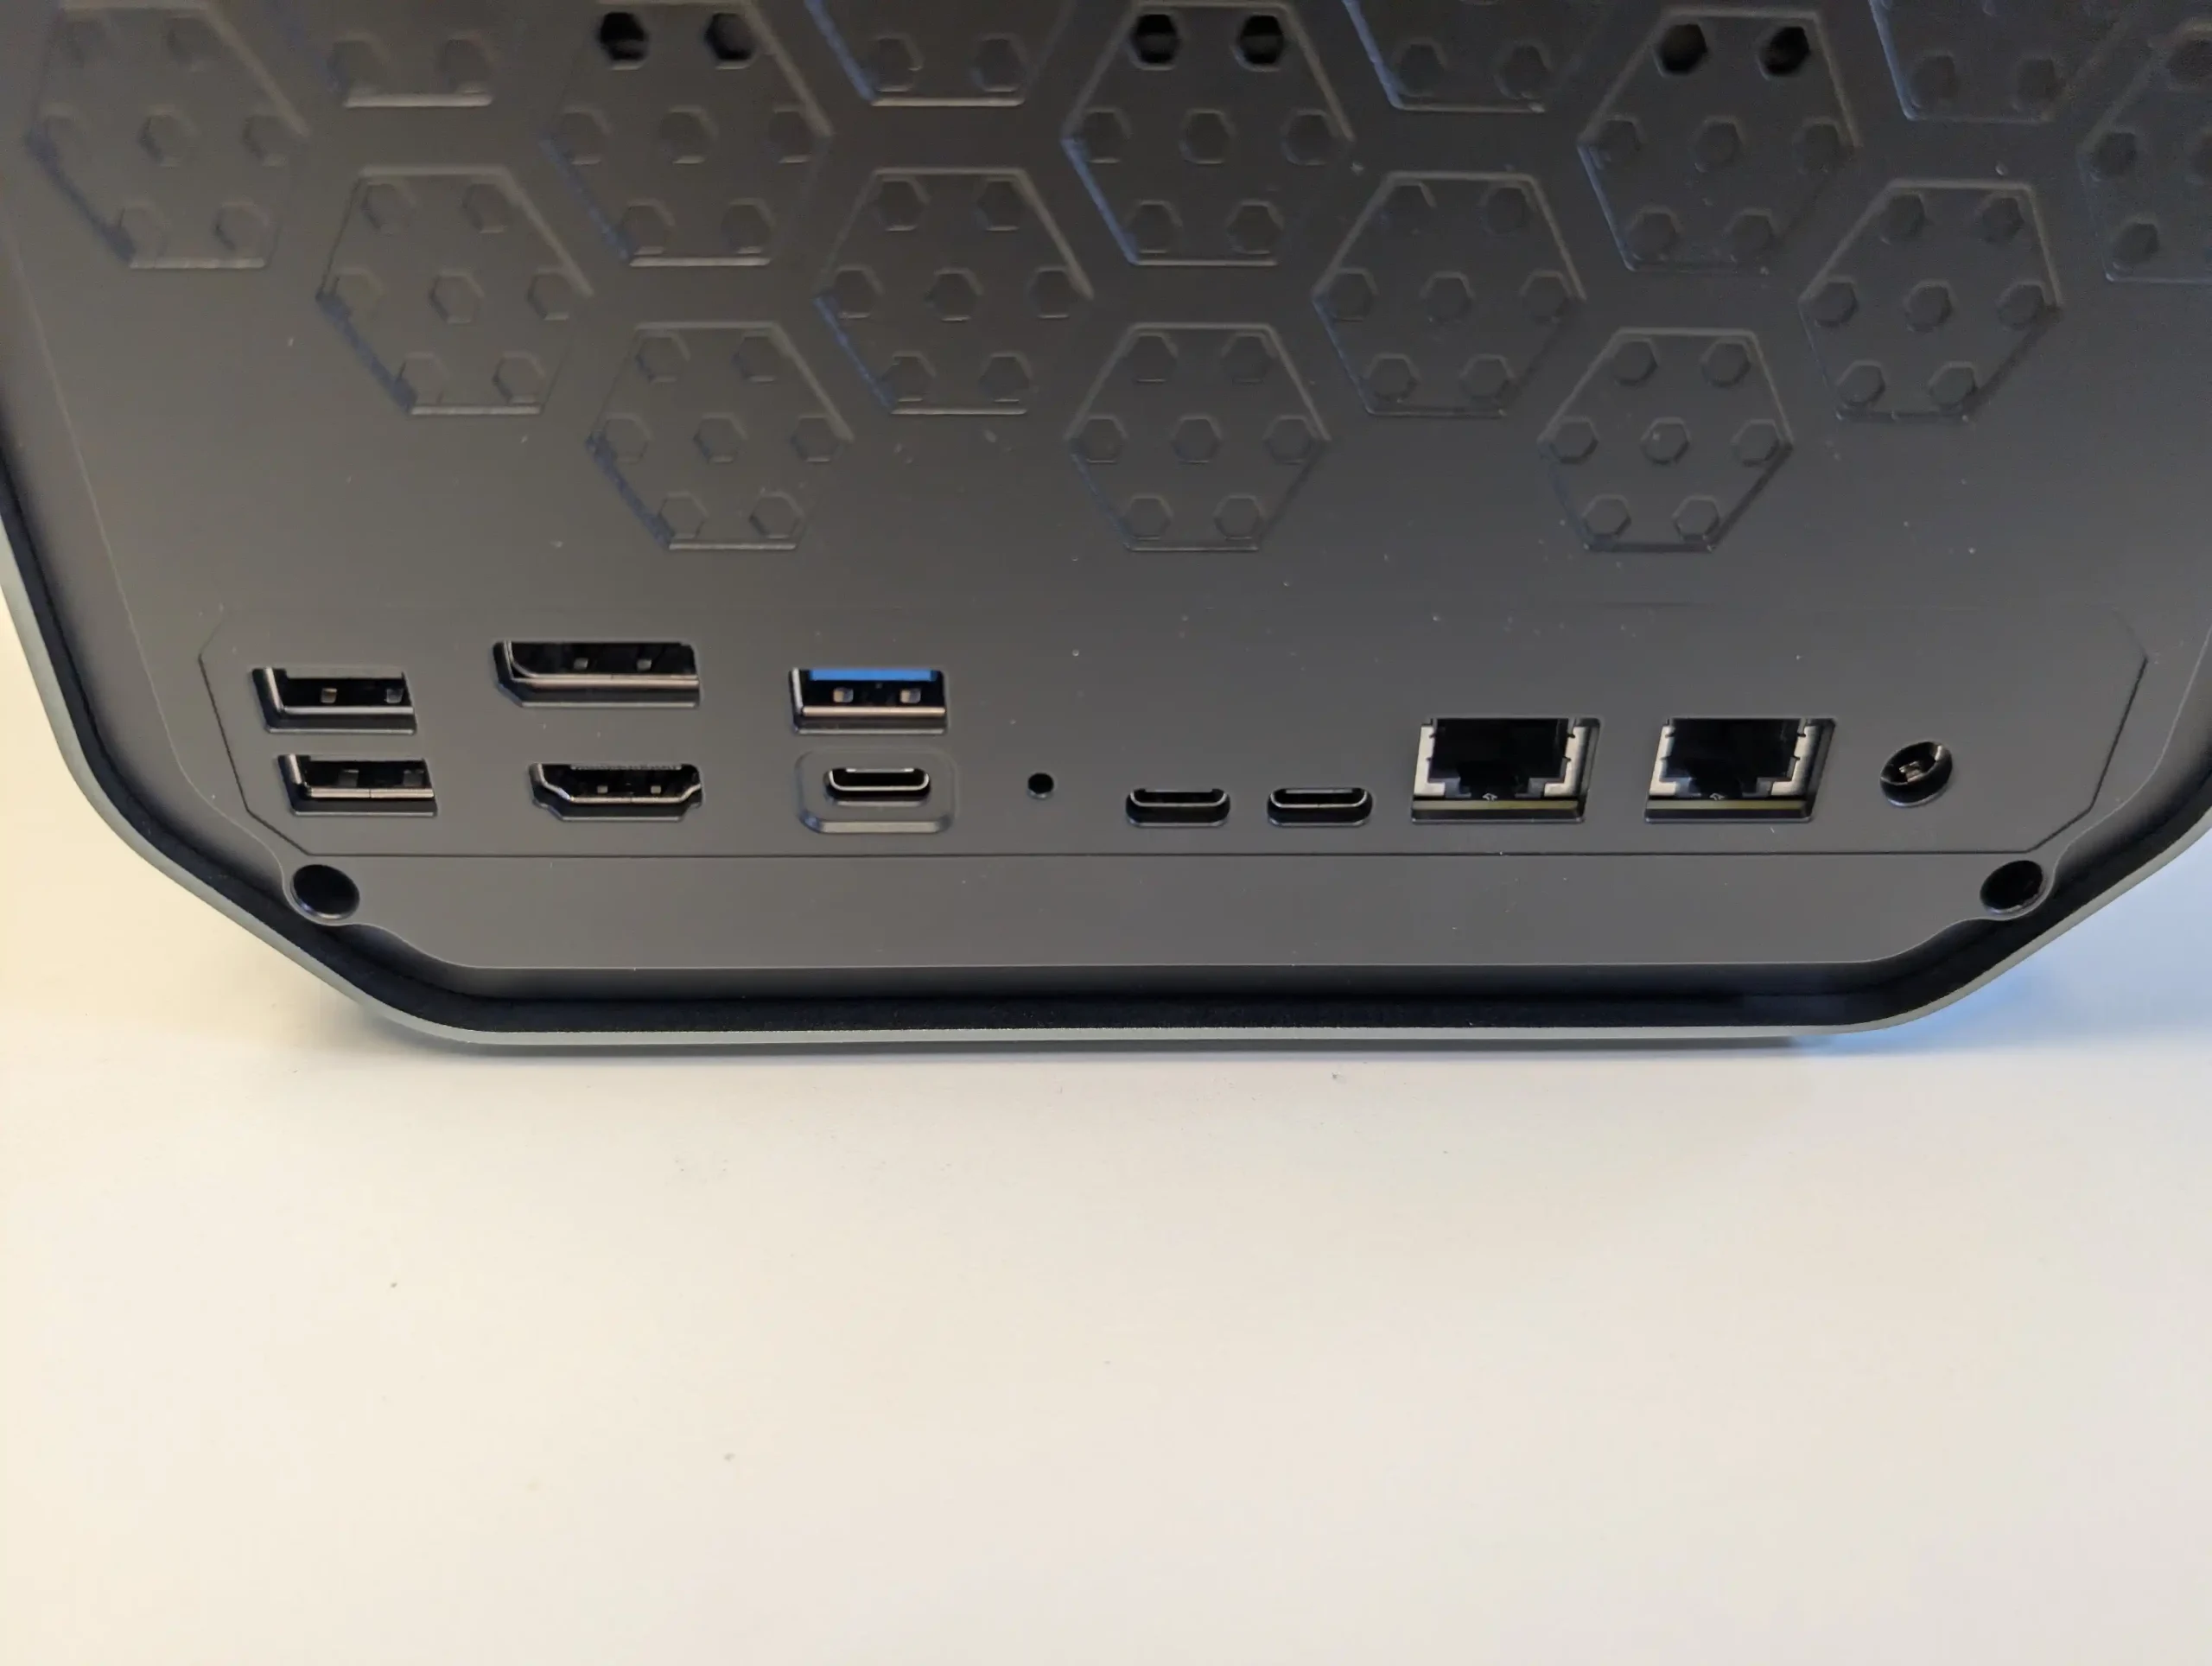
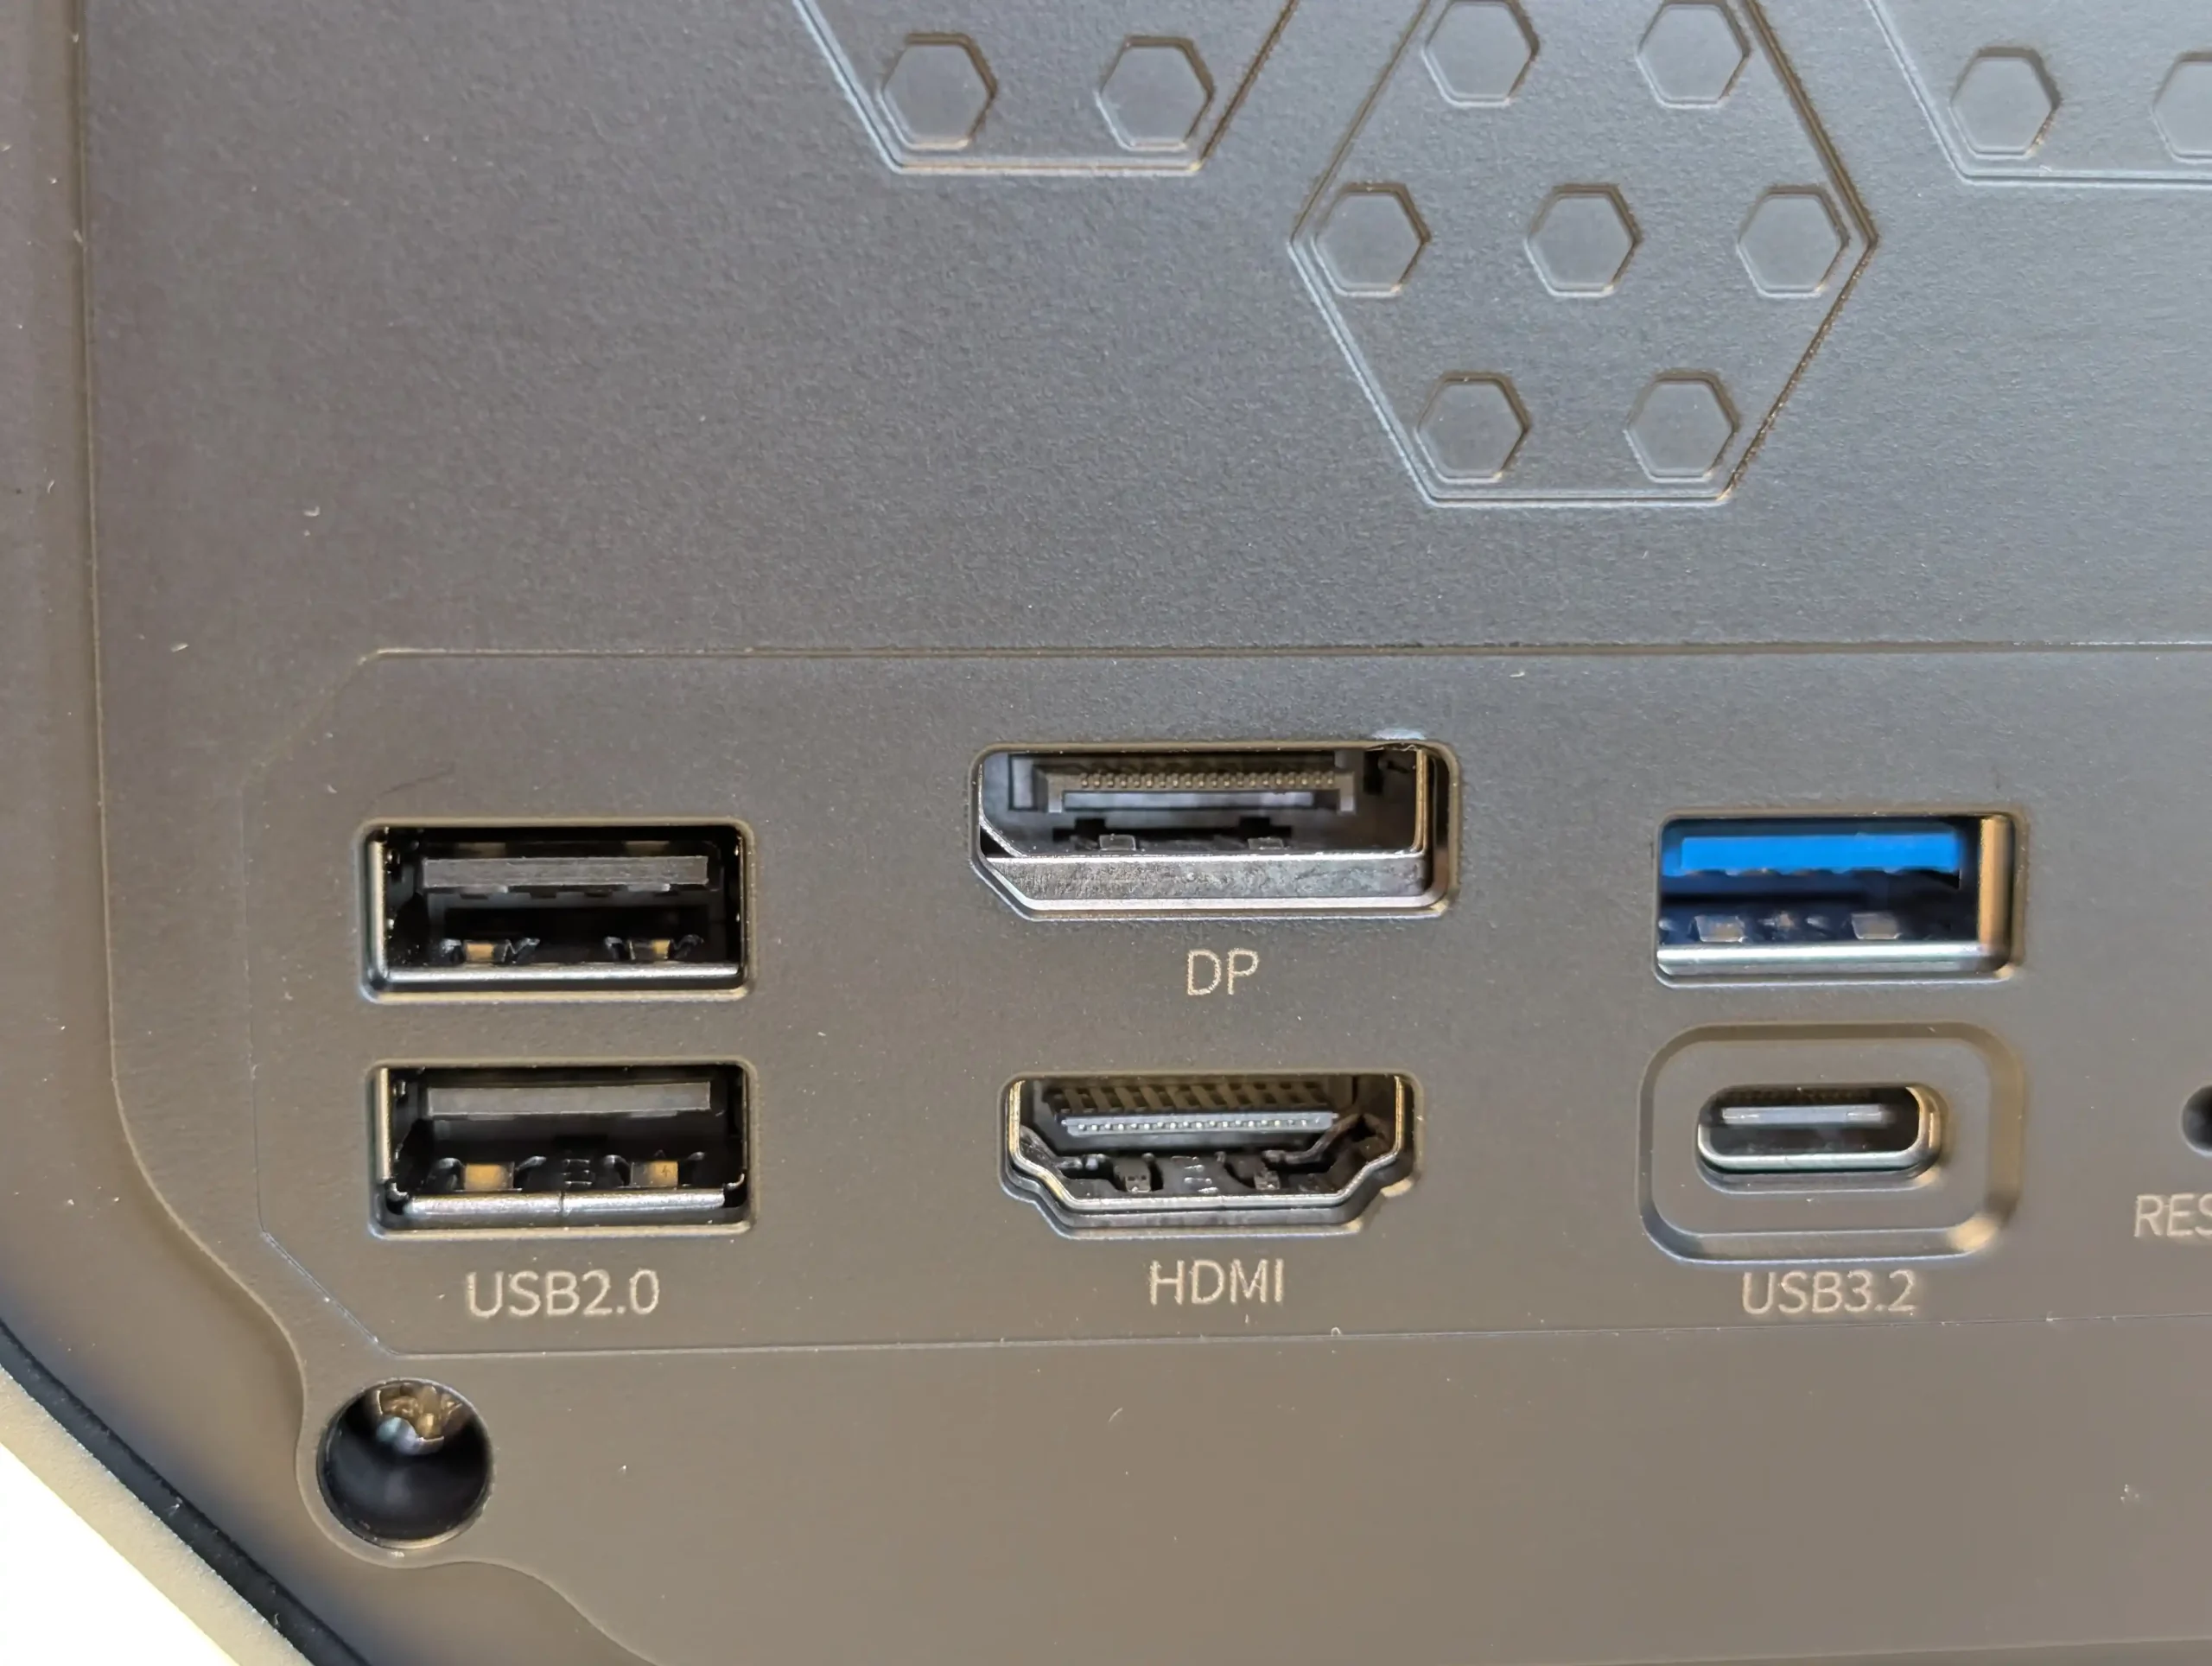
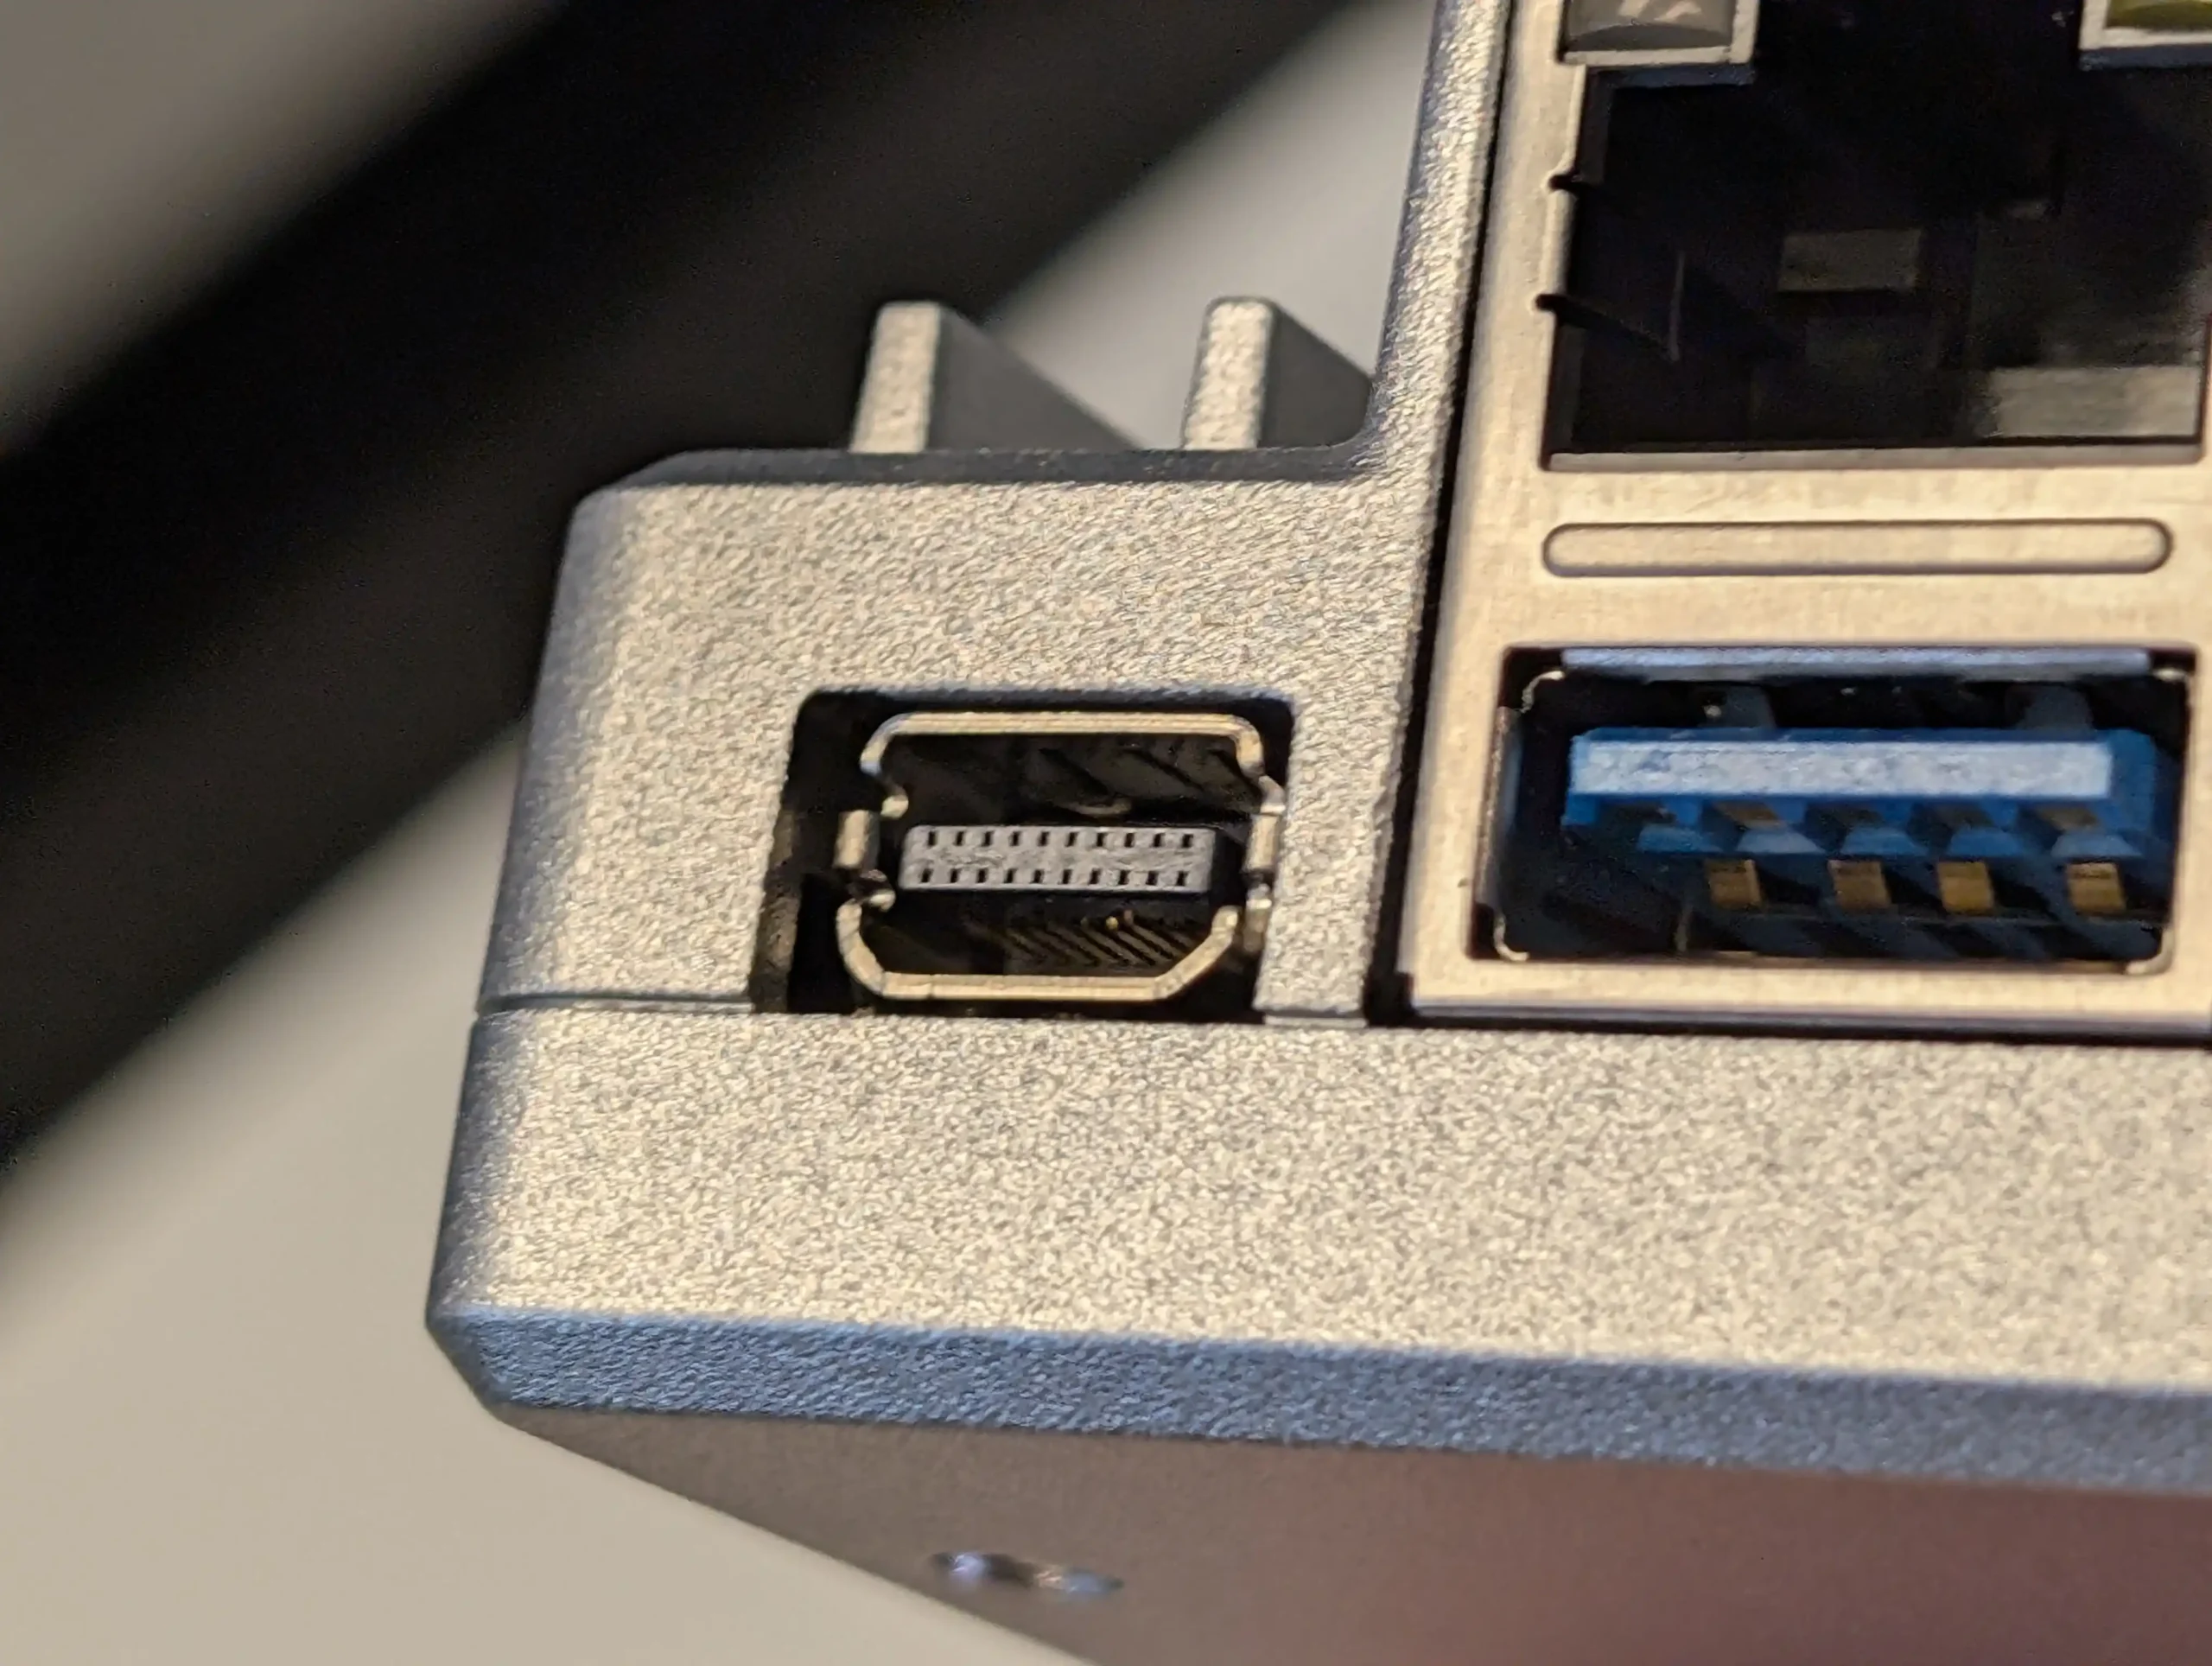
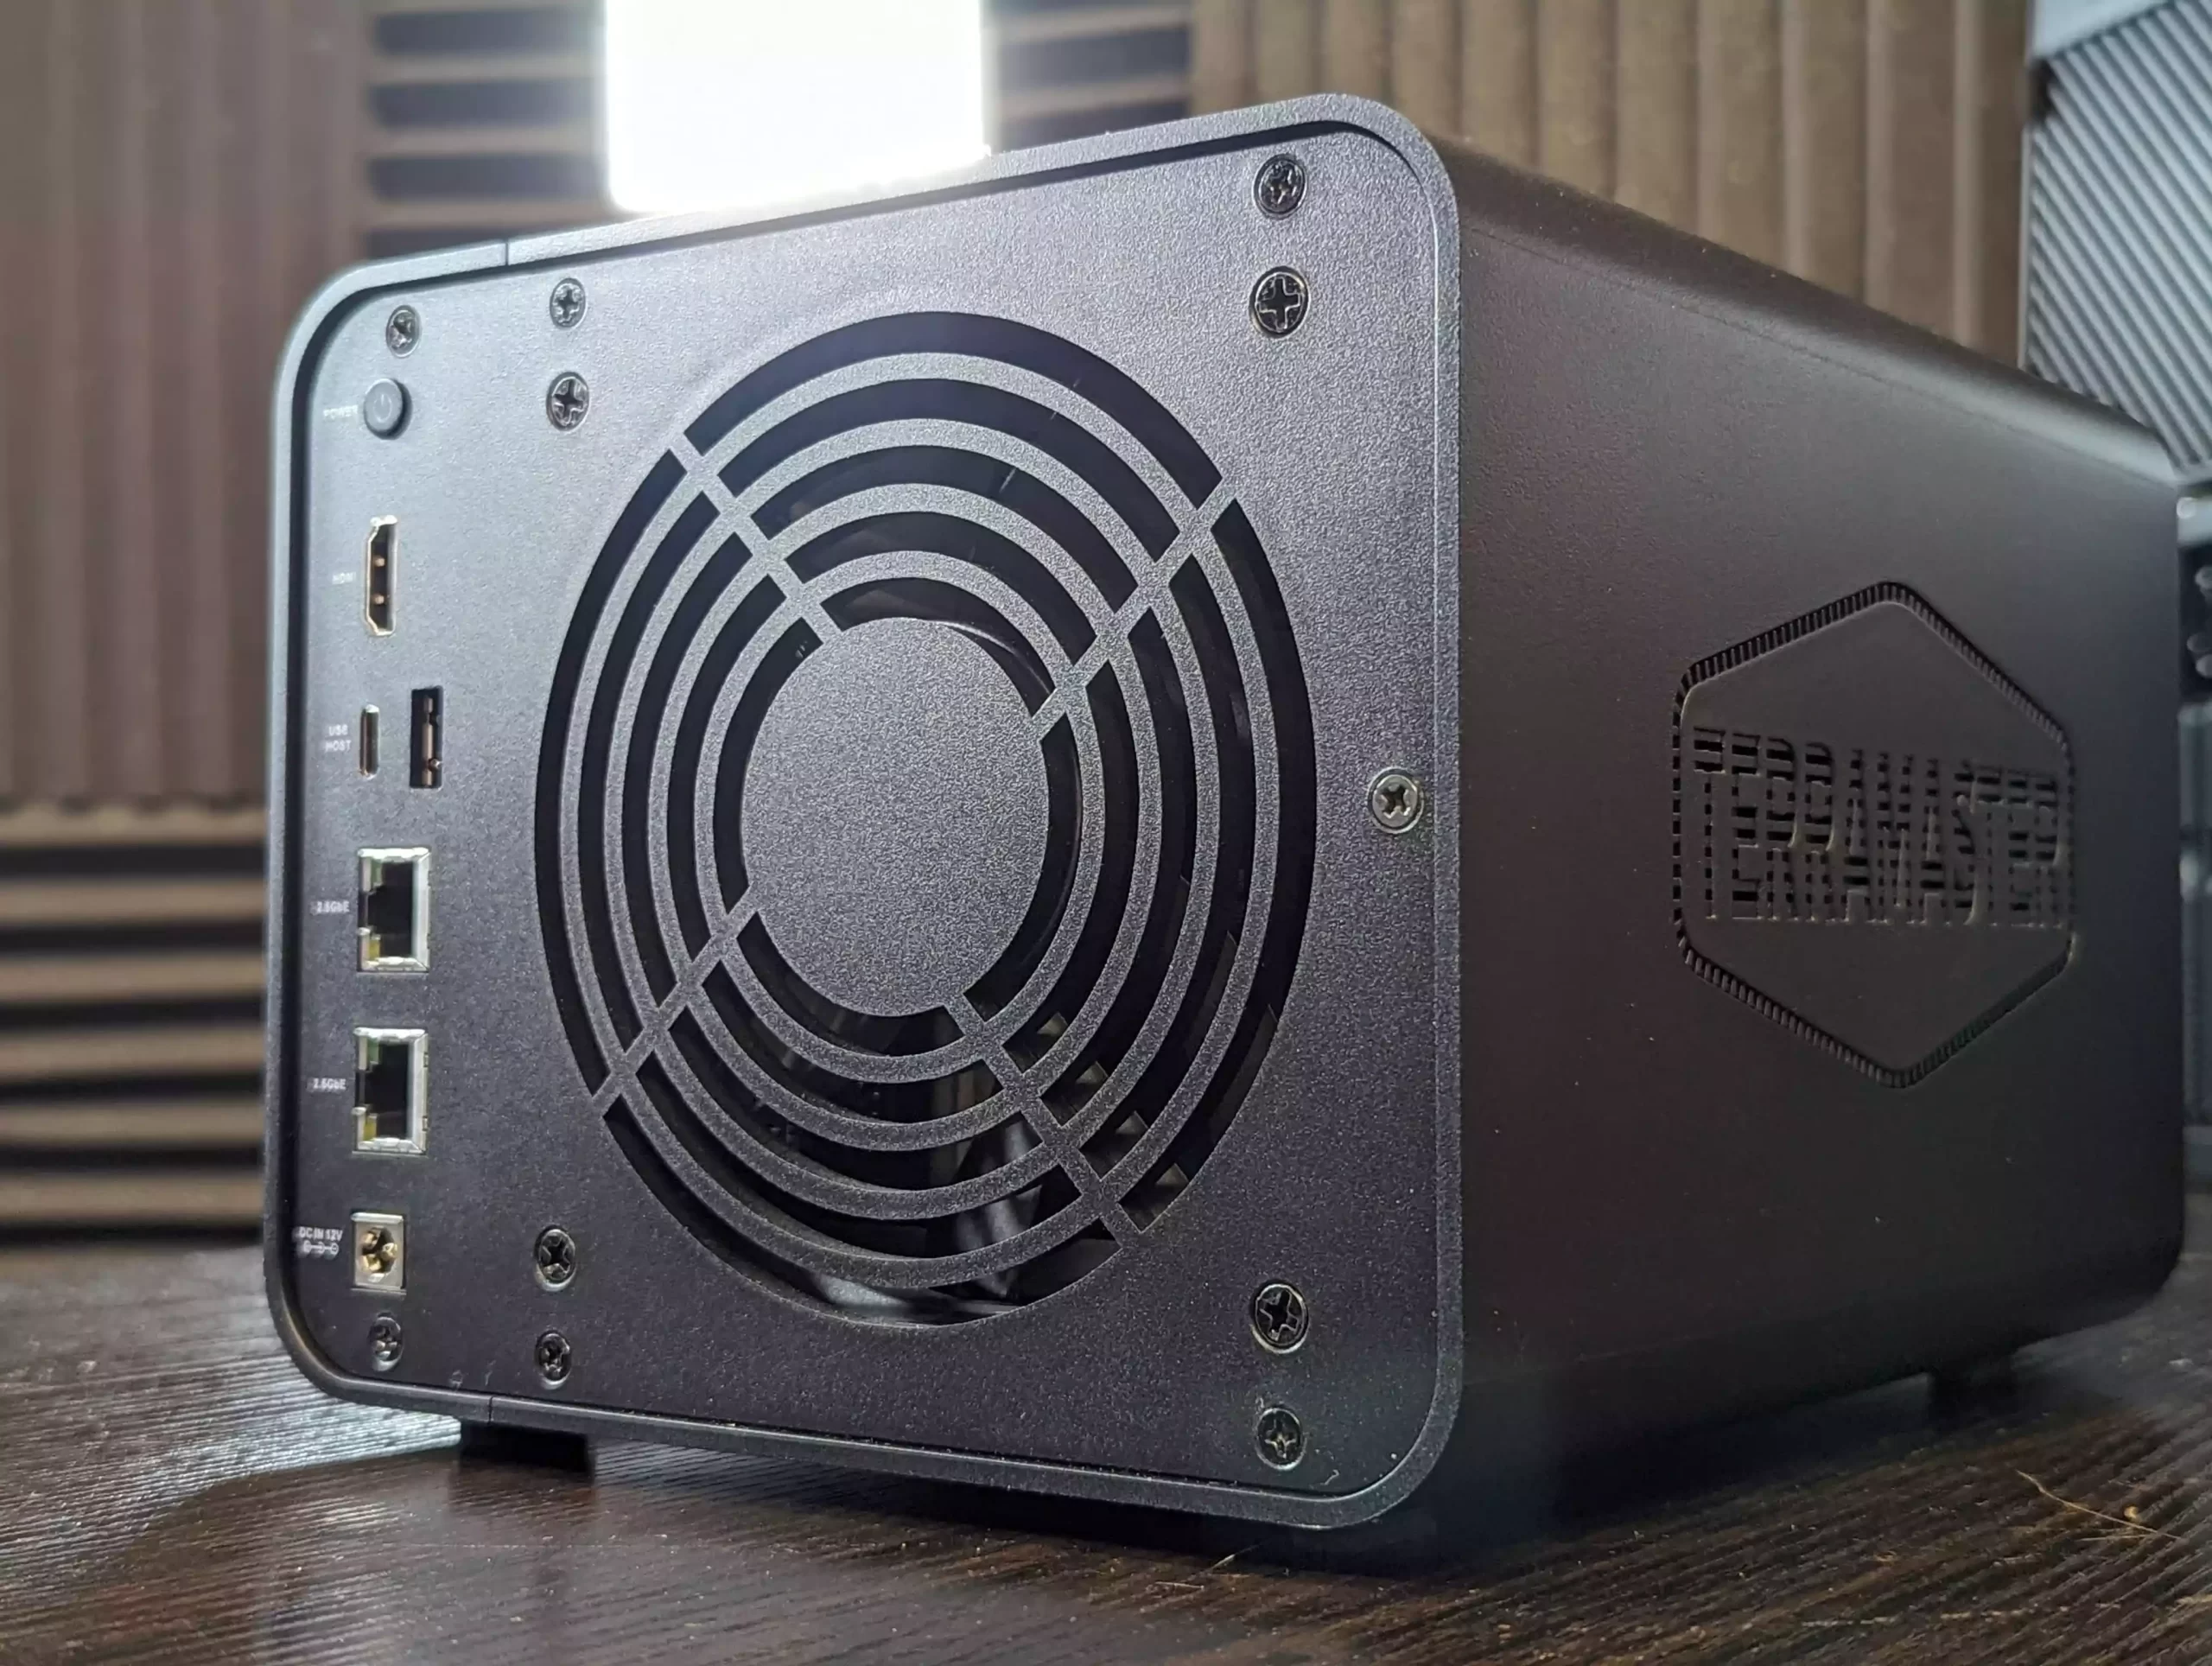
By contrast, the QNAP TS-464 takes a more modular, expandable approach. Powered by the Intel Celeron N5105/N5095 CPU (a quad-core processor with integrated graphics, but only 4 threads), it offers HDMI 2.0 output, two M.2 PCIe Gen3 x1 slots (which can be used for either caching or storage pools), and a PCIe Gen3 x2 slot for optional 10GbE or more M.2s, USB expansion, or even GPU cards. QNAP also includes dual 2.5GbE ports, putting it on par with the DS925+ in terms of network speed, but it edges ahead in overall hardware adaptability. Want multimedia output via HDMI? QNAP has it. Want to add NVMe storage pools or real-time transcoding? QNAP supports that too. That said, the TS-464 is based on a slightly older CPU architecture, lacks ECC memory support, and typically generates more fan noise under load. Additionally, its OS and ecosystem are broader in scope but often require more manual setup. Ultimately, the DS925+ is purpose-built for those who prioritize a quiet, polished, and simplified experience with modern performance. The TS-464, on the other hand, remains an excellent choice for users who prefer control, multimedia support, and greater hardware flexibility. Choosing between them largely depends on whether you value Synology’s stability and turnkey design, or QNAP’s freedom and potential.
AMD V1500B vs Intel N5105 – CPU Specifications (Synology DS925+ vs QNAP TS-464)
In any NAS system, the processor plays a pivotal role in determining the scope of functionality—whether it’s managing multiple concurrent users, running virtual machines, powering AI-driven applications, or simply handling encrypted transfers and background tasks efficiently. The Synology DS925+ and the QNAP TS-464 take noticeably different approaches in this regard. The DS925+ features the AMD Ryzen Embedded V1500B, a server-grade SoC designed for sustained multi-threaded workloads. The TS-464, on the other hand, runs on the Intel Celeron N5105, a more consumer-oriented chip that prioritizes integrated multimedia support and power efficiency. While both CPUs are quad-core, their architecture, instruction set, and target use cases diverge sharply—affecting not only raw processing, but also the capabilities unlocked within DSM and QTS/QuTS, respectively.
| Category | AMD Ryzen V1500B
|
Intel Celeron N5105
|
Advantage / Notes |
|---|---|---|---|
| Architecture | Zen (1st Gen) | Tremont (10nm) | N5105 uses newer fabrication process |
| Core / Thread Count | 4 Cores / 8 Threads | 4 Cores / 4 Threads | V1500B has SMT (hyperthreading) support |
| Base Clock Speed | 2.2 GHz | 2.0 GHz | V1500B slightly faster base |
| Boost Clock Speed | N/A (fixed clock) | Up to 2.9 GHz | N5105 has dynamic boost for single-thread performance |
| TDP (Thermal Design Power) | 16W | 10W | N5105 is more power efficient |
| L2 Cache | 2 MB | 1.5 MB | V1500B has more L2 cache |
| L3 Cache | 4 MB | 4 MB | Same |
| Integrated Graphics | None | Intel UHD Graphics (24 EUs @ 800 MHz) | N5105 supports HDMI, video decoding, and light GPU tasks |
| PCIe Version | PCIe 3.0 | PCIe 3.0 | – |
| Max Memory Supported | 32 GB ECC DDR4 | 16 GB officially (32 GB unofficially) | V1500B supports higher, ECC-capable memory |
| Memory Type | DDR4 ECC | DDR4 / LPDDR4x (non-ECC) | V1500B supports ECC, better for critical NAS use |
| Virtualization Support | Yes (AMD-V) | Yes (VT-x, VT-d) | Both CPUs support virtualization features |
| AES-NI (Encryption) | Yes | Yes | Both support hardware encryption |
| Target Use Case | Embedded systems / Business NAS | Low-power desktops / SMB NAS / IoT | V1500B is more server/NAS-specific |
| Release Year | 2020 | 2021 | N5105 is newer |
In terms of raw specs, the V1500B offers 4 cores and 8 threads with a base clock of 2.2GHz and support for ECC memory—a key advantage for mission-critical environments. This CPU is built for multitasking and thrives in scenarios involving virtual machines, container services, and intensive file indexing or backup operations. As a result, the DS925+ supports up to 8 concurrent virtual machines, 8 virtual DSM instances, and higher thresholds for connected users across Synology apps. It is better suited to offices or power users who rely on services like Synology Office, Drive, or Surveillance Station running in tandem. The system handles up to 150 Synology Chat users, 80 Office users, and 80 Drive users, offering excellent multitasking performance with low overhead.
The QNAP TS-464’s Intel N5105 is a 10nm Jasper Lake processor, also quad-core but without hyper-threading and with a slightly lower base clock (2.0GHz). However, it includes integrated Intel UHD Graphics, giving it one key advantage the DS925+ lacks: hardware-accelerated video transcoding via QNAP’s own QuMagie, Video Station, and especially Plex Media Server with support for on-the-fly 1080p and 4K decoding when paired with proper client-side licensing. This makes the TS-464 ideal for multimedia-heavy environments. Beyond media, the N5105 powers QTS and QuTS hero with access to QNAP’s broader and often more modular ecosystem. This includes Hybrid Backup Sync (HBS 3) for unified backup and disaster recovery, QuDedup for deduplicated snapshot replication, QVR Elite and QVR Pro for professional-grade surveillance (supporting multiple IP camera licenses natively), and AI Core features like face recognition and event detection when paired with the QuMagie or QVR Human apps. The TS-464 also supports Virtualization Station, enabling users to run lightweight Linux or Windows VMs with direct passthrough access to USB or PCIe devices, and Container Station, which offers both Docker and LXC container compatibility with GPU passthrough for NPU-based AI inference workloads. Thanks to the included PCIe Gen 3 x2 slot, the system supports optional upgrades like 10GbE NICs, QM2 expansion cards (for M.2 SSD or additional 2.5GbE/10GbE ports), or even Wi-Fi 6 cards, something entirely absent in the DS925+. Additionally, QNAP allows direct output to an external display via HDMI 2.0, enabling standalone use of HD Station apps like Chrome, LibreOffice, Kodi, and even Linux desktop environments — a feature highly prized in HTPC and security NVR deployments. Users can leverage Linux Station to run full Ubuntu VMs locally, or install Ubuntu Core through the App Center for custom development or edge AI inference scenarios.
Taken together, the TS-464 may not support the same high virtual machine/user count as the DS925+, but it compensates with a broader set of integrated appliances catering to power users, home labs, edge AI, and media-heavy deployments. It’s a more “tinker-friendly” platform, favoring flexibility and breadth over centralized system control and vertical integration. If you need an appliance that works across entertainment, security, and hybrid cloud workflows, with room for add-on functionality via hardware or apps, the TS-464 is hard to beat for the price. That said, the Synology DS925+ ultimately offers greater headroom for enterprise workflows, heavier VM usage, and large-scale hybrid deployments. It sacrifices media transcoding and graphical acceleration, but gains a server-class CPU that ensures consistent performance under heavier load conditions. Meanwhile, the TS-464 excels in edge-case versatility, offering more multimedia flexibility and richer expansion potential via PCIe. If your priorities lie in business-class performance, ECC memory support, and robust multi-user capacity, the DS925+ is the clear winner. But for media streaming, home lab tinkering, and a wider hardware feature set, the TS-464 remains a very compelling alternative.
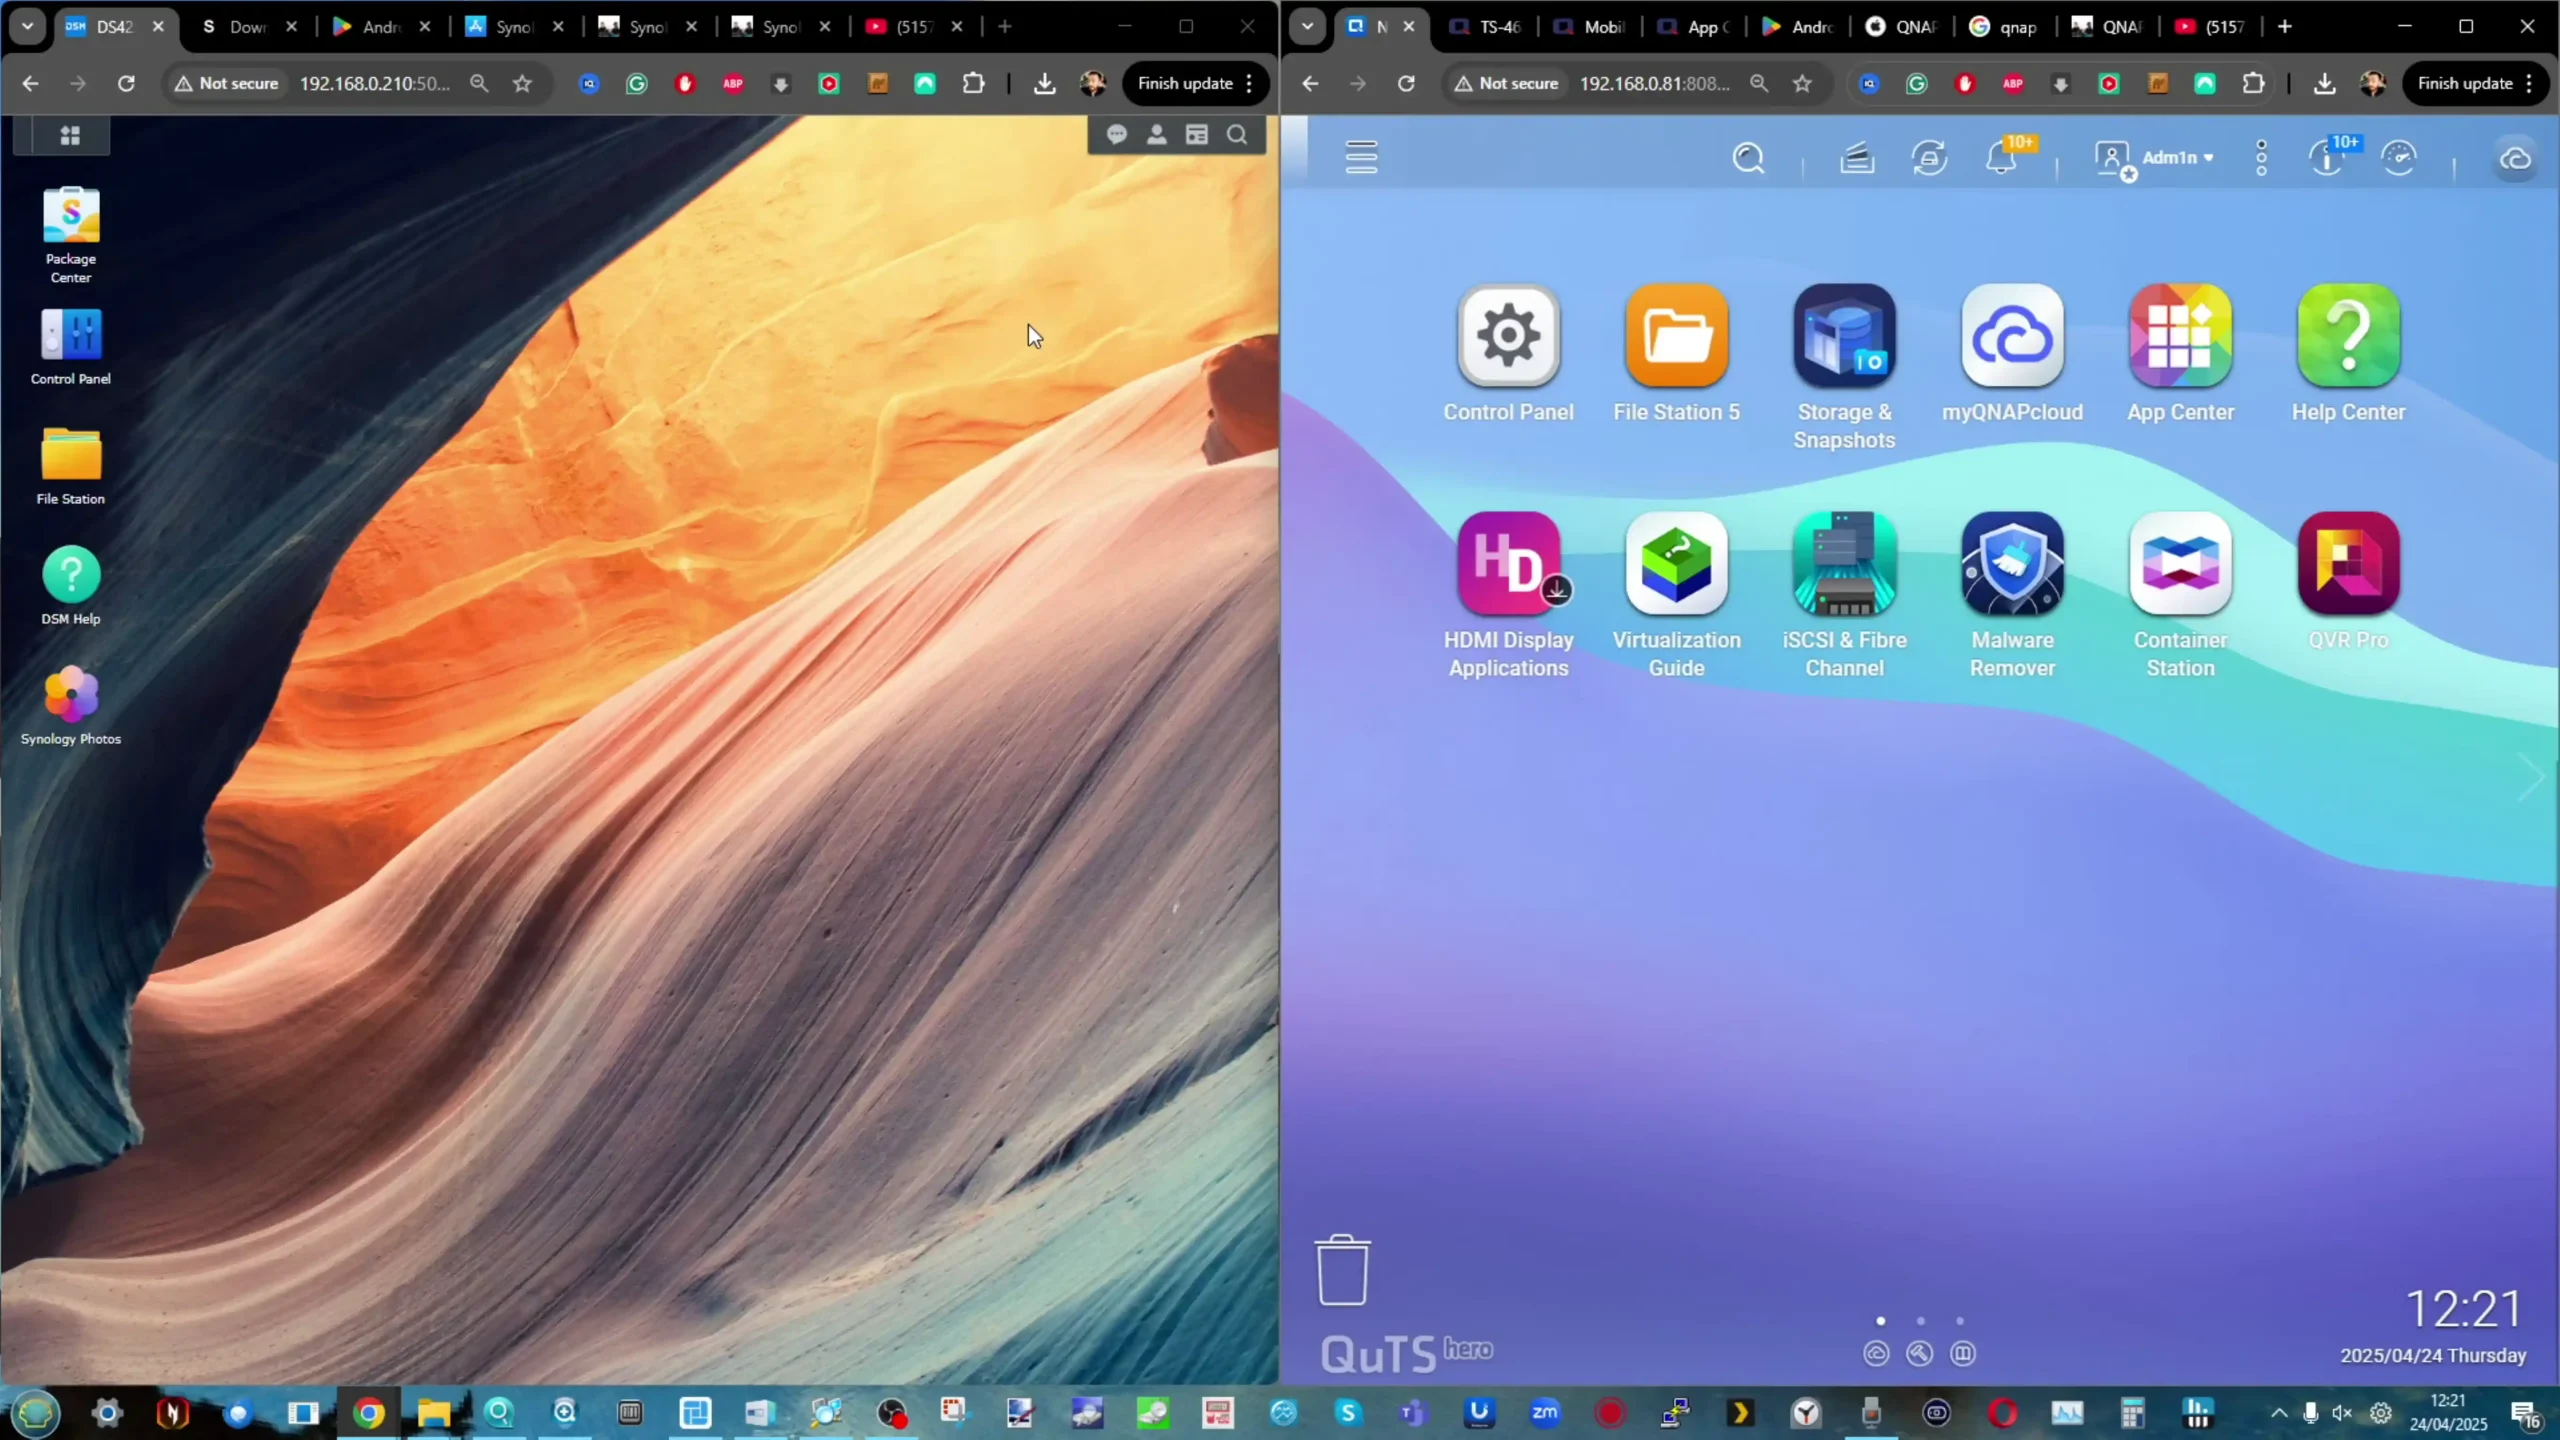
Synology DS925+ vs QNAP TS-464 – Software Specifications
When it comes to NAS platforms, hardware is only half the story—what truly determines a system’s long-term value is the strength, maturity, and flexibility of its software. Synology’s DSM (DiskStation Manager) and QNAP’s QTS/QuTS Hero are two of the most advanced NAS operating systems available today, offering extensive suites of services for backup, virtualization, hybrid cloud, media streaming, and AI-assisted surveillance. But while both OS platforms cover similar ground, their design philosophies, application depth, and supported workloads differ substantially. The Synology DS925+ and QNAP TS-464, though comparable in price and both aimed at prosumers and SMBs, unlock very different software experiences depending on the deployment goals—be it centralized IT infrastructure, media-rich home labs, or container-based edge computing.
With the DS925+, Synology leans into its strength in unified management and vertical integration. DSM 7.2 is optimized for reliability, simplicity, and scalability within Synology’s ecosystem. The DS925+ supports up to 8 virtual machines and 8 Virtual DSM instances through Virtual Machine Manager, offers extensive group and user quotas, and enables full integration with Synology’s cloud services (such as Synology C2 Backup, C2 Identity, and Hybrid Share). Its higher hardware ceiling allows for more active users: 150 on Synology Chat, 80 on Synology Drive and Office, and up to 8 simultaneous VPN connections. Backup capabilities are similarly robust, with a higher threshold of shared folder sync tasks and superior support for incremental snapshot replication. Surveillance Station on the DS925+ supports up to 40 IP cameras and benefits from reduced CPU overhead during continuous recording, even while handling concurrent backup or media indexing operations. DSM’s elegant UI, consistent updates, and tightly integrated packages make it ideal for organizations that value centralized IT administration and long-term platform stability.
On the other hand, the QNAP TS-464 running QTS 5 or QuTS Hero offers a more open and modular software ecosystem. While the Intel N5105 CPU imposes lower multitasking ceilings than the V1500B, QNAP compensates with a broader set of feature-specific applications and customization paths. The TS-464 supports virtualization through Virtualization Station (for VMs) and Container Station (for Docker + LXC), and unlike the DS925+, can output video directly via HDMI 2.0—allowing the NAS to act as a standalone Linux desktop, NVR, or HTPC via HybridDesk Station. QNAP also differentiates itself with Hybrid Backup Sync (HBS3), which enables multi-destination sync, deduplicated backup via QuDedup, and real-time disaster recovery tools not found in DSM. QVR Pro and QVR Elite offer an expansive surveillance suite with optional AI-powered analytics (e.g., face recognition, people counting) when paired with compatible QNAP AI apps. The inclusion of ZFS with QuTS Hero (an optional OS for the TS-464) enables inline compression, self-healing file systems, and block-level snapshots, which can be critical for data integrity in business scenarios.
QNAP also encourages expansion through its App Center, which includes over 150+ native and third-party apps, from Node.js and GitLab to Home Assistant, Ubuntu Station, and even Mattermost for self-hosted chat. While the system supports fewer concurrent users and VMs than the DS925+, its strength lies in feature breadth and system-level flexibility. Add-ons like 10GbE NICs, QM2 SSD accelerators, or Wi-Fi 6 cards via PCIe further extend its versatility, especially for hybrid edge workloads or multi-role deployments that evolve over time. In short, the Synology DS925+ is designed for administrative simplicity and long-term scaling, excelling in consistent performance across multi-user deployments with deep DSM integration. The QNAP TS-464, meanwhile, is a powerful sandbox for customization, offering greater freedom, multimedia functionality, and third-party integration—at the cost of some operational polish and software limits. Choosing between them depends on whether your priorities lie in predictable enterprise-grade execution or a more adaptable, feature-dense platform.
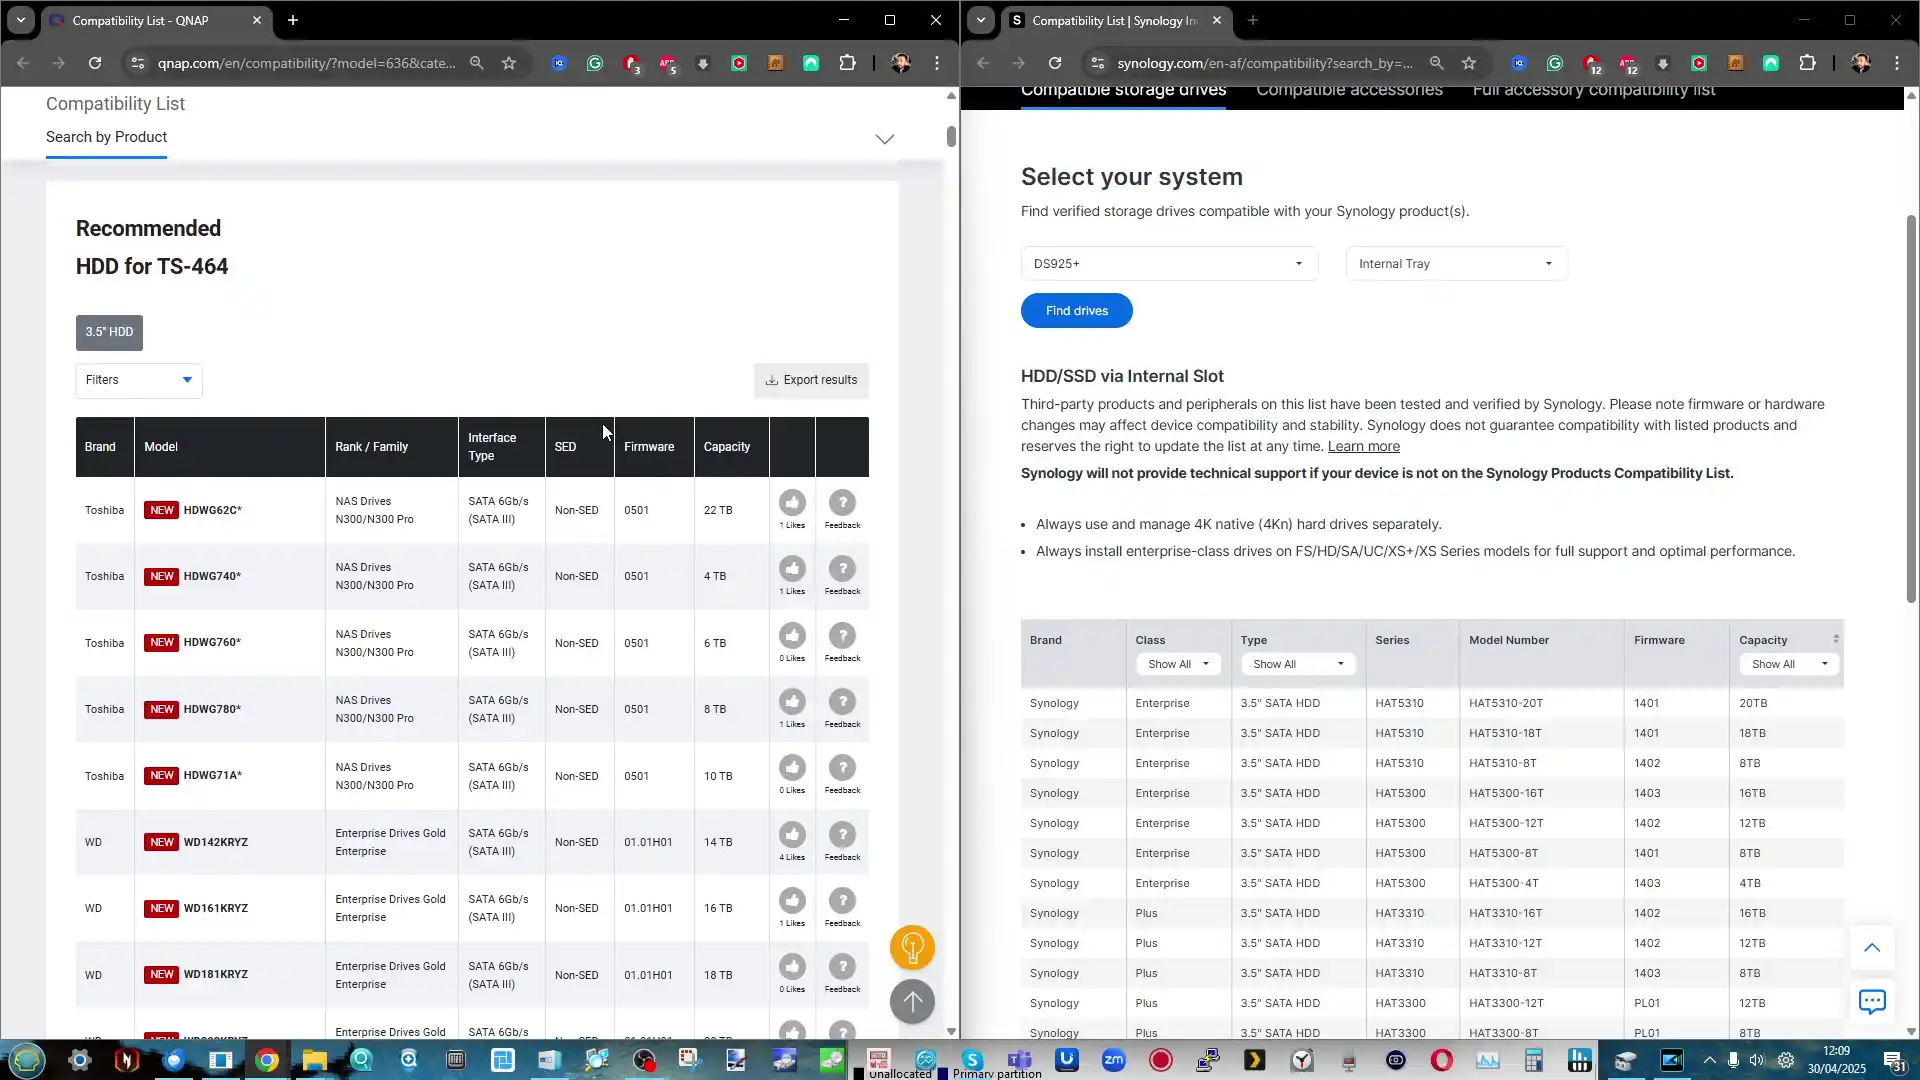
Synology DS925+ vs QNAP TS-464 – Hard Drive and SSD Compatibility
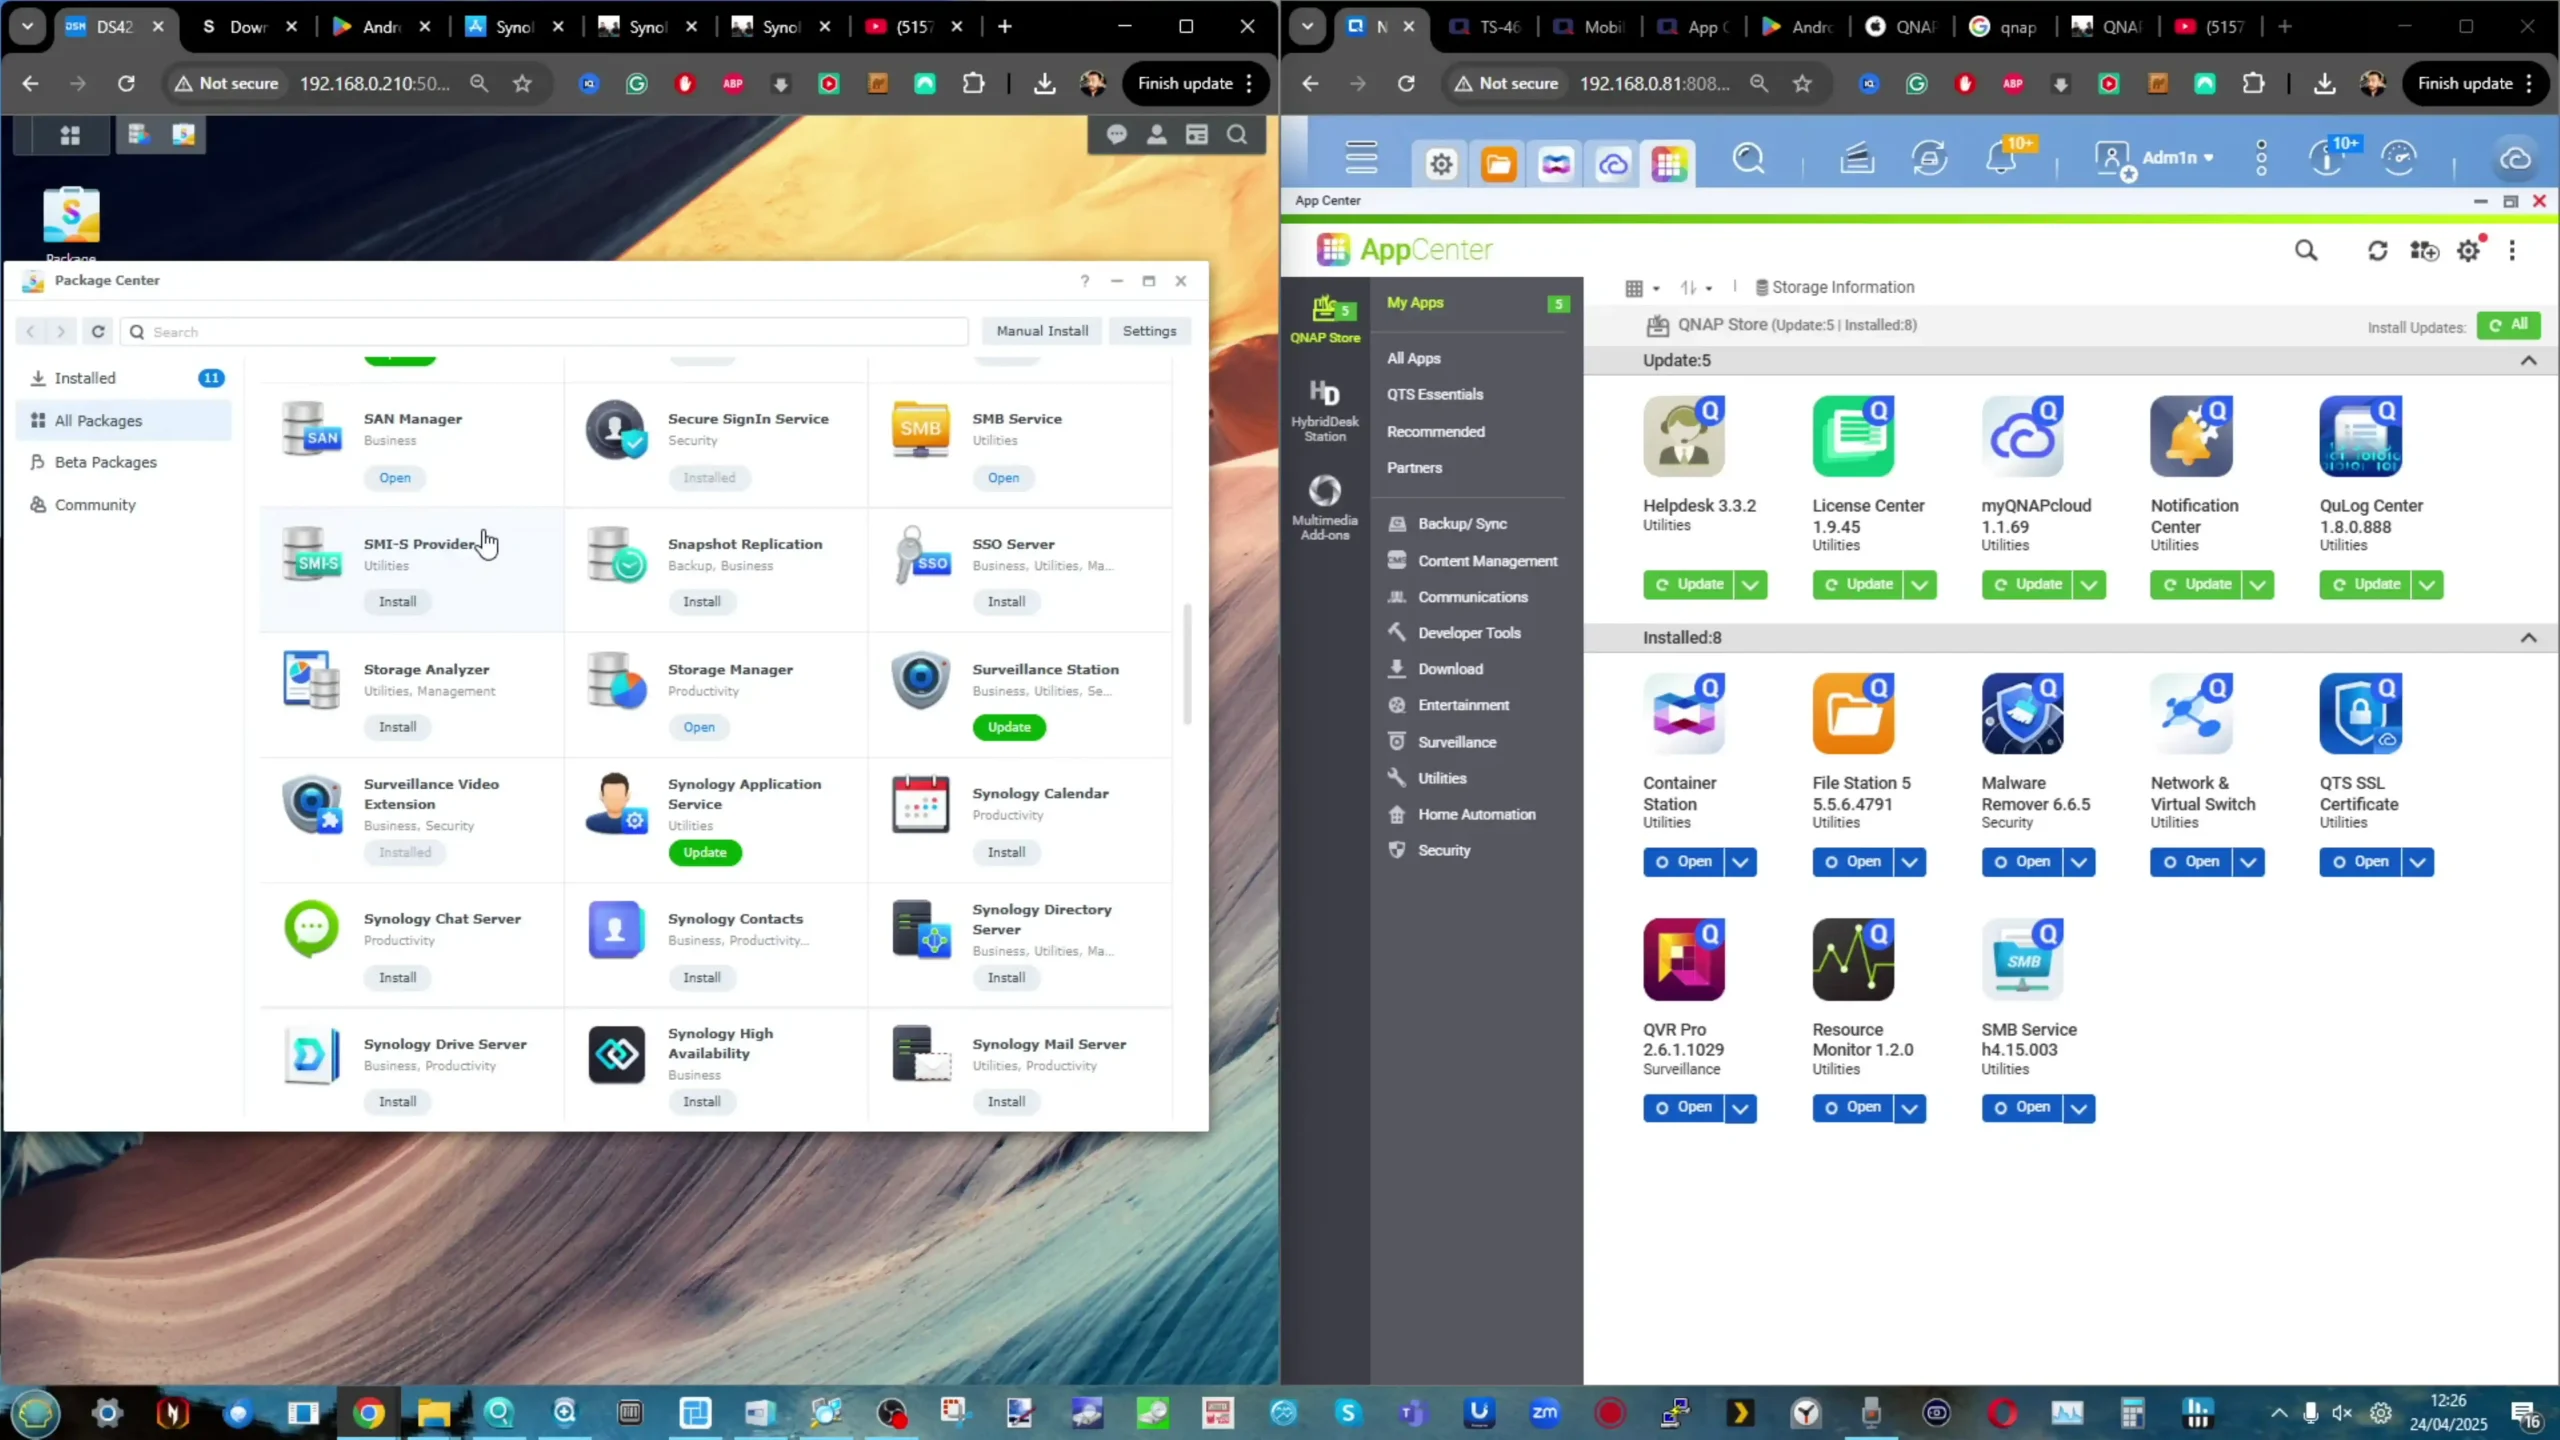
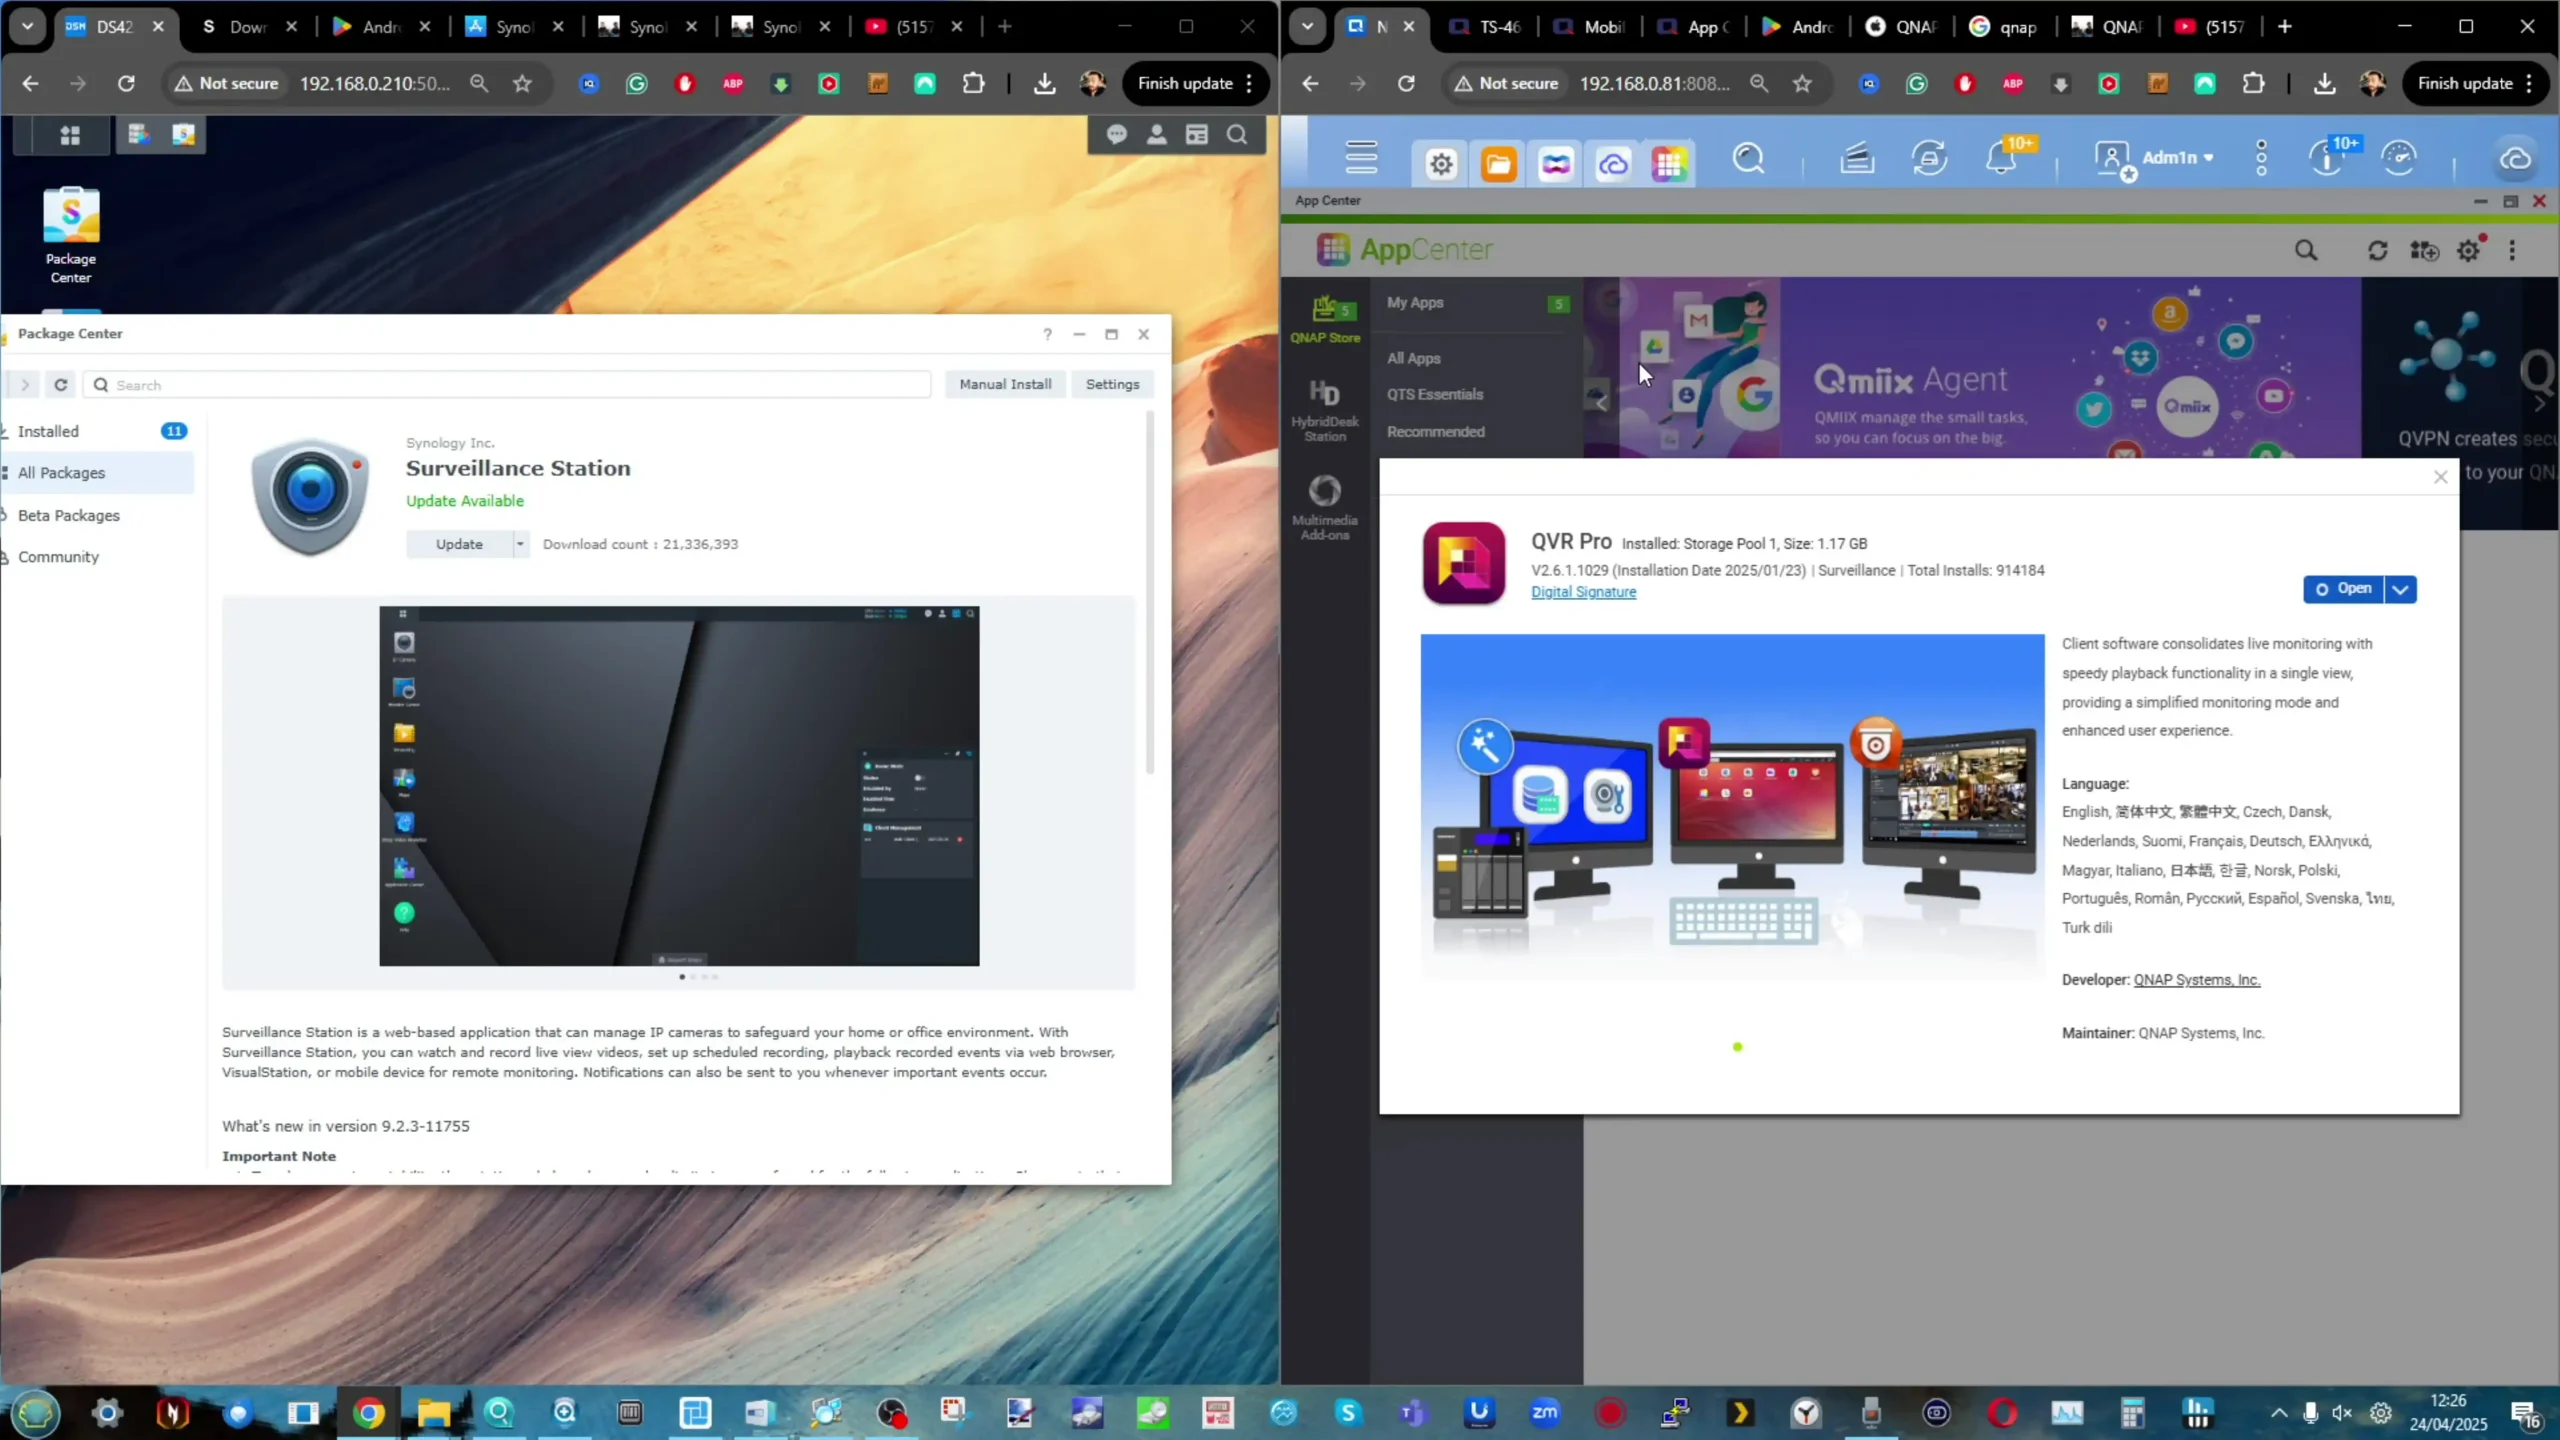
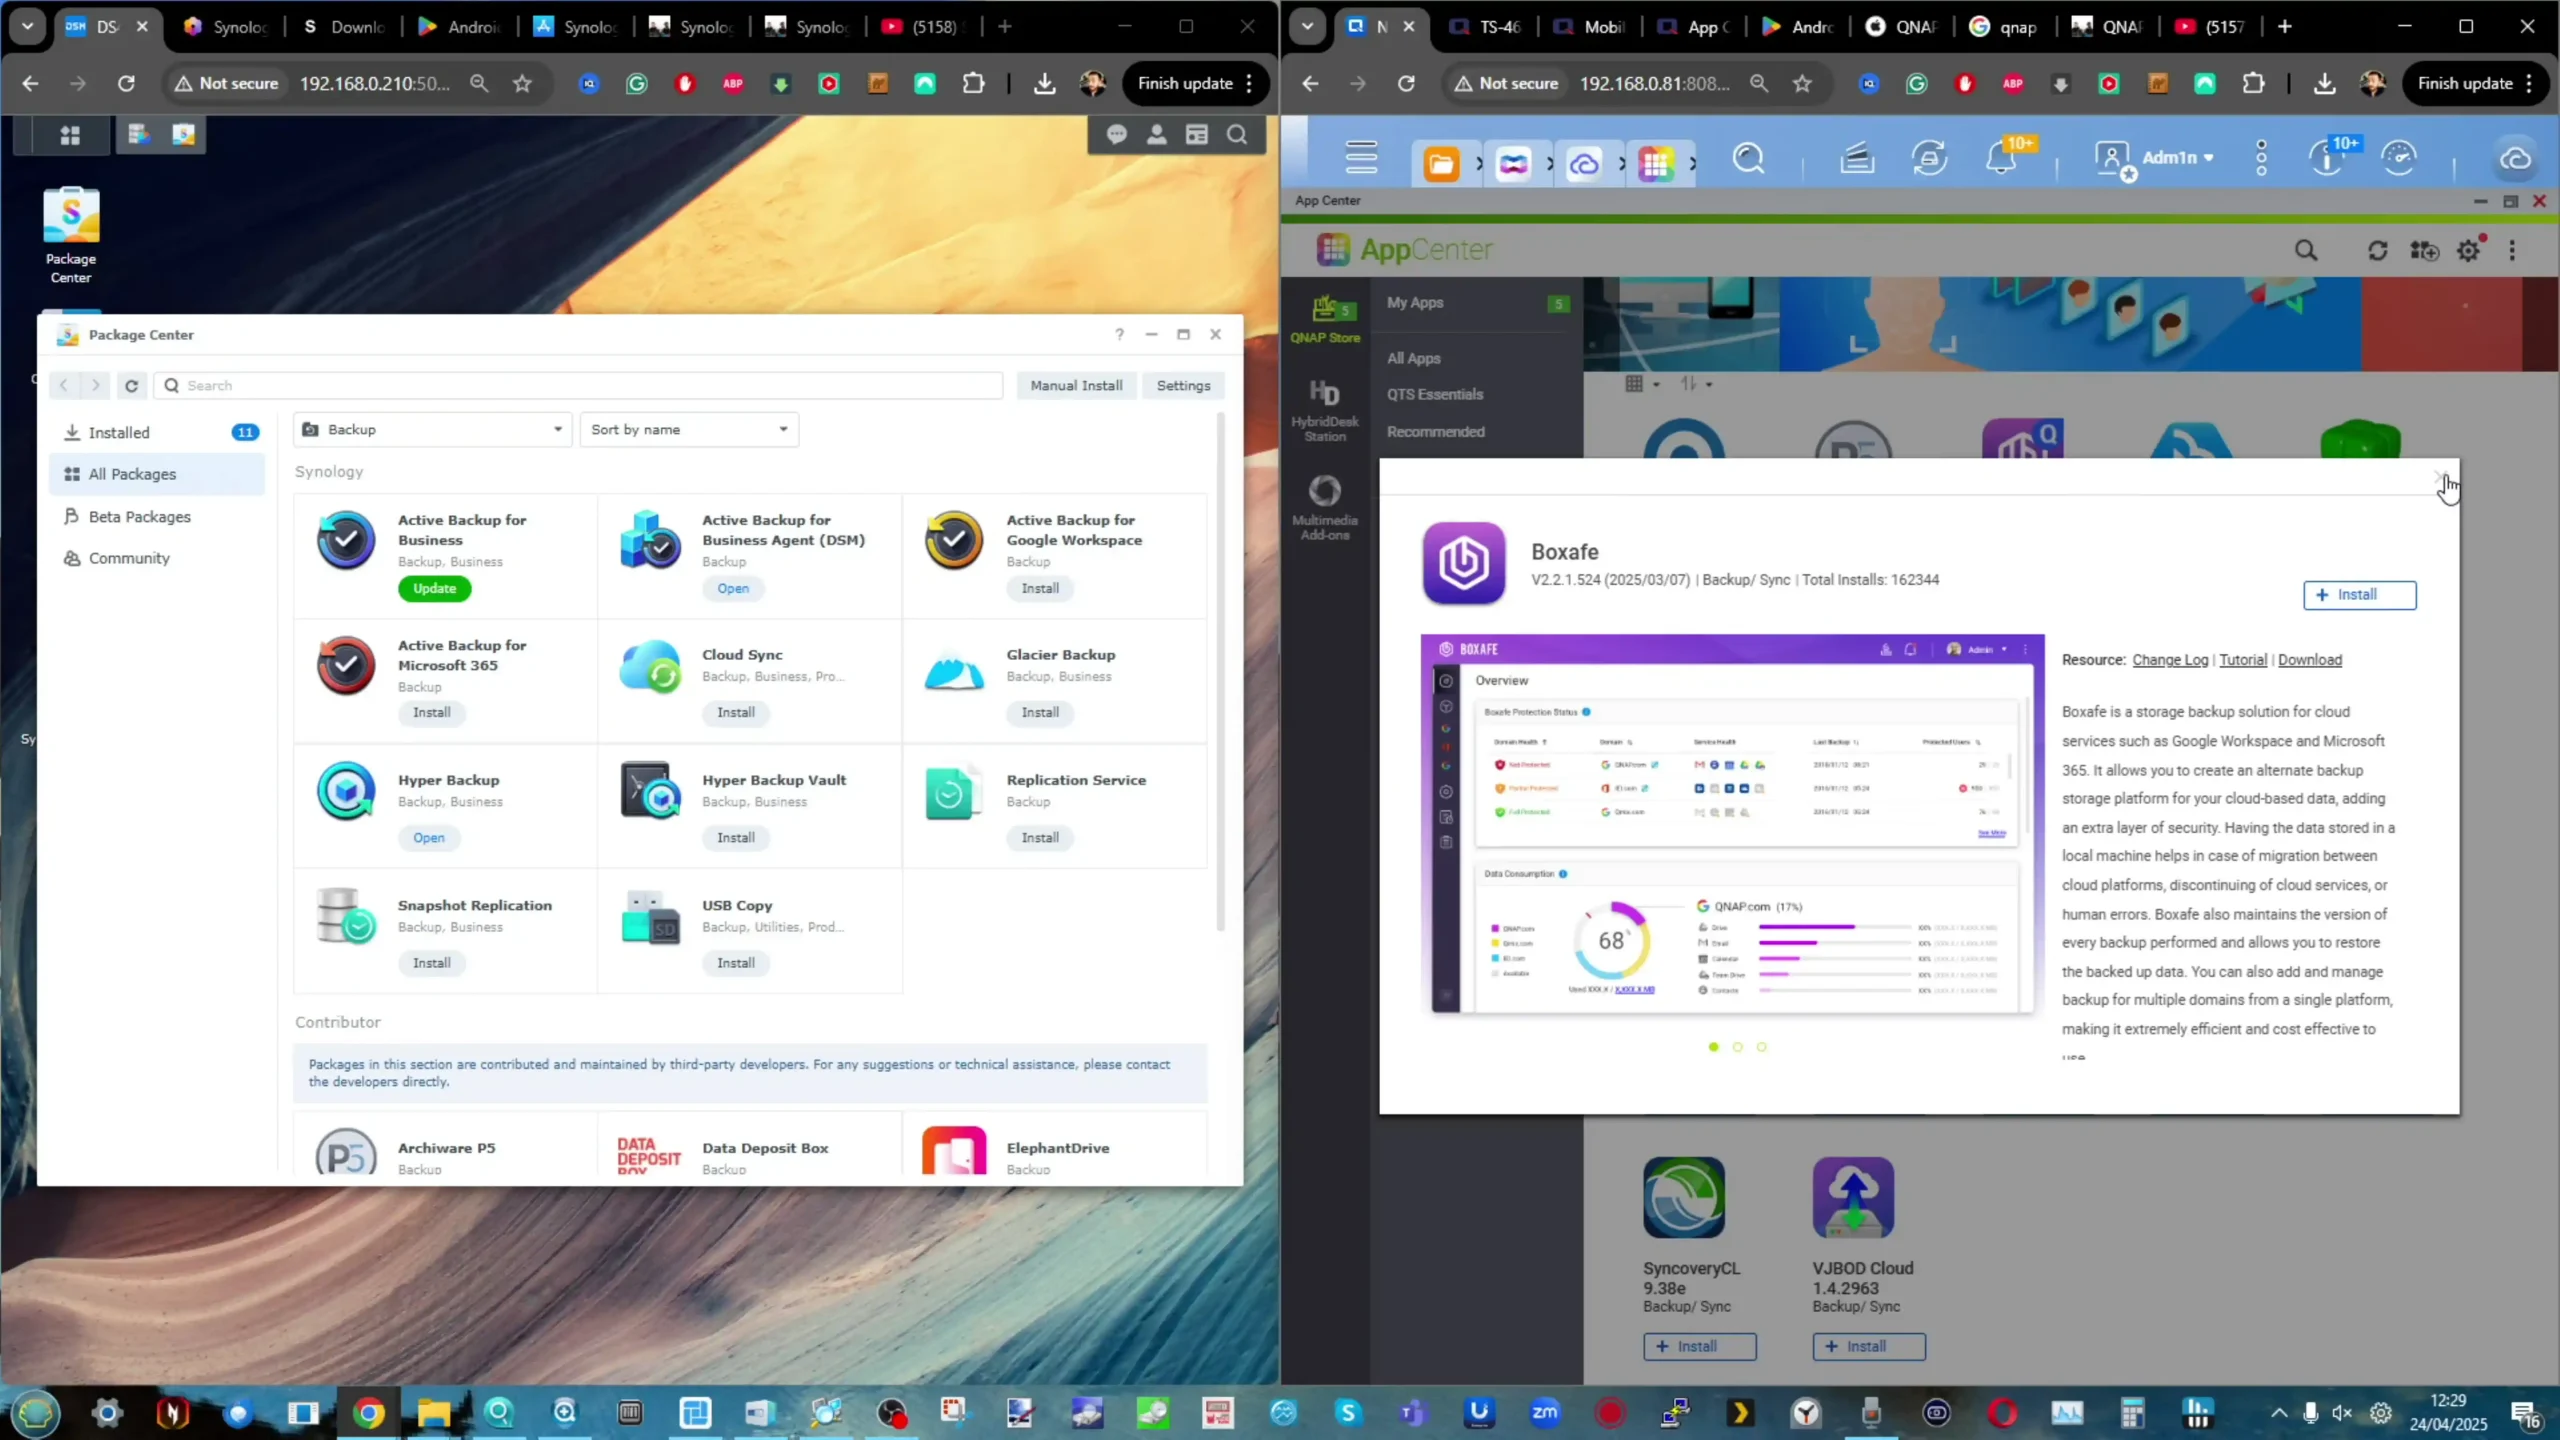
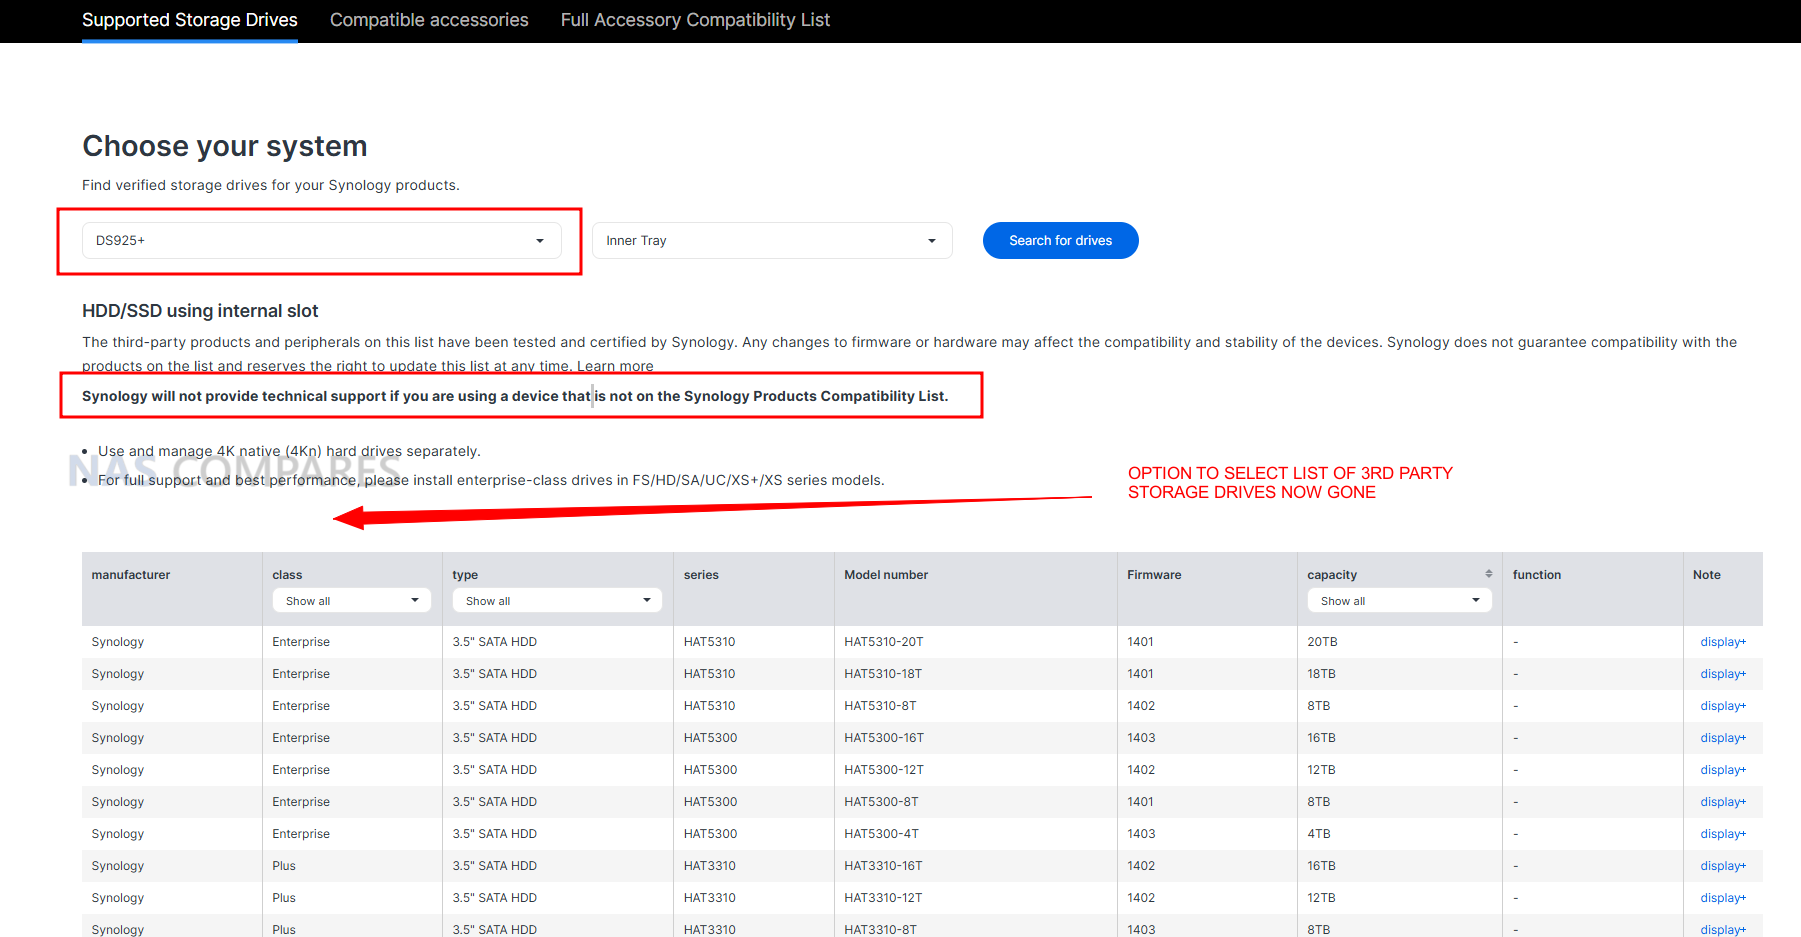
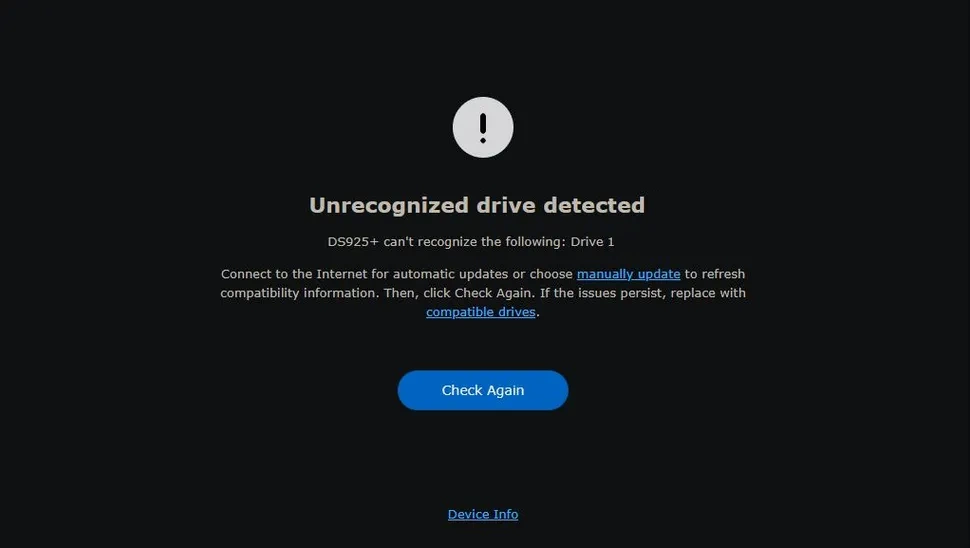
In 2025, Synology has taken its most aggressive step yet toward locking down hardware compatibility, and nowhere is this more evident than in the DS925+. Following years of gradual restrictions—starting with warnings for unverified drives and progressing to default white-listing only Synology-branded media—the DS925+ now represents a firm line in the sand. At the time of writing, this system will not allow DSM initialization if it detects hard drives or SSDs that are not officially listed on Synology’s compatibility list. This list includes exclusively Synology HAT5300/HAT3310 HDDs and SAT5200 SSDs, with no third-party Seagate, WD, Toshiba, Samsung, or Kingston media currently supported. Regardless of drive quality or performance, unsupported models will be outright blocked during system setup. While Synology claims this guarantees optimal reliability and performance within DSM 7.2, the move drastically reduces flexibility for users and integrators alike.
In stark contrast, the QNAP TS-464 embraces an open compatibility philosophy. It supports virtually all major consumer and enterprise drives—from Seagate IronWolf and Exos, to WD Red, Red Plus, and Ultrastar, as well as Toshiba N300/X300 and Samsung/Kingston SSDs—up to 24TB per drive (or higher as of late 2025). QNAP also maintains a regularly updated compatibility list, but crucially, this list is advisory rather than mandatory. Users can install any 3.5″ or 2.5″ SATA HDD/SSD, and as long as it meets the physical and electrical standards, the TS-464 will initialize without issue. This means integrators, home users, or small businesses can reuse existing drives or select from the most cost-effective options in their region—something that’s increasingly difficult to do on newer Synology units. Moreover, QNAP allows mixing and matching of drive brands and capacities within the same storage pool (especially under QuTS hero’s ZFS environment), giving users granular control over redundancy, performance tuning, and cache layering with non-proprietary M.2 NVMe SSDs. This openness also applies to QNAP expansion units, many of which continue to work even with completely mixed-brand storage configurations—something Synology’s newer expansion policies have started to restrict.
For users in regions where Synology-branded media is expensive, hard to find, or simply not justified for non-critical applications, this policy shift on the DS925+ can be a deal-breaker. It positions the system closer to an appliance model, where Synology controls not only the hardware and software, but the storage medium itself. While that vertical integration may improve long-term reliability for some enterprise users, it’s difficult to reconcile with the broader DIY NAS community that values choice and modularity. Ultimately, this creates a philosophical divide: QNAP remains open, modular, and adaptable, trusting users to make informed decisions about their storage media. Synology, in contrast, is consolidating control, with the DS925+ exemplifying a move toward a closed ecosystem—potentially alienating users who previously praised DSM for its balance of simplicity and flexibility. Prospective buyers need to weigh not just performance and features, but how tightly they want to be tied to a single vendor’s hardware roadmap.
Synology DS925+ vs QNAP TS-464 NAS – Which Should You Buy?
The Synology DS925+ is a 2025 refresh designed with clear intent: push performance, tighten control, and streamline the out-of-box experience. In contrast, the QNAP TS-464—released in late 2022—is a Swiss Army knife of NAS flexibility, packed with customization options, open compatibility, and enough horsepower to meet the needs of both power users and small business deployments. Choosing between them ultimately comes down to what kind of NAS experience you’re after: a controlled, polished, and tightly integrated environment, or an open, adaptable, and hardware-friendly platform. On raw performance, the DS925+ has the edge. Its quad-core, 8-thread AMD V1500B CPU delivers higher throughput for multitasking, virtual machines, and heavier concurrent services, and DSM’s user/service thresholds are notably higher as a result. Add in dual 2.5GbE ports by default, and it’s clearly a step ahead of the DS923+ predecessor 1GbE-only base configuration, and you are looking at a healthy upgrade in several ways in this refresh. However, QNAP claws back ground with its PCIe Gen3 x2 slot, allowing 10GbE upgrades, Wi-Fi cards, and even GPU acceleration in select use cases—something Synology removed entirely from the DS925+. In QNAP’s favor is also its support for real-time hardware transcoding, HDMI 2.0 video output, and direct-attached monitor access—making it a better fit for media-centric environments where local playback, Plex, or Kodi usage matters.
|
|

QNAP TS-464 NAS |
||
|
Check Amazon in Your Region for the Synology DS925+ NAS
|
Check B&H for the Synology DS925+ NAS
|
Check Amazon in Your Region for the QNAP TS-464 NAS
|
Check B&H for the QNAP TS-464 NAS
|

But perhaps the most significant dividing line is drive compatibility. The DS925+ will only initialize DSM with Synology-validated drives—locking out nearly all third-party HDDs and SSDs unless explicitly approved. This hardline stance means limited flexibility for users wanting to build using existing drives or regional market alternatives. Meanwhile, the TS-464 supports virtually all consumer and enterprise drives, from Seagate to Toshiba to Kingston, giving users total control over their storage budget and deployment roadmap. This open-ecosystem approach extends to M.2 NVMe usage too, where QNAP allows storage pool creation, caching, and tiering with off-the-shelf modules, while Synology restricts pool creation to only their branded NVMes. If you’re an IT administrator, content creator, or SMB looking for a polished, performance-forward NAS and you’re fully on board with Synology’s ecosystem—including its branded drives—then the DS925+ offers a streamlined, high-ceiling experience with excellent multitasking potential and cleaner UI/UX polish under DSM 7.2. But if you’re someone who values flexibility, upgrade paths, media support, or simply wants to control your storage choices without vendor lock-in, the QNAP TS-464 is an incredibly compelling alternative—offering strong performance for its price, an open architecture, and a deeper toolbox under QTS/QuTS Hero.
NAS Solutions |
NAS Solutions |
| + Better Software (In almost every respect!)
+ Much Better Global Support Presence + More business desirable + Larger Range of solutions – Compatibility restrictions on HDD and Upgrades More and more – Underwhelming hardware (comparatively) |
+ Better Hardware for Price
+ Wider Variety of Solutions and Hardware Profiles + Supports ZFS and/or EXT4 (with ZFS platform now available on latest Intel Celeron Systems) + Wide accessory range and compatibility – Software can often feel inconsistent – Hit by Security Issues if the past |
|
Check Amazon By Clicking Below:
|
Check Amazon By Clicking Below:
|
The Synology DS925+ is the better plug-and-play NAS for prosumers and SMBs who want a high-performance, low-maintenance experience—provided they’re comfortable buying into Synology’s tightly controlled ecosystem of software and storage hardware. On the other hand, the QNAP TS-464 remains the better choice for users who value flexibility, hardware freedom, and scalability—especially if media features, drive compatibility, or future upgrades are part of the plan. Ultimately, the DS925+ is the sharper tool, but the TS-464 is the more versatile one.
 SUBSCRIBE TO OUR NEWSLETTER
[contact-form-7]
 Join Inner Circle
 Get an alert every time something gets added to this specific article!
Subscribe
This description contains links to Amazon. These links will take you to some of the products mentioned in today's content. As an Amazon Associate, I earn from qualifying purchases. Visit the NASCompares Deal Finder to find the best place to buy this device in your region, based on Service, Support and Reputation - Just Search for your NAS Drive in the Box Below
Need Advice on Data Storage from an Expert?
Finally, for free advice about your setup, just leave a message in the comments below here at NASCompares.com and we will get back to you. Need Help?
Where possible (and where appropriate) please provide as much information about your requirements, as then I can arrange the best answer and solution to your needs. Do not worry about your e-mail address being required, it will NOT be used in a mailing list and will NOT be used in any way other than to respond to your enquiry.
[contact-form-7]
Need Help?
Where possible (and where appropriate) please provide as much information about your requirements, as then I can arrange the best answer and solution to your needs. Do not worry about your e-mail address being required, it will NOT be used in a mailing list and will NOT be used in any way other than to respond to your enquiry.
[contact-form-7]
 Ko-fi or old school Paypal. Thanks!To find out more about how to support this advice service check HEREIf you need to fix or configure a NAS, check Fiver
Have you thought about helping others with your knowledge? Find Instructions Here
Ko-fi or old school Paypal. Thanks!To find out more about how to support this advice service check HEREIf you need to fix or configure a NAS, check Fiver
Have you thought about helping others with your knowledge? Find Instructions Here


|
 |


 Not supported
 Allows Unraid, TrueNAS without voiding warranty


 Hybrid storage: 5x HDD + 6x M.2 NVMe SSD (flexible ZFS configurations)
 No ECC memory support