UGREEN DH4300 PLUS vs UniFi UNAS 4 – Which Should You Buy?
UGREEN DH4300 PLUS vs UniFi UNAS 4 – Which Should You Buy?
The UniFi UNAS 4 and the UGREEN DH4300 Plus are being compared because they currently occupy a very similar part of the 4-bay NAS market, with both systems targeting buyers who want a relatively affordable turnkey storage solution with 2.5GbE connectivity, modern desktop design, and a lower entry price than many traditional NAS brands. On paper, they are close enough in price to be direct alternatives, but in practice they approach NAS deployment very differently. The UniFi UNAS 4 is built around tight integration with the wider UniFi ecosystem and focuses primarily on straightforward storage, backup, and remote file access, whereas the UGREEN DH4300 Plus is designed as a broader standalone NAS platform with more memory, a more powerful ARM processor, HDMI output, and a wider range of applications and services. That makes this comparison relevant not just because of the hardware and price overlap, but because each system reflects a different idea of what an entry to mid-range 4-bay NAS should be in 2026.
 |
 |
UniFi vs UGREEN NAS – Brand vs Brand
Before I dig into which of the DH4300 or UNAS 4 is best for you, it is worth highlighting again that these are two comparatively new players in the NAS scene (compared with long time multi-decade vetrans such as Synology, QNAP, Asustor and Terramaster), so let’s talk about their priorities and focus at a brand level. Both UGREEN and UniFi have entered the NAS sector from distinct starting points and continue to move in different directions, each targeting a particular type of user. UniFi’s UNAS series delivers consistency, predictable performance, and dependable integration with the broader UniFi ecosystem. Its software is stable, lightweight, and well-suited to users who prioritize straightforward storage management, reliable data handling, and unified control across routers, switches, and surveillance systems. While the hardware is limited to fixed ARM configurations and non-expandable memory, it is efficient, quiet, and designed for continuous operation with minimal maintenance. For organizations already invested in UniFi infrastructure, the UNAS systems provide a logical expansion that keeps management centralized and operational risk low. However, their value depends heavily on ecosystem synergy; outside of that environment, the systems remain competent but relatively inflexible standalone NAS options.
 |
 |
UGREEN’s NASync platform, on the other hand, appeals to users seeking broader performance capability and independence. Its x86-based models, upgradable memory, and open software environment allow it to serve as a hybrid between NAS and compact server, capable of running applications, containers, and virtual machines alongside storage tasks. The design language is more suited to individual or small business use than datacenter deployment, but the hardware range—from ARM to Core i5—covers a far wider performance spectrum than UniFi’s. Software maturity continues to evolve quickly, with new features added frequently, and the systems provide extensive compatibility with third-party clients and backup services. The trade-off is that long-term reliability and enterprise-level security validation are still developing.
 |
 |
Ultimately, UniFi NAS suits users who already rely on UniFi’s networking ecosystem and value simplicity, predictability, and centralized management, while UGREEN NAS caters to those prioritizing flexibility, compute power, and open software capability. Both brands have lowered the entry barrier into reliable NAS ownership, but they embody opposing philosophies: UniFi focuses on integration and control, whereas UGREEN emphasizes capability and independence.
| Why Buy UniFi NAS?
|
Why Buy UGREEN NAS?
|
|
|
Want to support us NASCompares? Use the links/buttons below, and anything you purchase results in a small commission coming to me and Eddie @NASCompares. It really is just the two of us doing everything, and purchasing things via these links will allow you to passively support creators like us (as well as allow us to keep making videos, providing support, running the forum, making tutorials and more) at no extra cost to yourself!
 |
 |
 |
UGREEN DH4300 vs UniFi UNAS 4 – Design and Storage
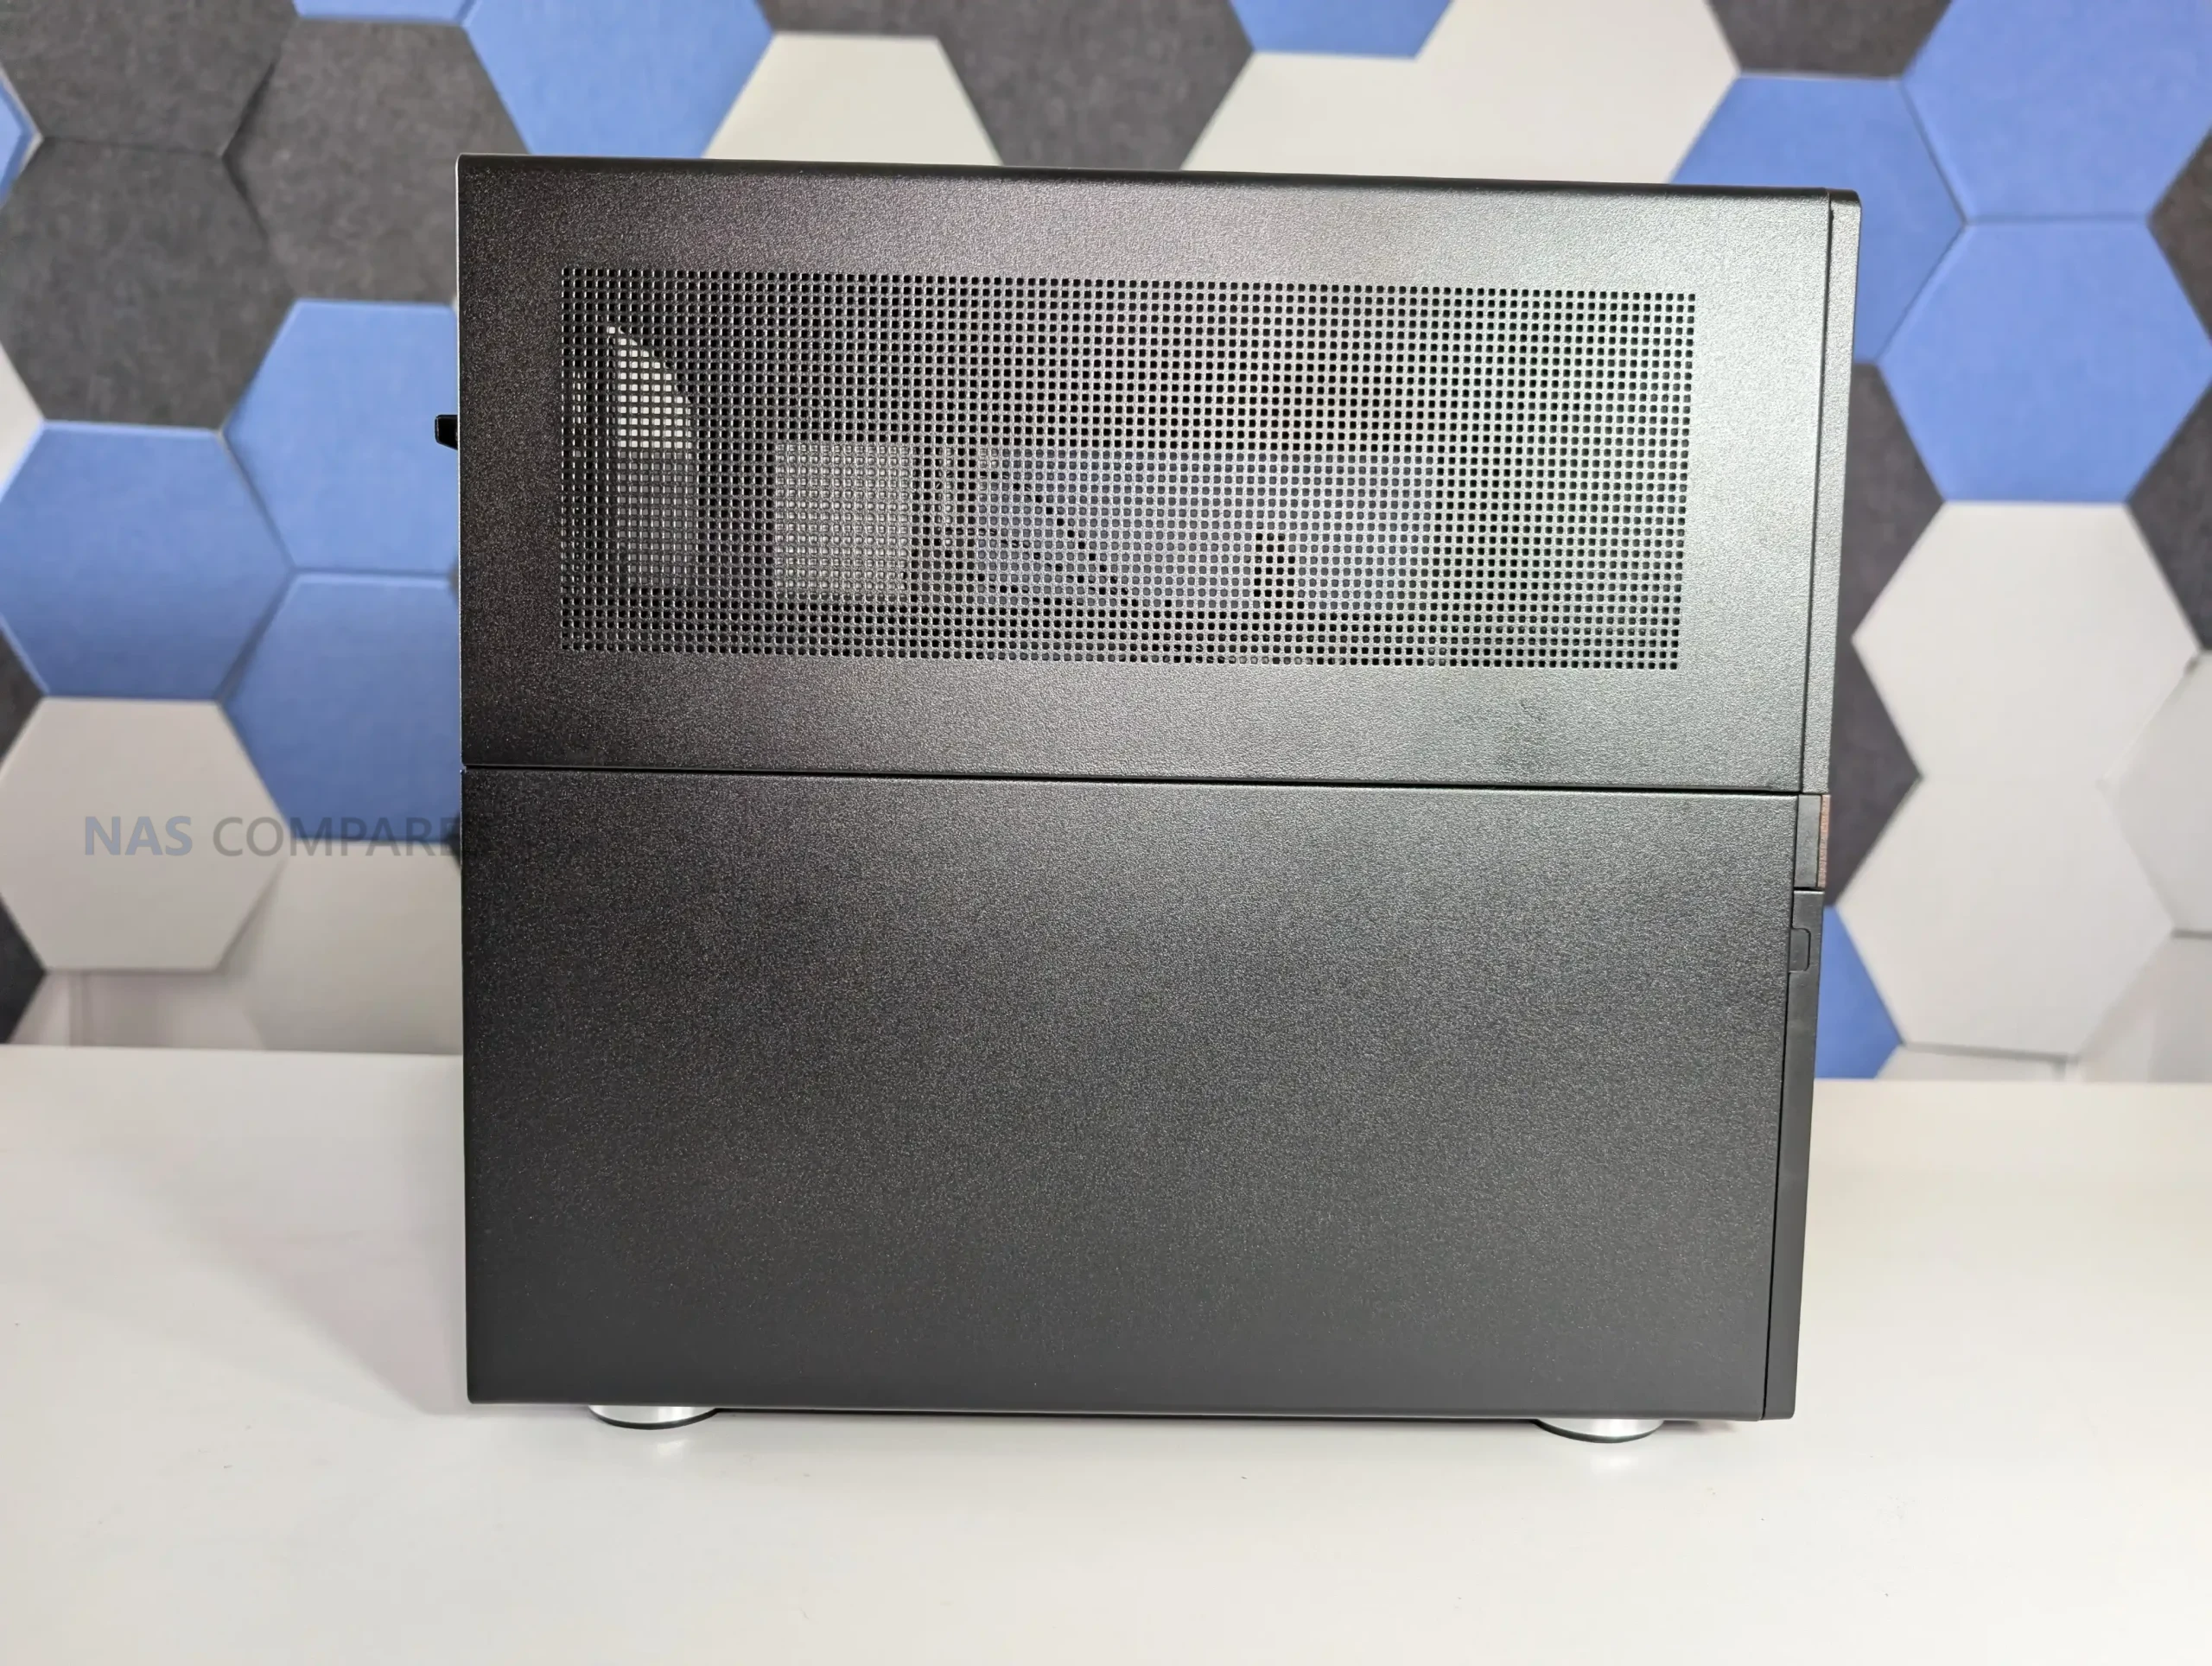
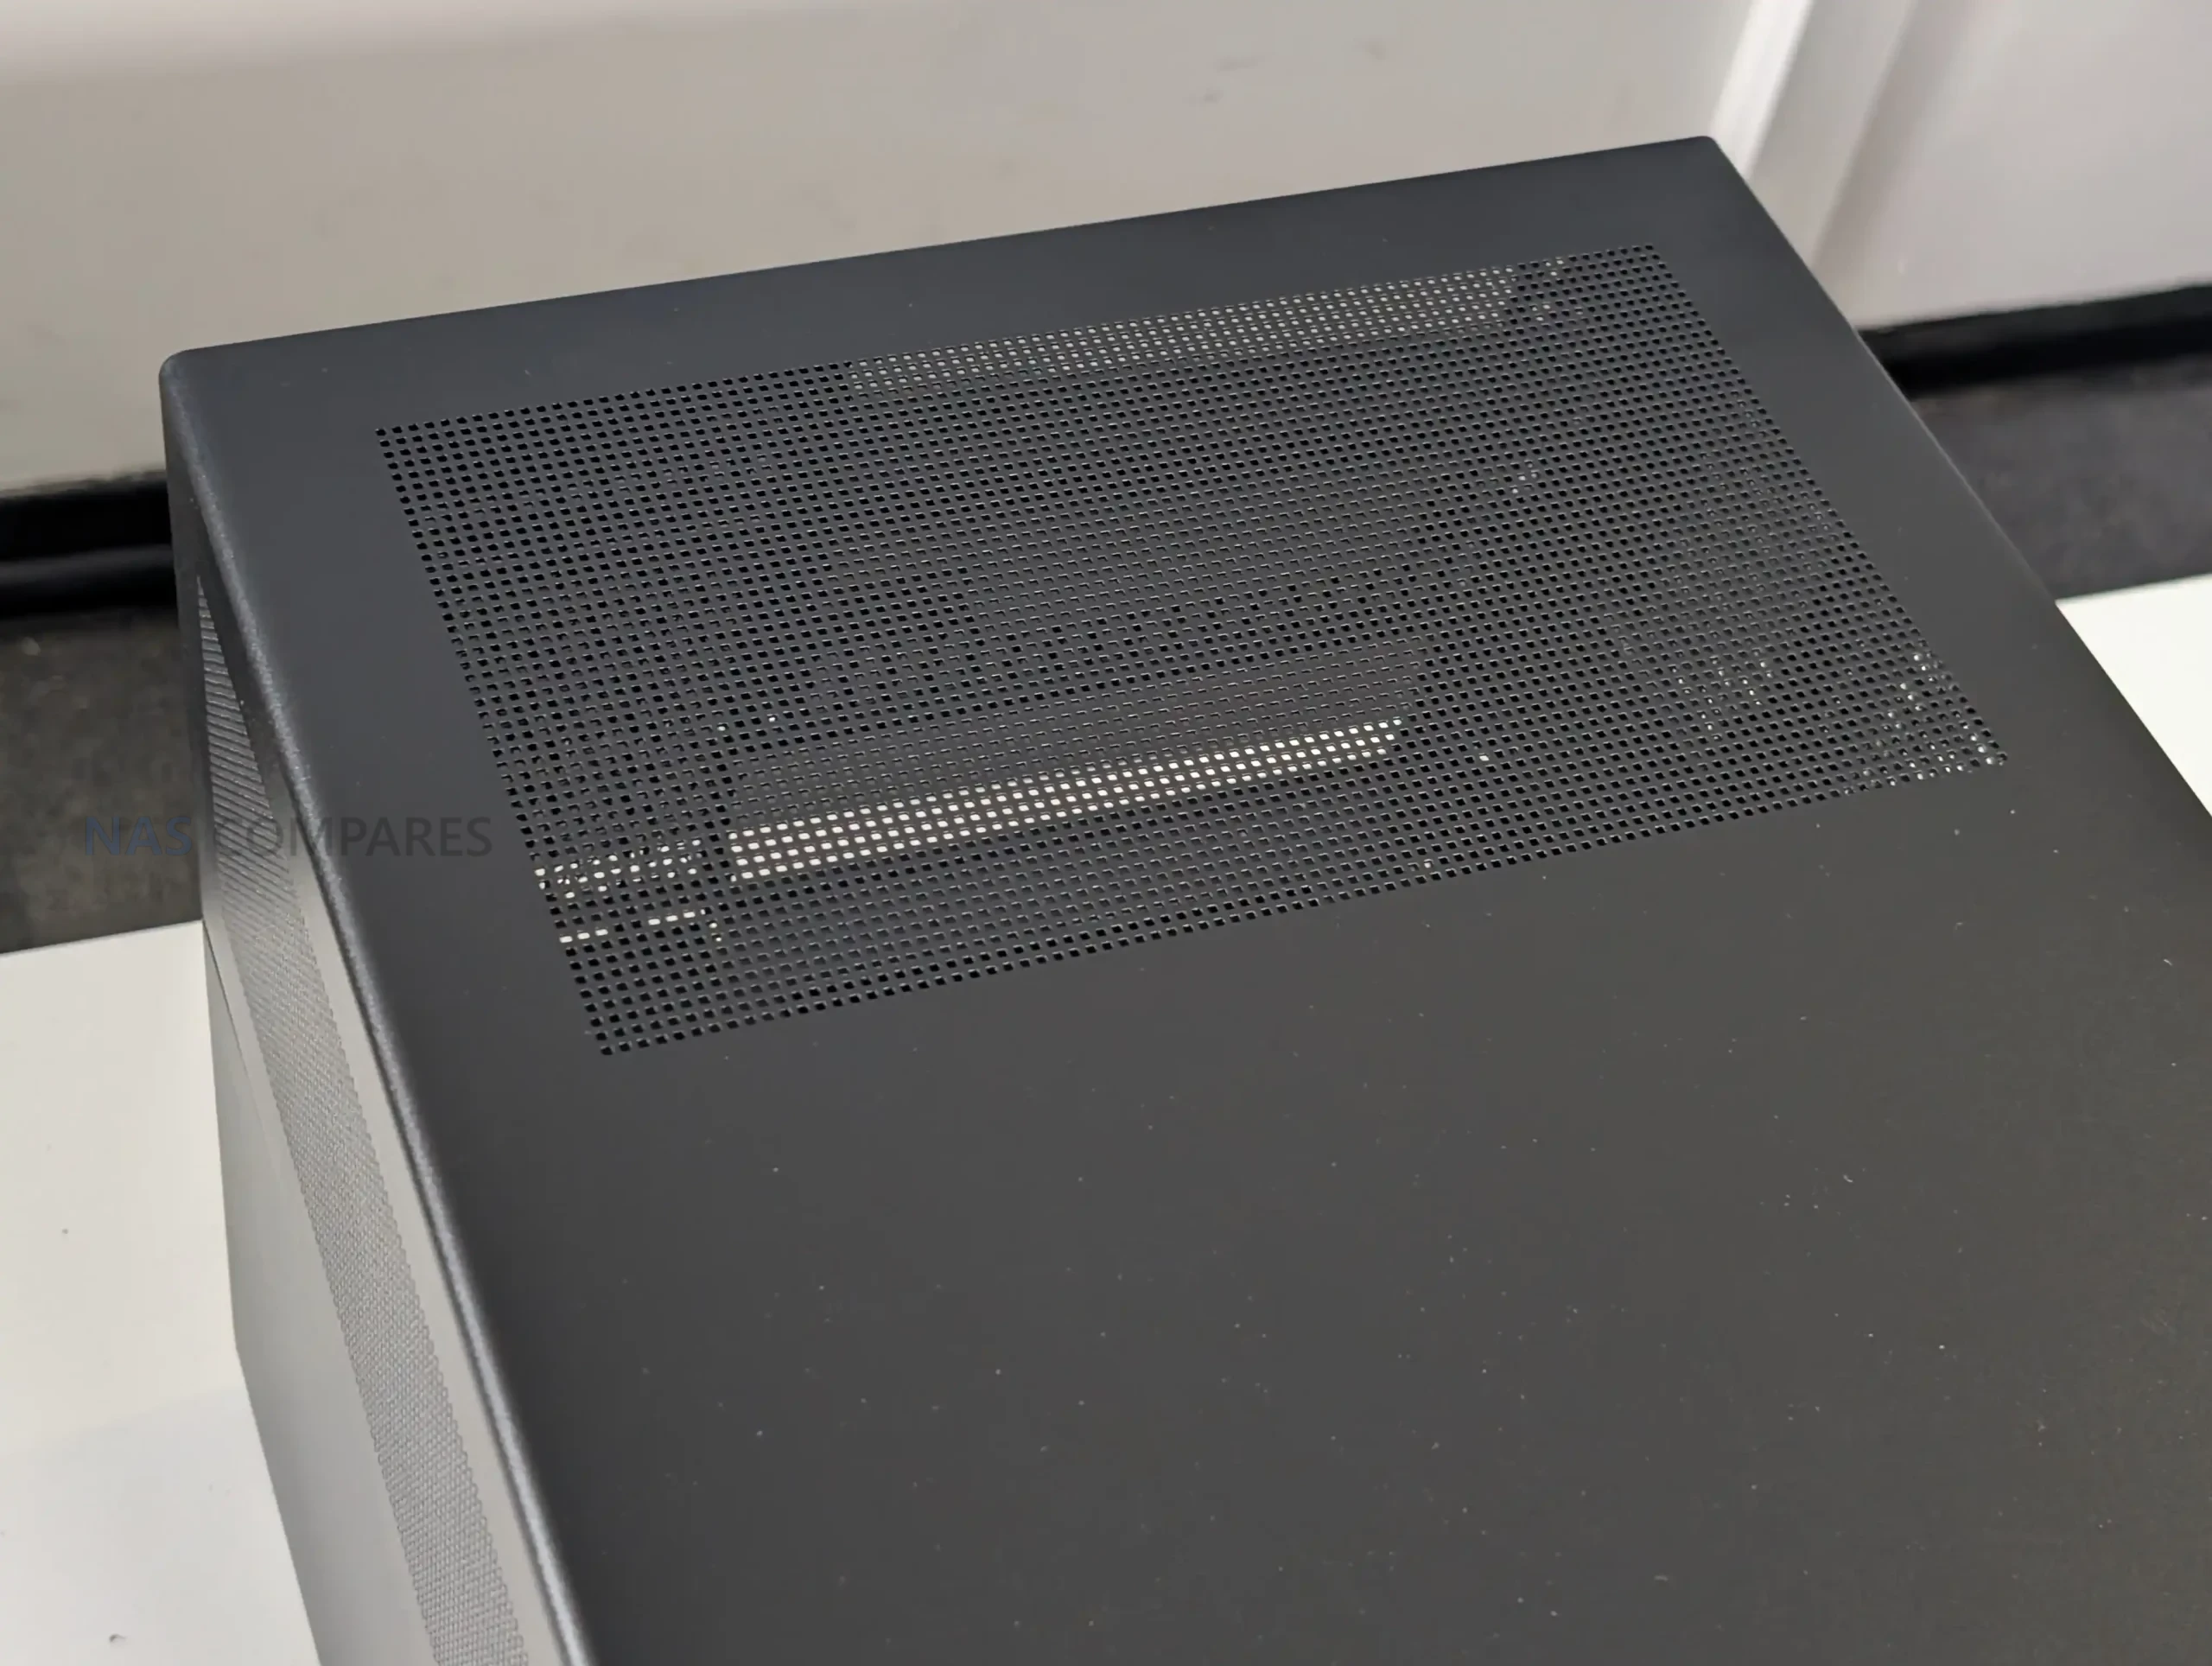
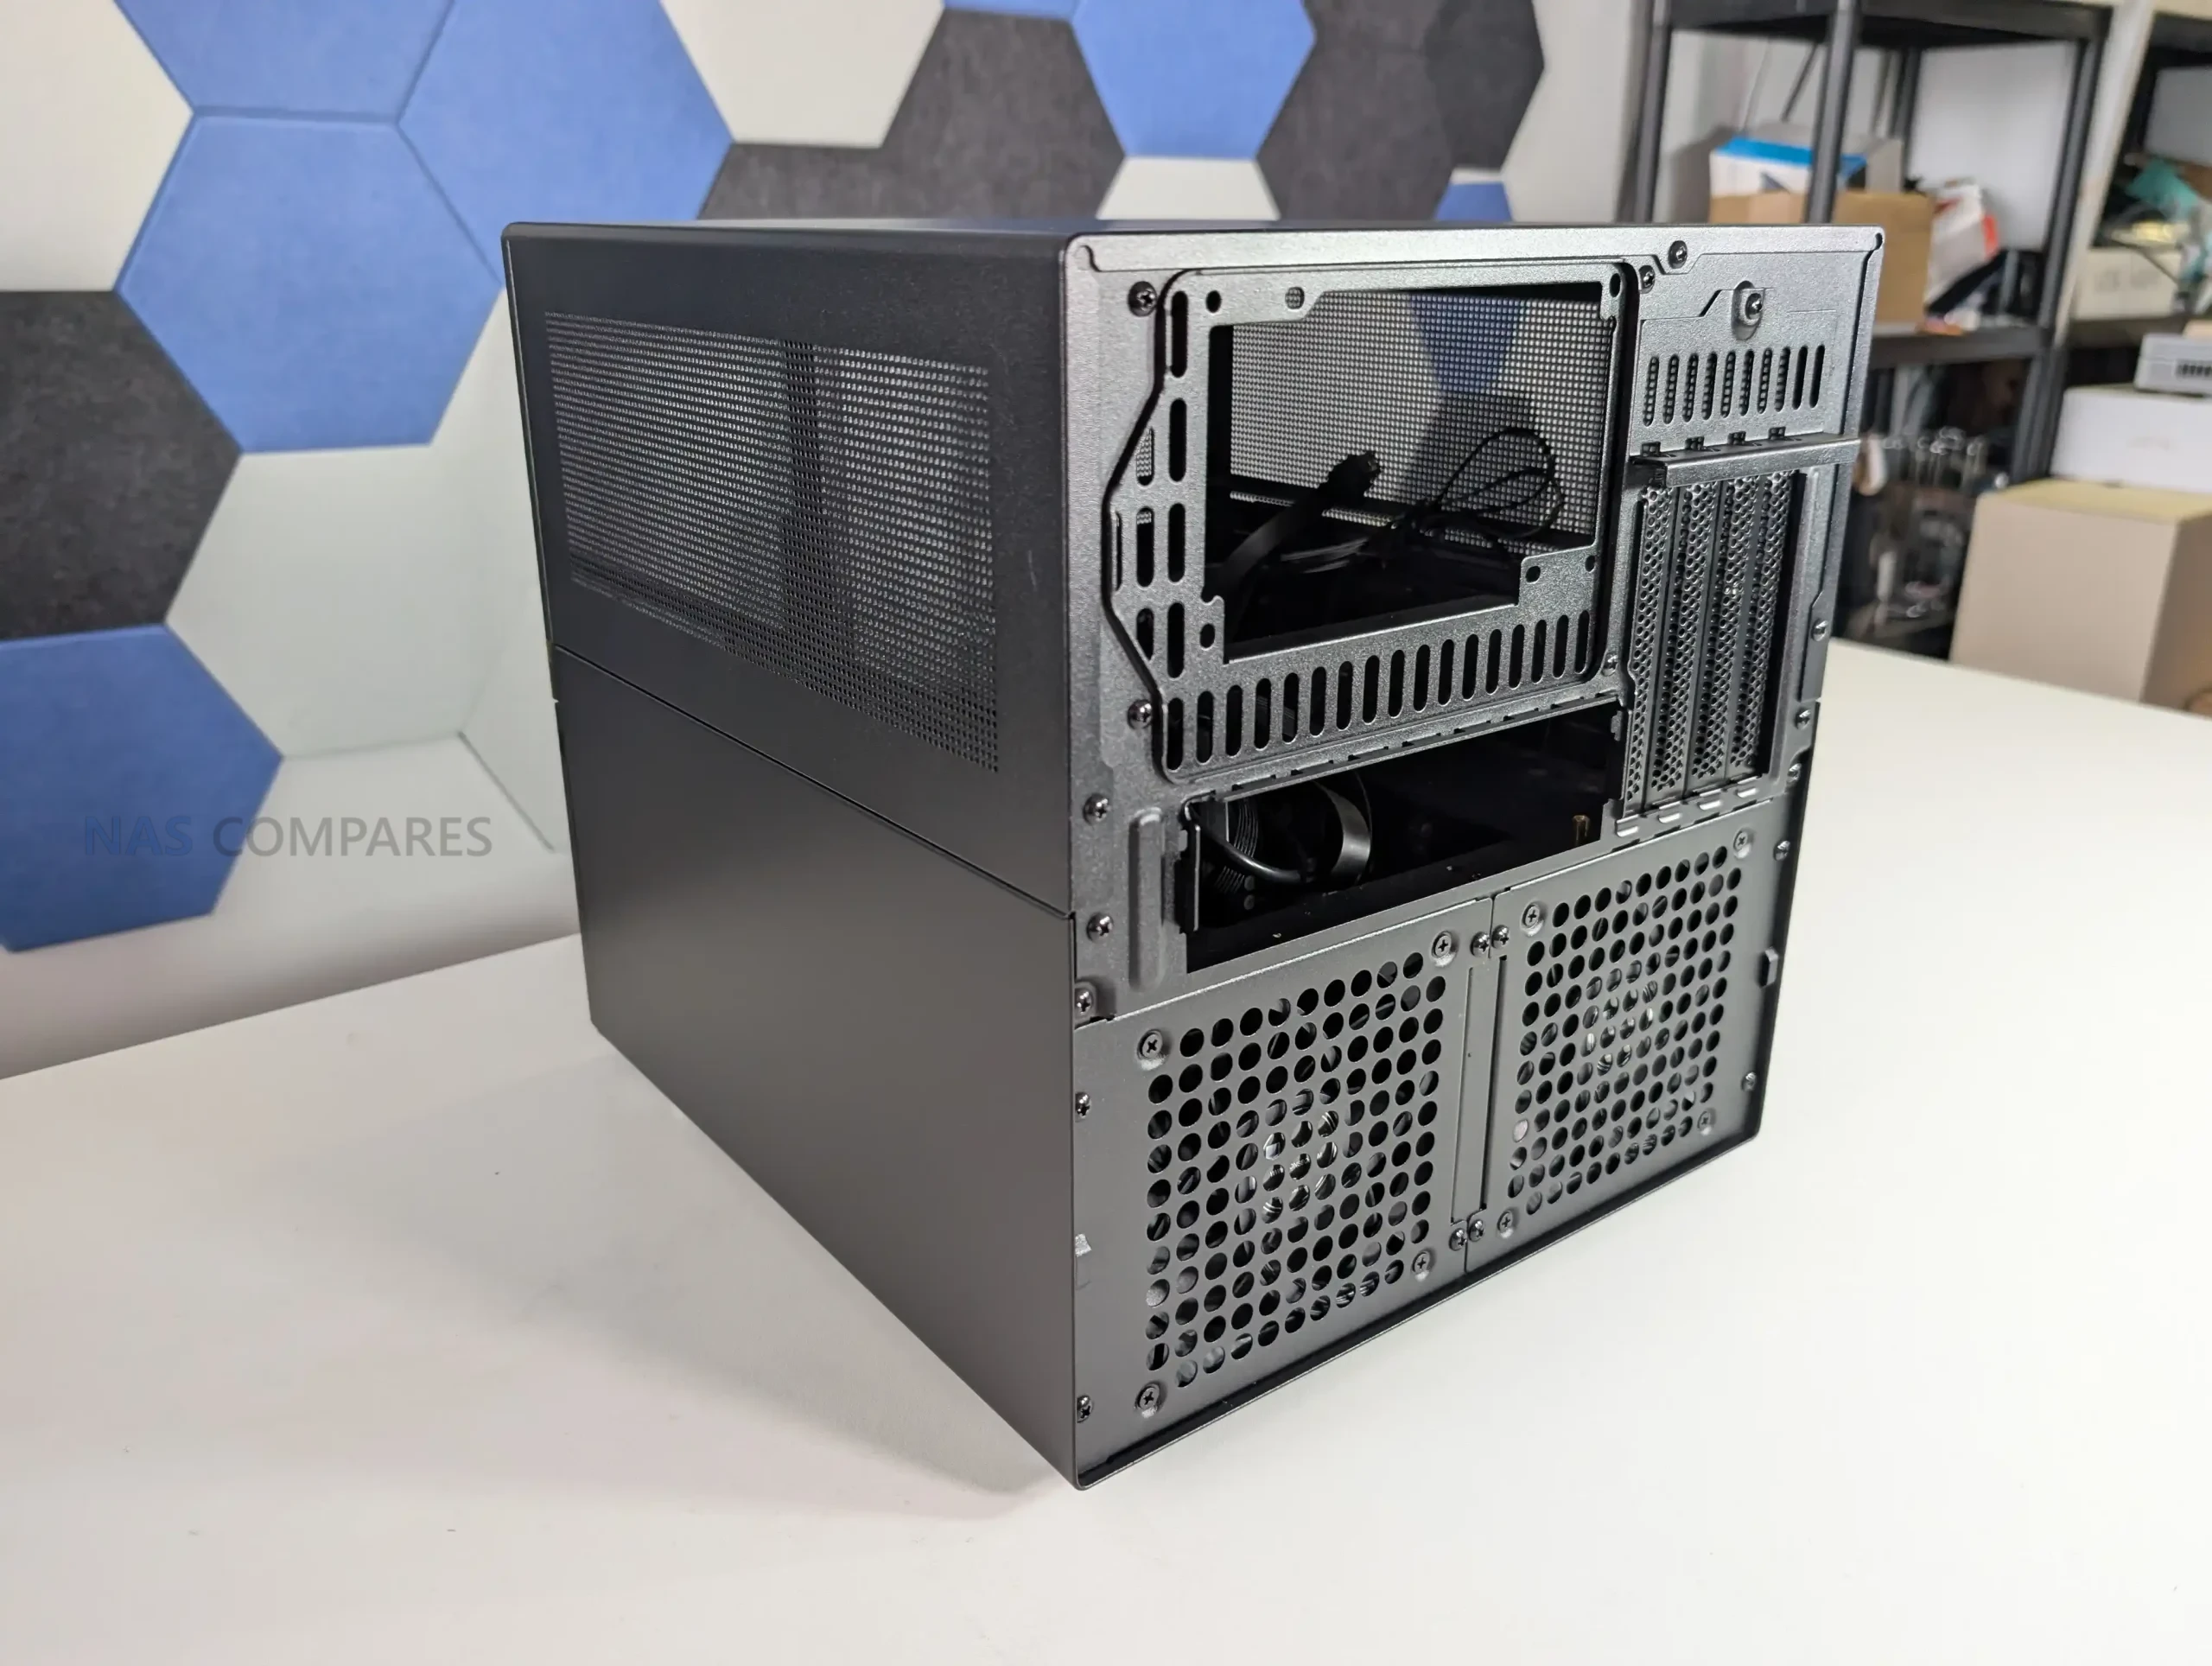
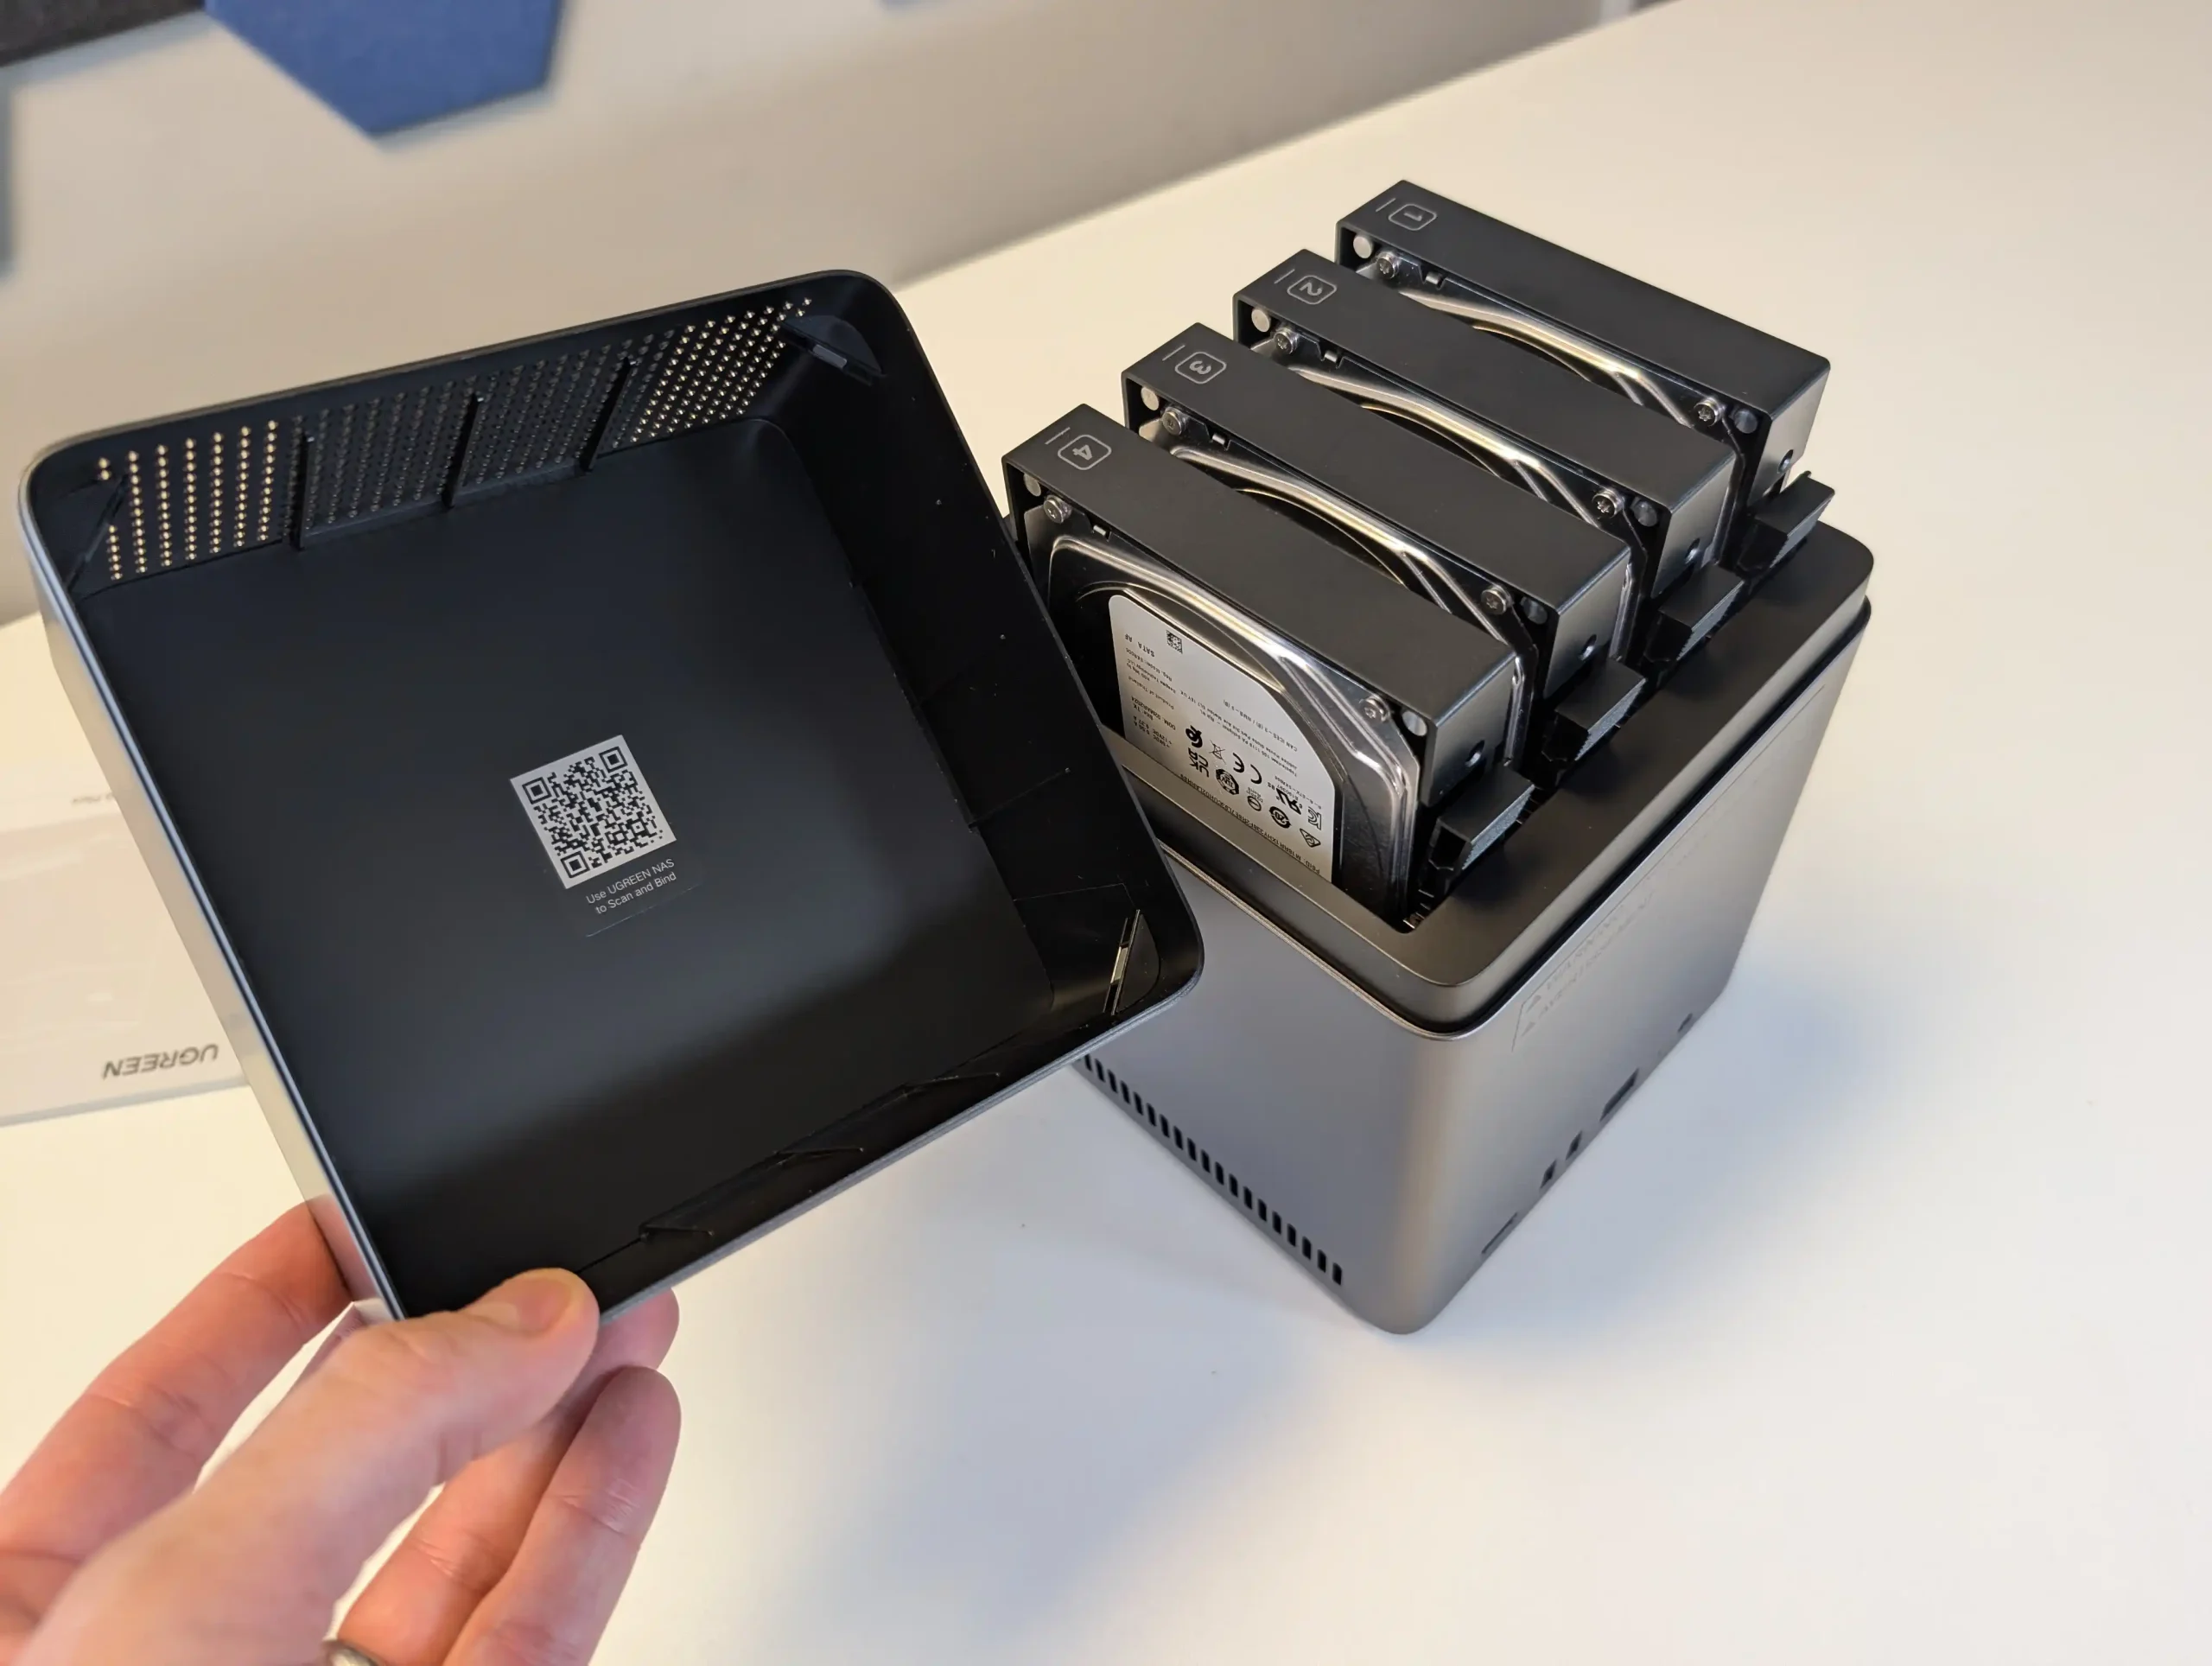
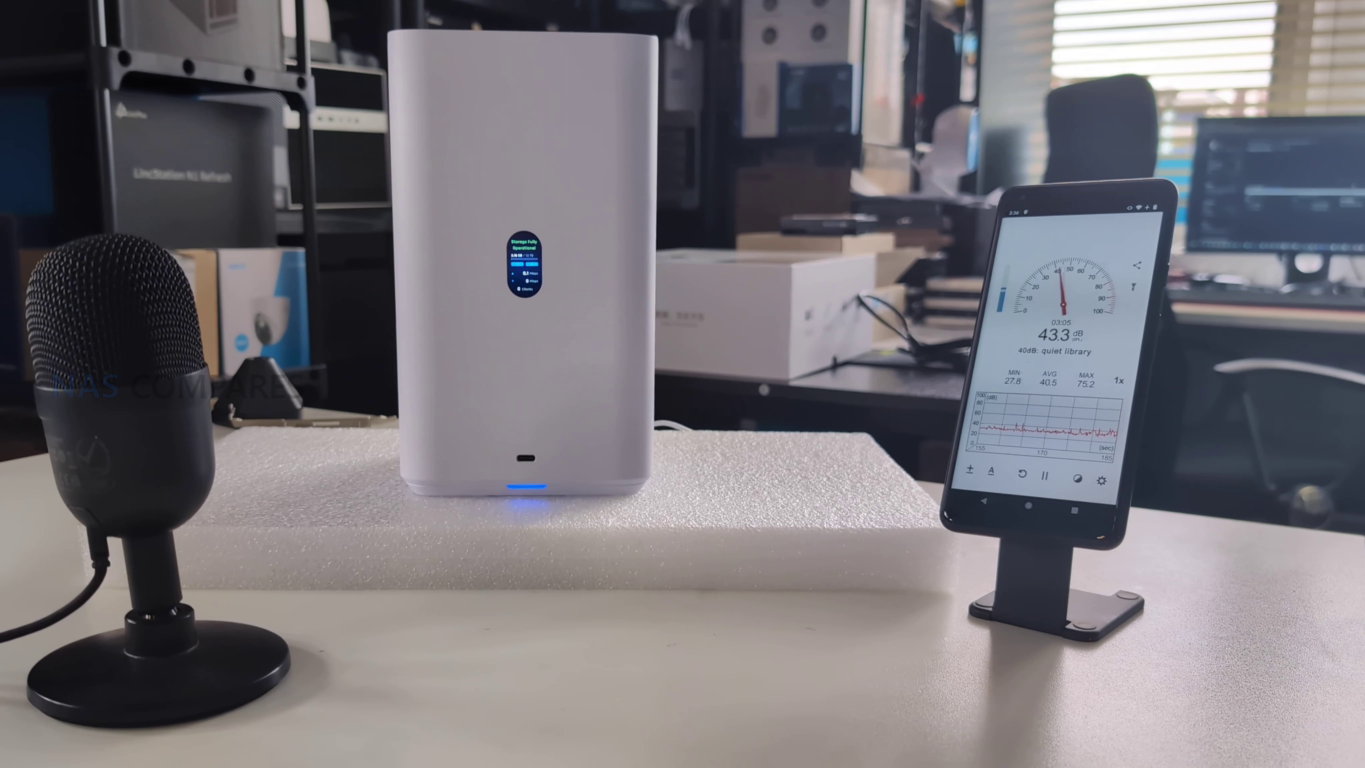
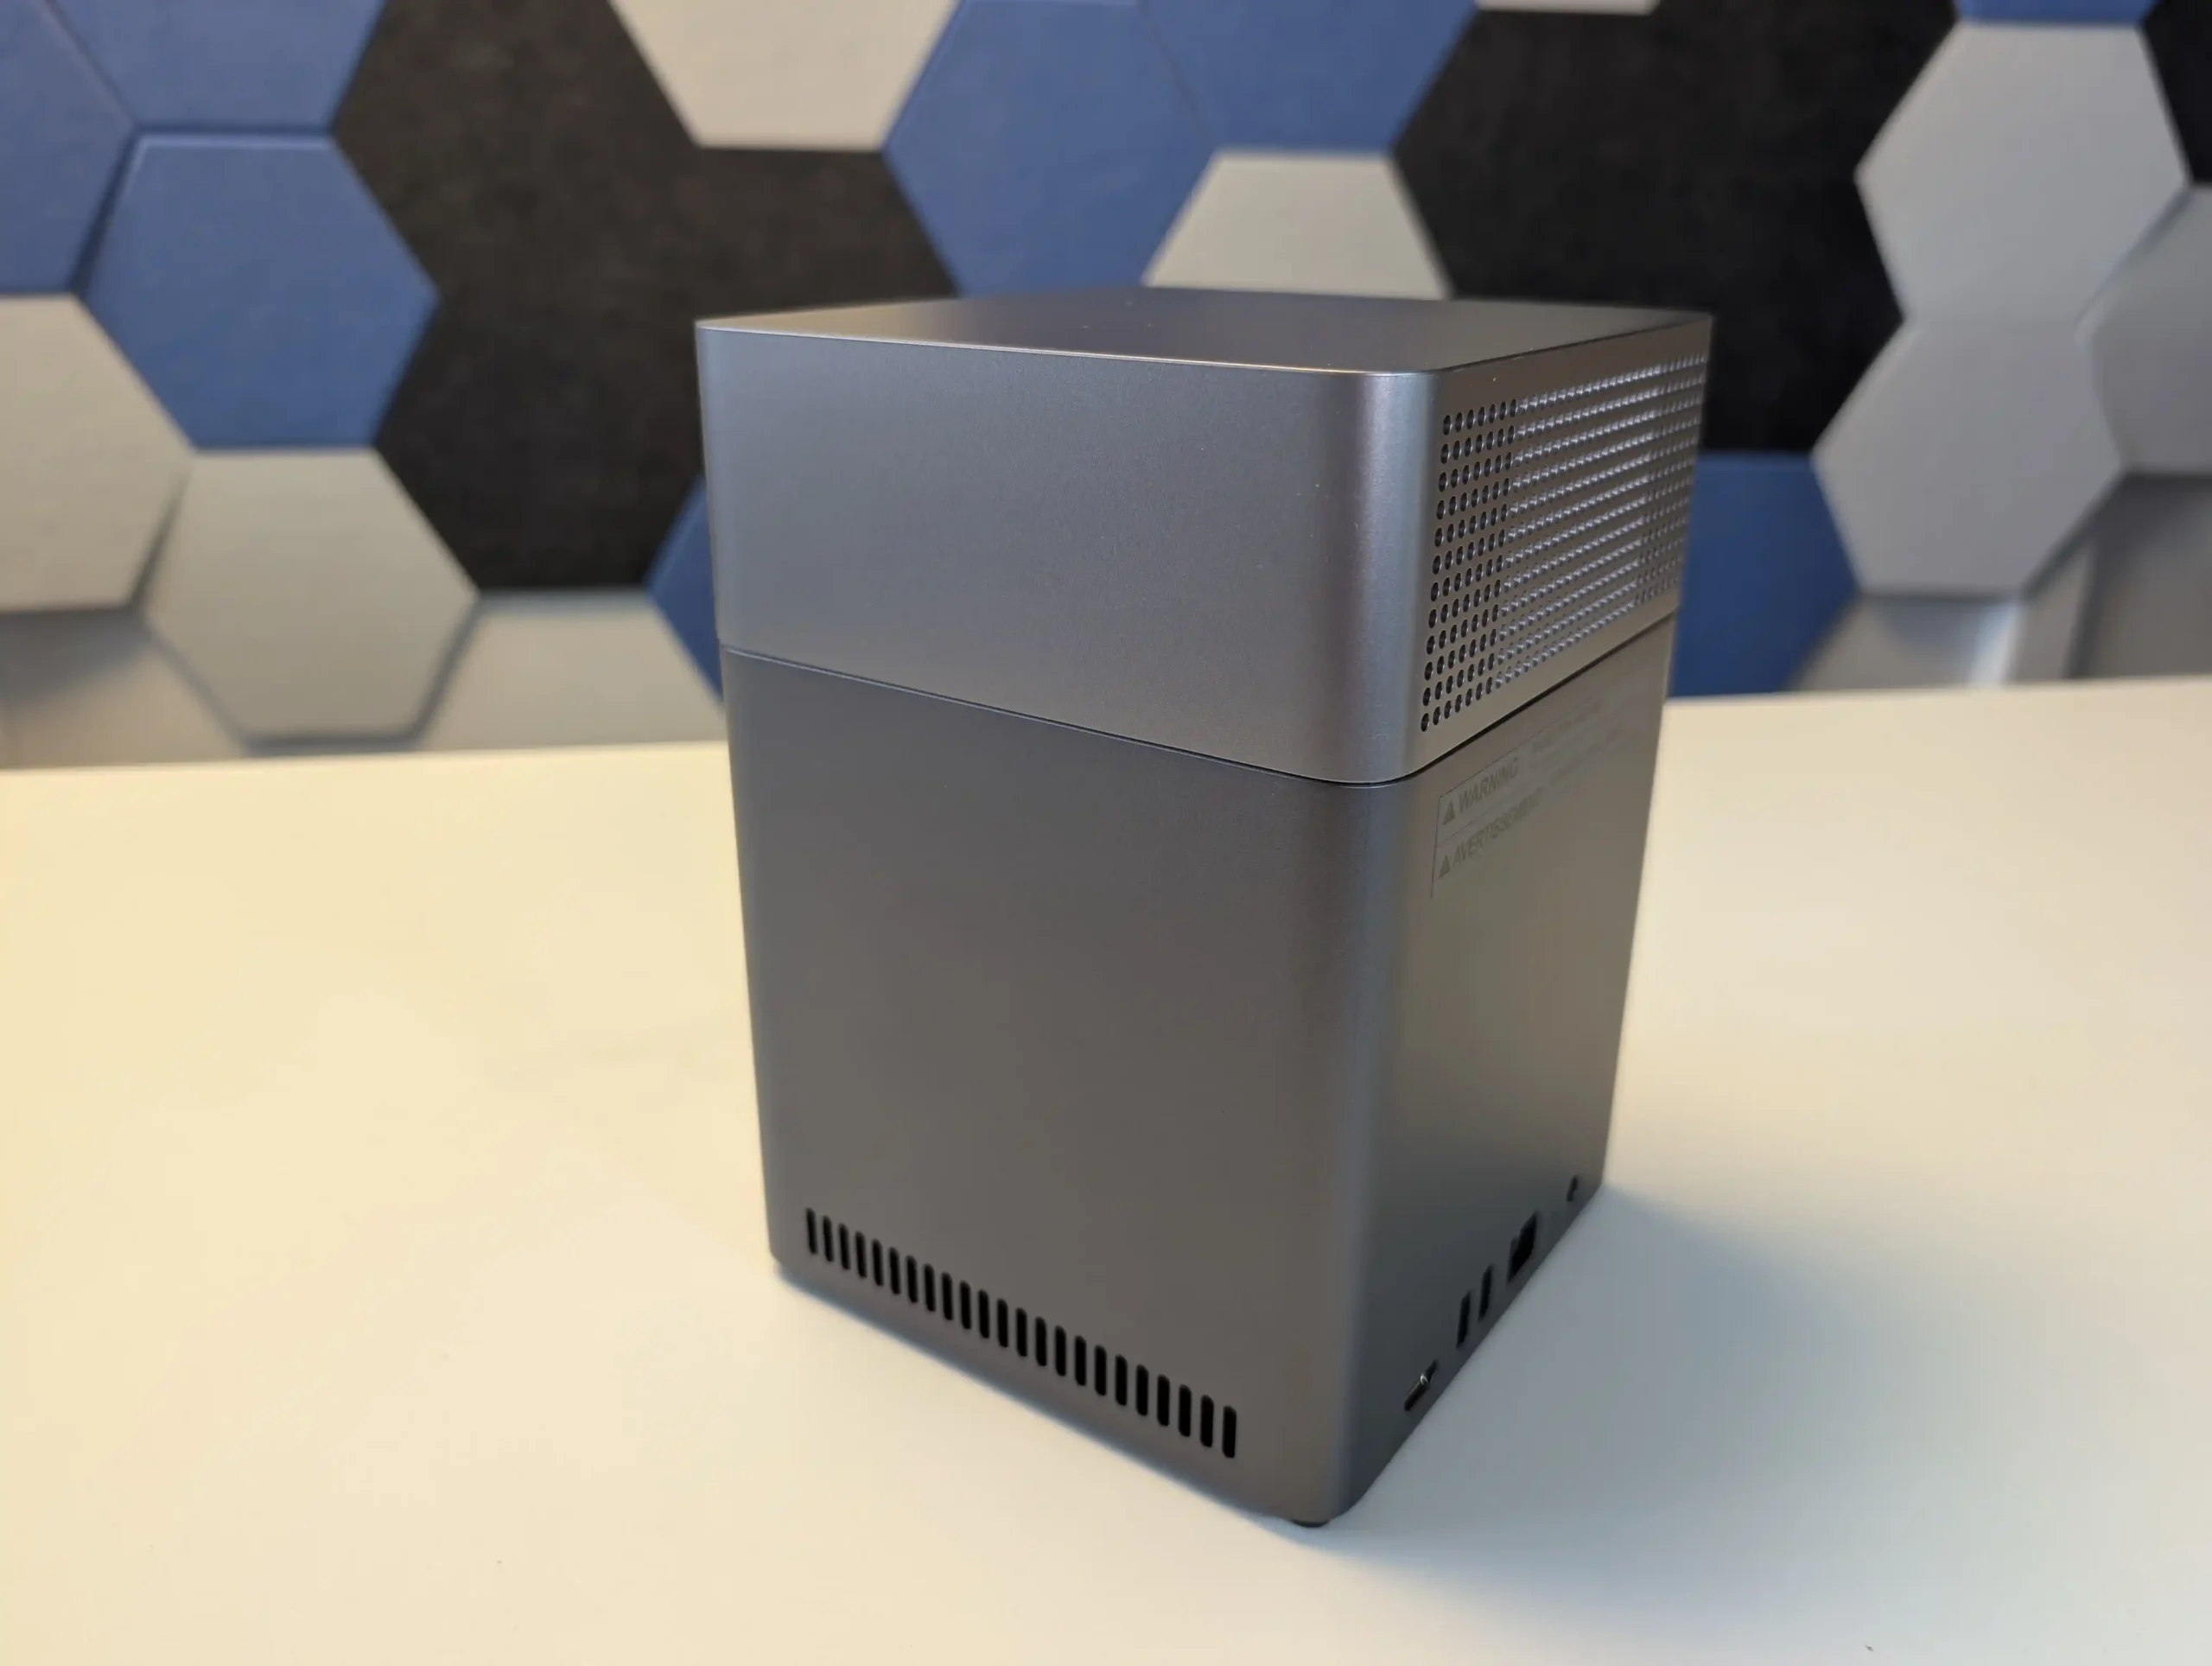
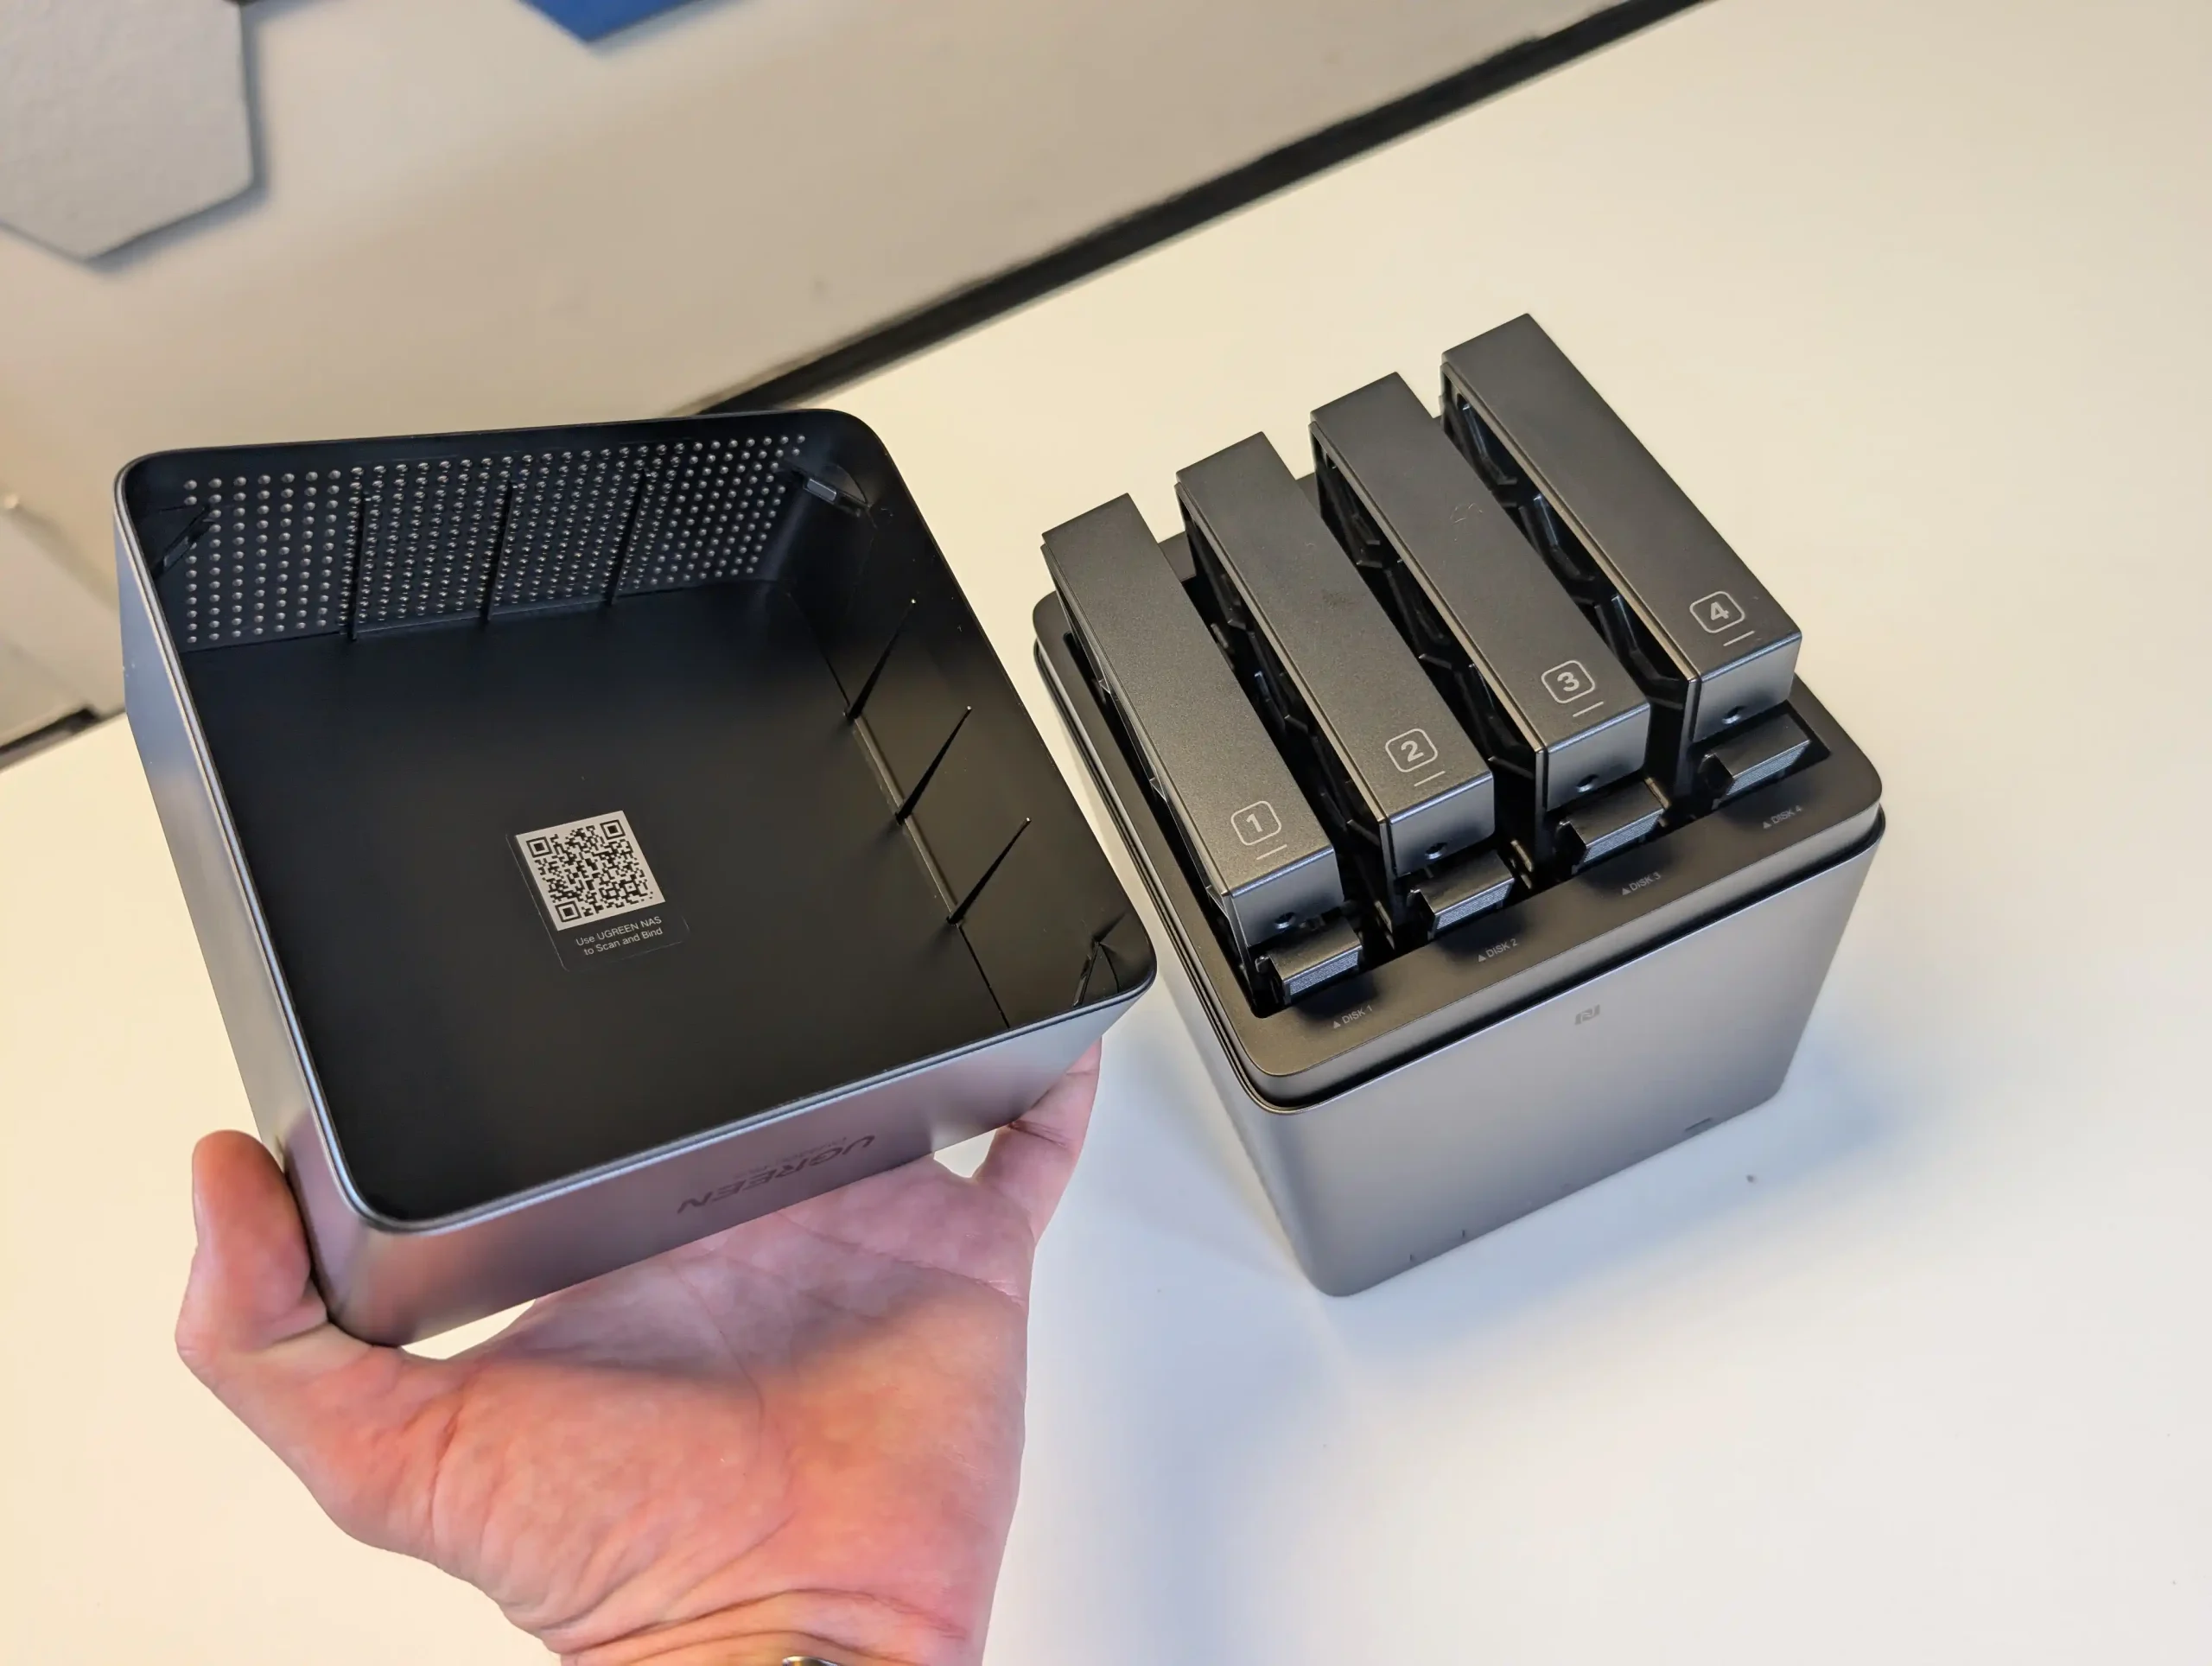
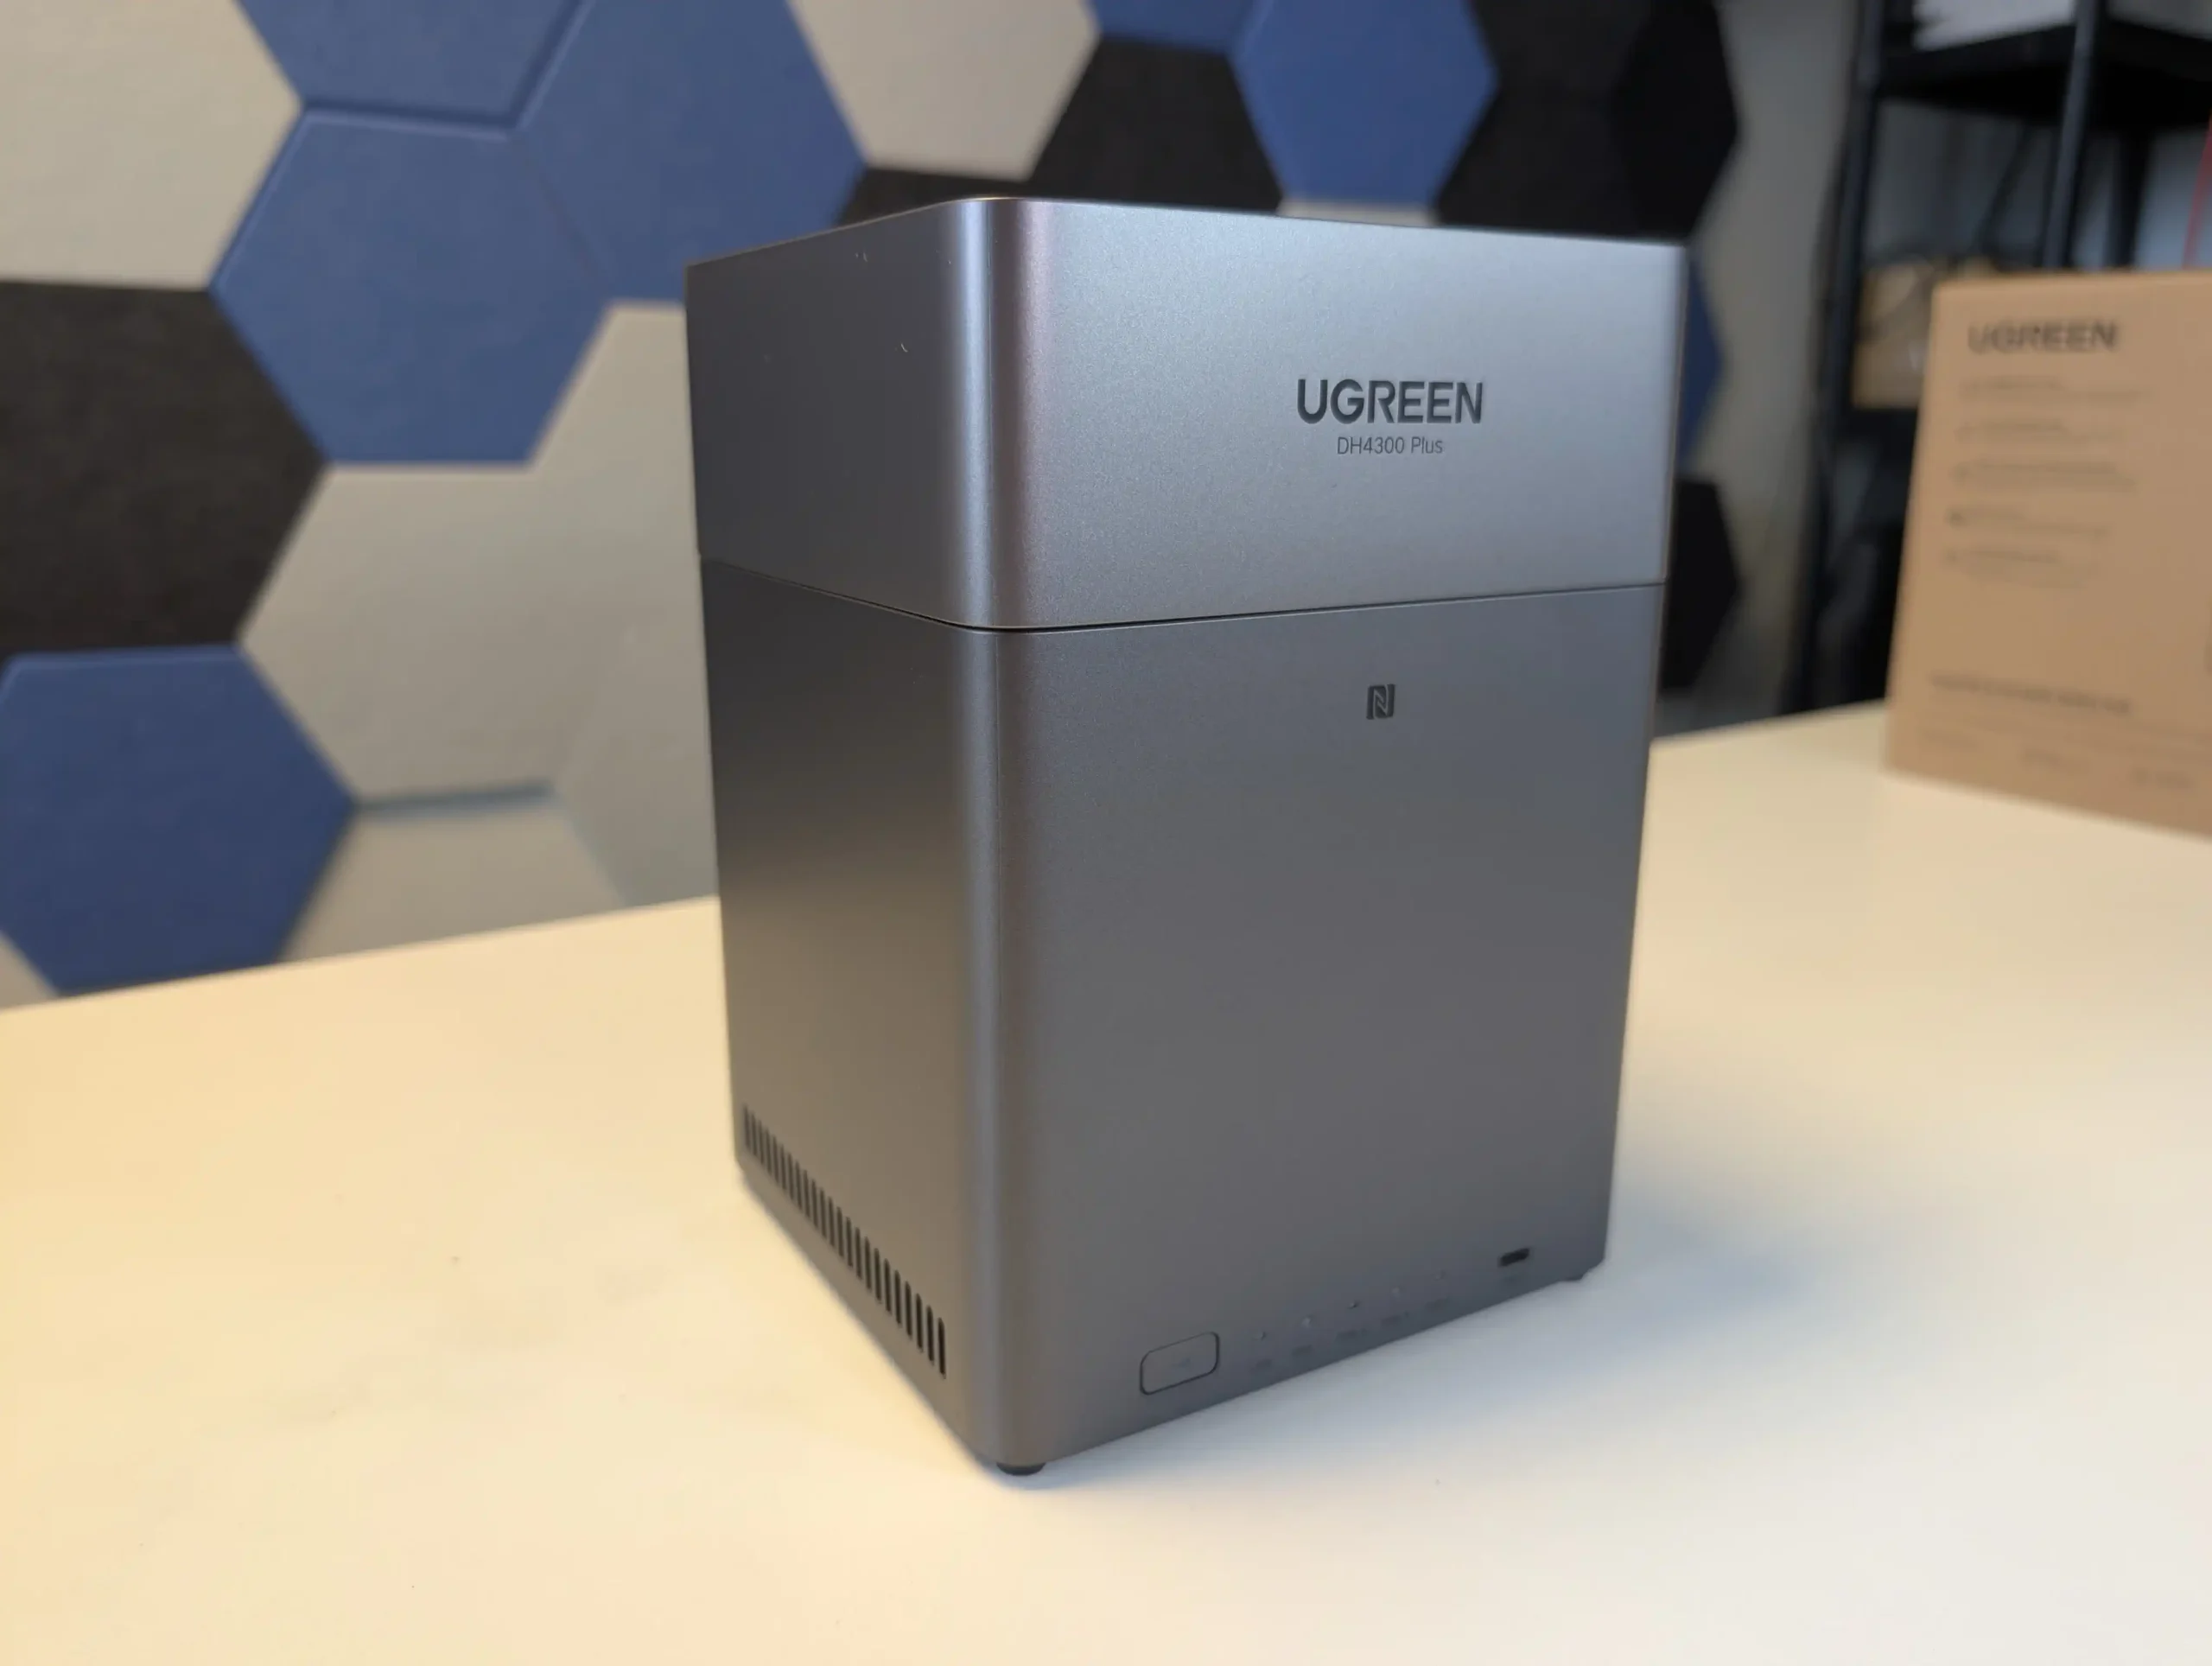
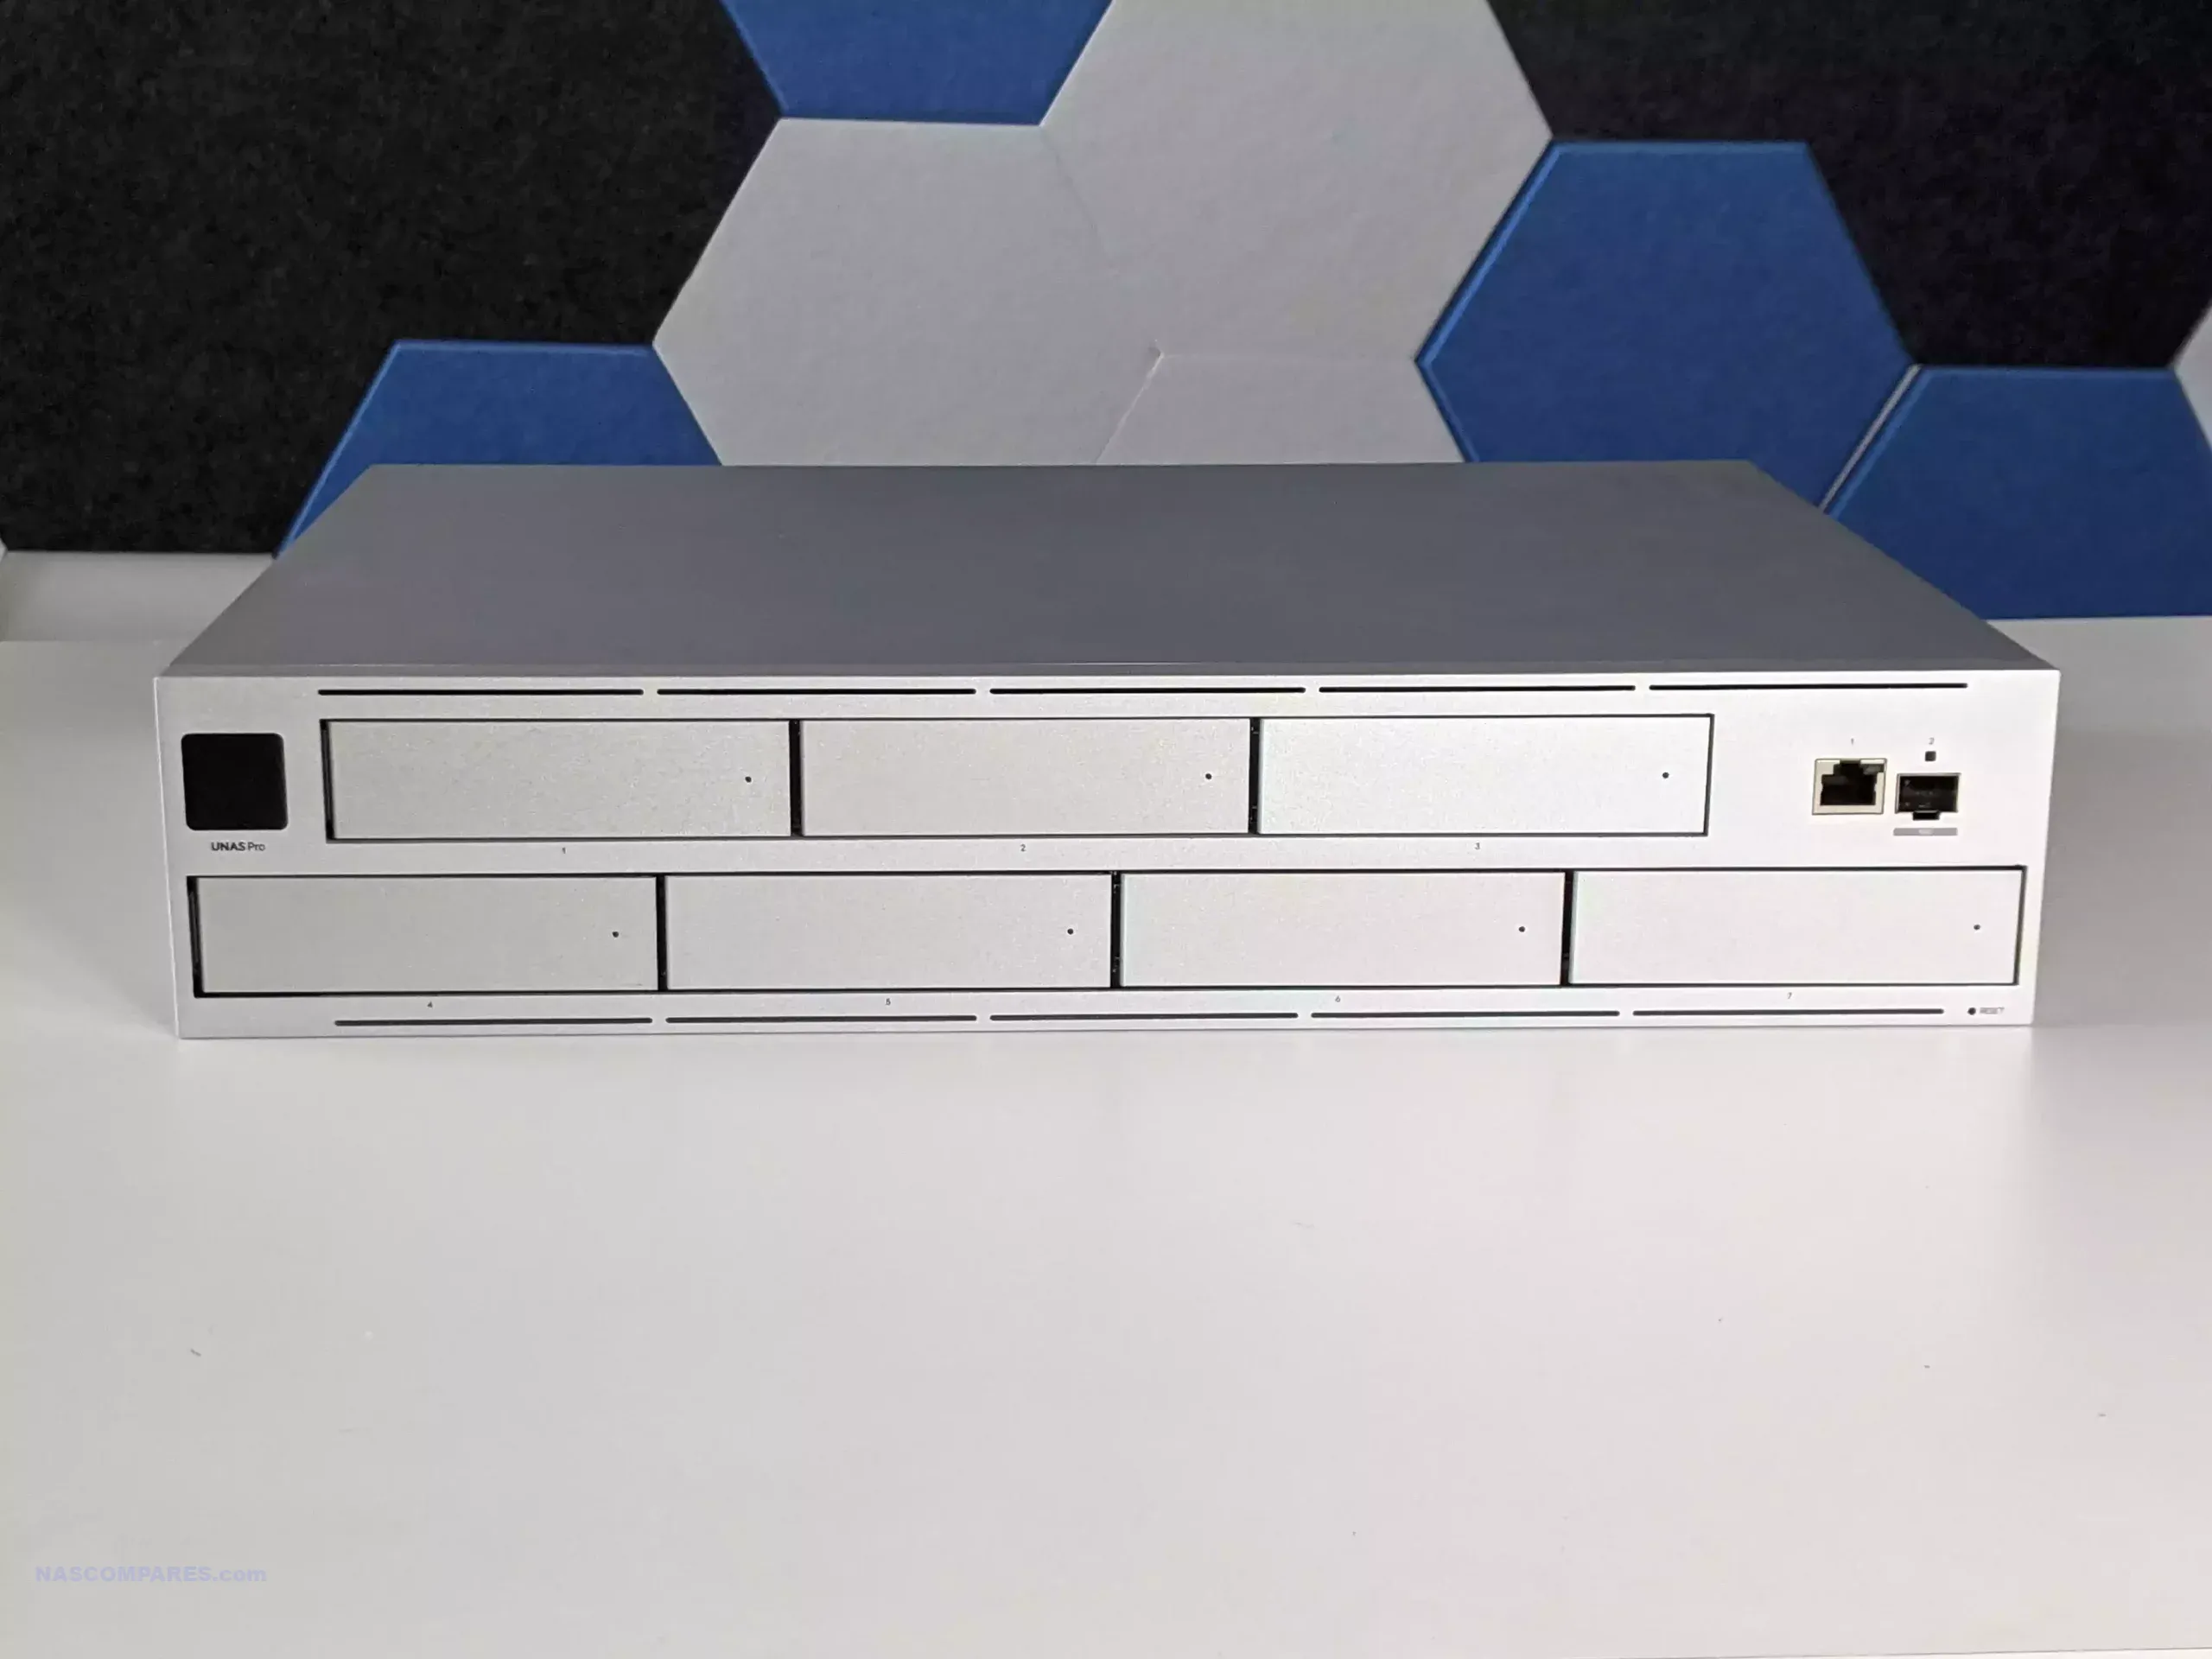
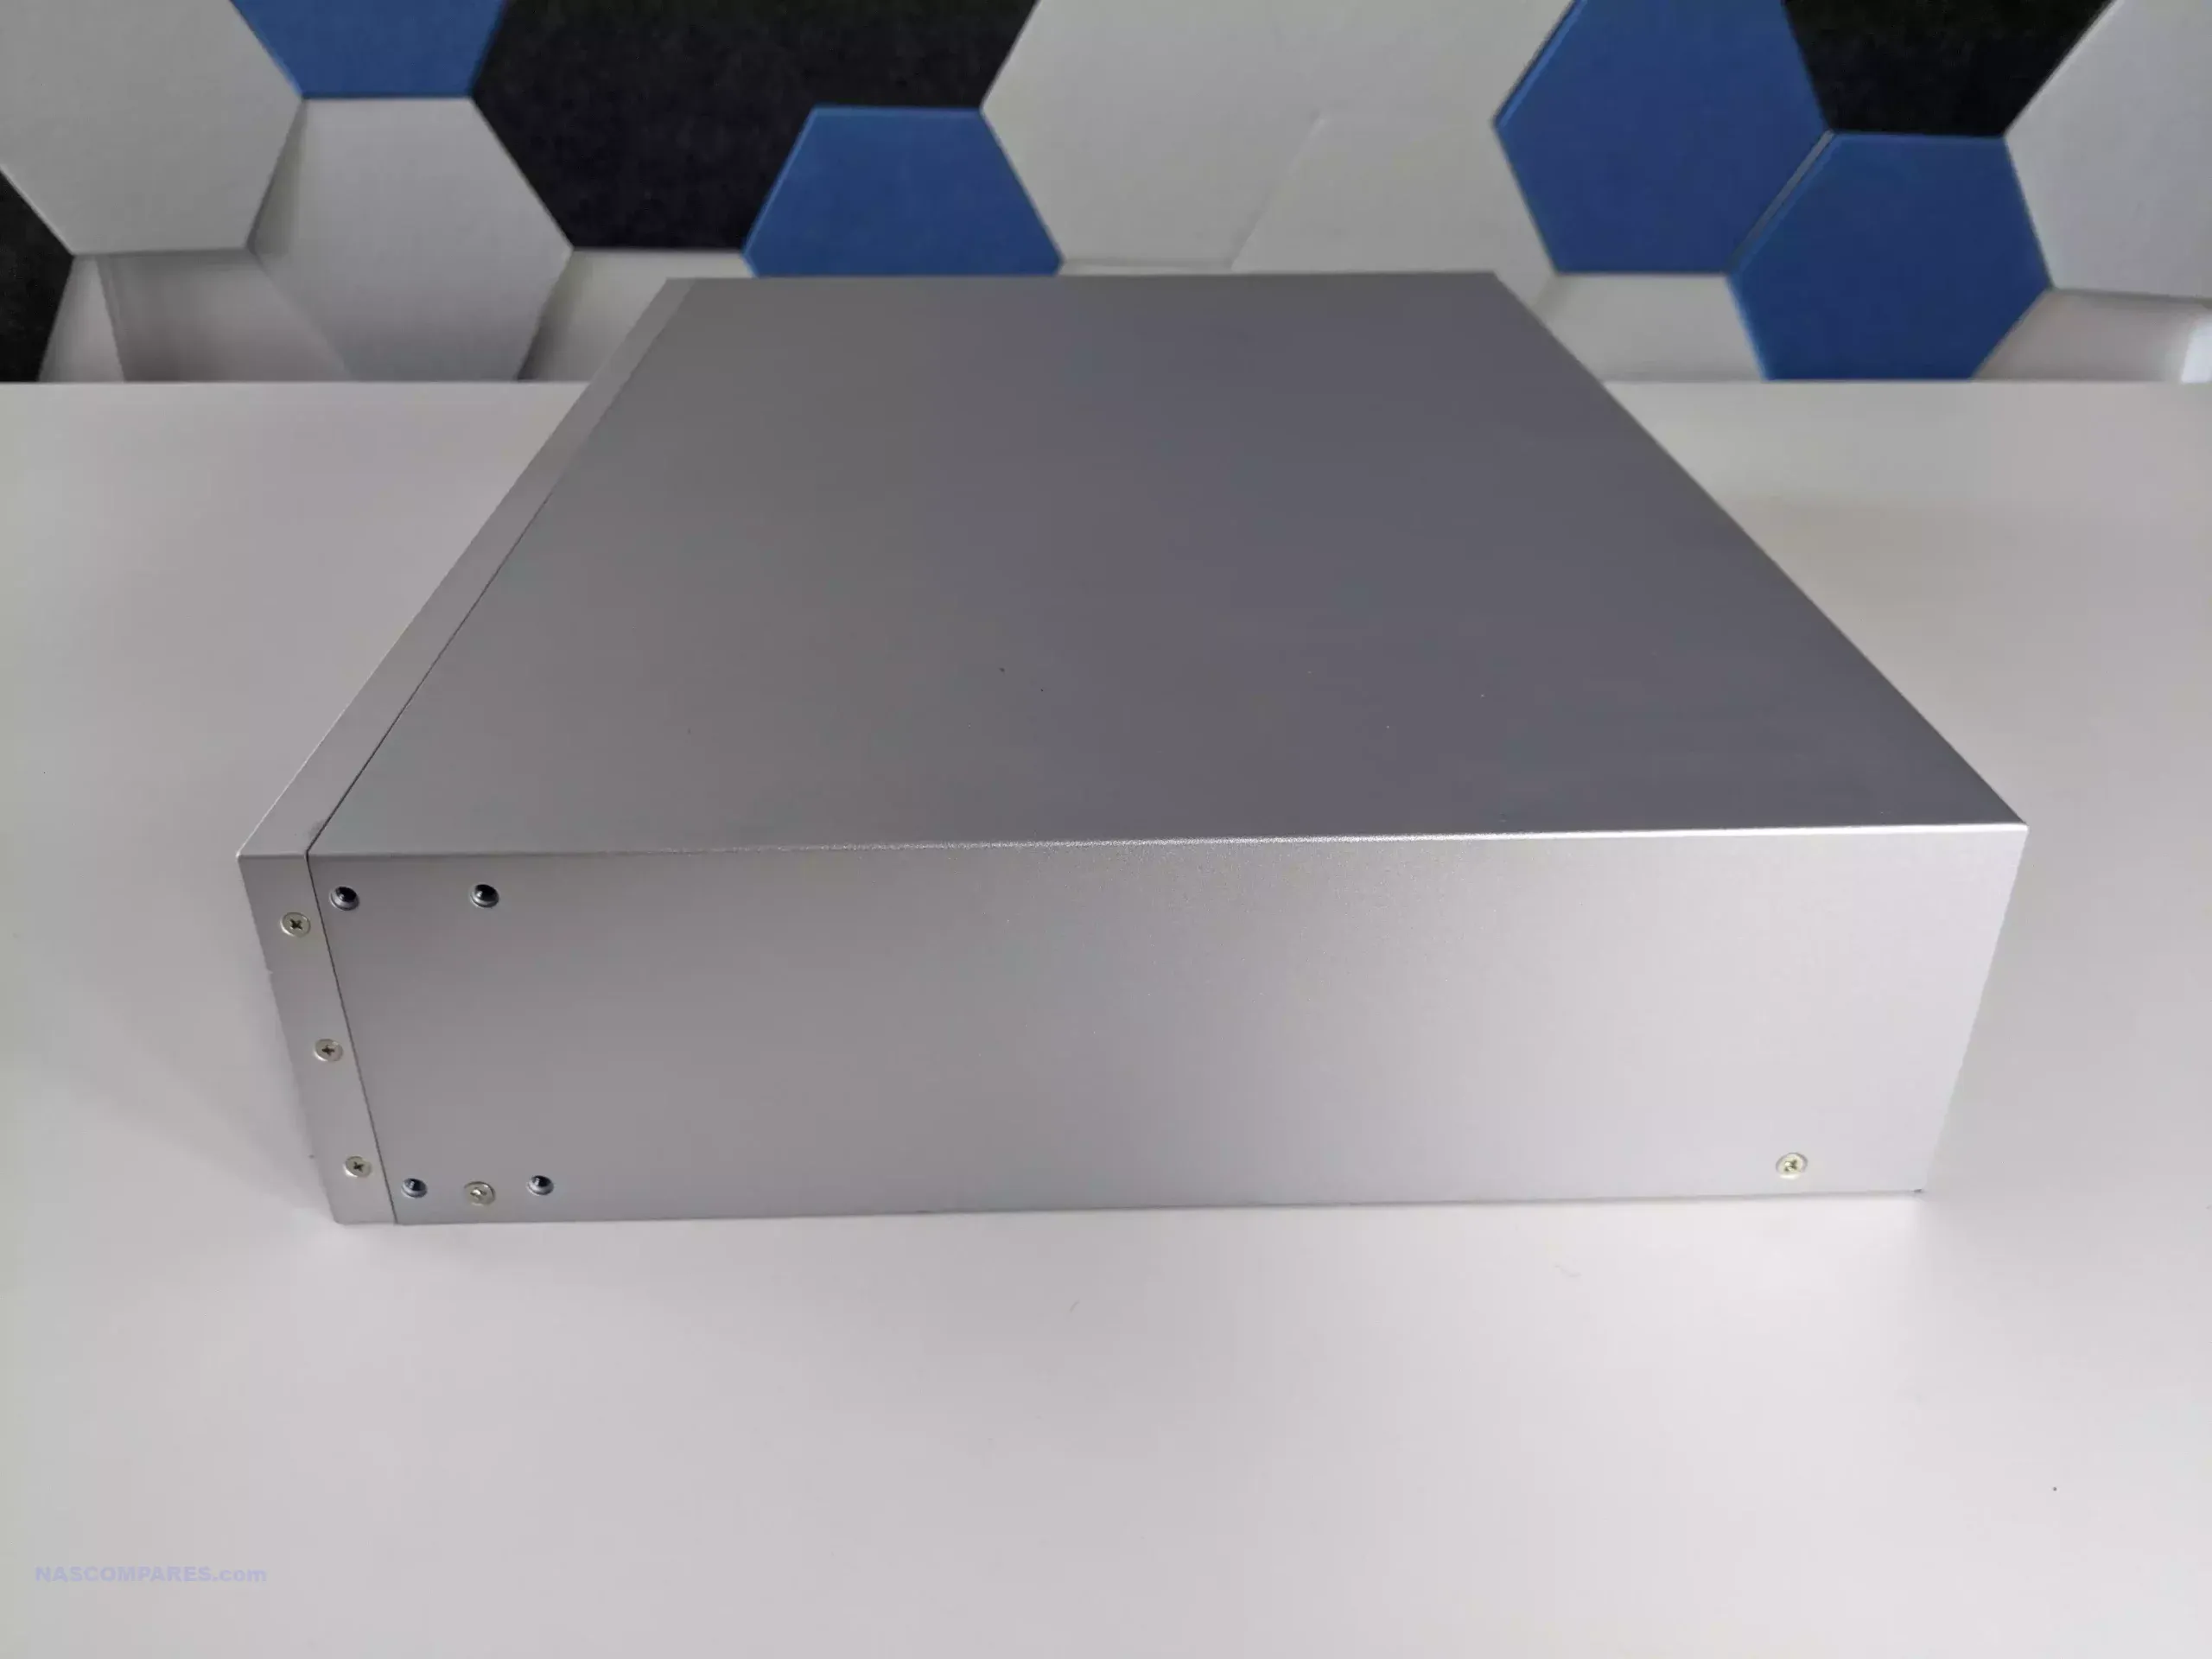
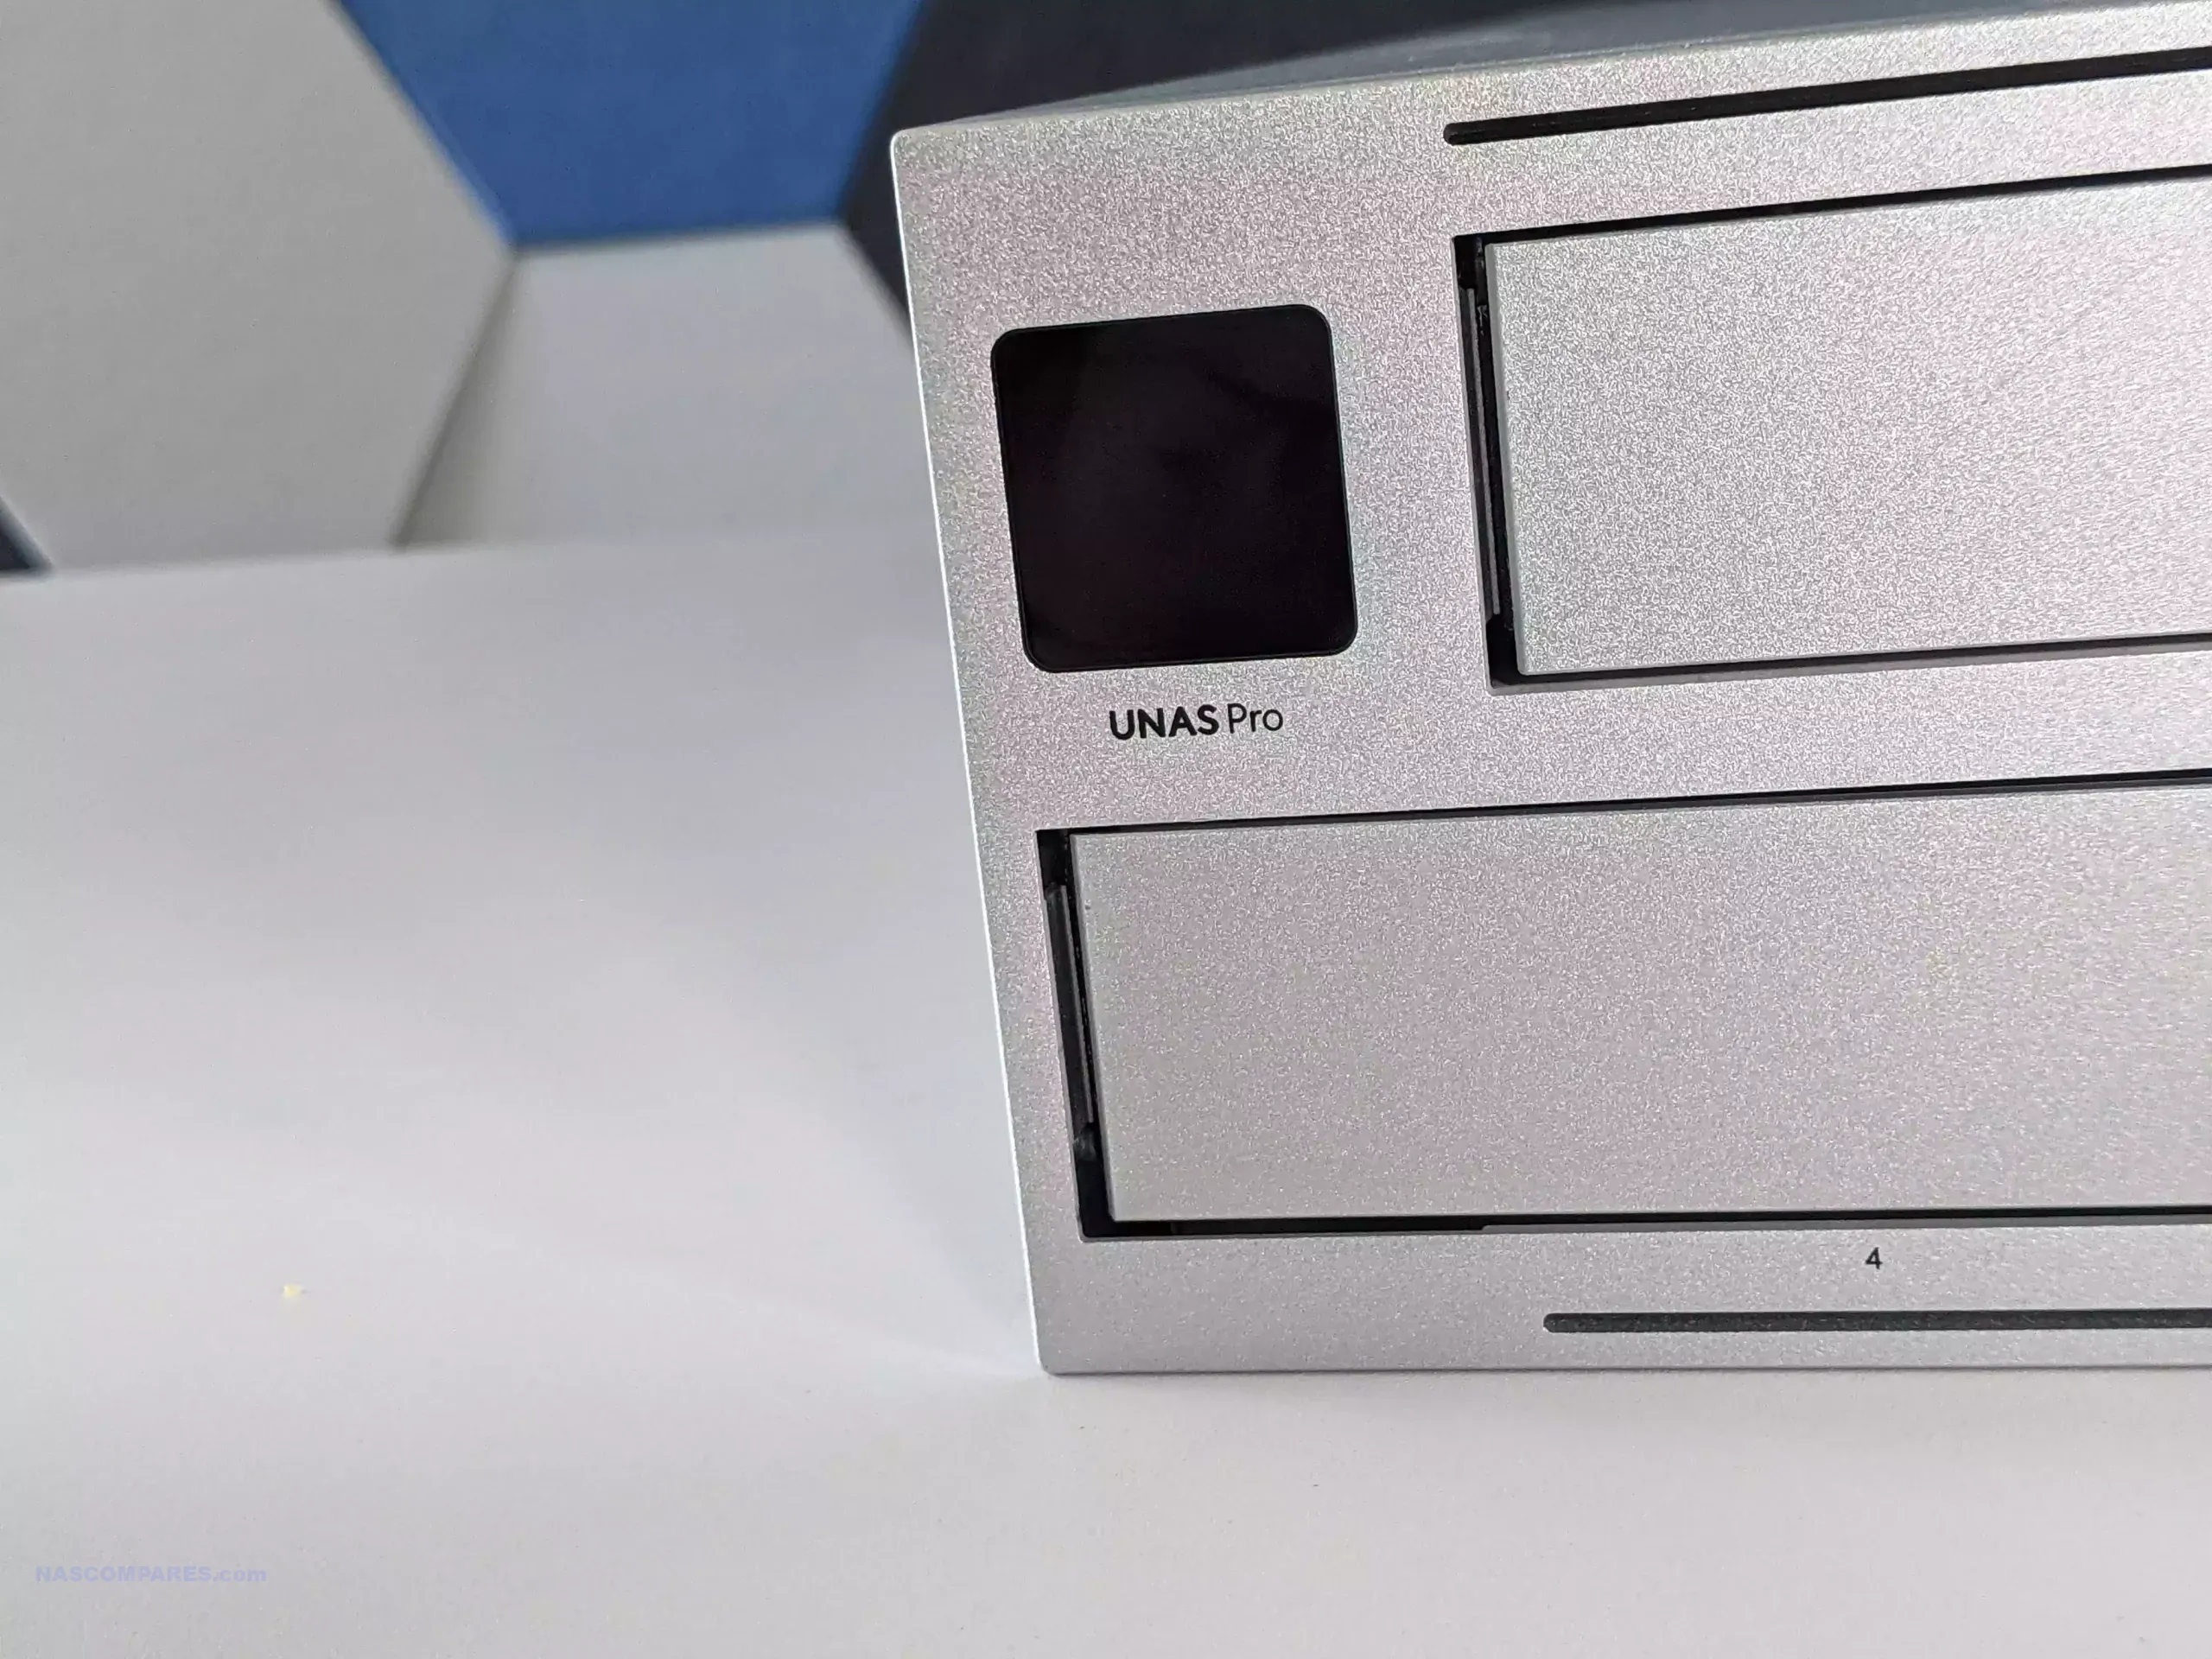
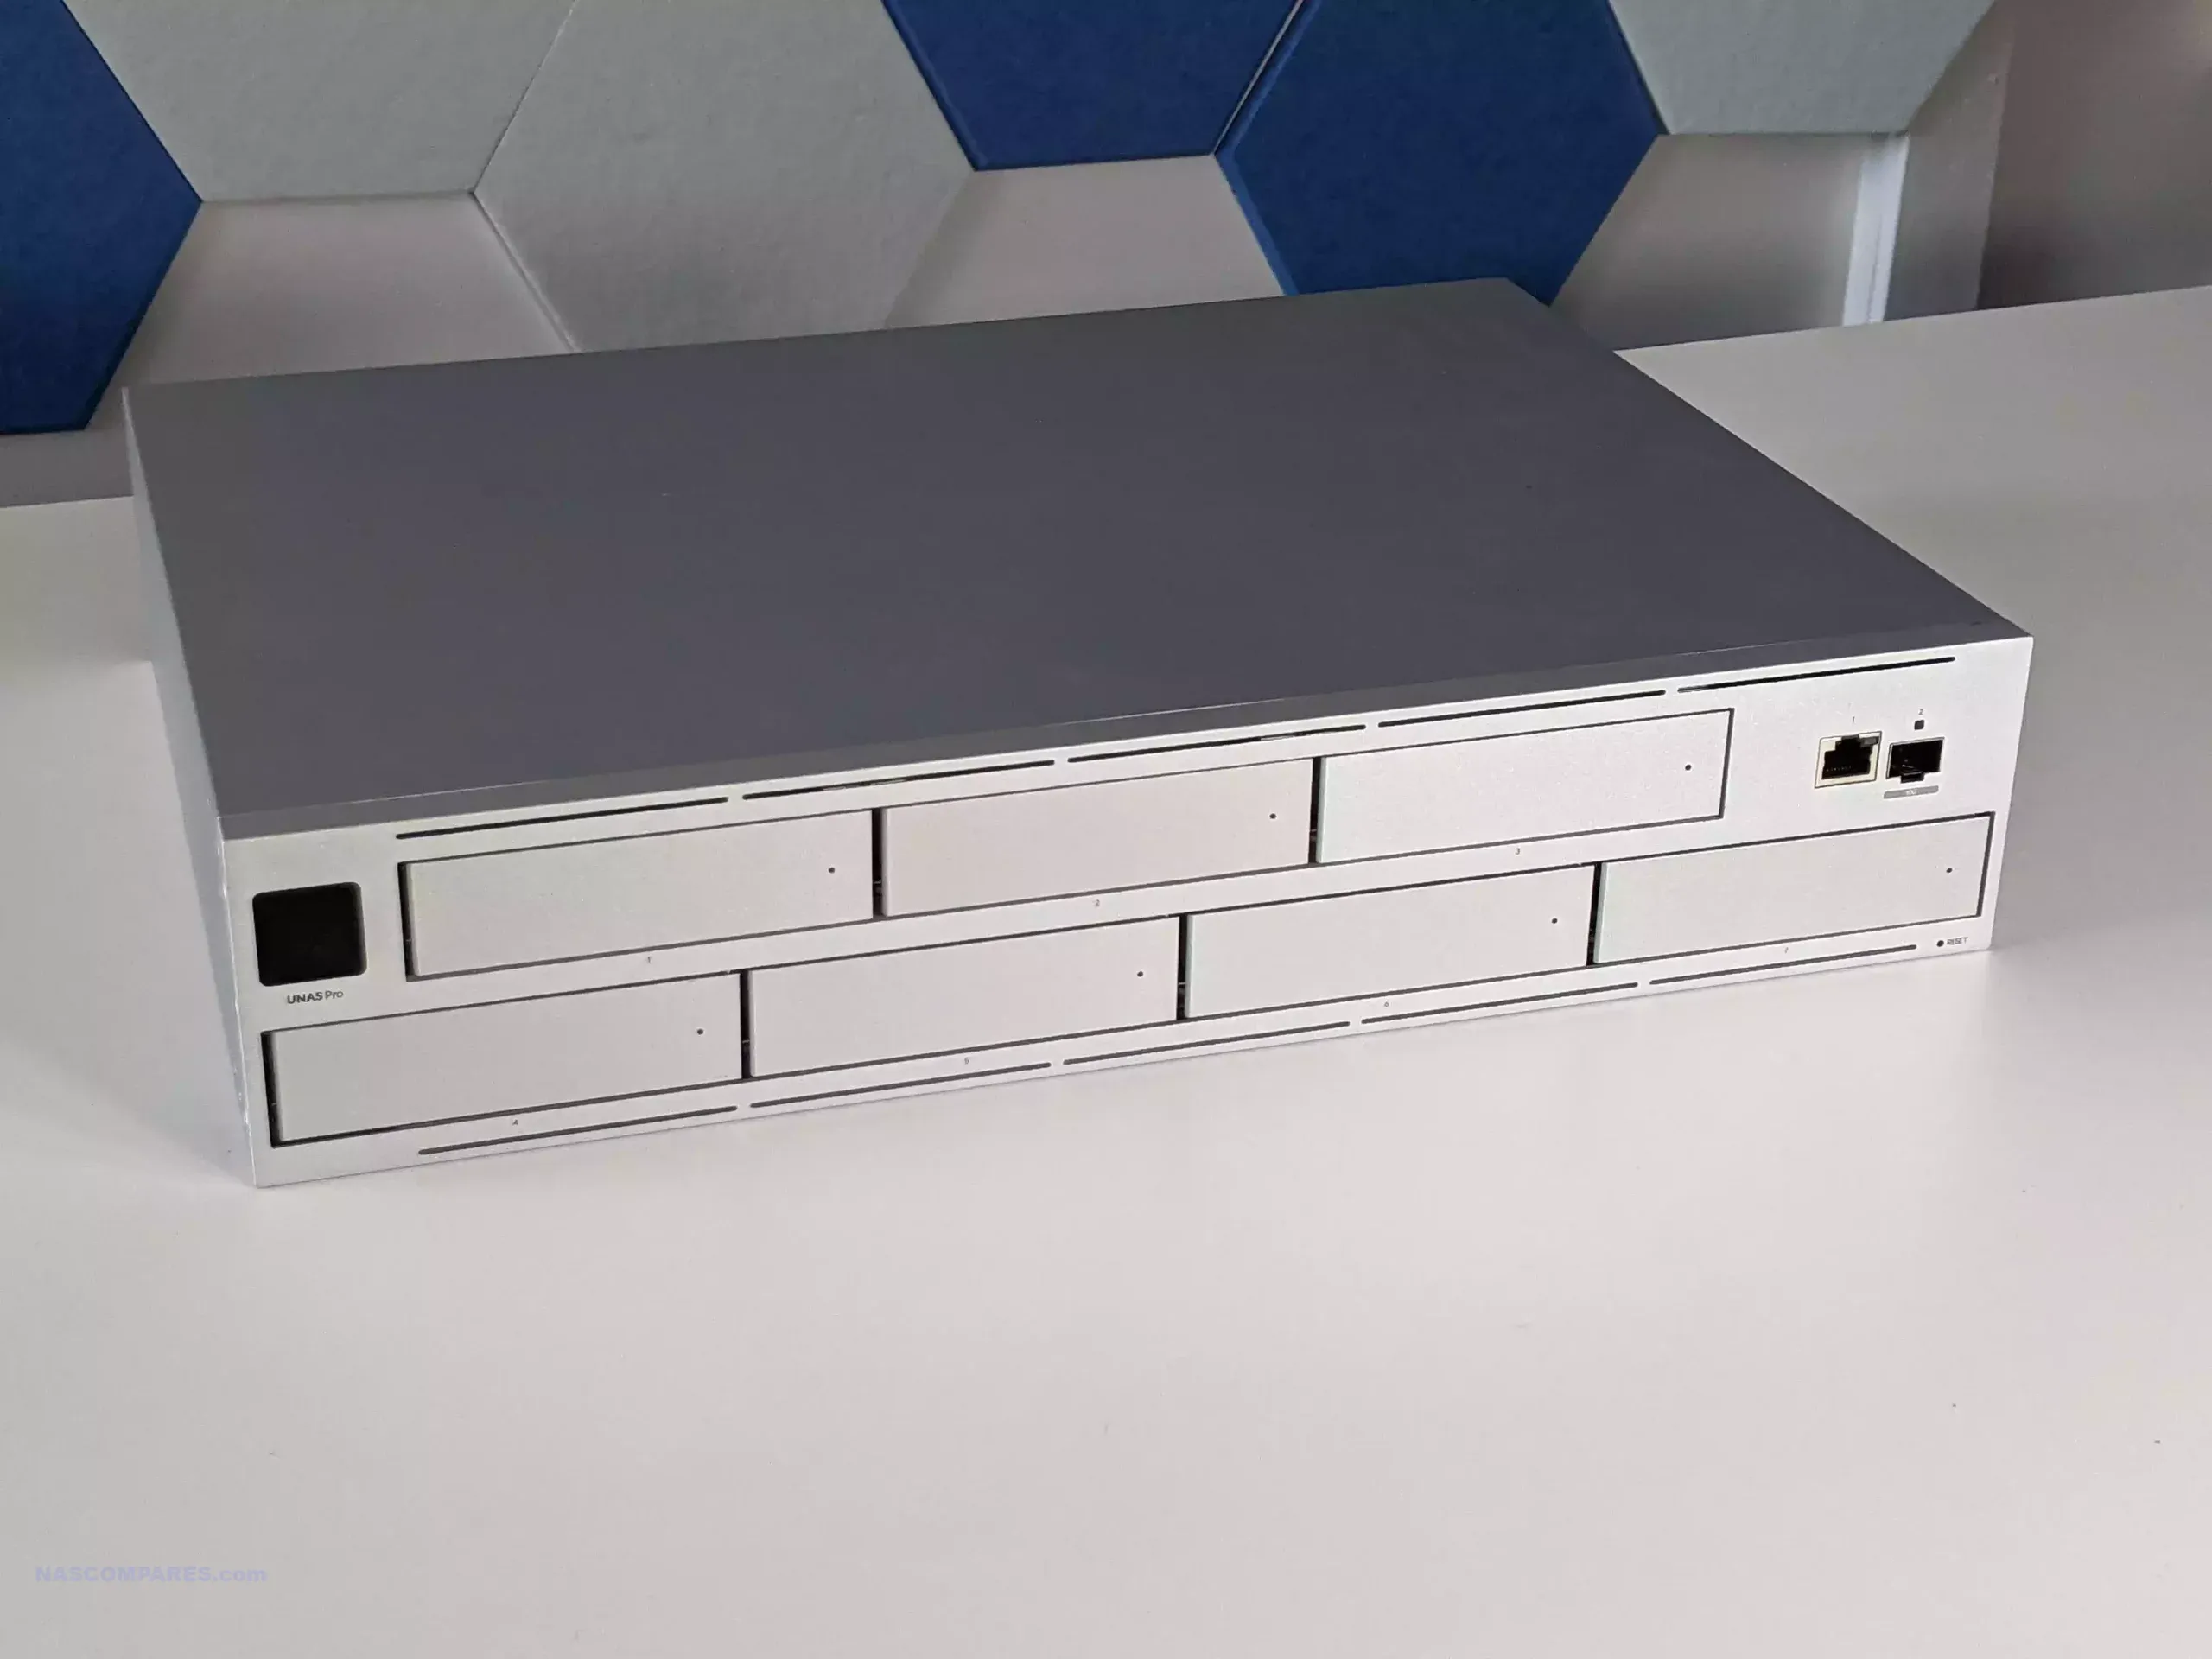
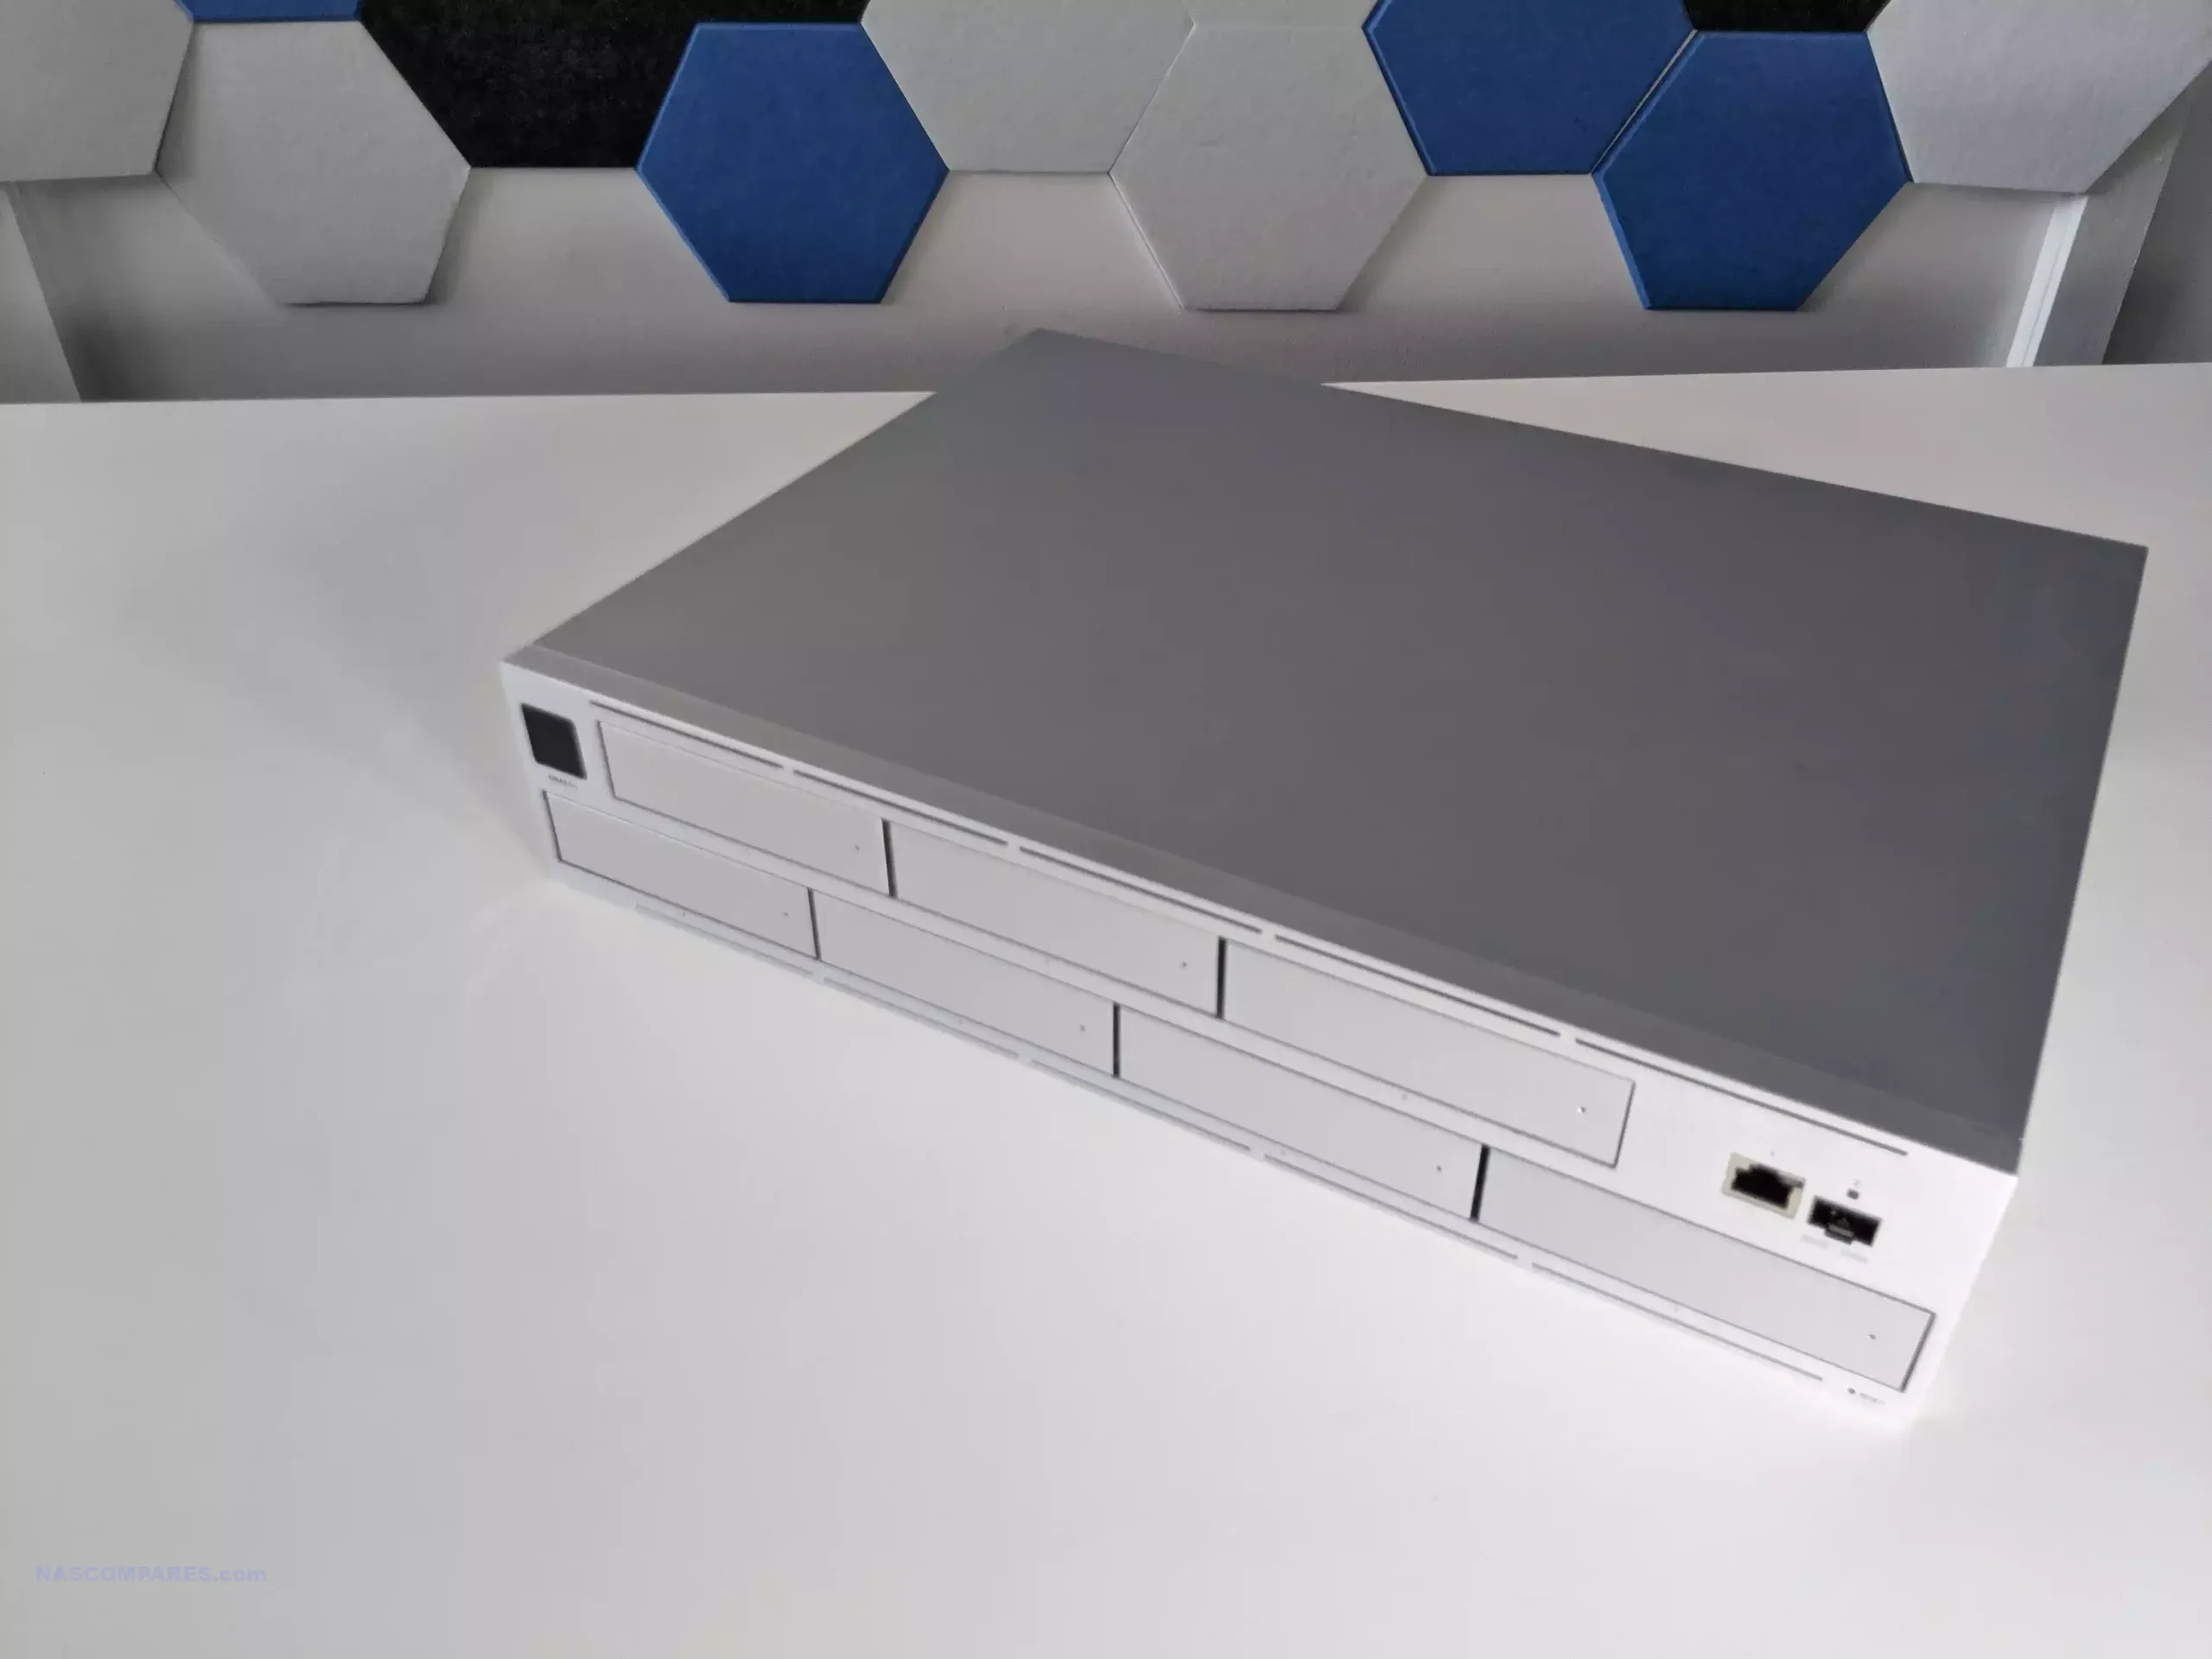
From a physical design perspective, these 2 NAS systems take very different approaches. The UniFi UNAS 4 has a taller, narrower chassis with a more vertical layout, while the UGREEN DH4300 Plus uses a more cubic desktop design that will look more familiar to buyers coming from Synology, QNAP, or Asustor hardware. The UniFi system is also available in black or white, which gives it a more deliberate visual identity within the wider UniFi product range, whereas the UGREEN keeps to a more conventional single-finish enclosure. In both cases, the chassis material is primarily plastic, so neither is especially premium in material terms, but each is clearly trying to prioritize compactness and low manufacturing cost rather than metal construction.
 |
 |
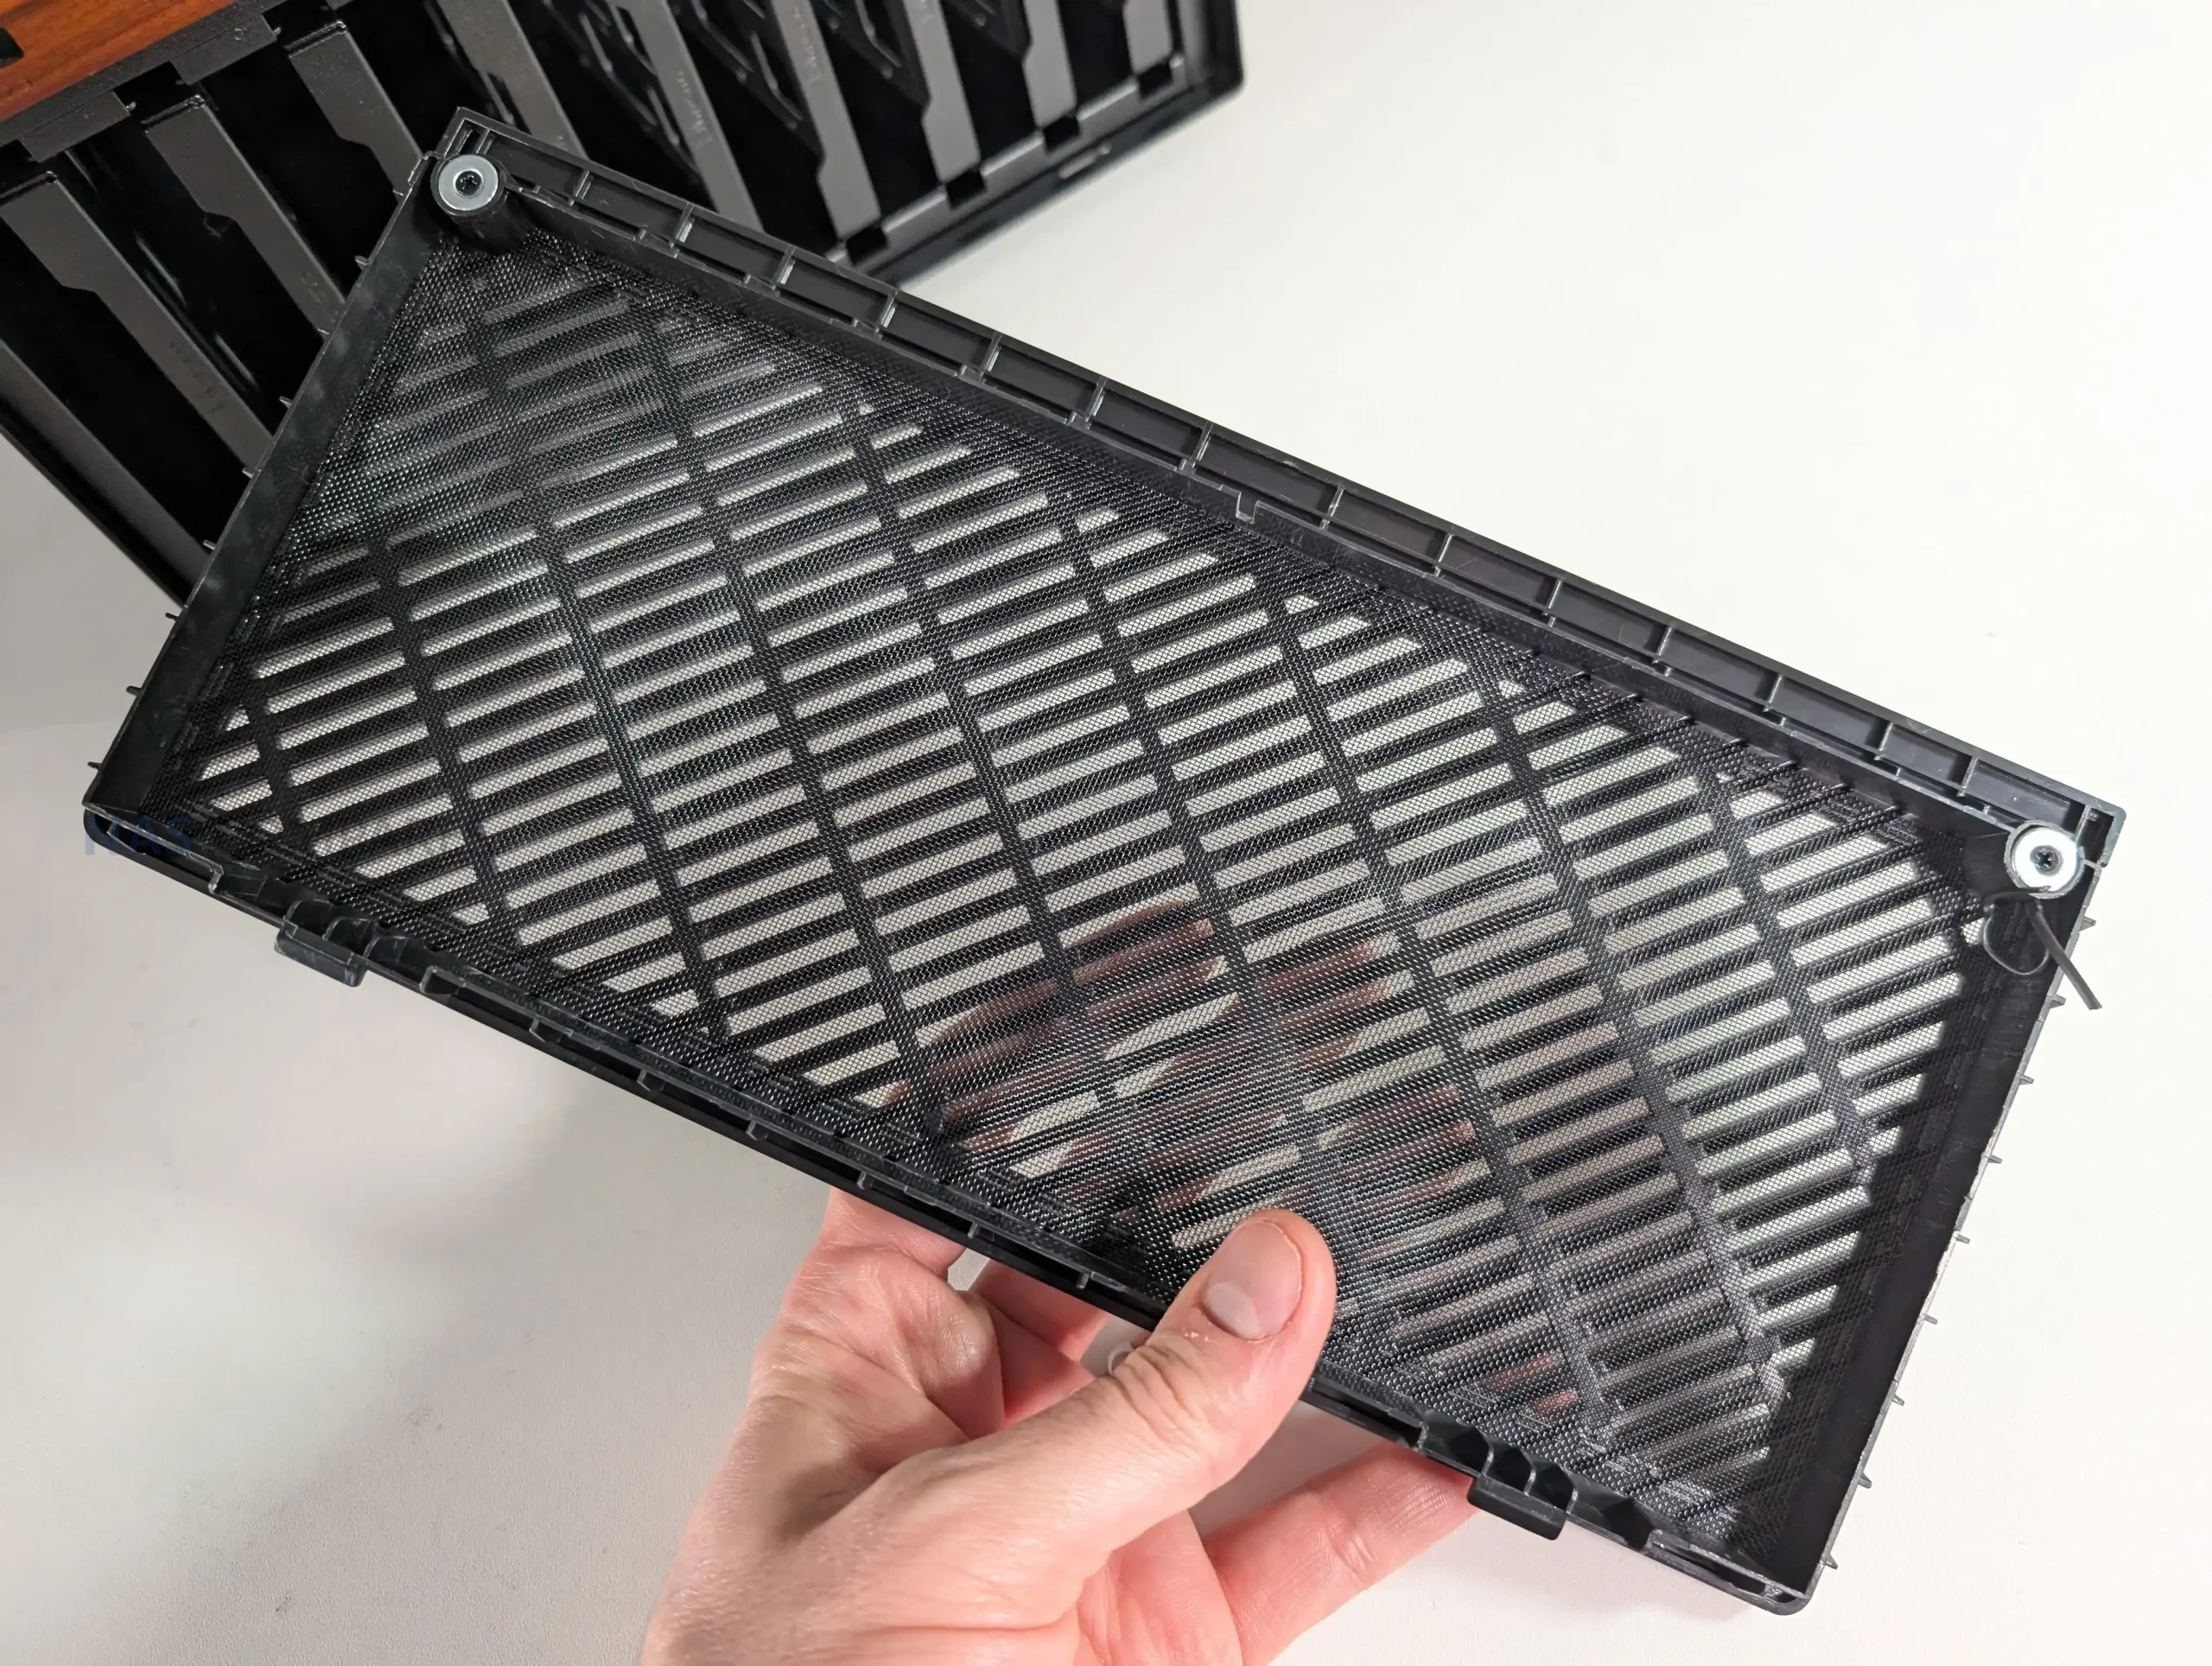
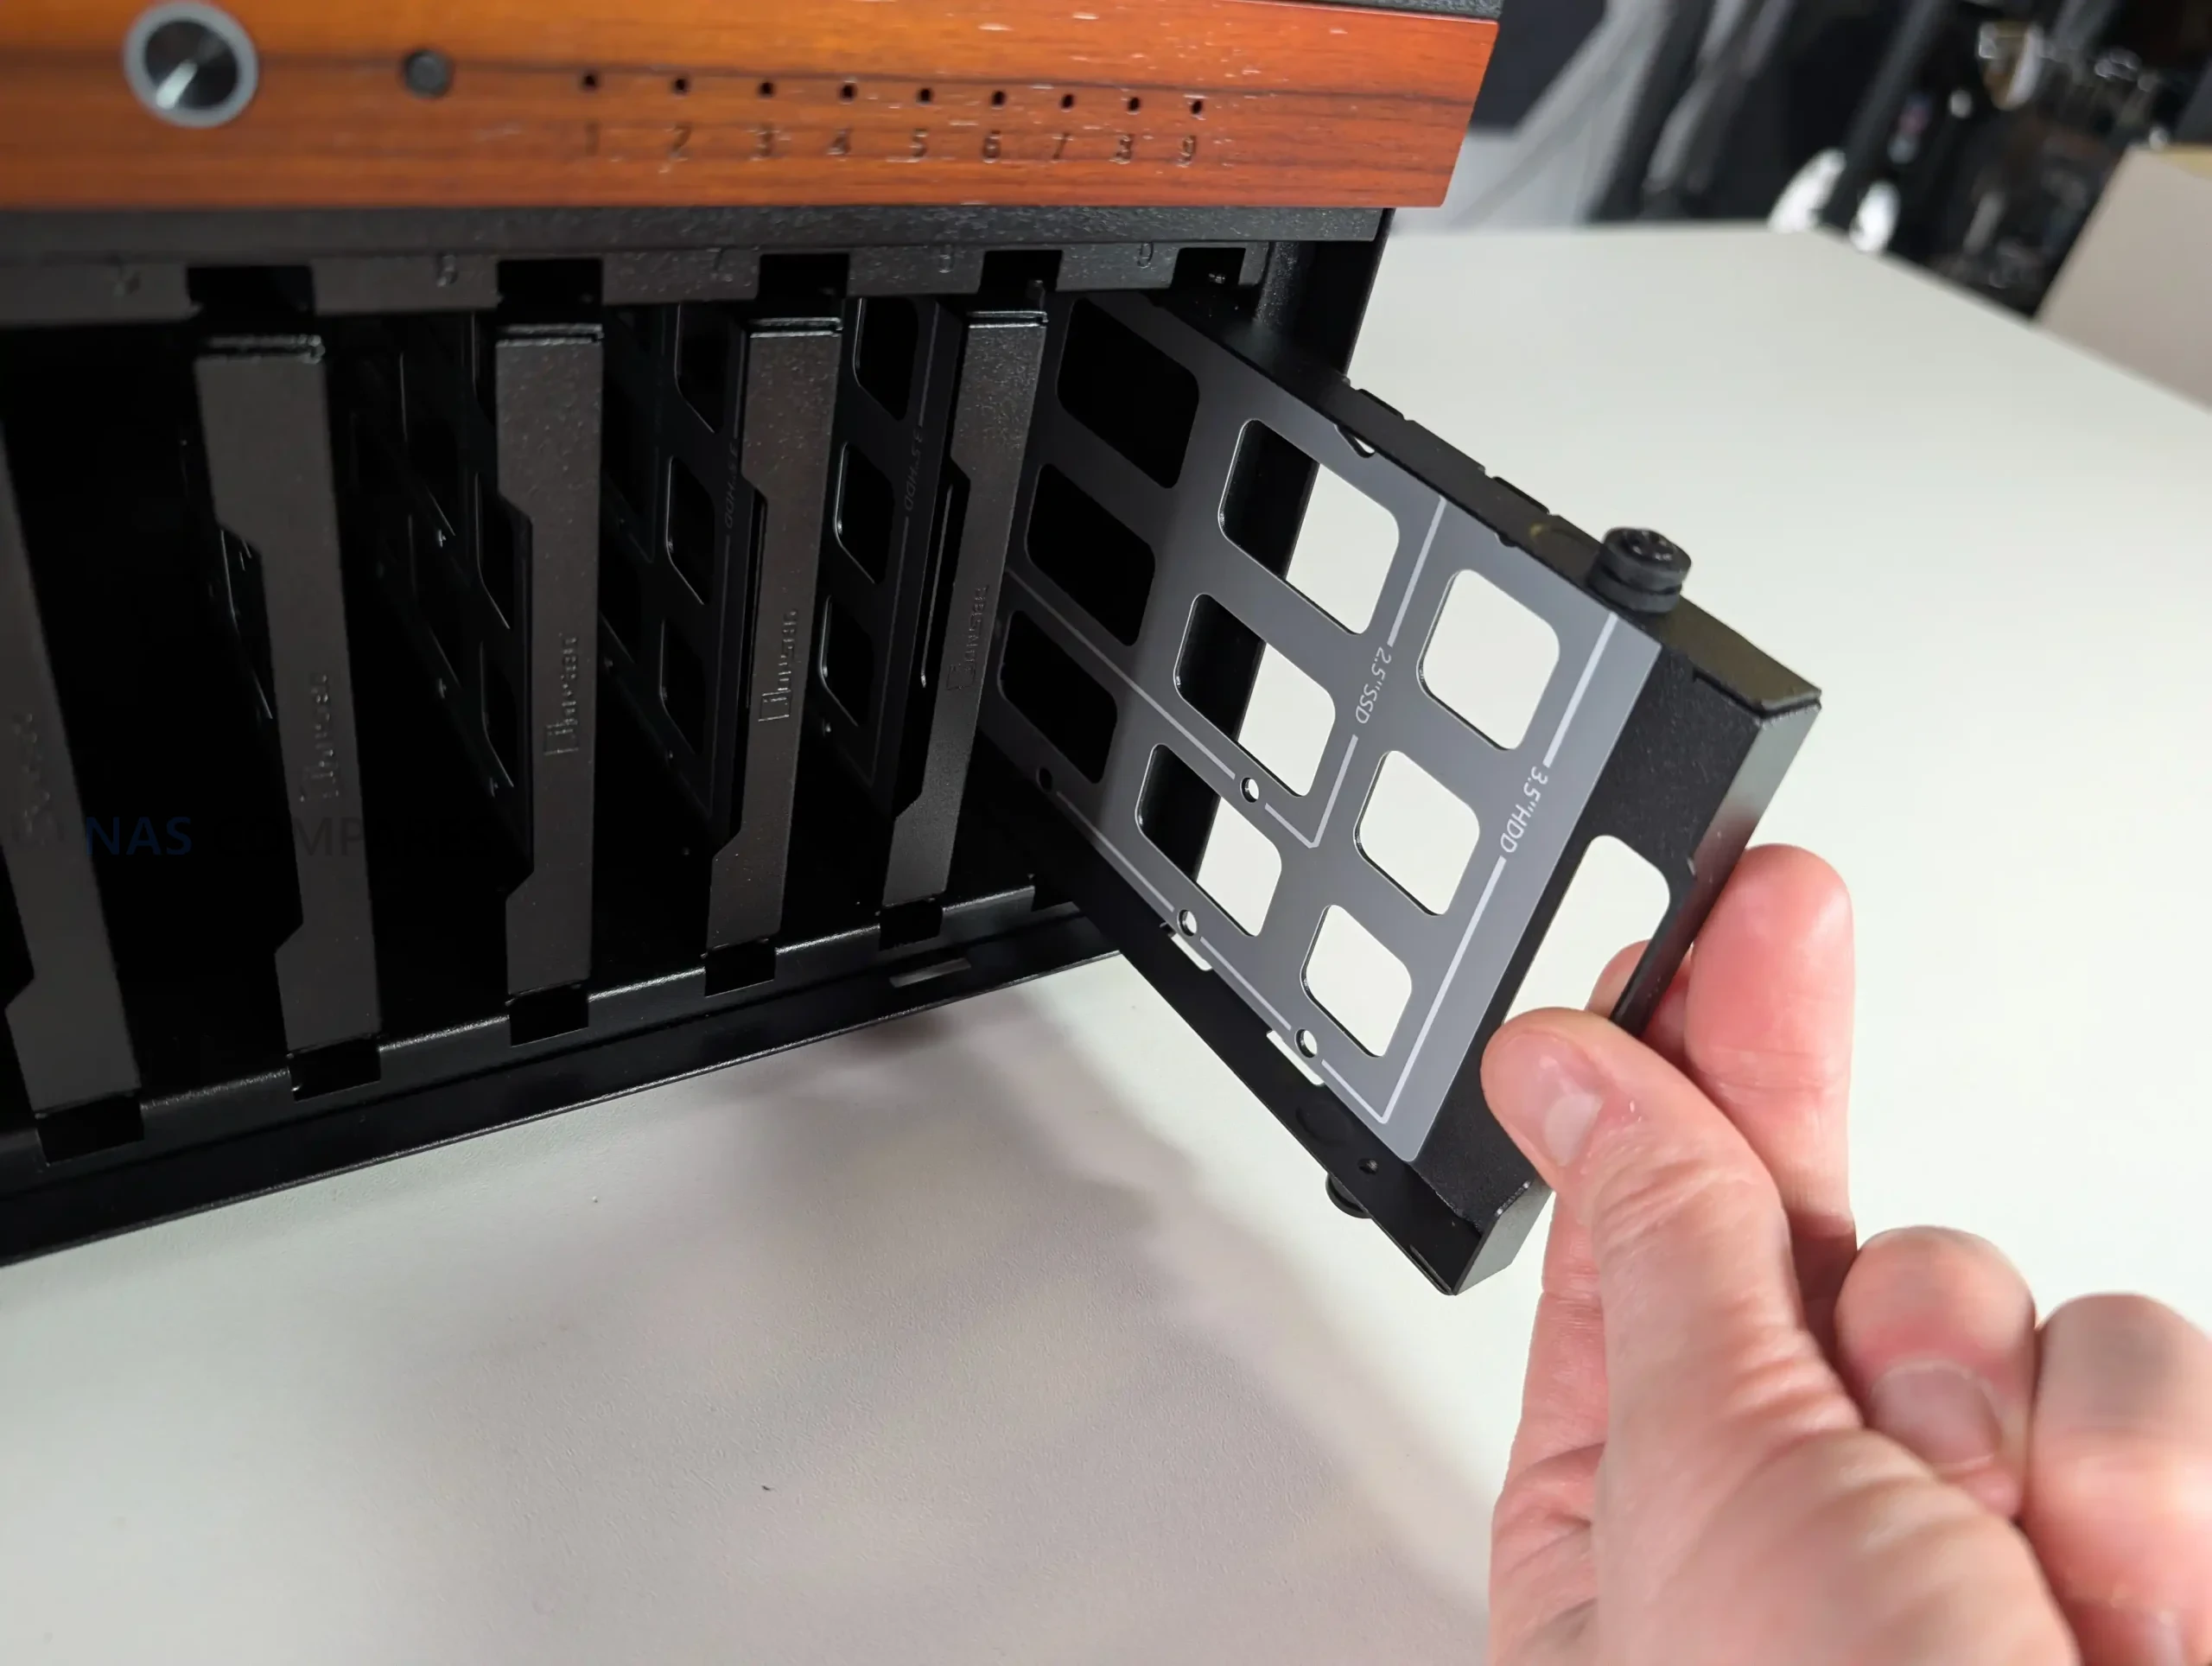
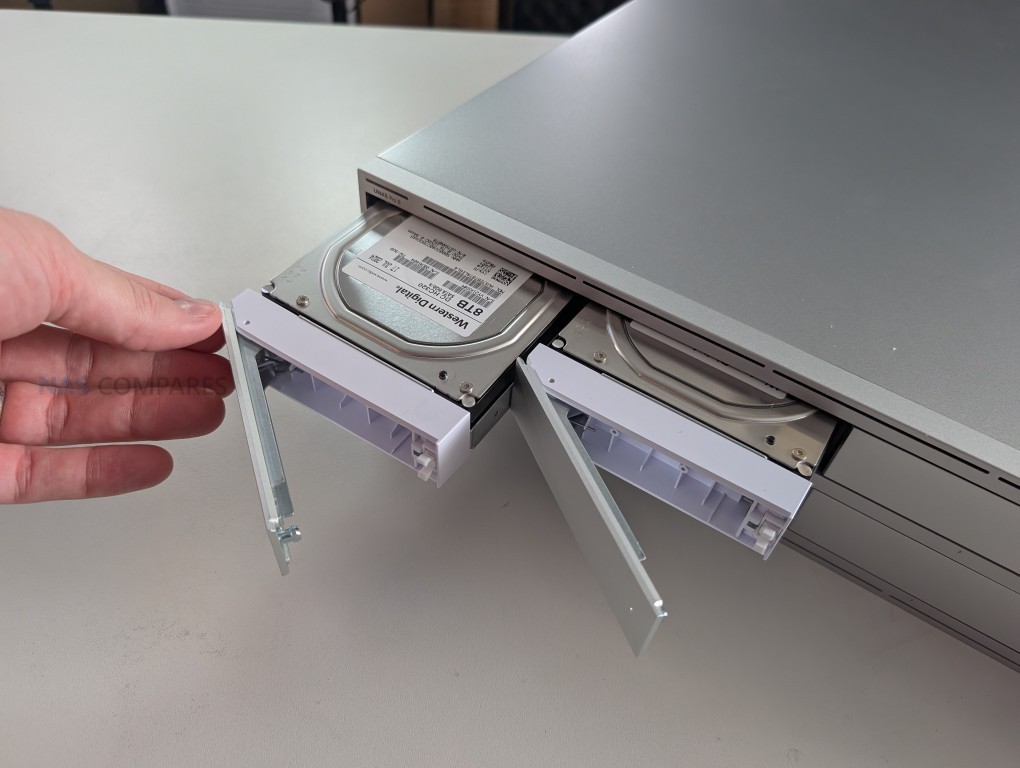
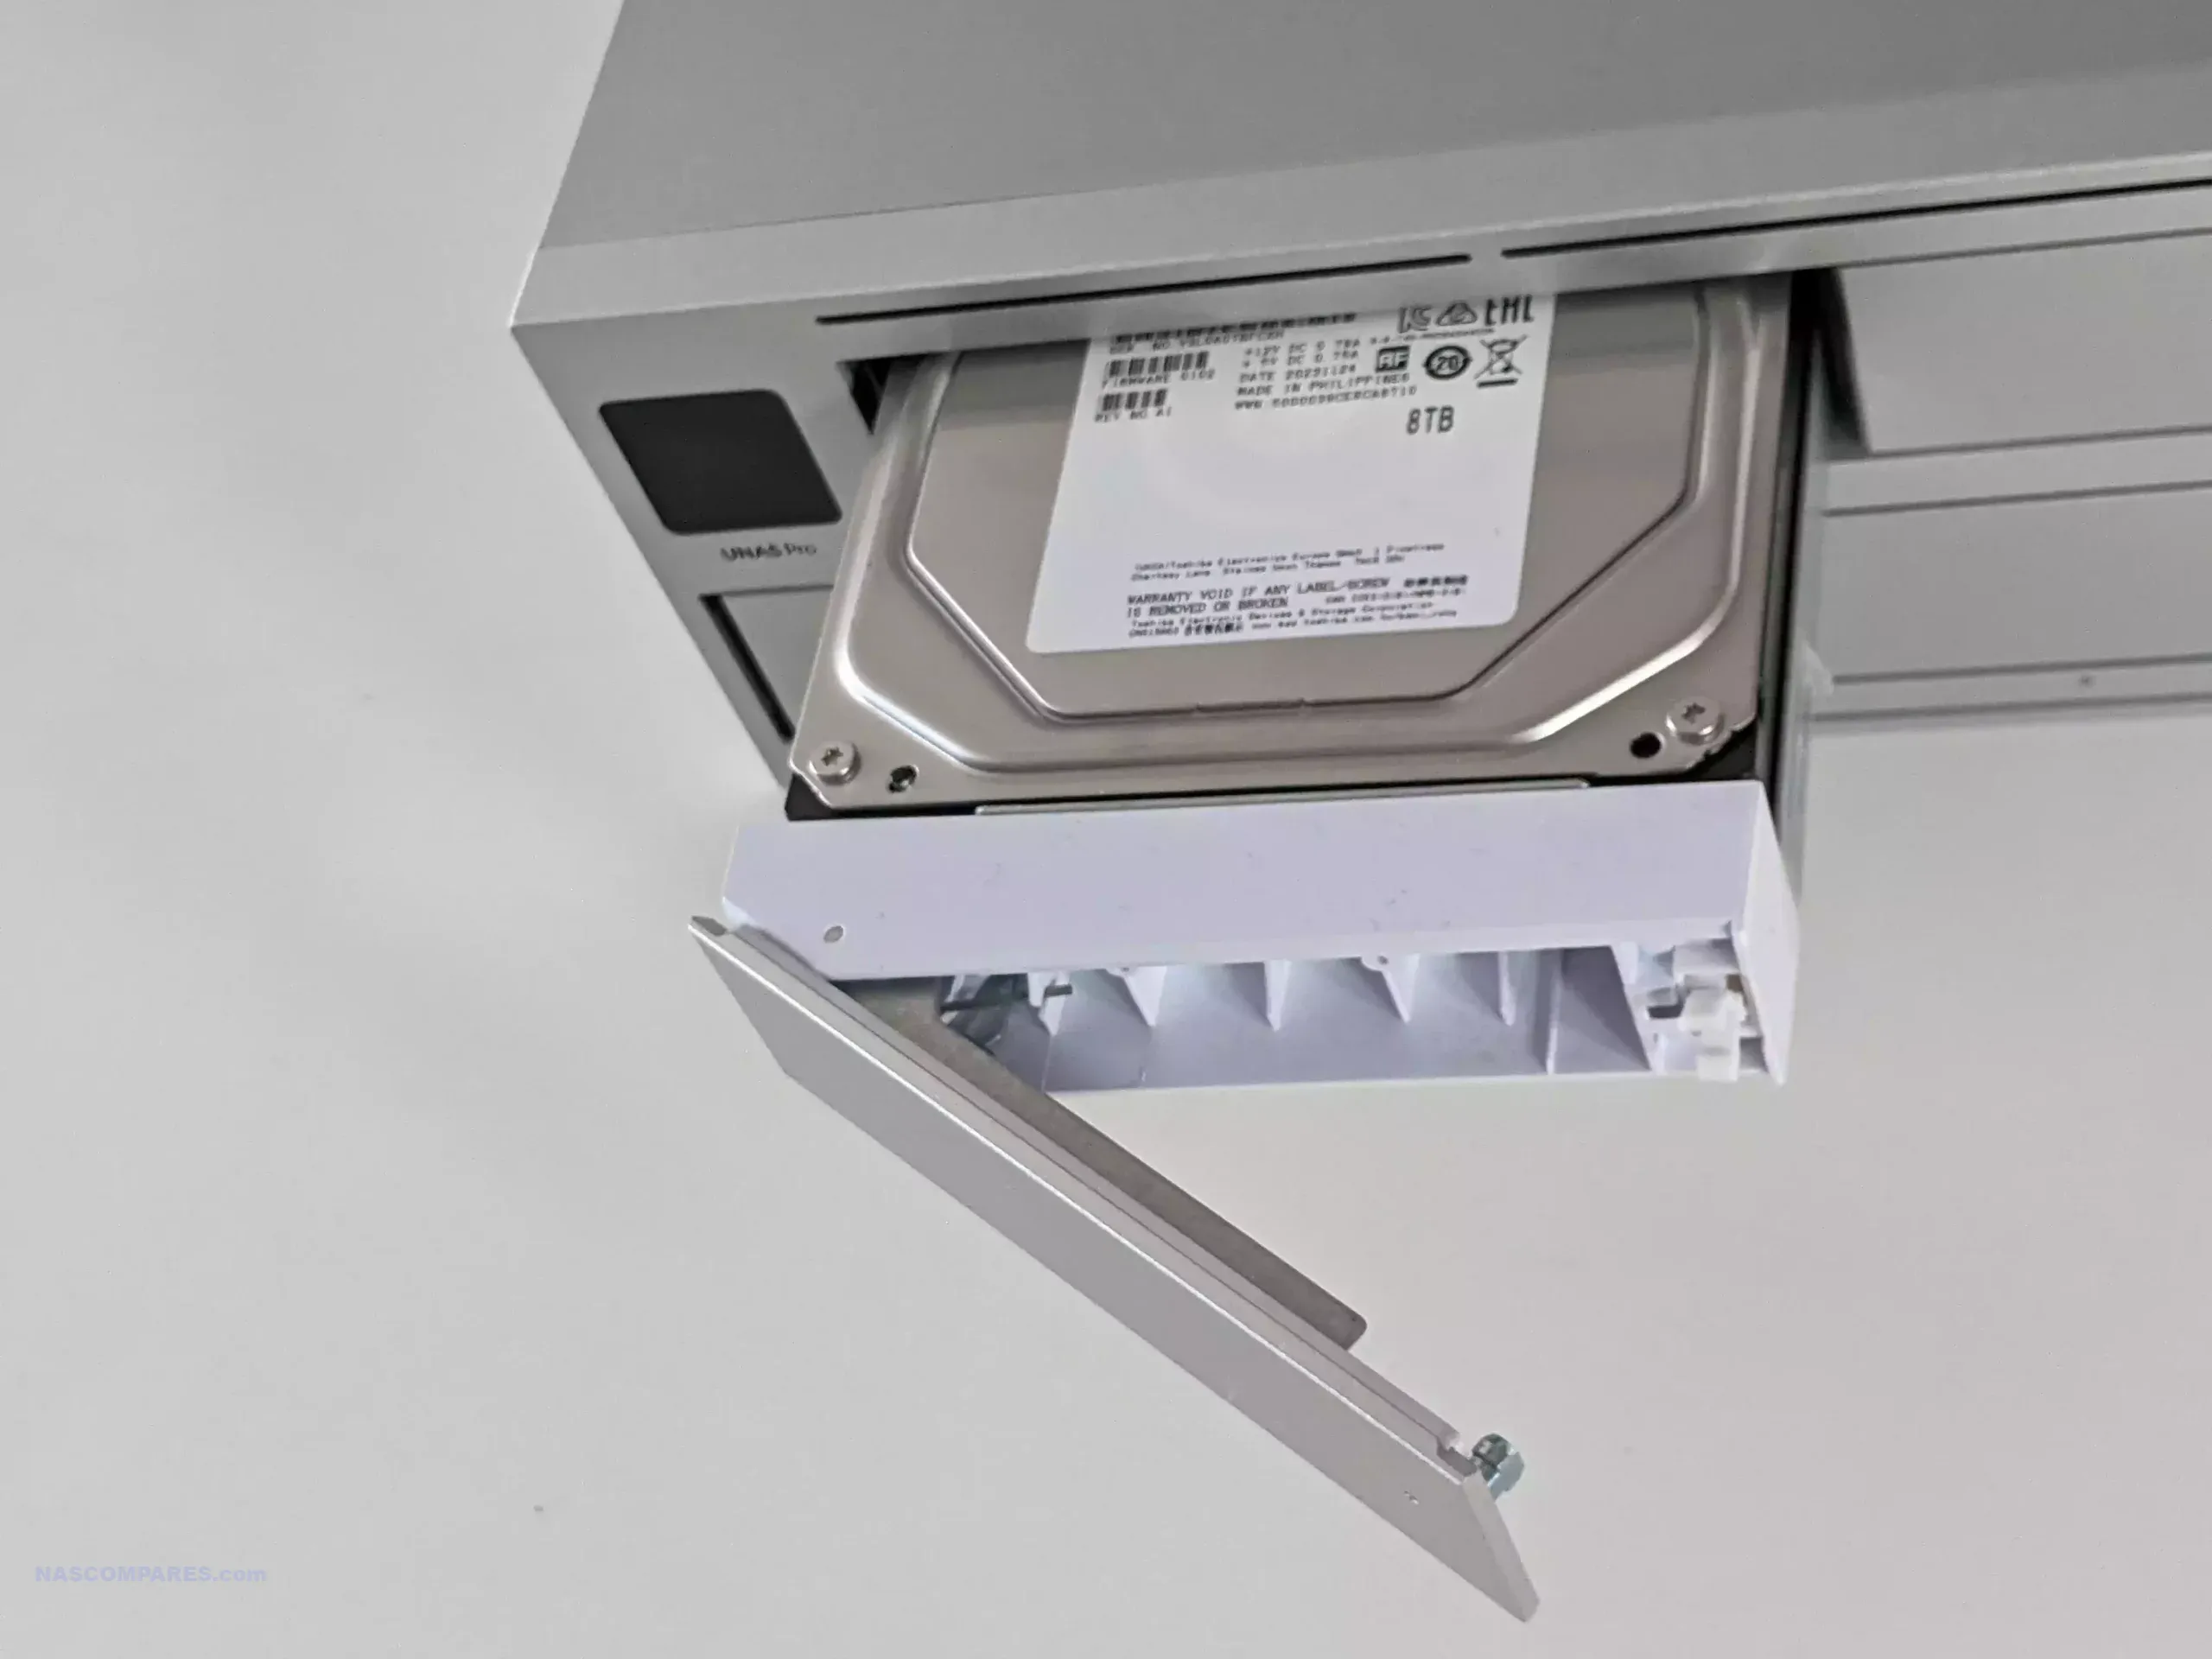
The drive arrangement is also notably different. The UniFi UNAS 4 places its 4 SATA bays in the base of the chassis, with the drives inserted from underneath, while the UGREEN DH4300 Plus uses a top-loaded vertical bay arrangement hidden under a removable outer shell. Neither system uses a particularly enterprise-focused tray design, and neither is really built around frequent hot-swap use in the same way as more expensive rackmount or prosumer NAS systems. That said, the UniFi trays are easier to describe as straightforward click-in drive carriers, while the UGREEN trays feel more budget-oriented in construction and do not leave the same impression of robustness as more established NAS brands.
 |
 |
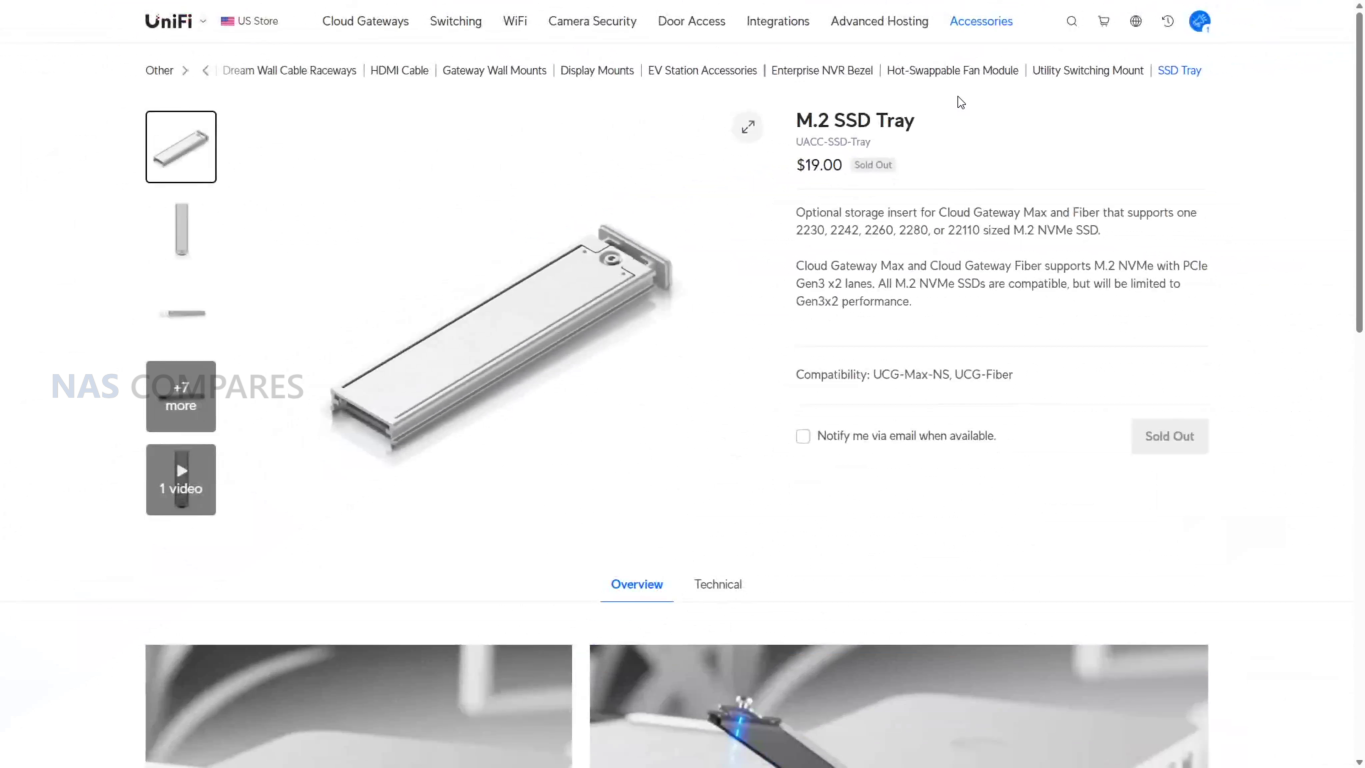
In storage flexibility, the UniFi has the more ambitious configuration. Alongside its 4 SATA bays, it also includes 2 dedicated M.2 NVMe slots for SSD cache. That gives it an advantage in hybrid storage architecture, since the hard drives can be used for capacity while the NVMe media handles read and write cache duties. The UGREEN DH4300 Plus does not include M.2 storage slots, so any SSD deployment has to consume one or more of the main SATA bays, which reduces total storage capacity. At the same time, UniFi currently limits those NVMe bays to cache use rather than general storage pools, so the practical advantage is still narrower than the raw hardware layout suggests.
 |
 |
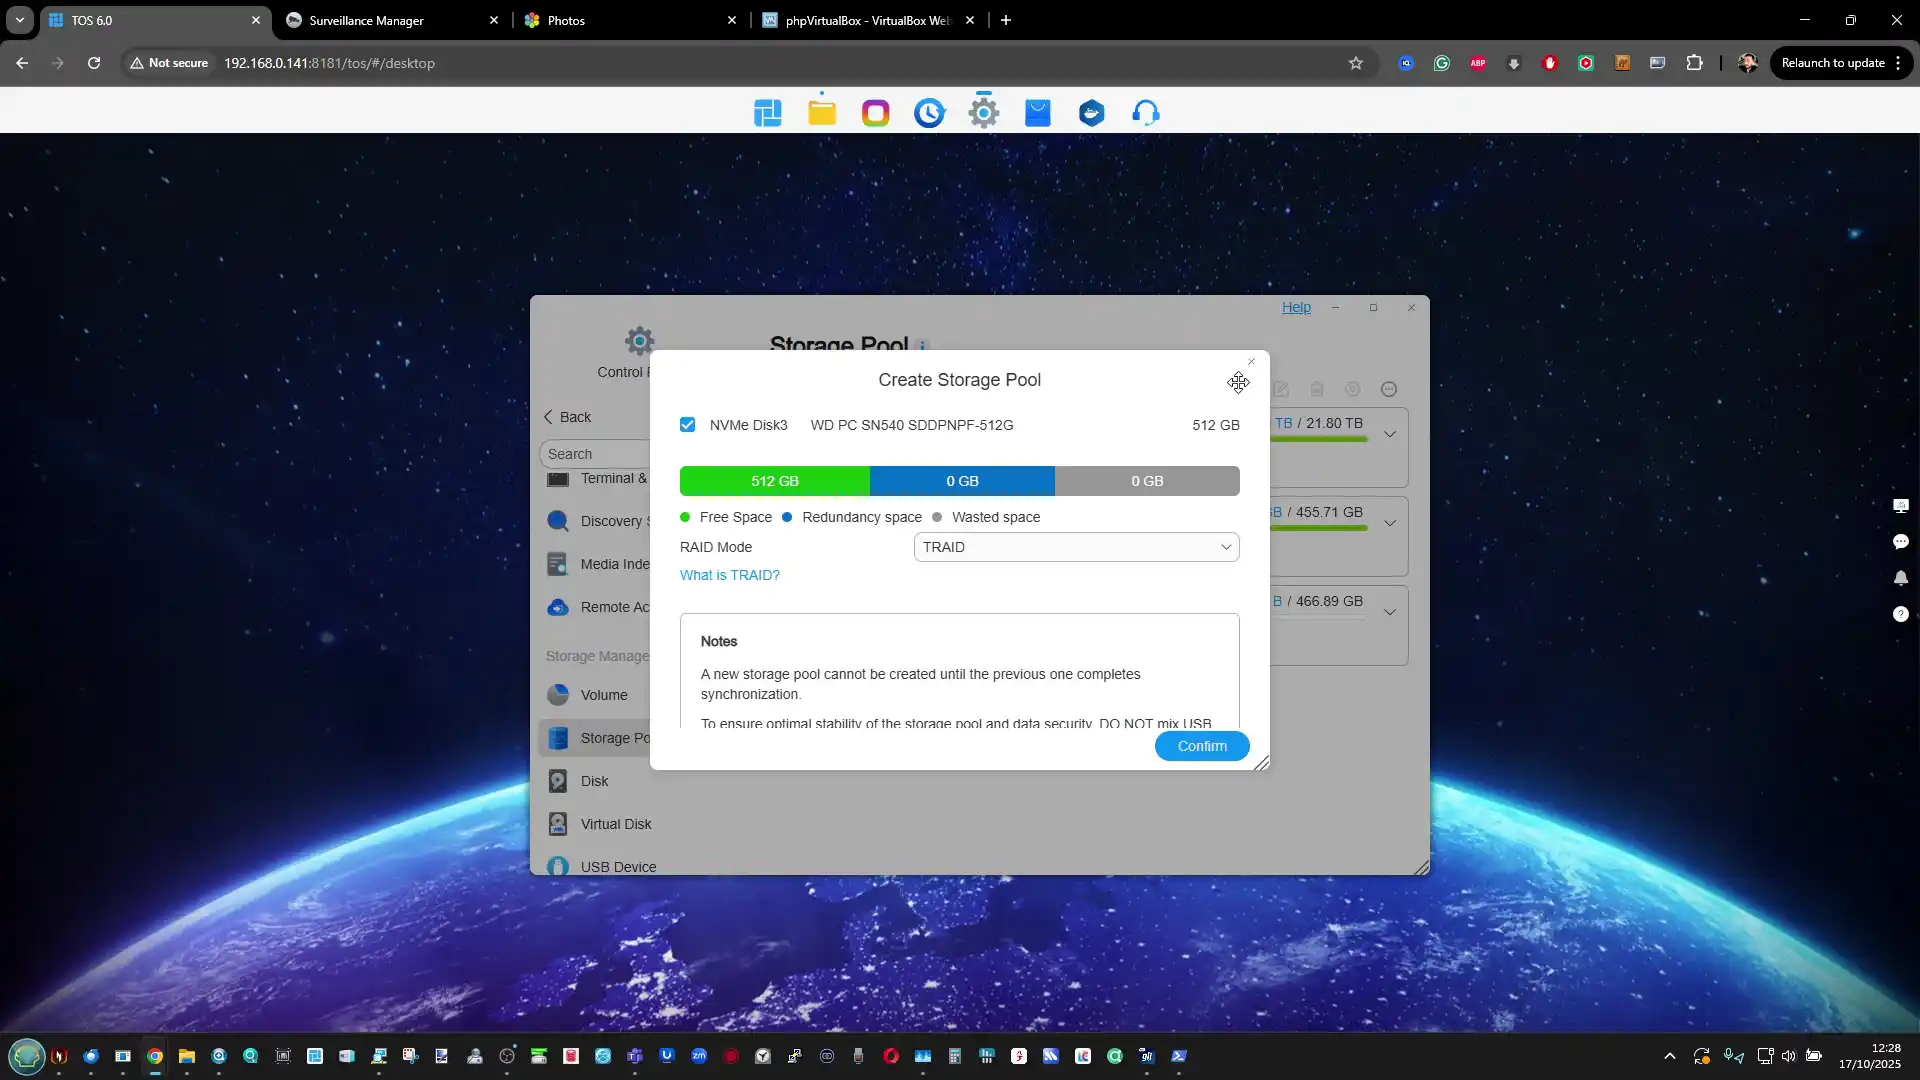
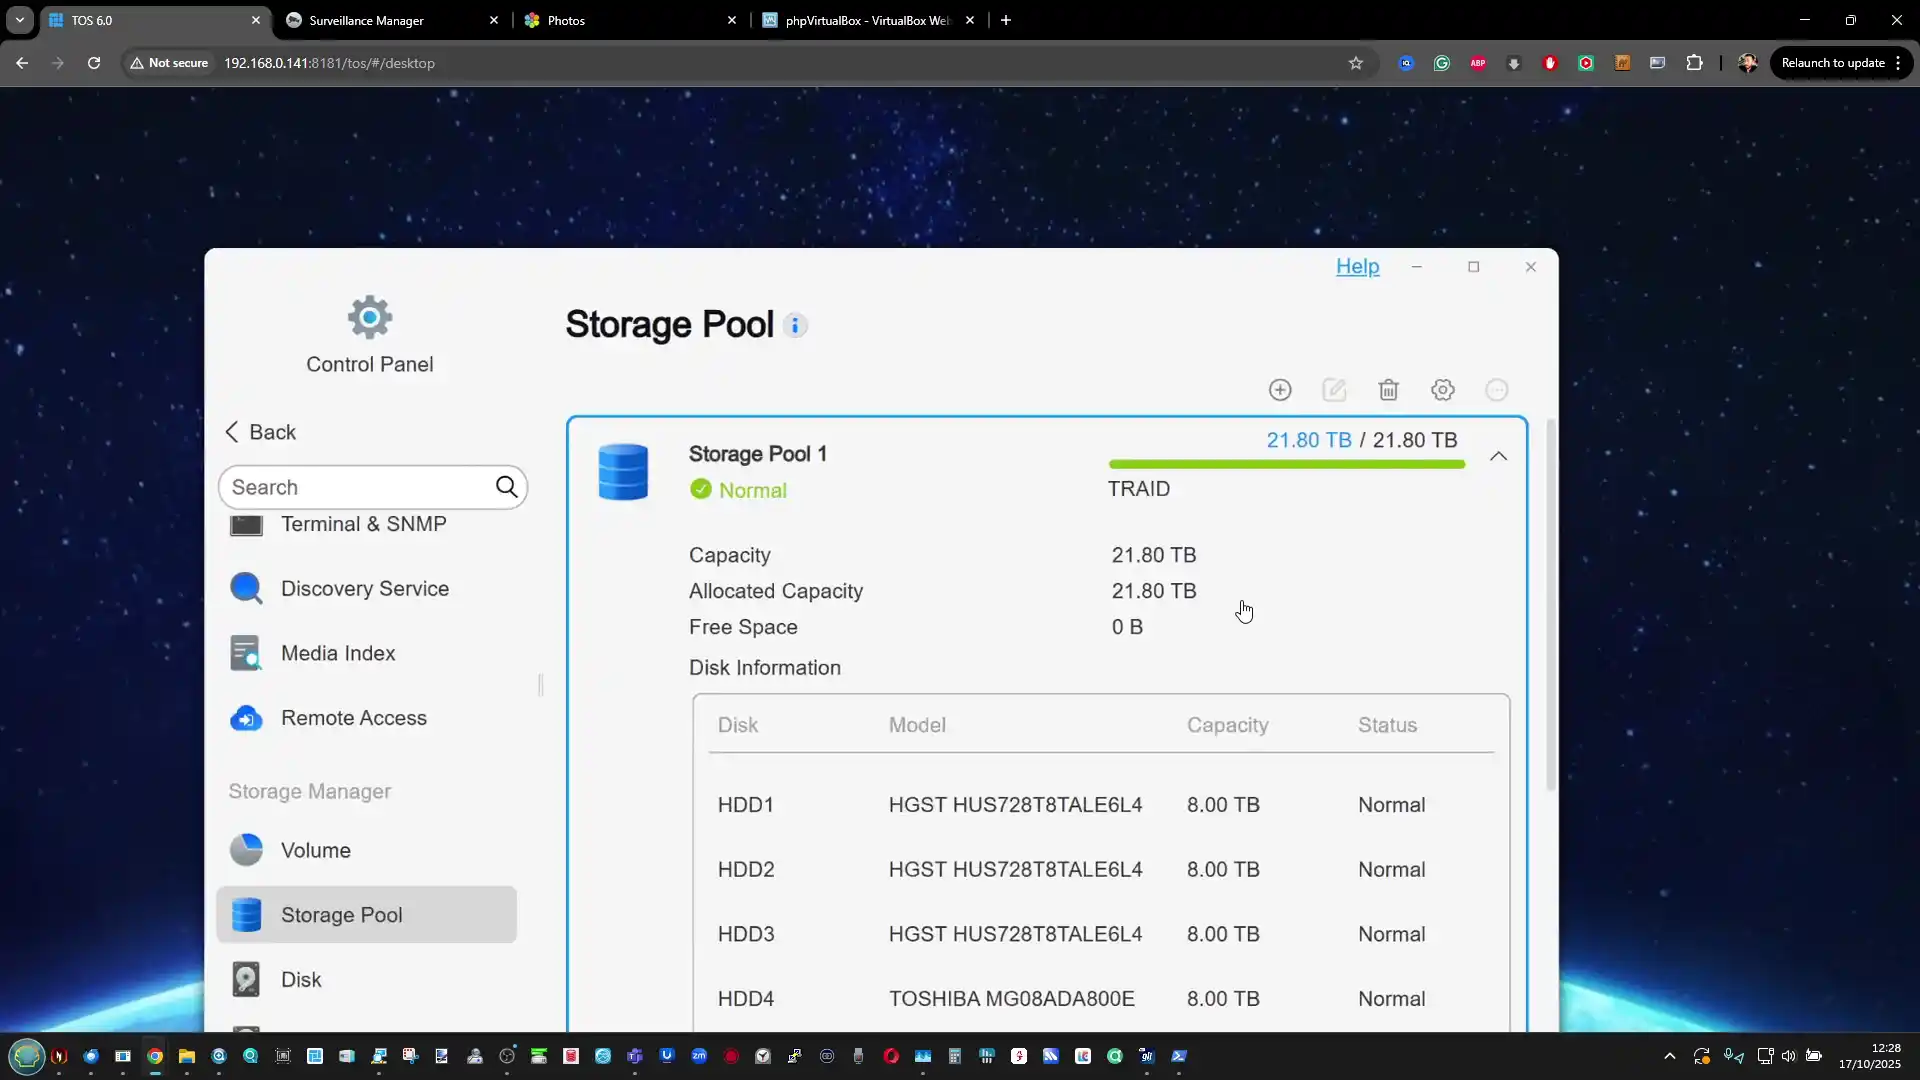
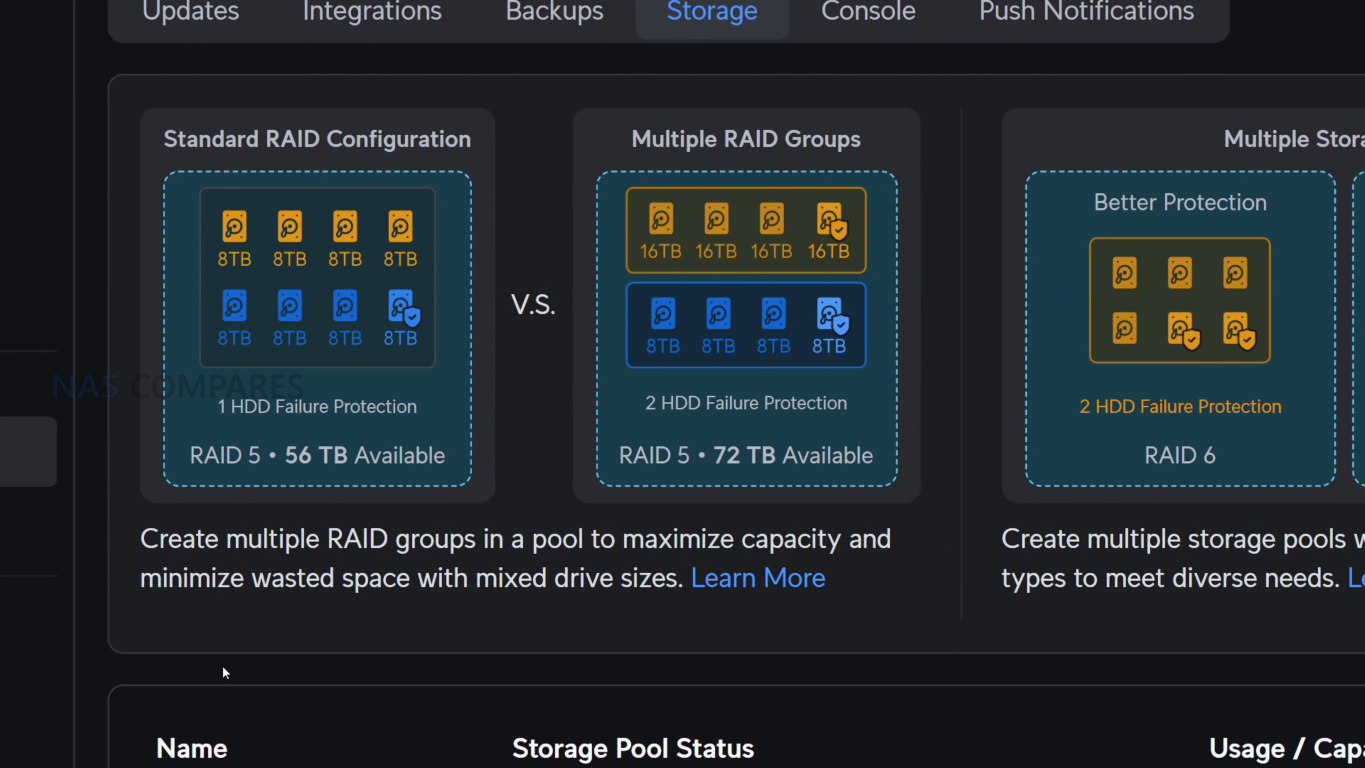
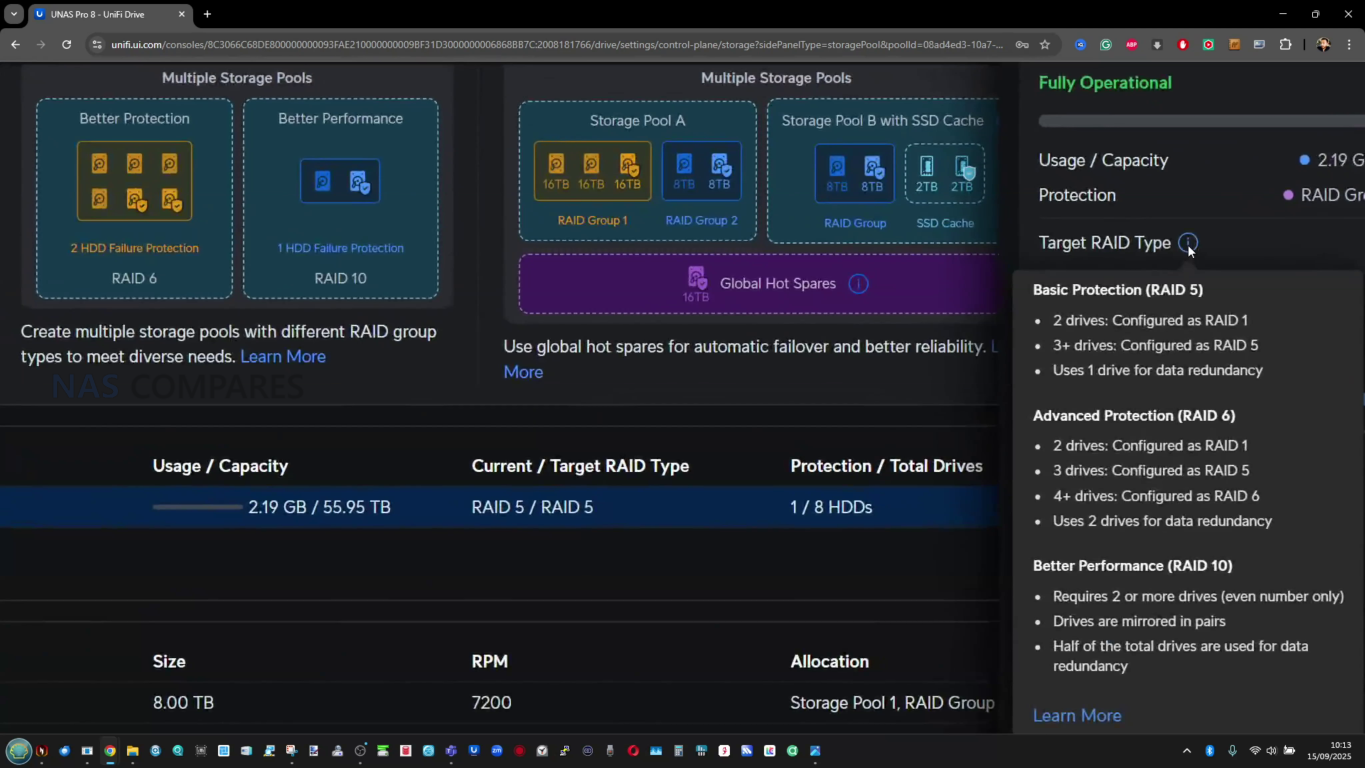
The 2 brands also differ in RAID and storage management philosophy. The UGREEN supports a broader list of RAID modes, including JBOD, Basic, RAID 0, RAID 1, RAID 5, RAID 6, and RAID 10, which gives it more deployment flexibility for different user priorities around performance, redundancy, or simple linear storage. The UniFi platform supports RAID 5, RAID 6, and RAID 10, but its overall storage structure is more controlled and less flexible, with a stronger focus on a simplified single storage pool approach. For buyers who want fewer decisions and a cleaner setup process, that may be acceptable, but for users who want more granular control over how storage is arranged, the UGREEN is less restrictive.
 |
 |
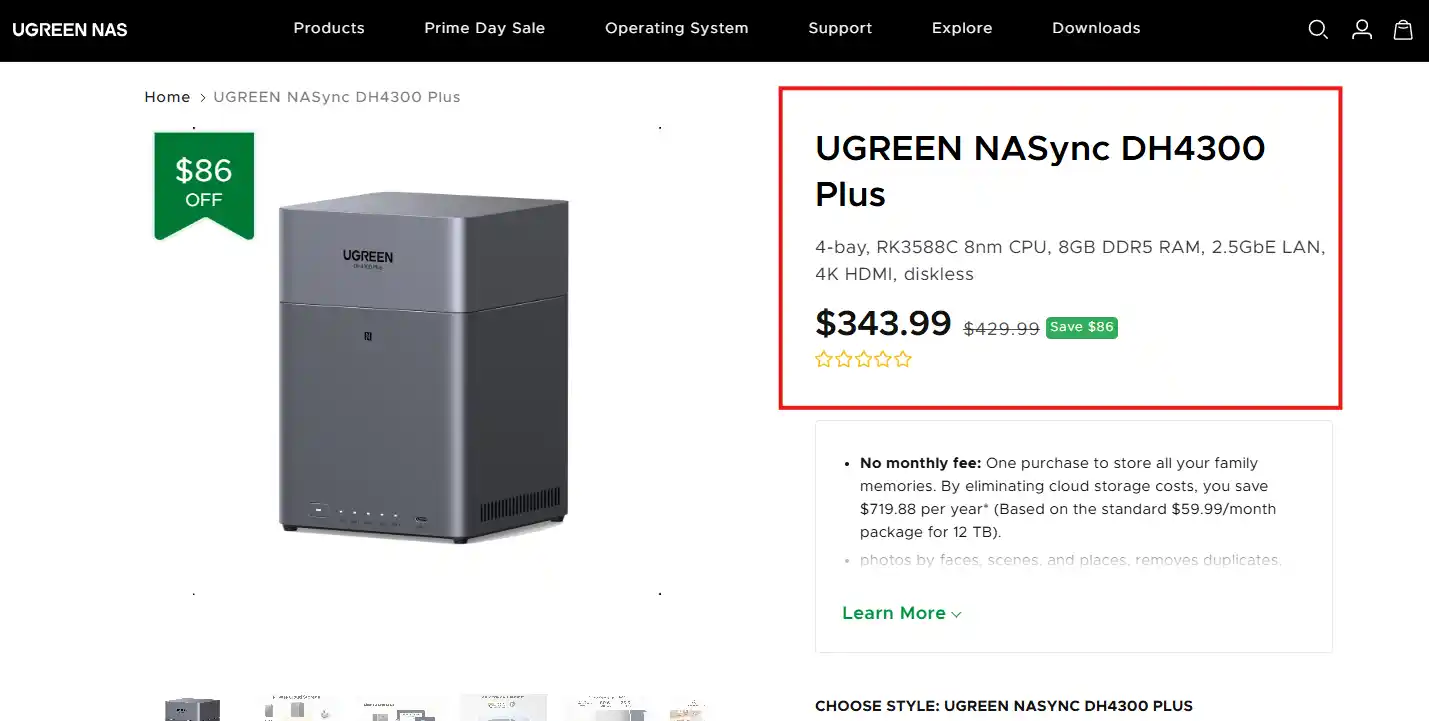
In pure storage potential, the UGREEN is also easier to quantify because it officially supports up to 128TB across 4 bays using 32TB drives, whereas UniFi focuses more on supported drive compatibility and cache pairing than on headline raw capacity figures. The UniFi does have the practical advantage of SSD caching built in, which can improve responsiveness in repeated access and write-heavy workloads, but the UGREEN has the simpler storage proposition overall and does not tie part of its internal design to optional accessories such as UniFi’s separate M.2 tray approach. As a result, the UniFi has the more distinctive and technically layered storage design, while the UGREEN has the more conventional and broadly flexible one.
|
 |
UniFi UNAS4 vs UGREEN DH 4300 – Internal Hardware & Connections
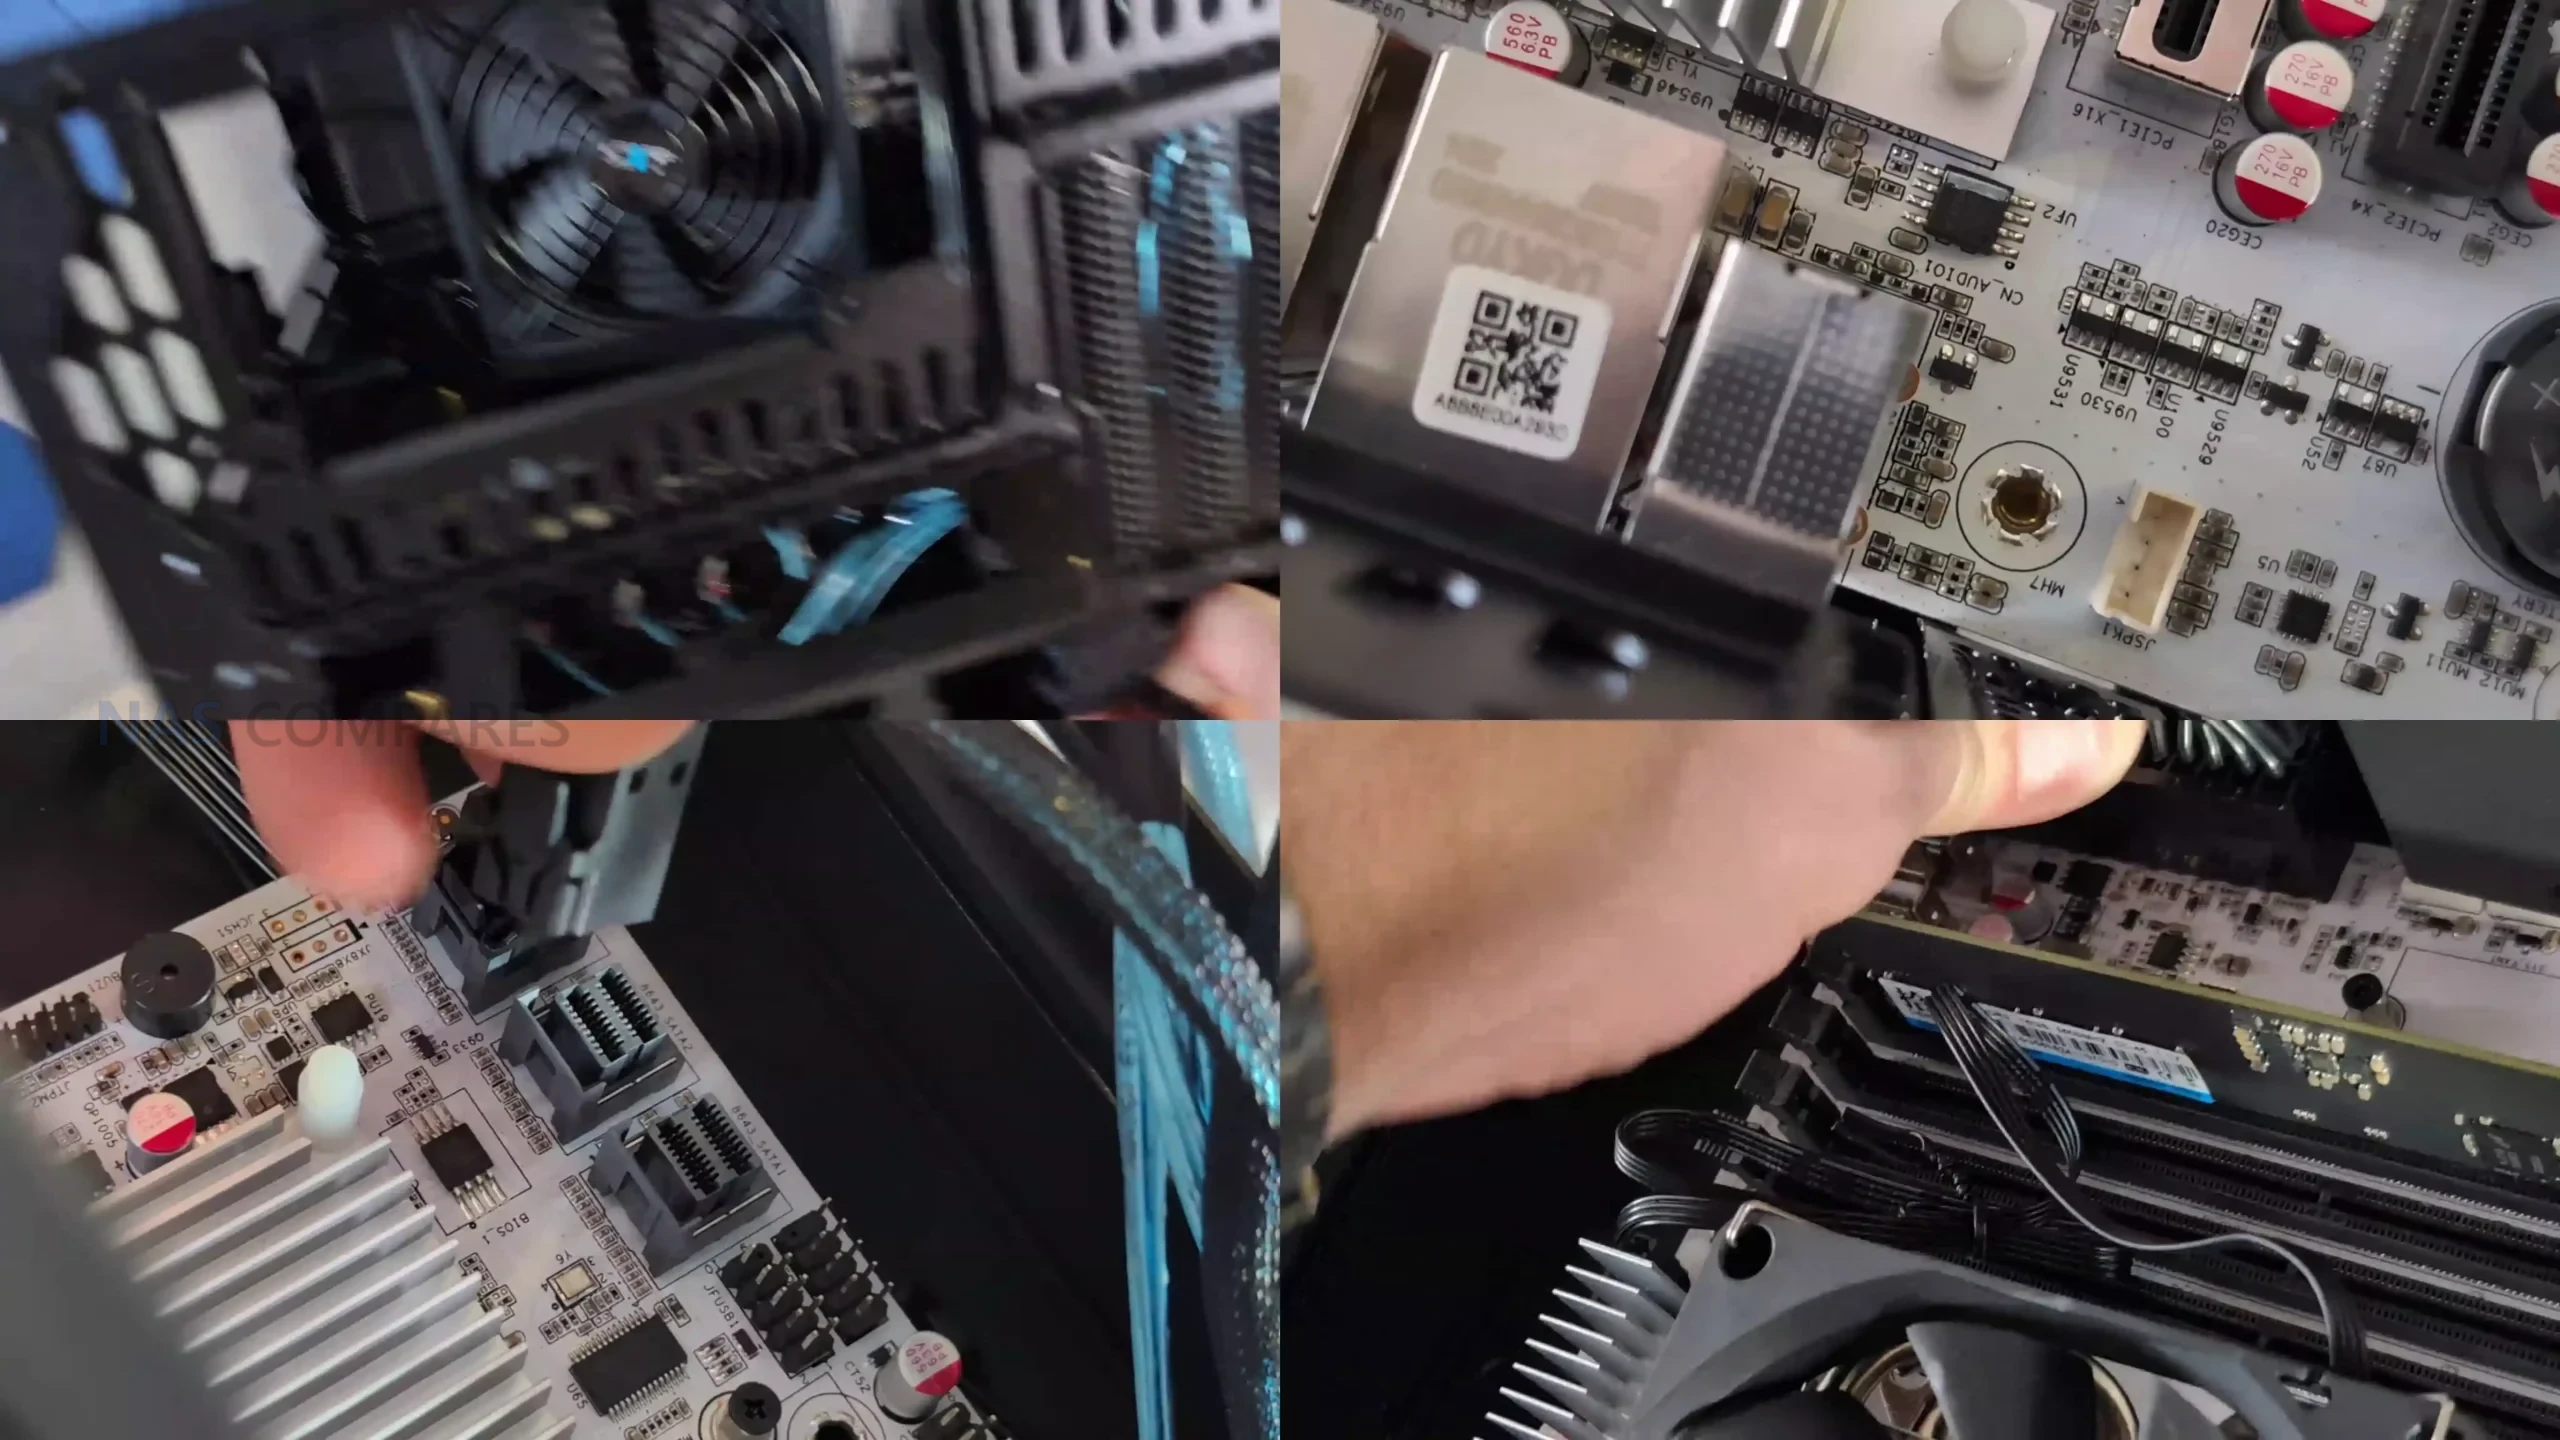
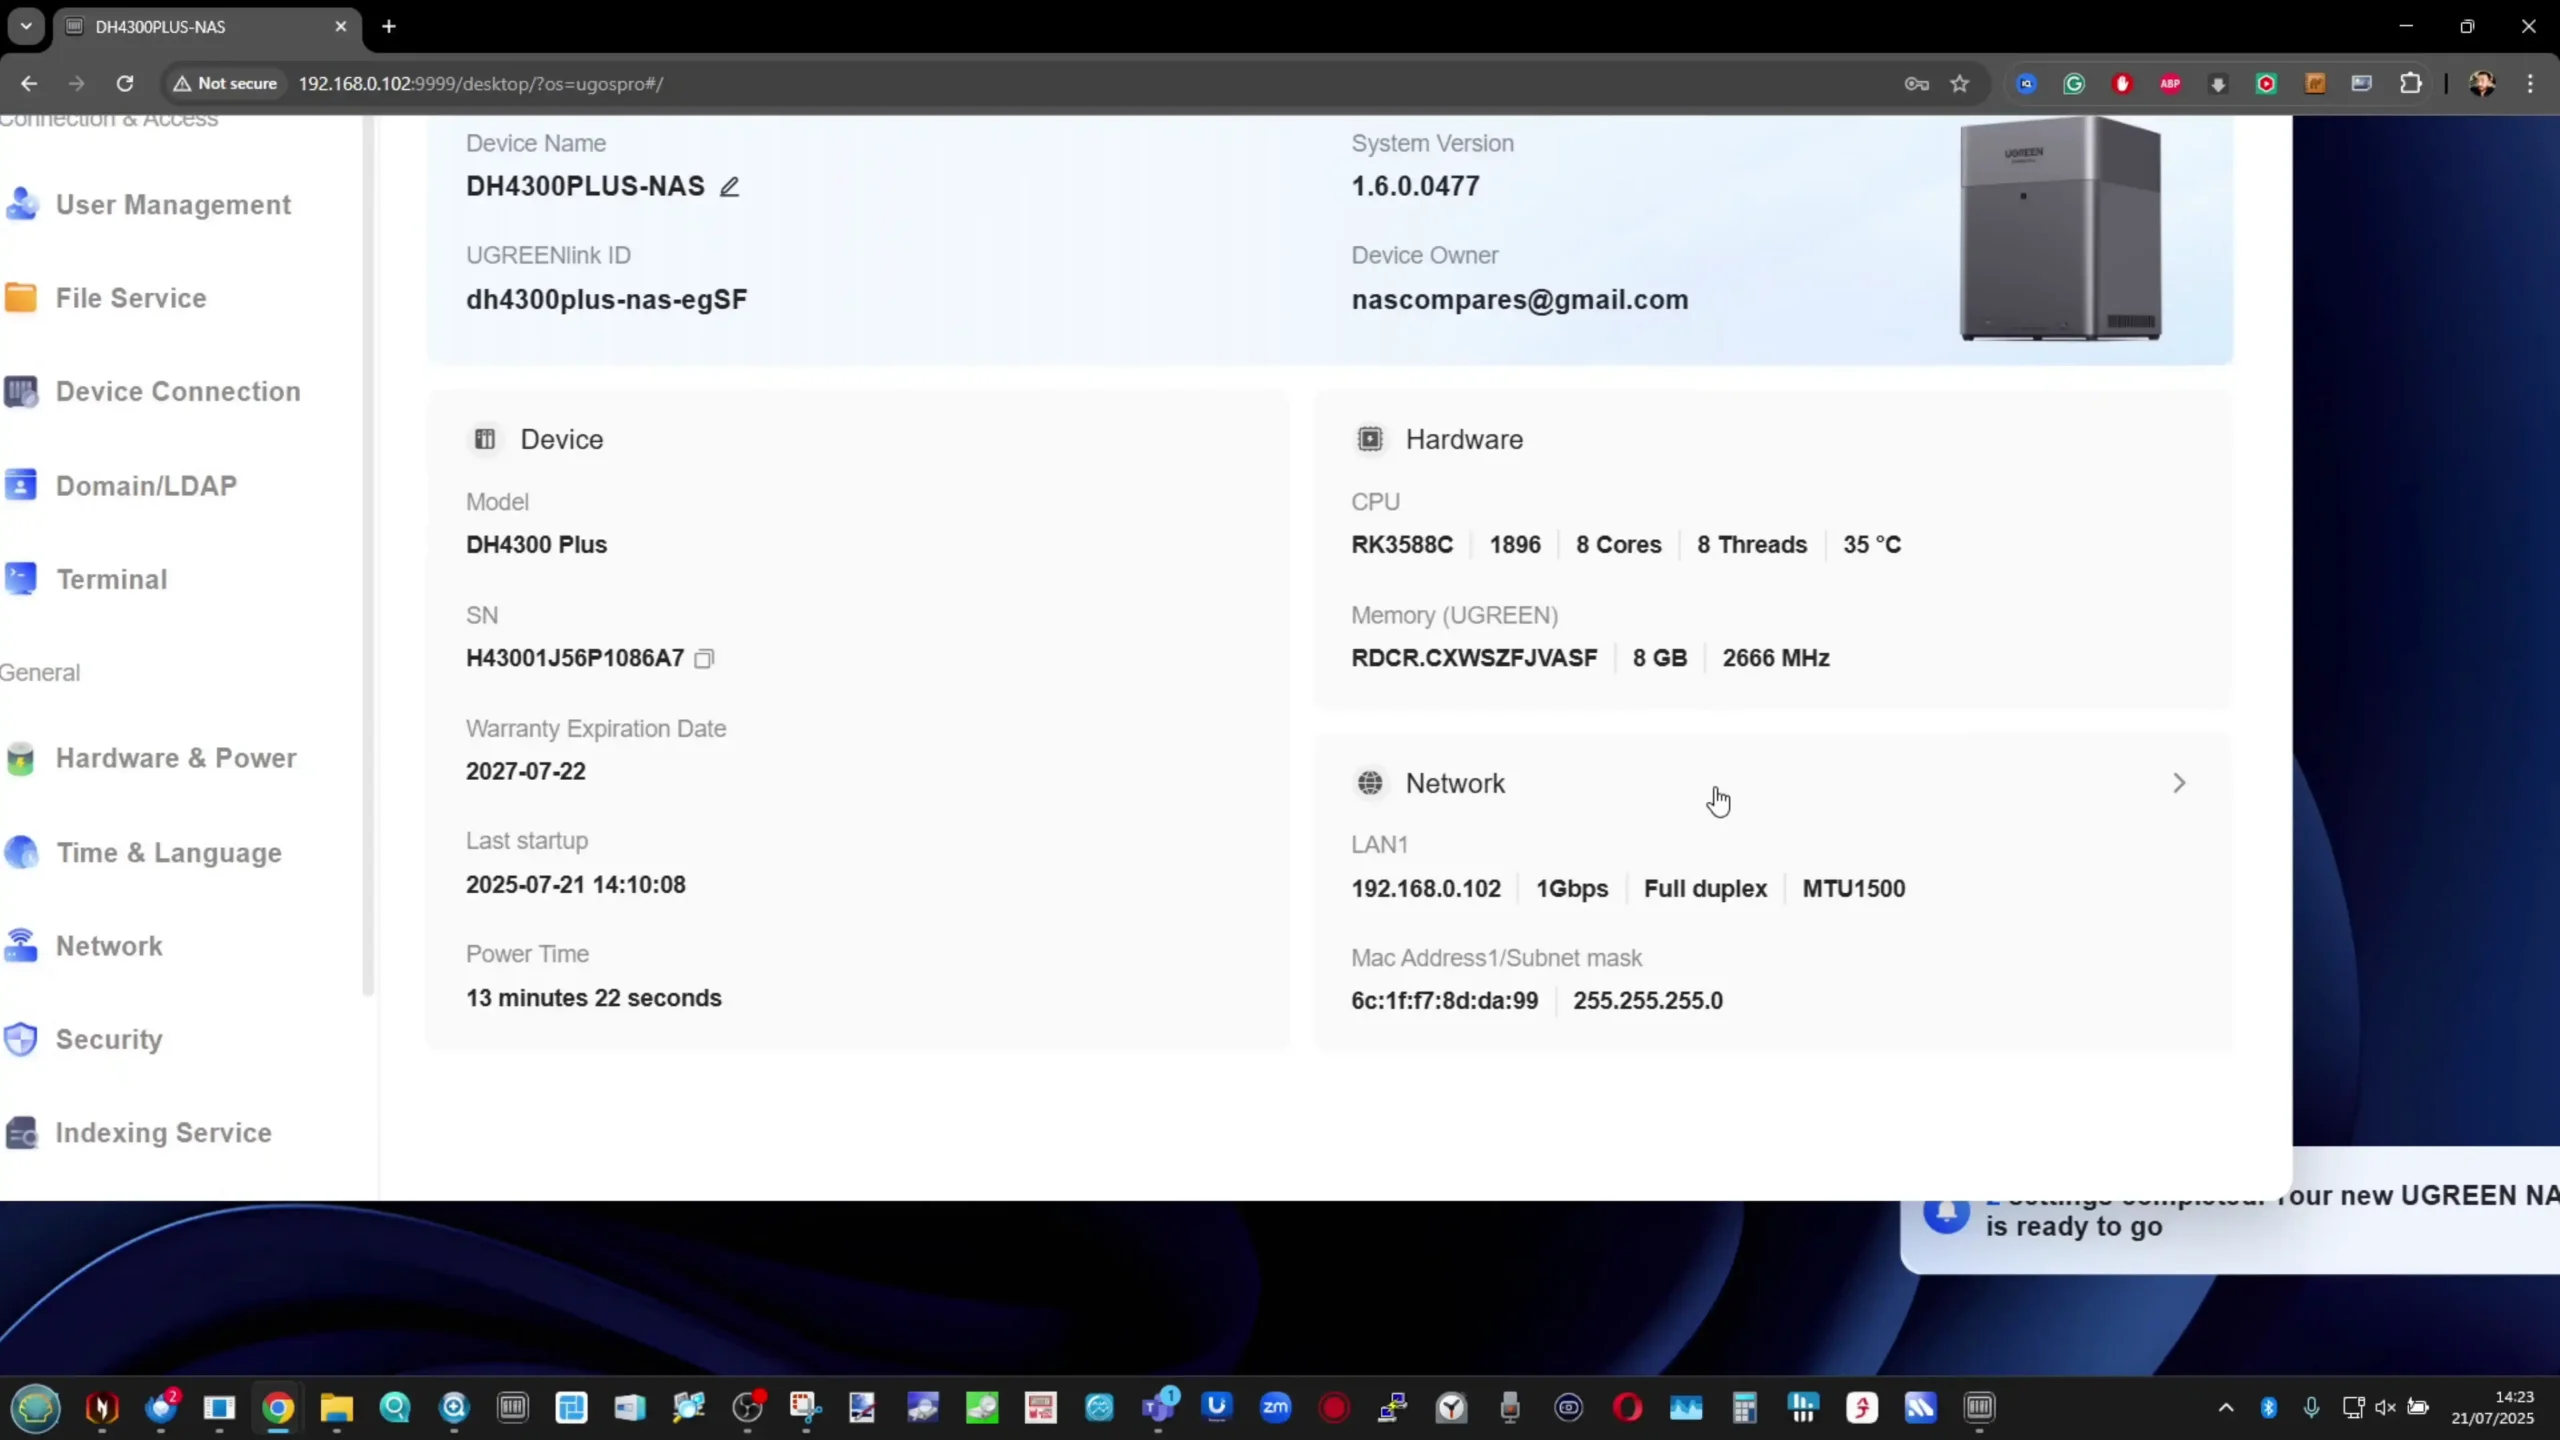
Internally, the UGREEN DH4300 Plus has the stronger hardware specification. It uses an 8-core Rockchip ARM processor based on Cortex-A76 and Cortex-A55 cores running at up to 2.0GHz, alongside 8GB of LPDDR4X memory and 32GB of eMMC for the system. By comparison, the UniFi UNAS 4 uses a quad-core ARM Cortex-A55 processor at 1.7GHz with 4GB of memory. Both systems are clearly built around low-power ARM architecture rather than x86 processing, but the UGREEN has the more capable platform on paper and offers more headroom for multitasking, background services, and broader software functionality.
 |
 |
The UniFi system does, however, counter with a more unusual internal layout. In addition to its 4 SATA bays, it includes 2 M.2 NVMe slots dedicated to SSD cache, which gives it a storage acceleration feature that the UGREEN does not match natively. For users dealing with repeated file access, background synchronization, or burst-heavy write activity, that cache support has practical value. The UGREEN relies entirely on its 4 SATA bays for storage media, so although its CPU and memory are stronger, its internal storage architecture is less advanced in terms of tiered storage.
 |
 |
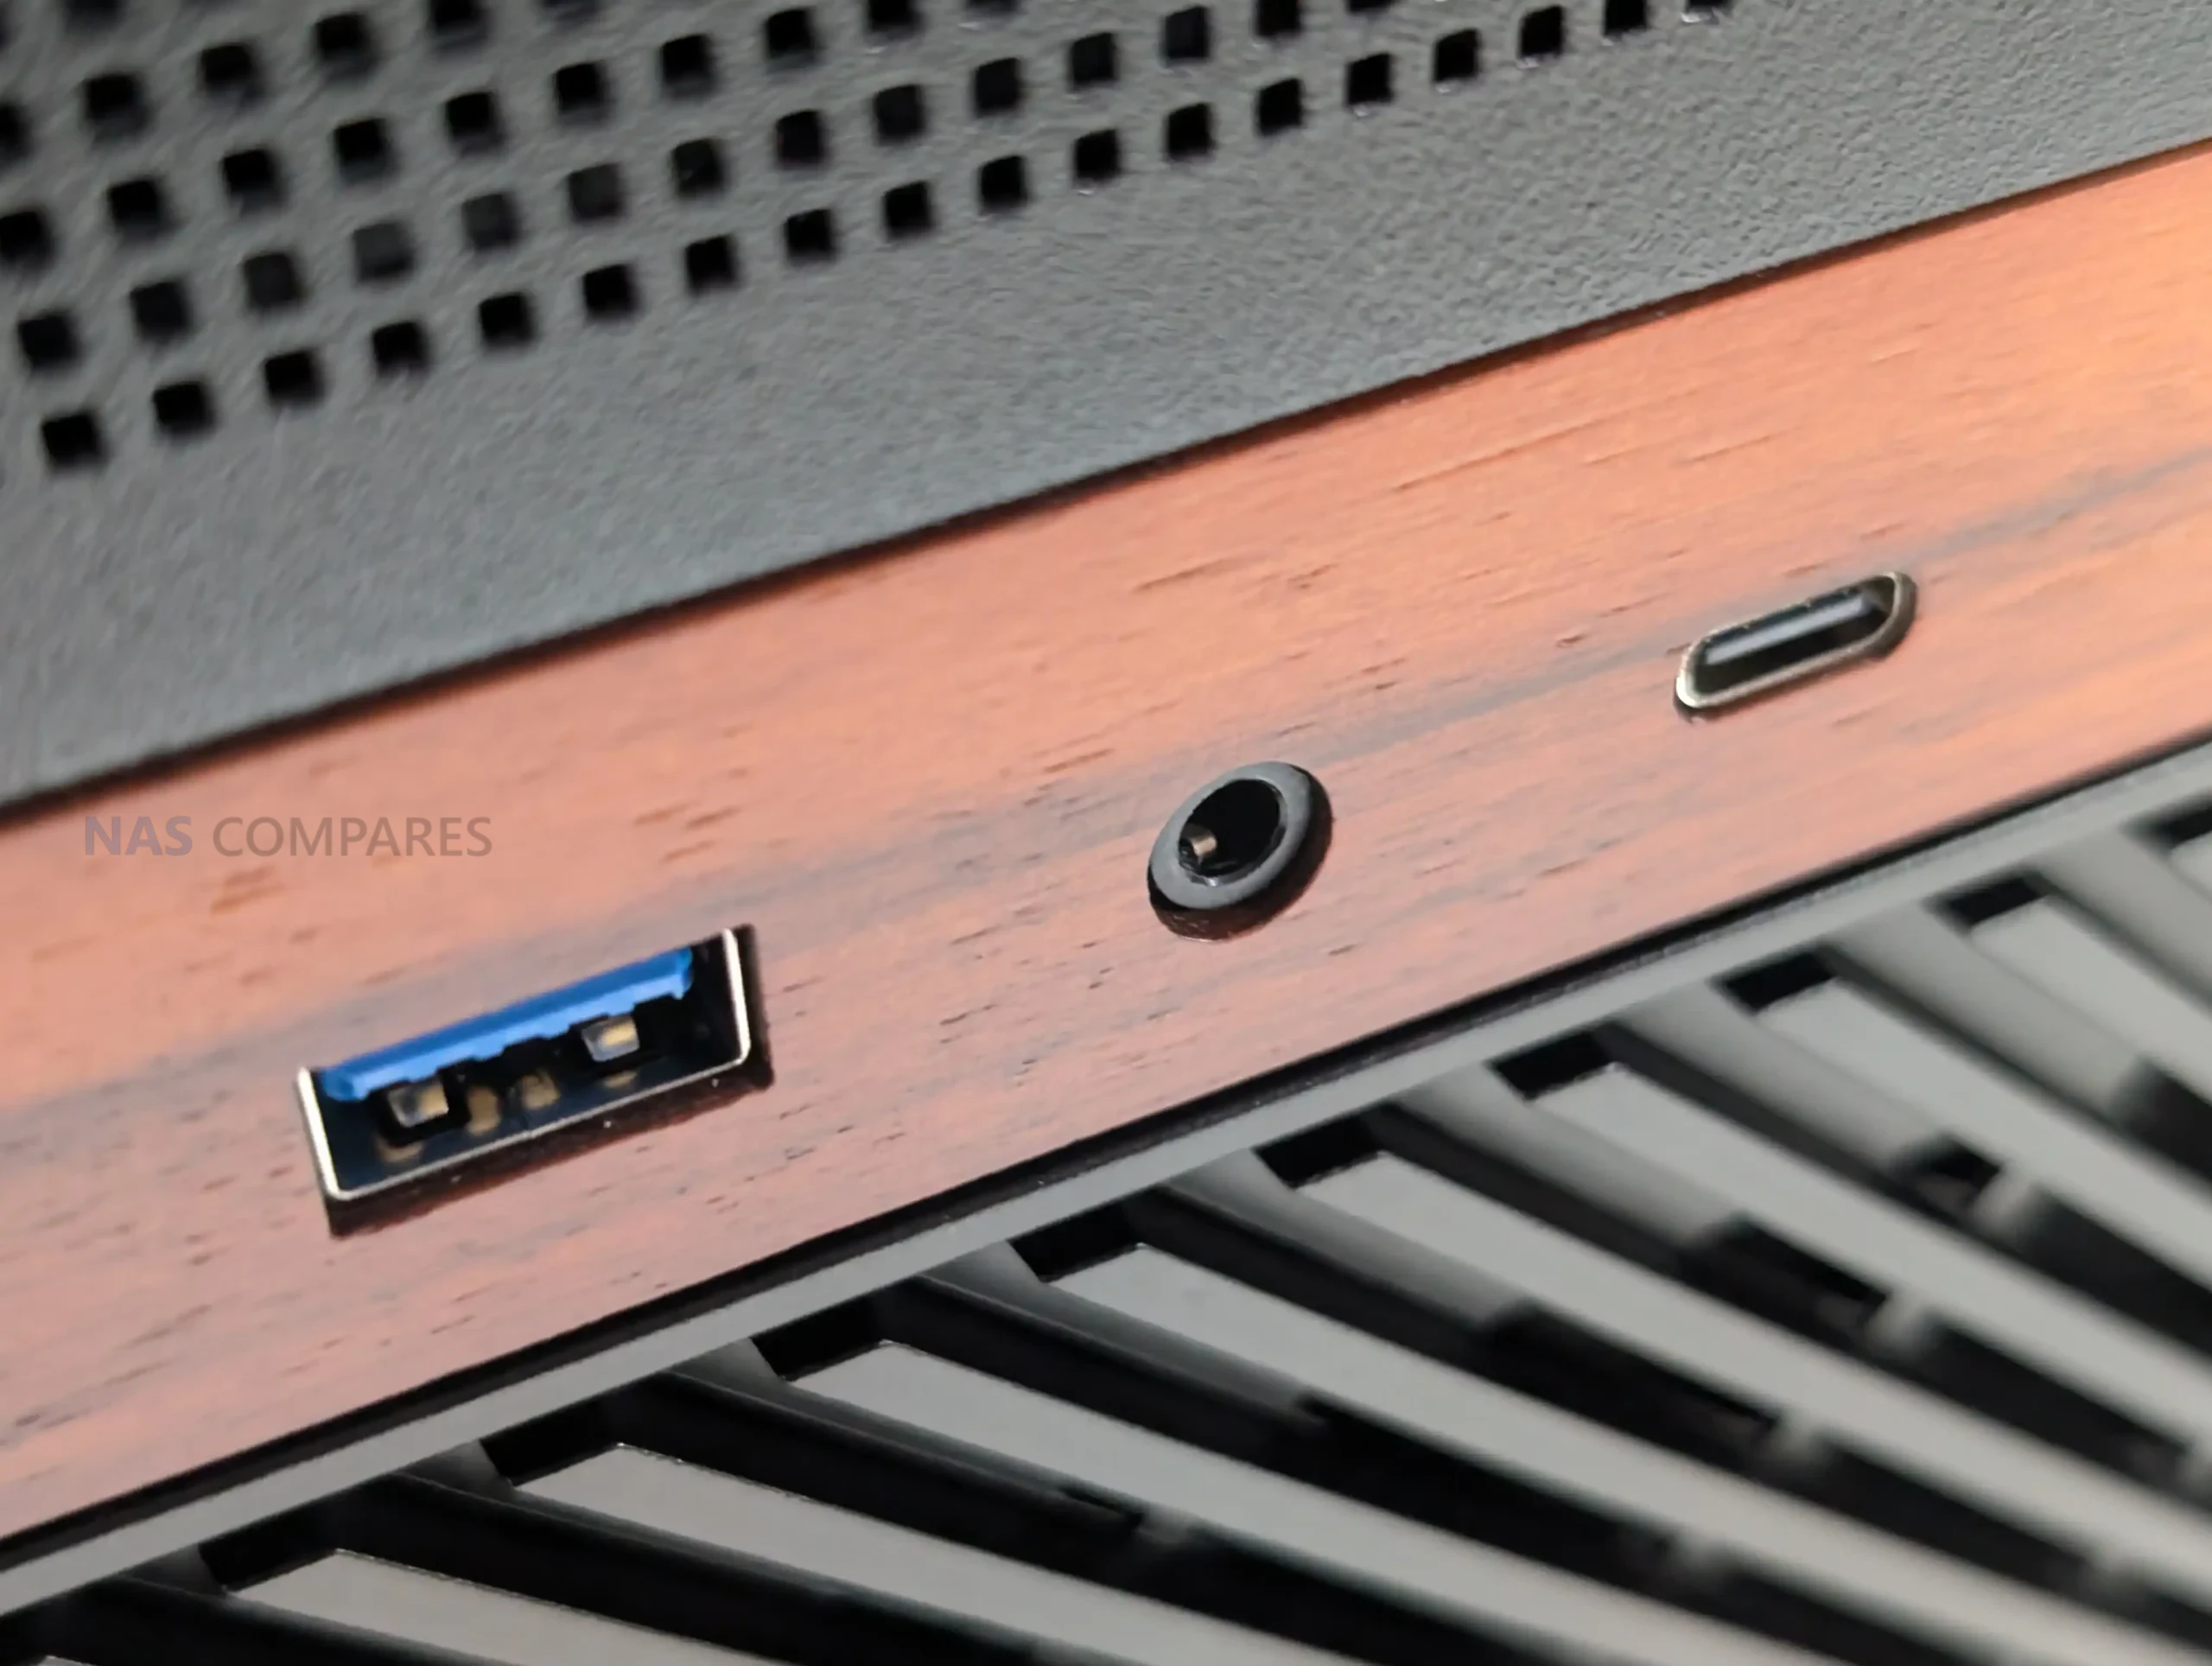
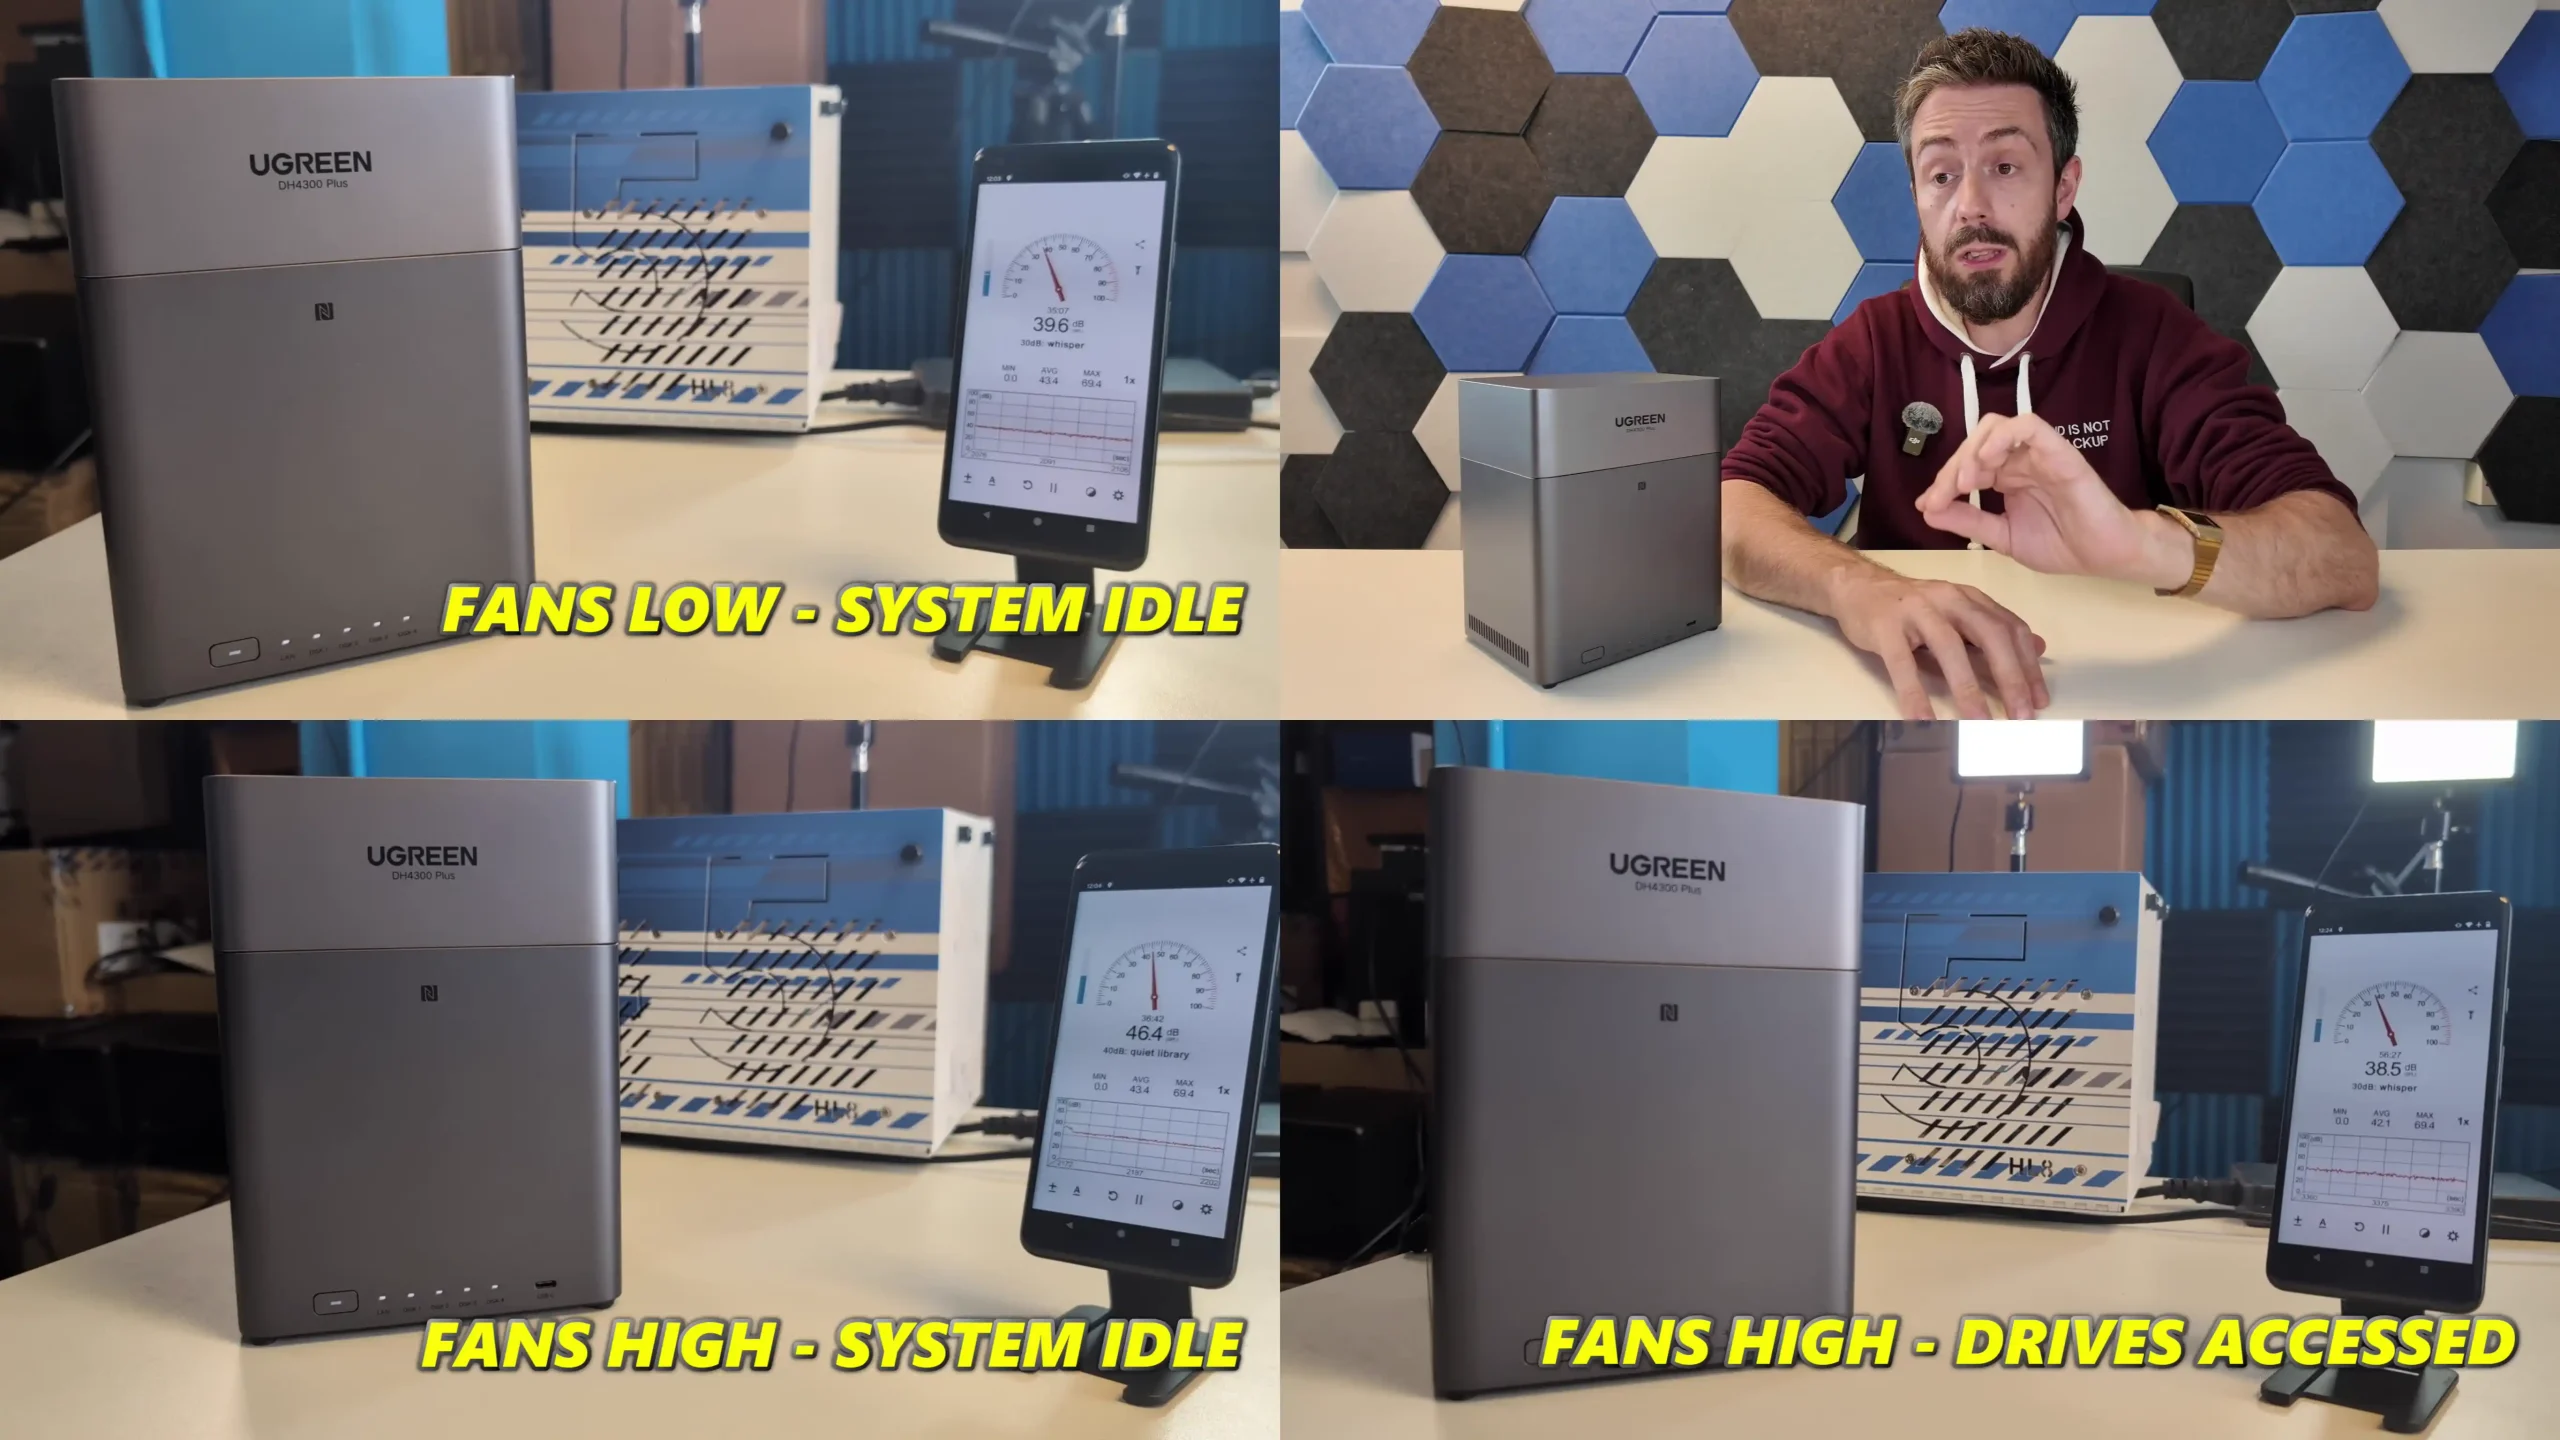
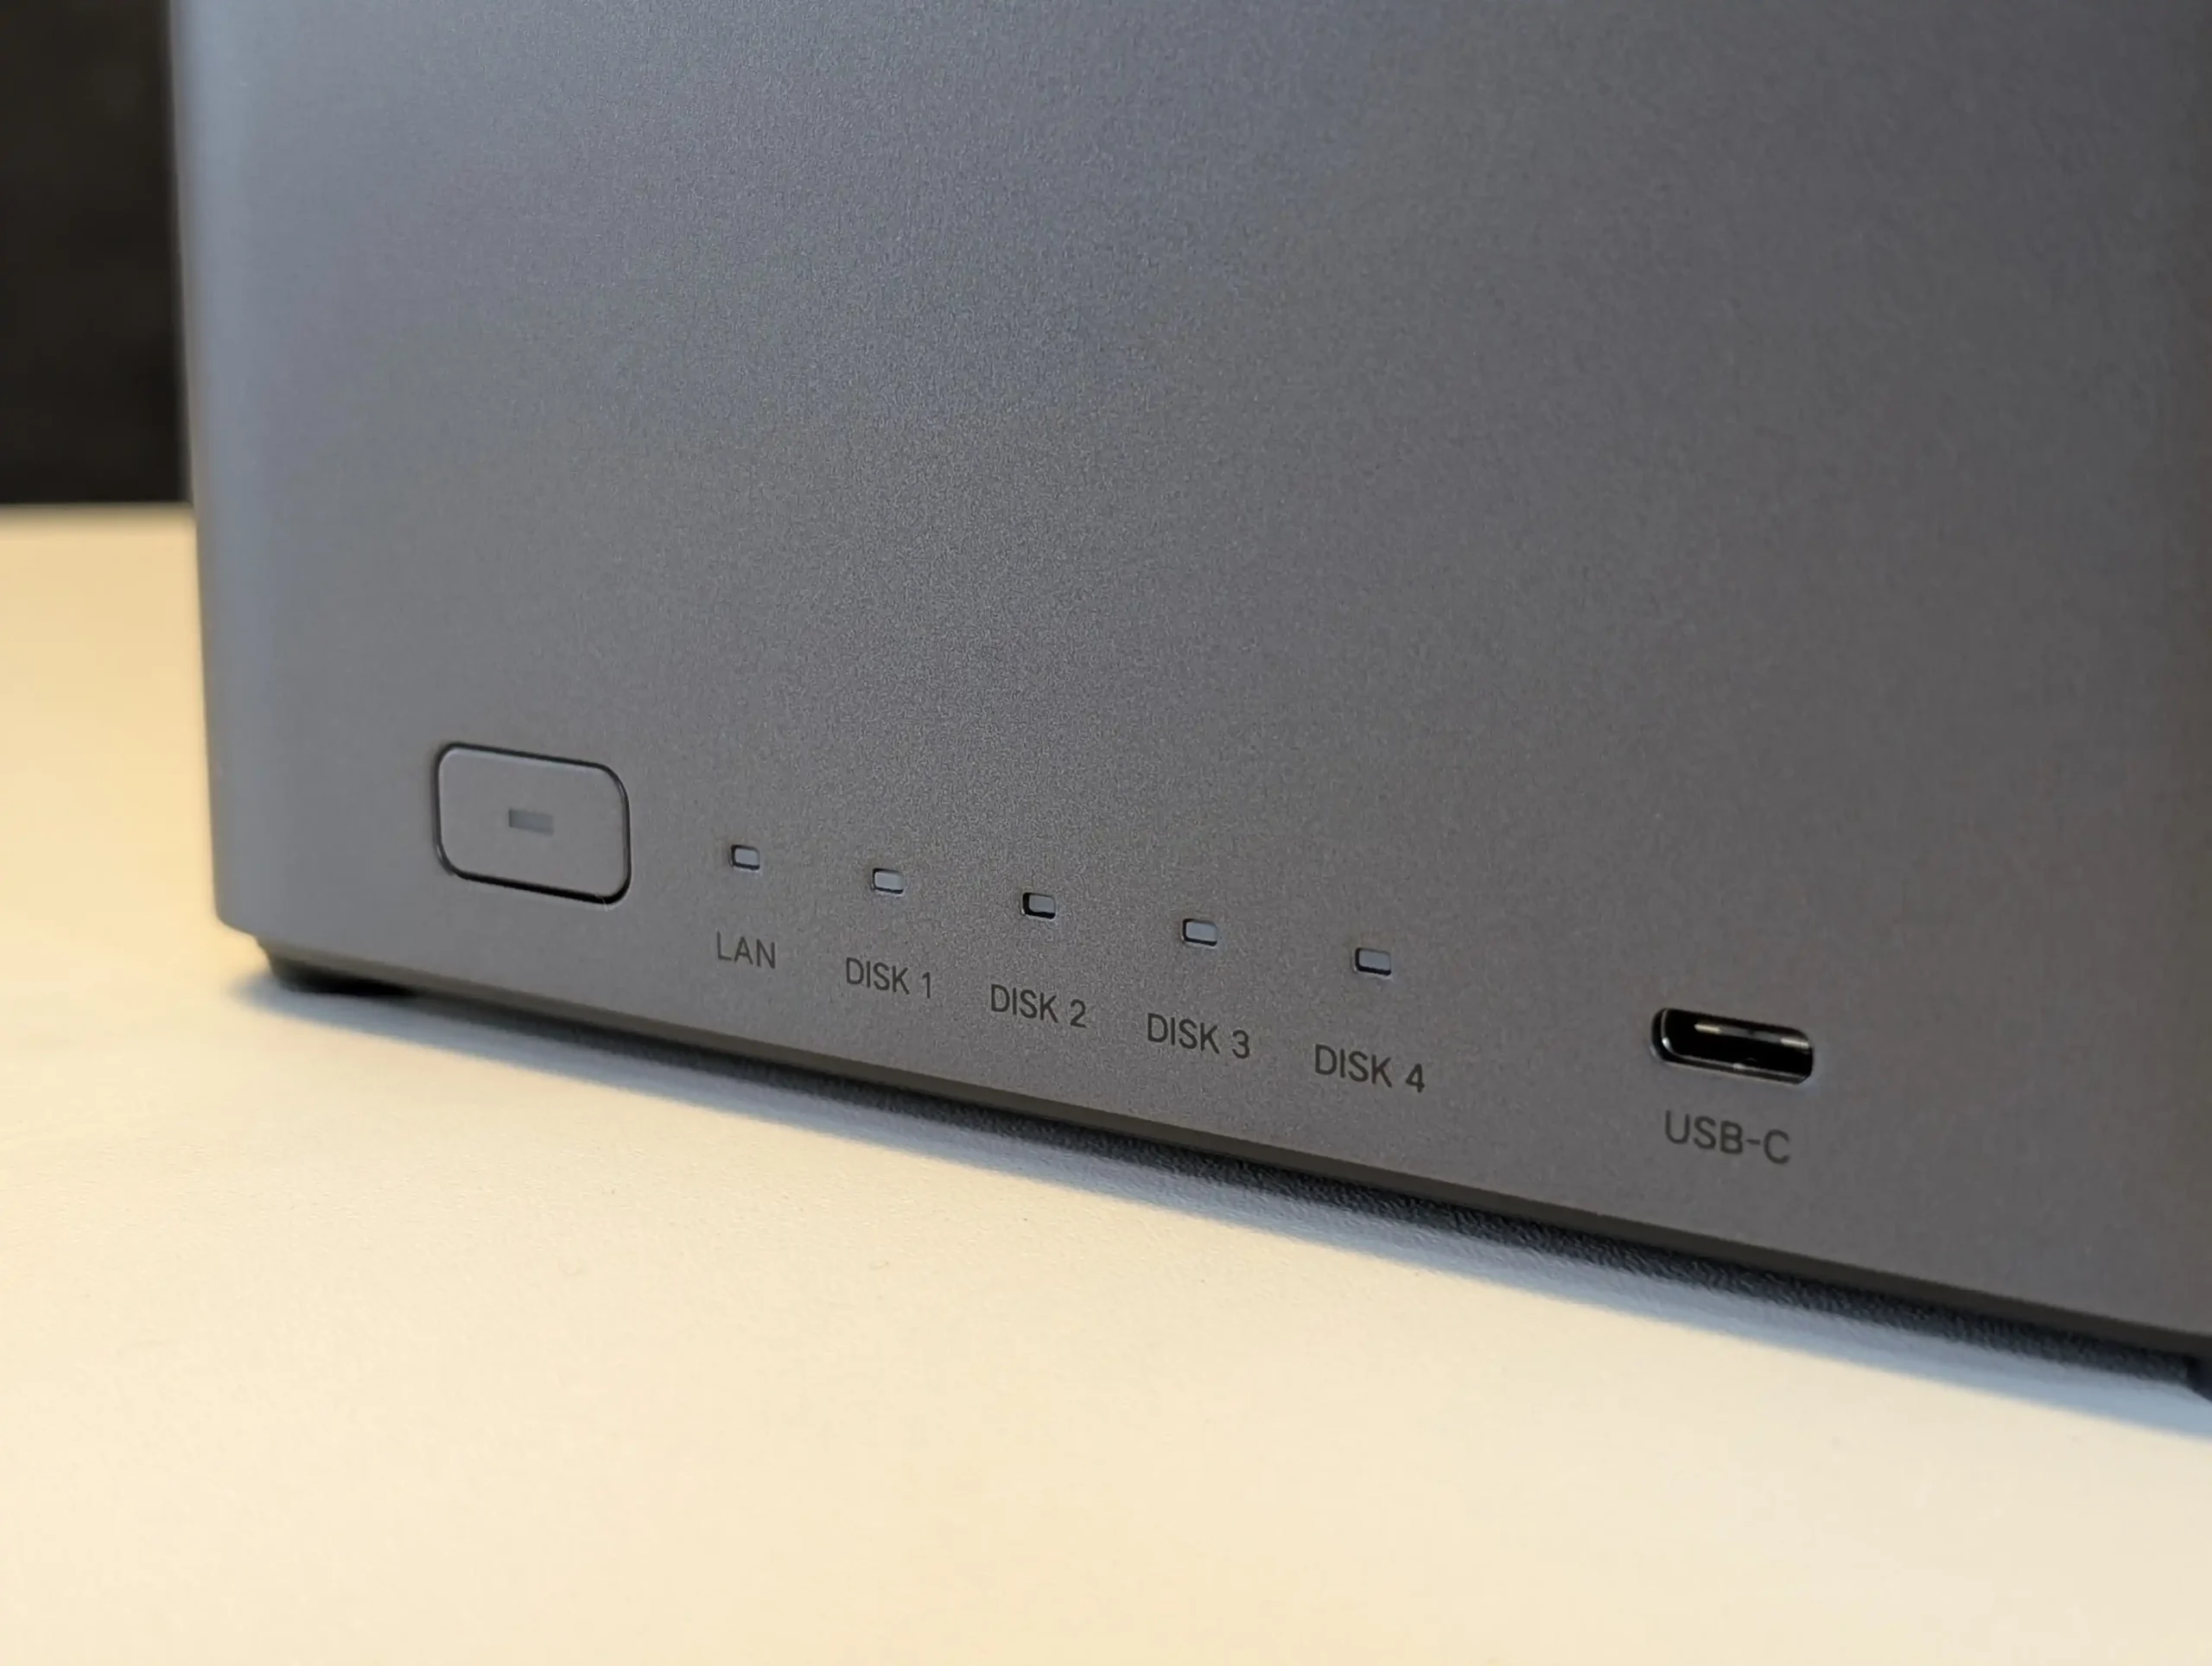
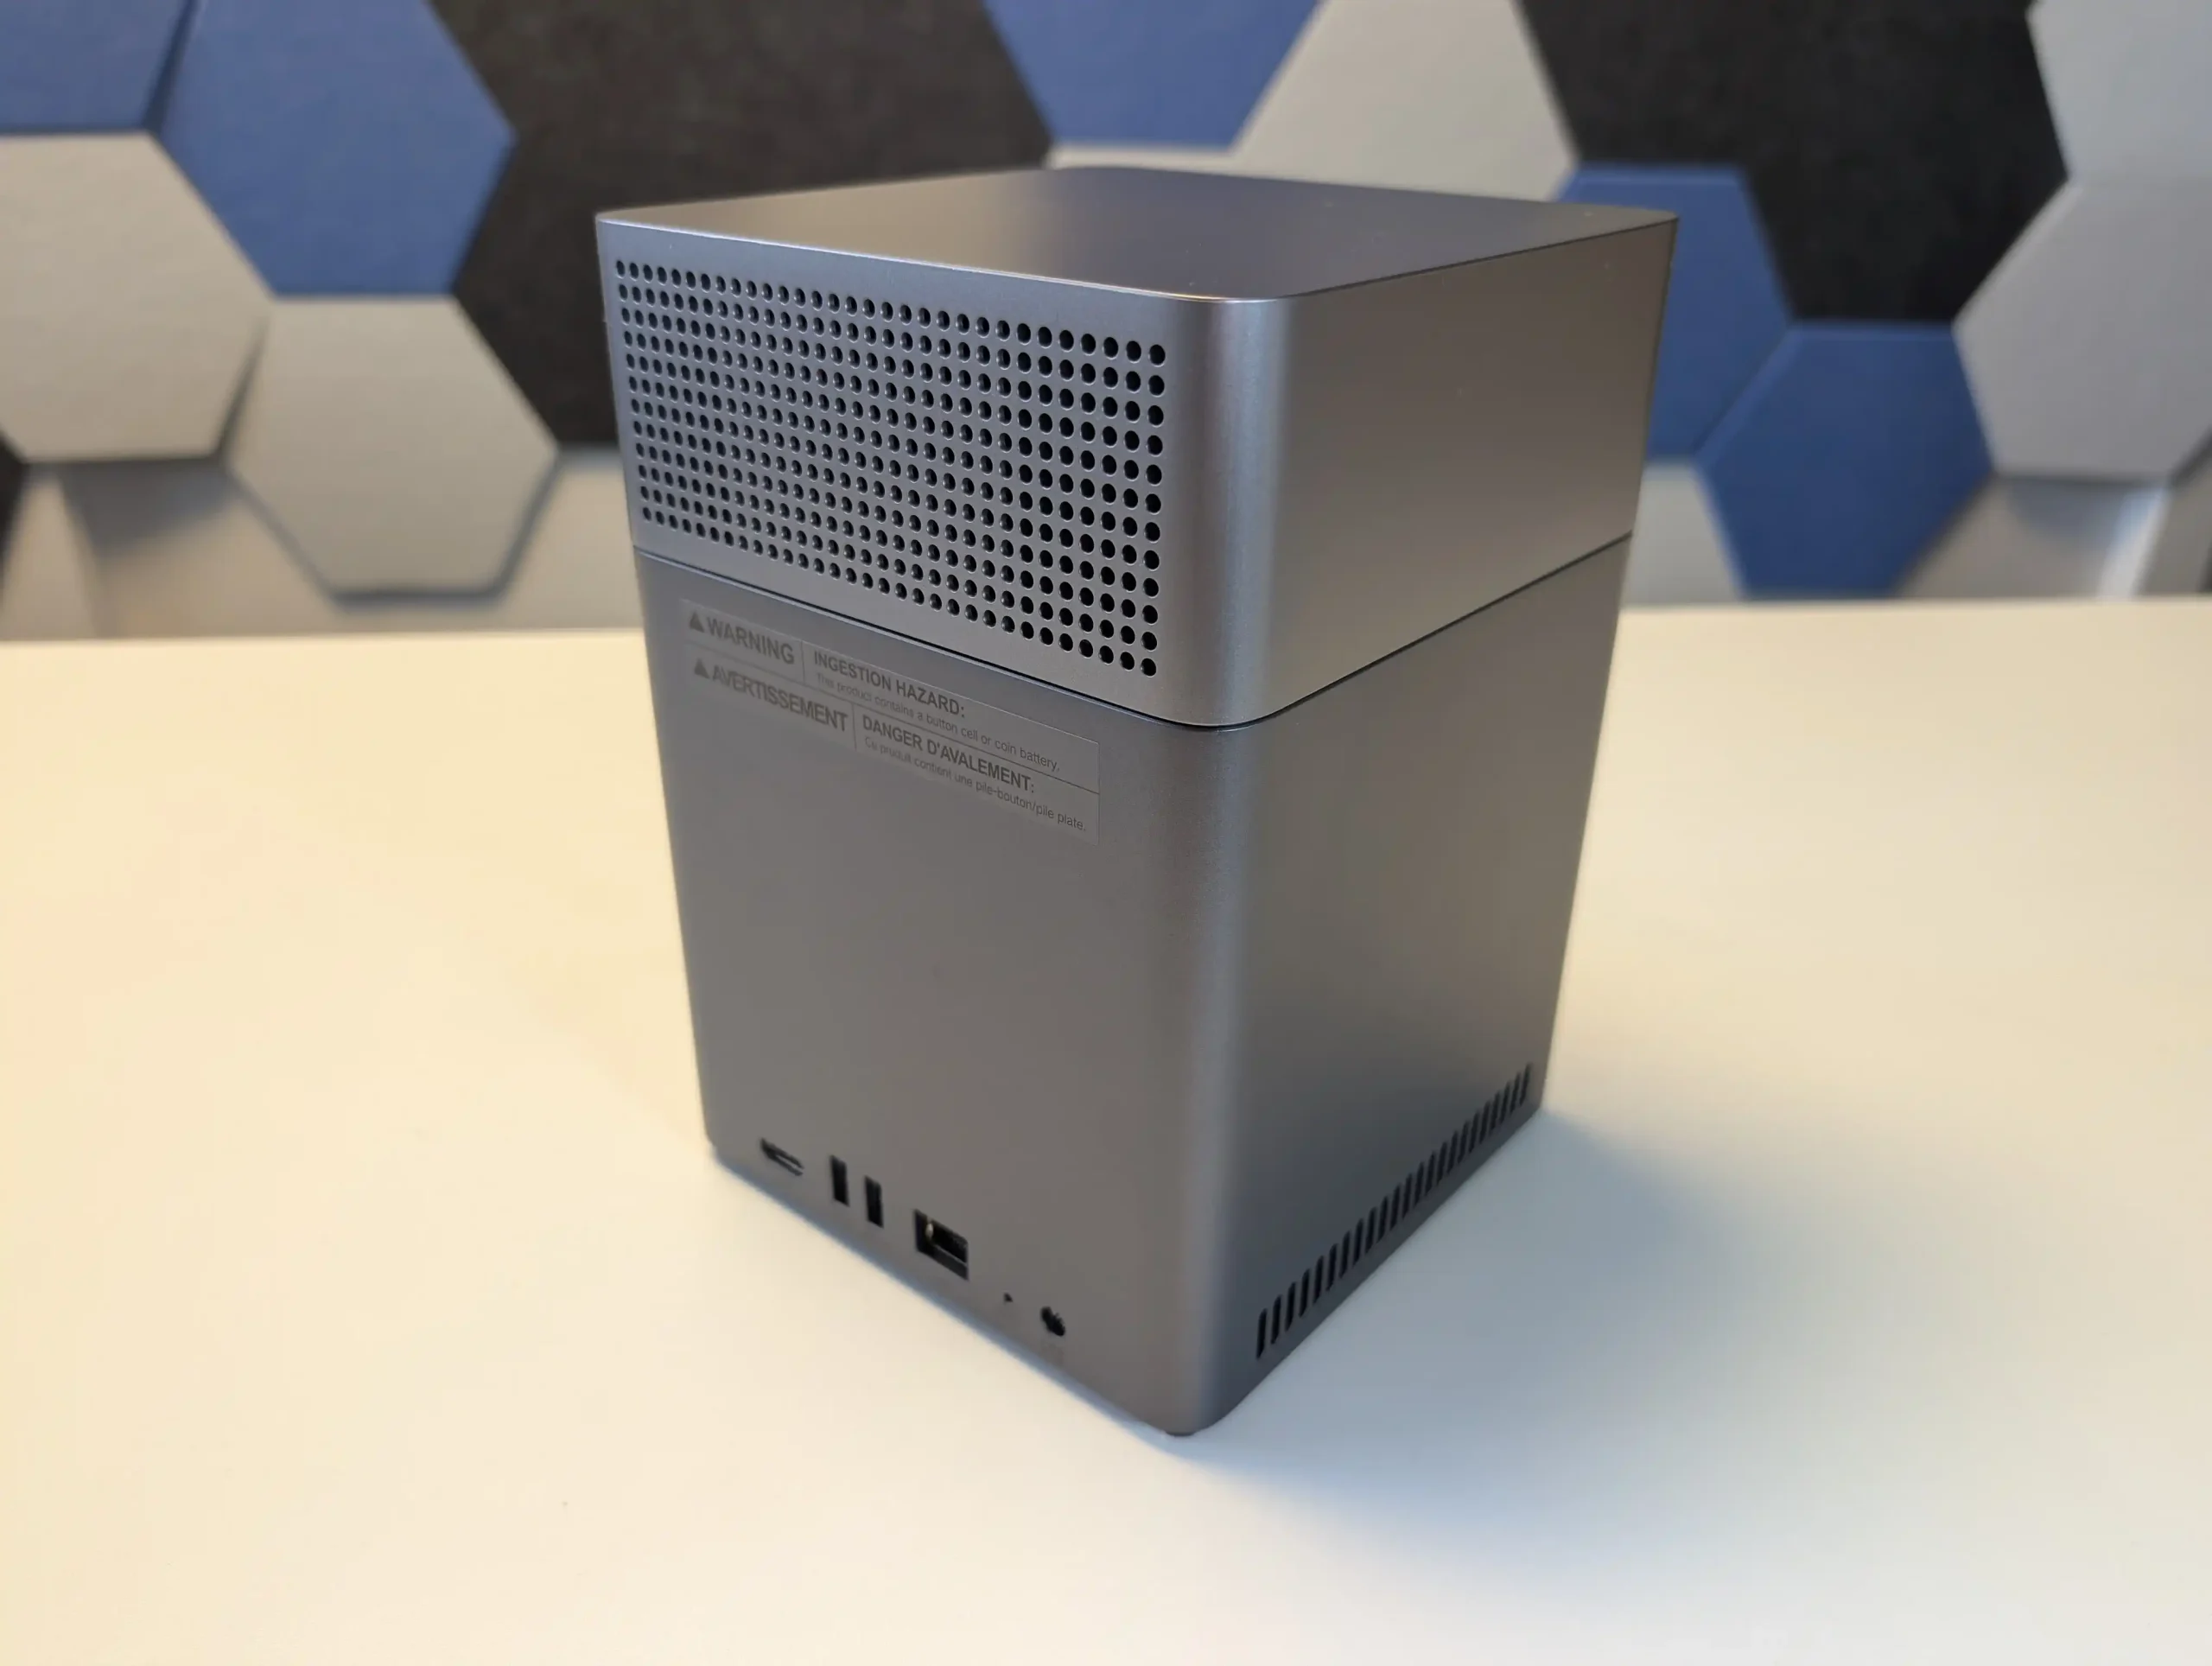
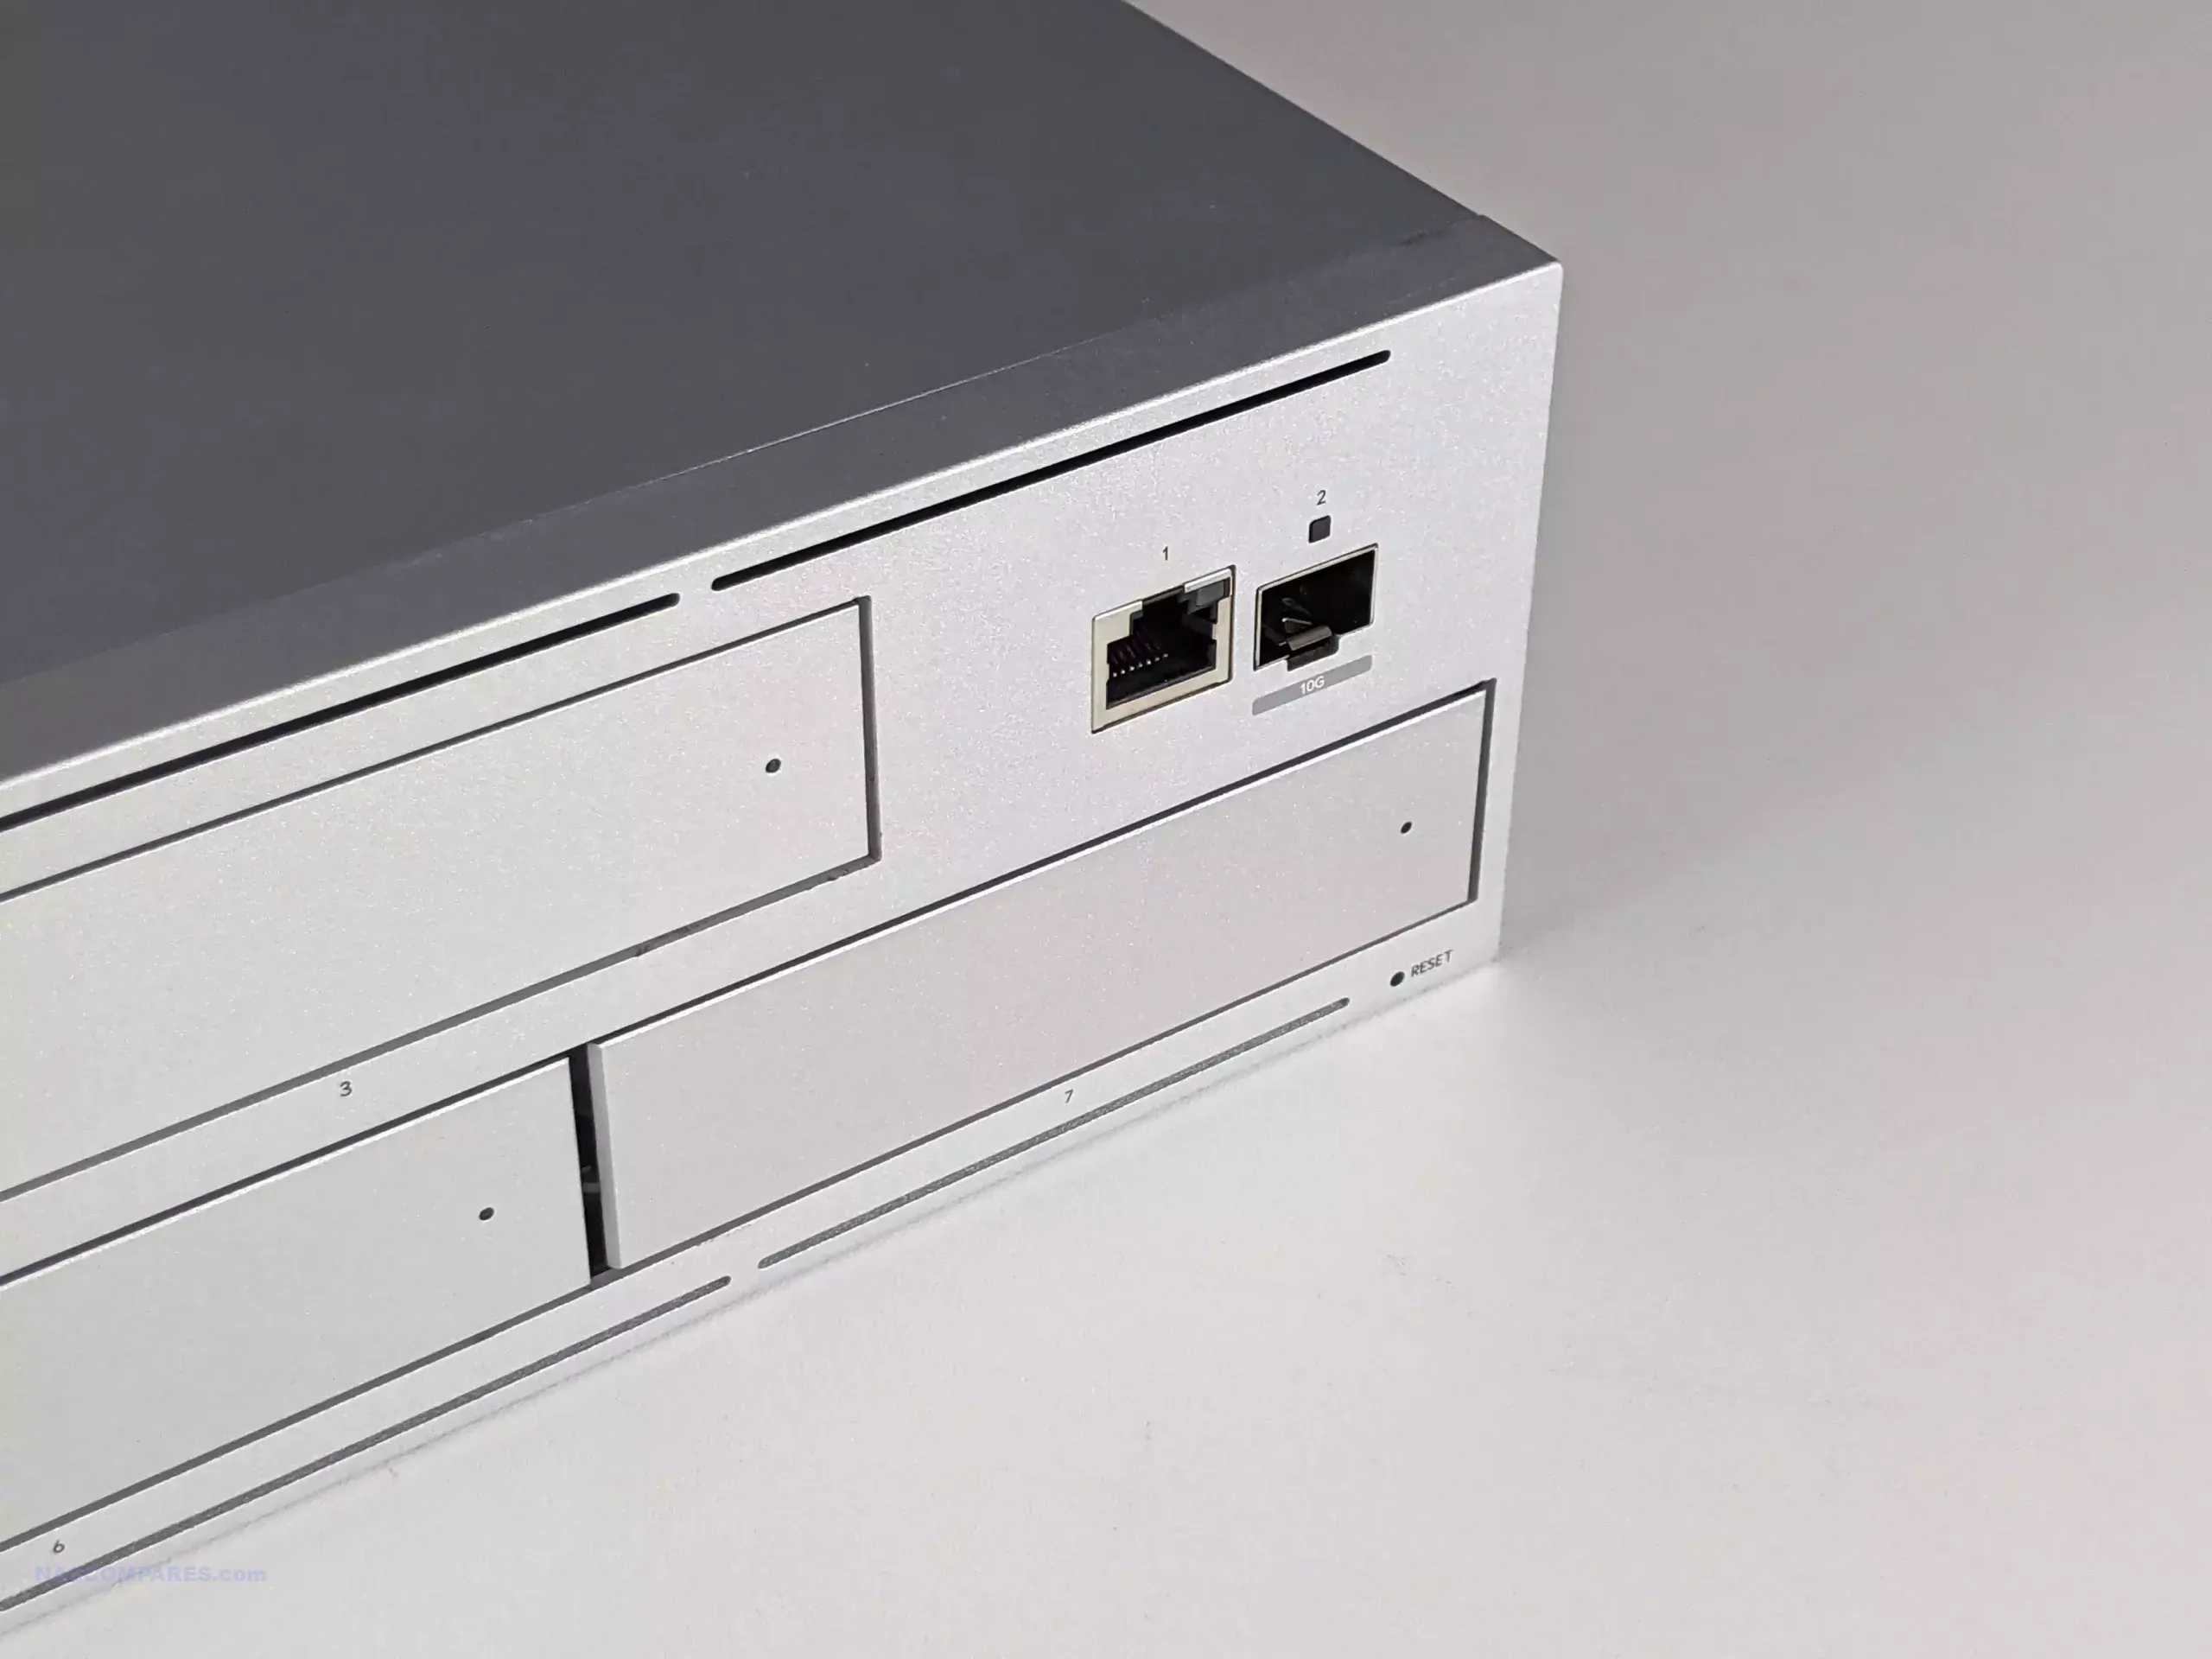
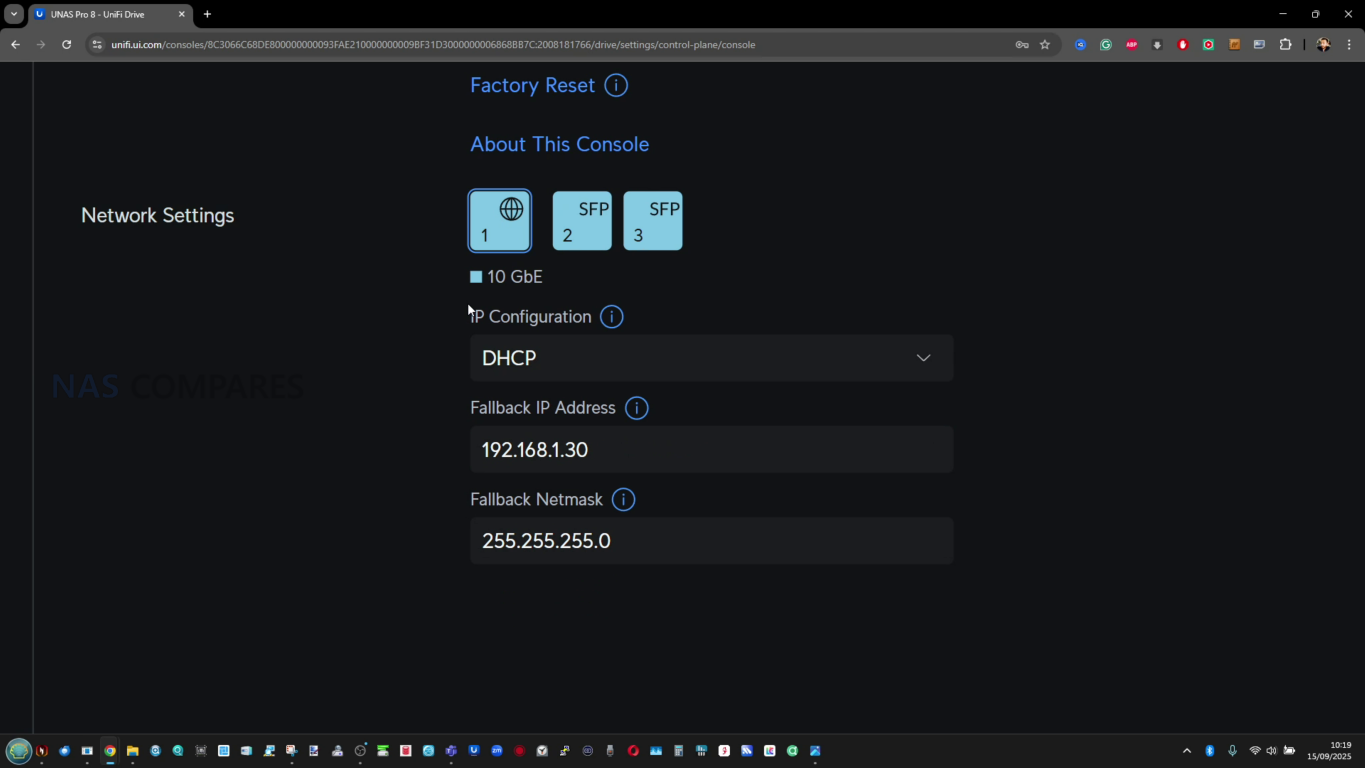
External connectivity is broader on the UGREEN. It includes 1x 2.5GbE LAN port, HDMI output at up to 4K 60Hz, 1x front USB 3.2 Gen 1 port at 5Gb/s, and 2 additional USB-A 5Gb/s ports. The UniFi UNAS 4 is much more limited, offering 1x 2.5GbE RJ45 port and 1x 5Gb/s USB-C port. This narrower I/O profile reflects the fact that UniFi has positioned the UNAS 4 as a focused network storage appliance rather than a multi-role NAS for media output, peripheral attachment, or application expansion. In direct hardware terms, the UGREEN is better equipped for users who expect more than basic file serving.
 |
 |
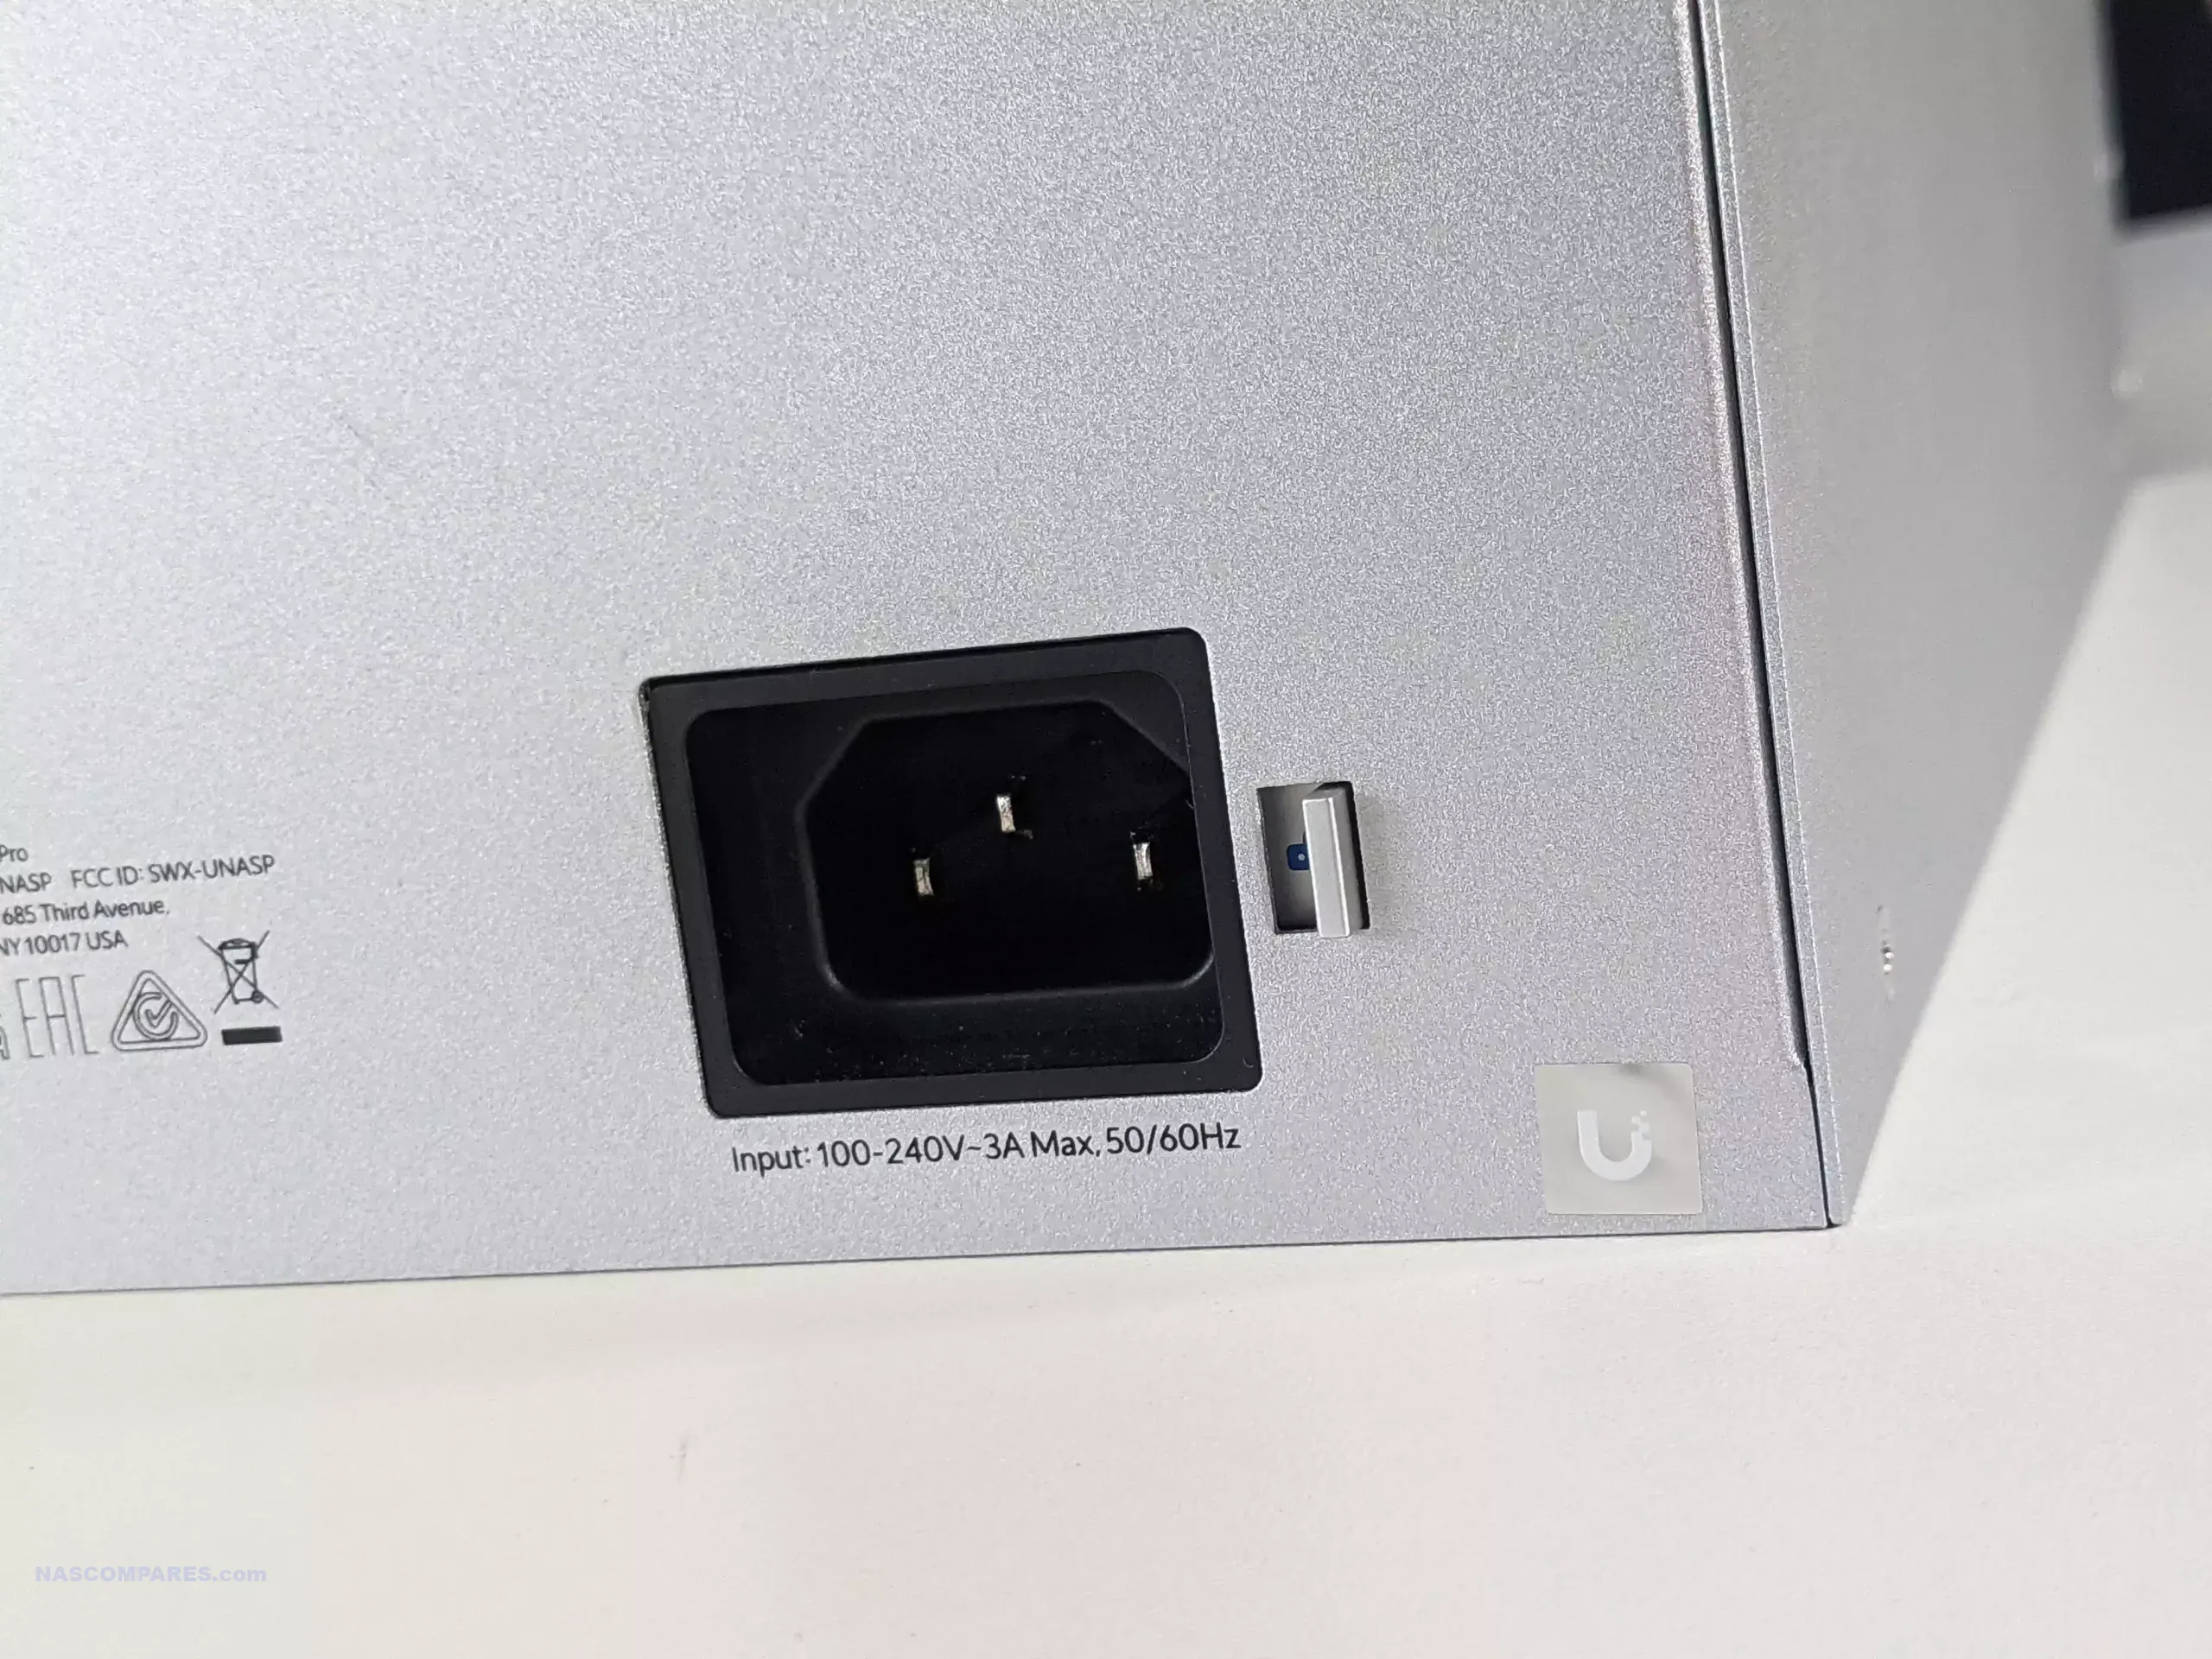
Power and deployment also separate these 2 systems. The UniFi UNAS 4 supports PoE+++ and includes a 90W PoE adapter, which allows both power and network connectivity over a single cable in supported environments. That is unusual in this part of the NAS market and makes it particularly relevant for users already invested in UniFi switching infrastructure or those deploying hardware in locations where simplified cabling matters. The UGREEN uses a more conventional external power arrangement, which is less distinctive but also less dependent on network infrastructure choices. Therefore, the UGREEN has the stronger internal compute hardware and broader physical connectivity, while the UniFi has the more specialized deployment advantage.
 |
 |
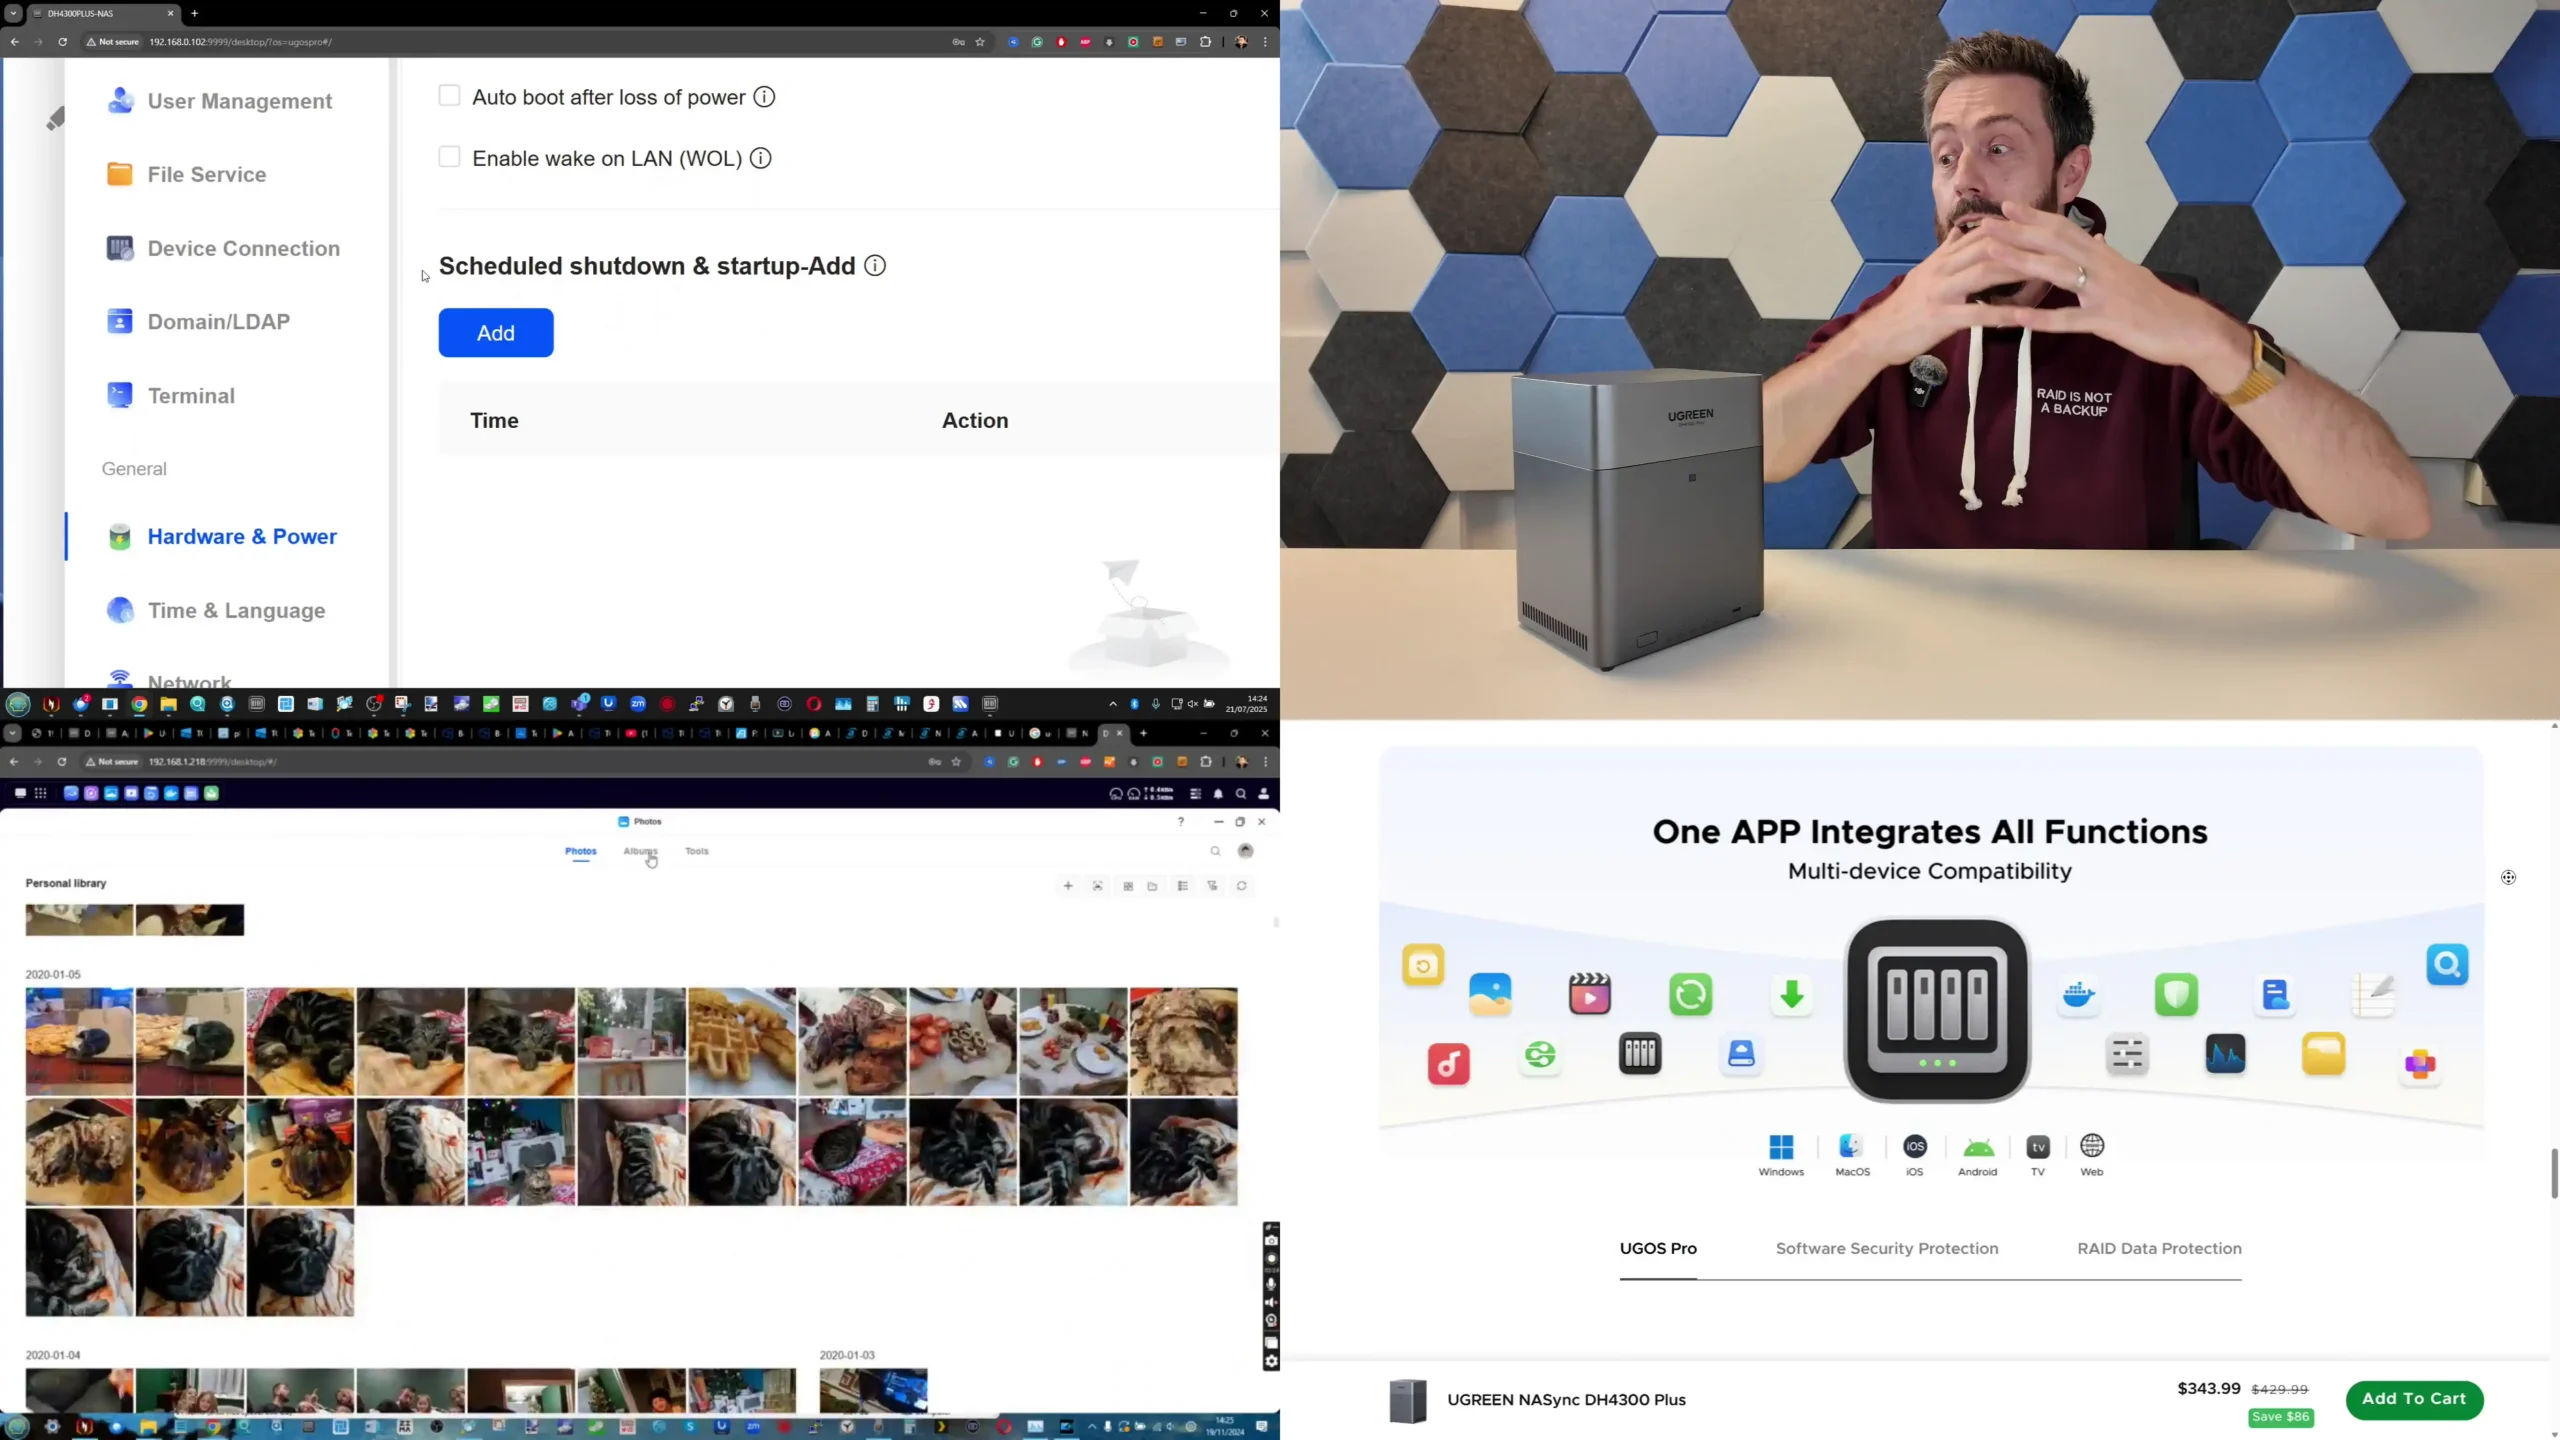
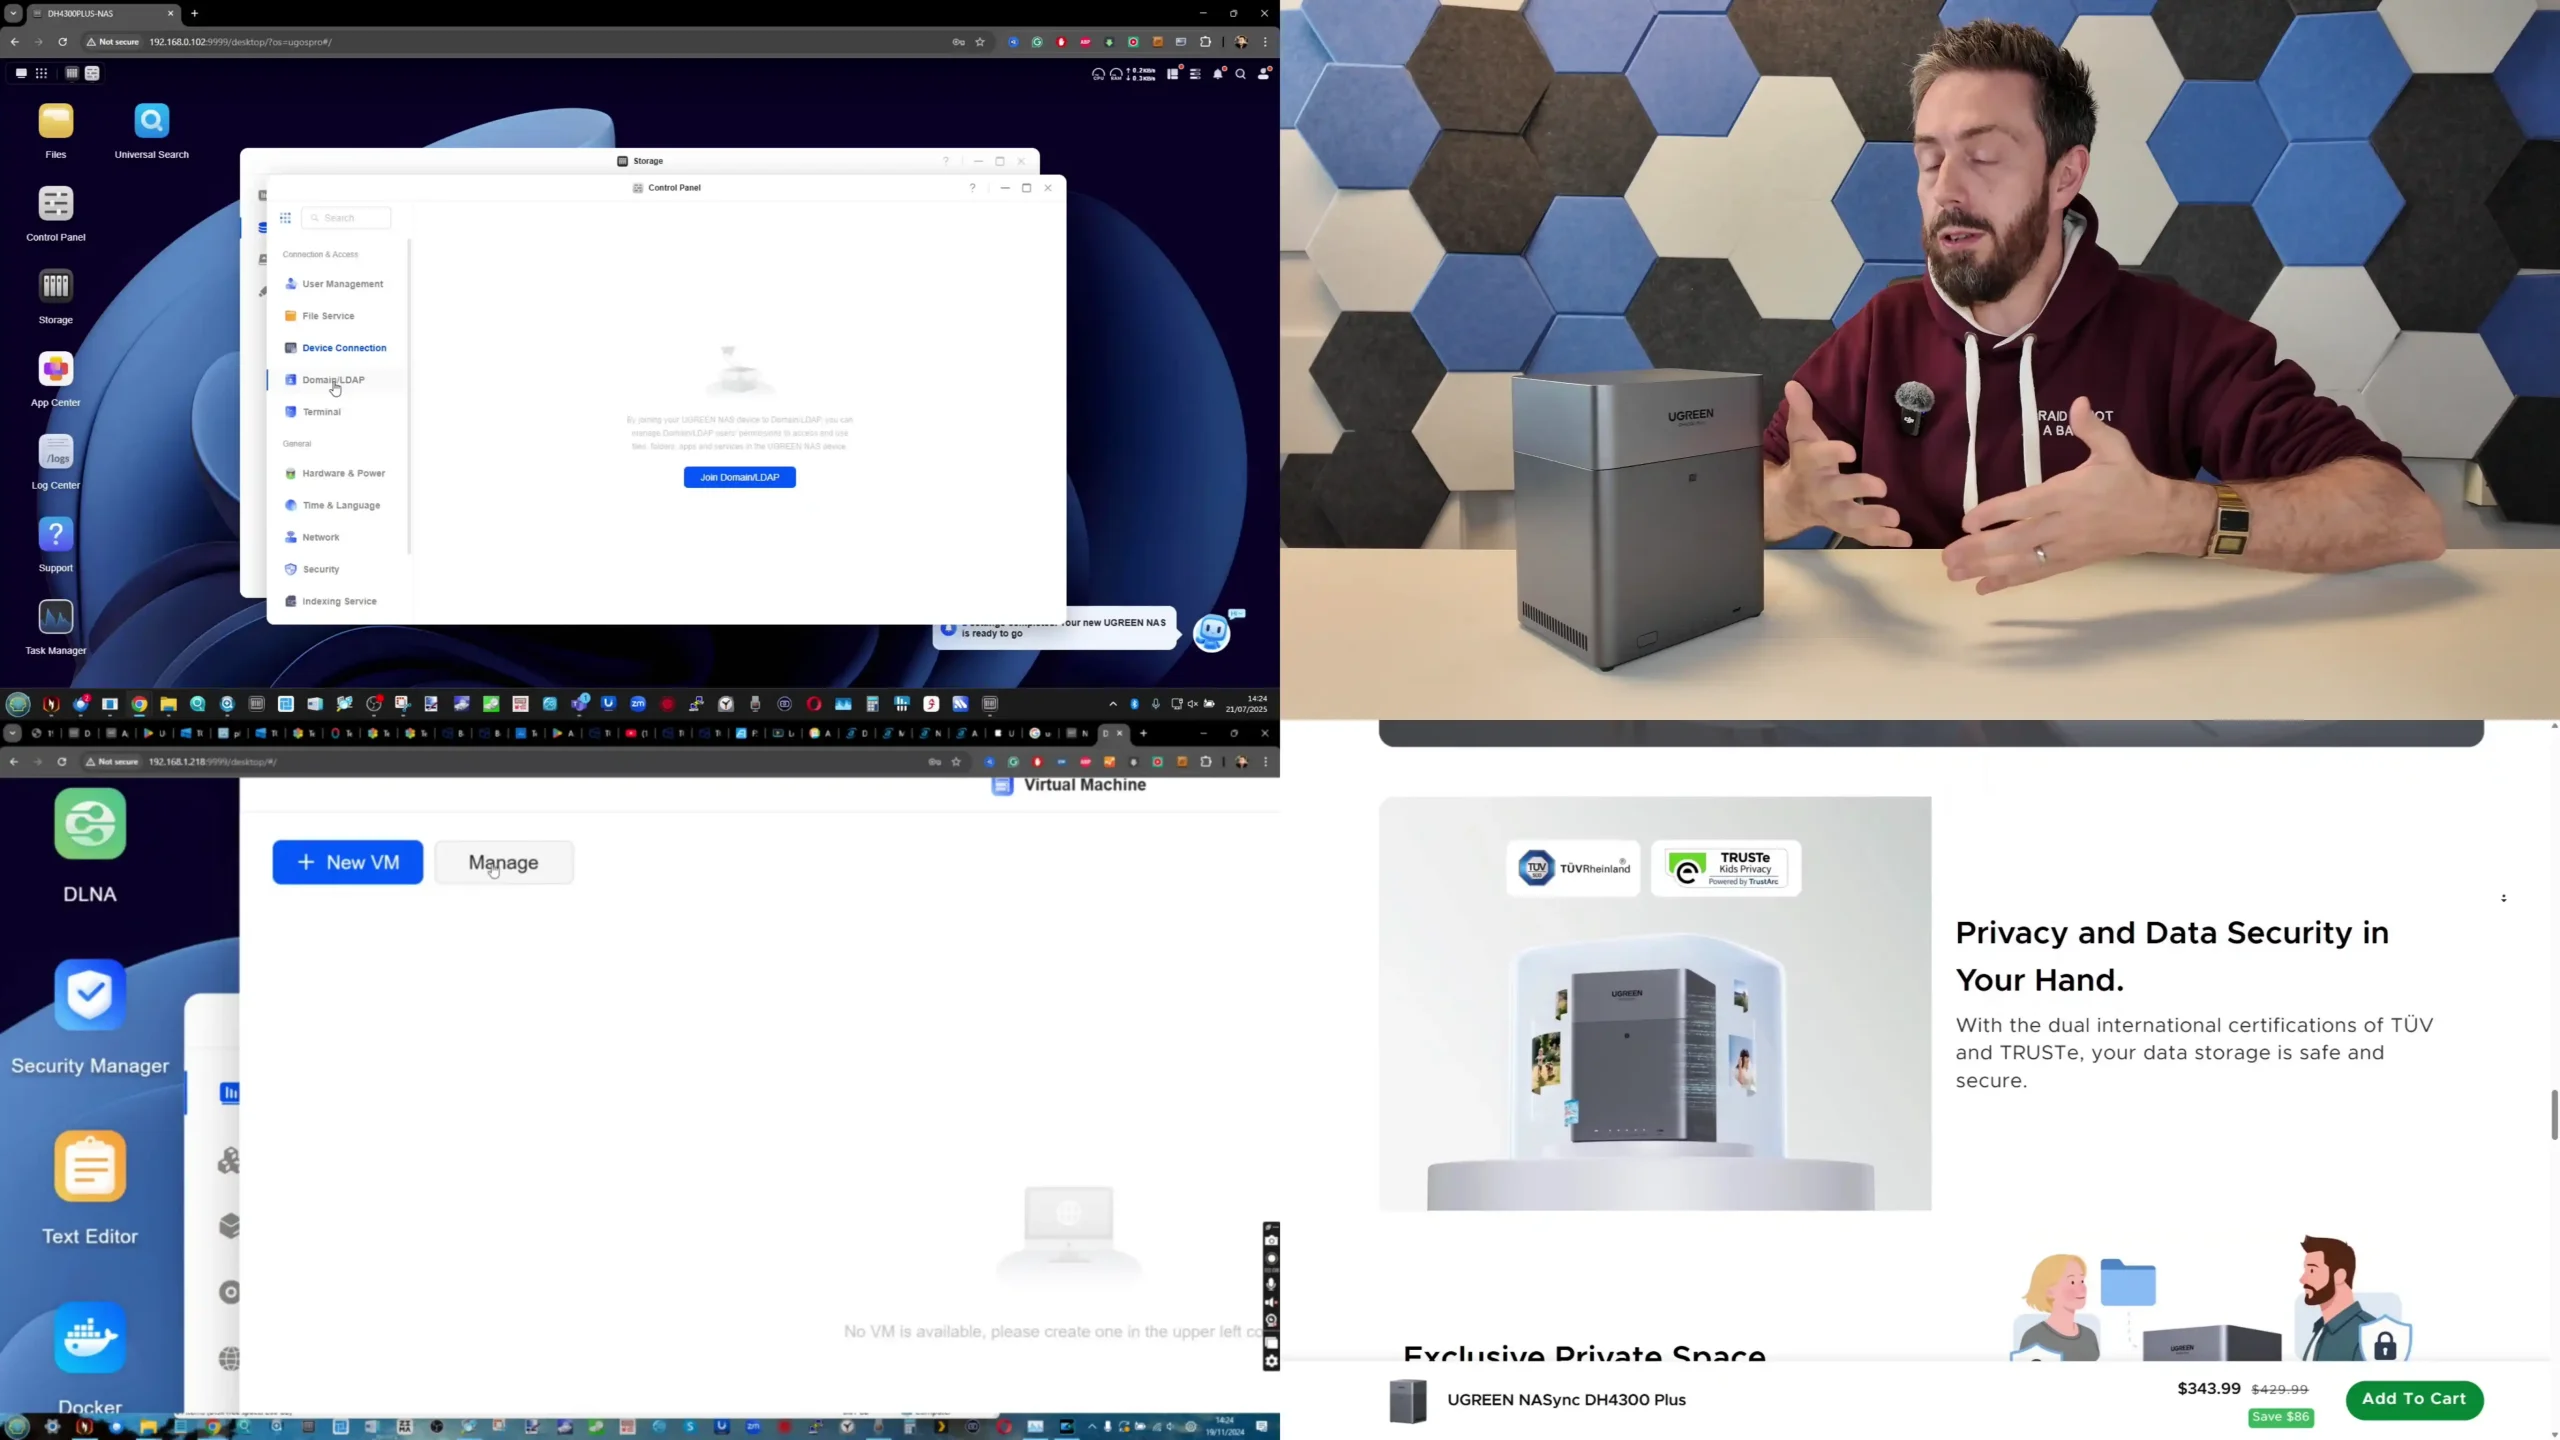
UGREEN DH4300 vs UniFi UNAS 4 – Software & Services
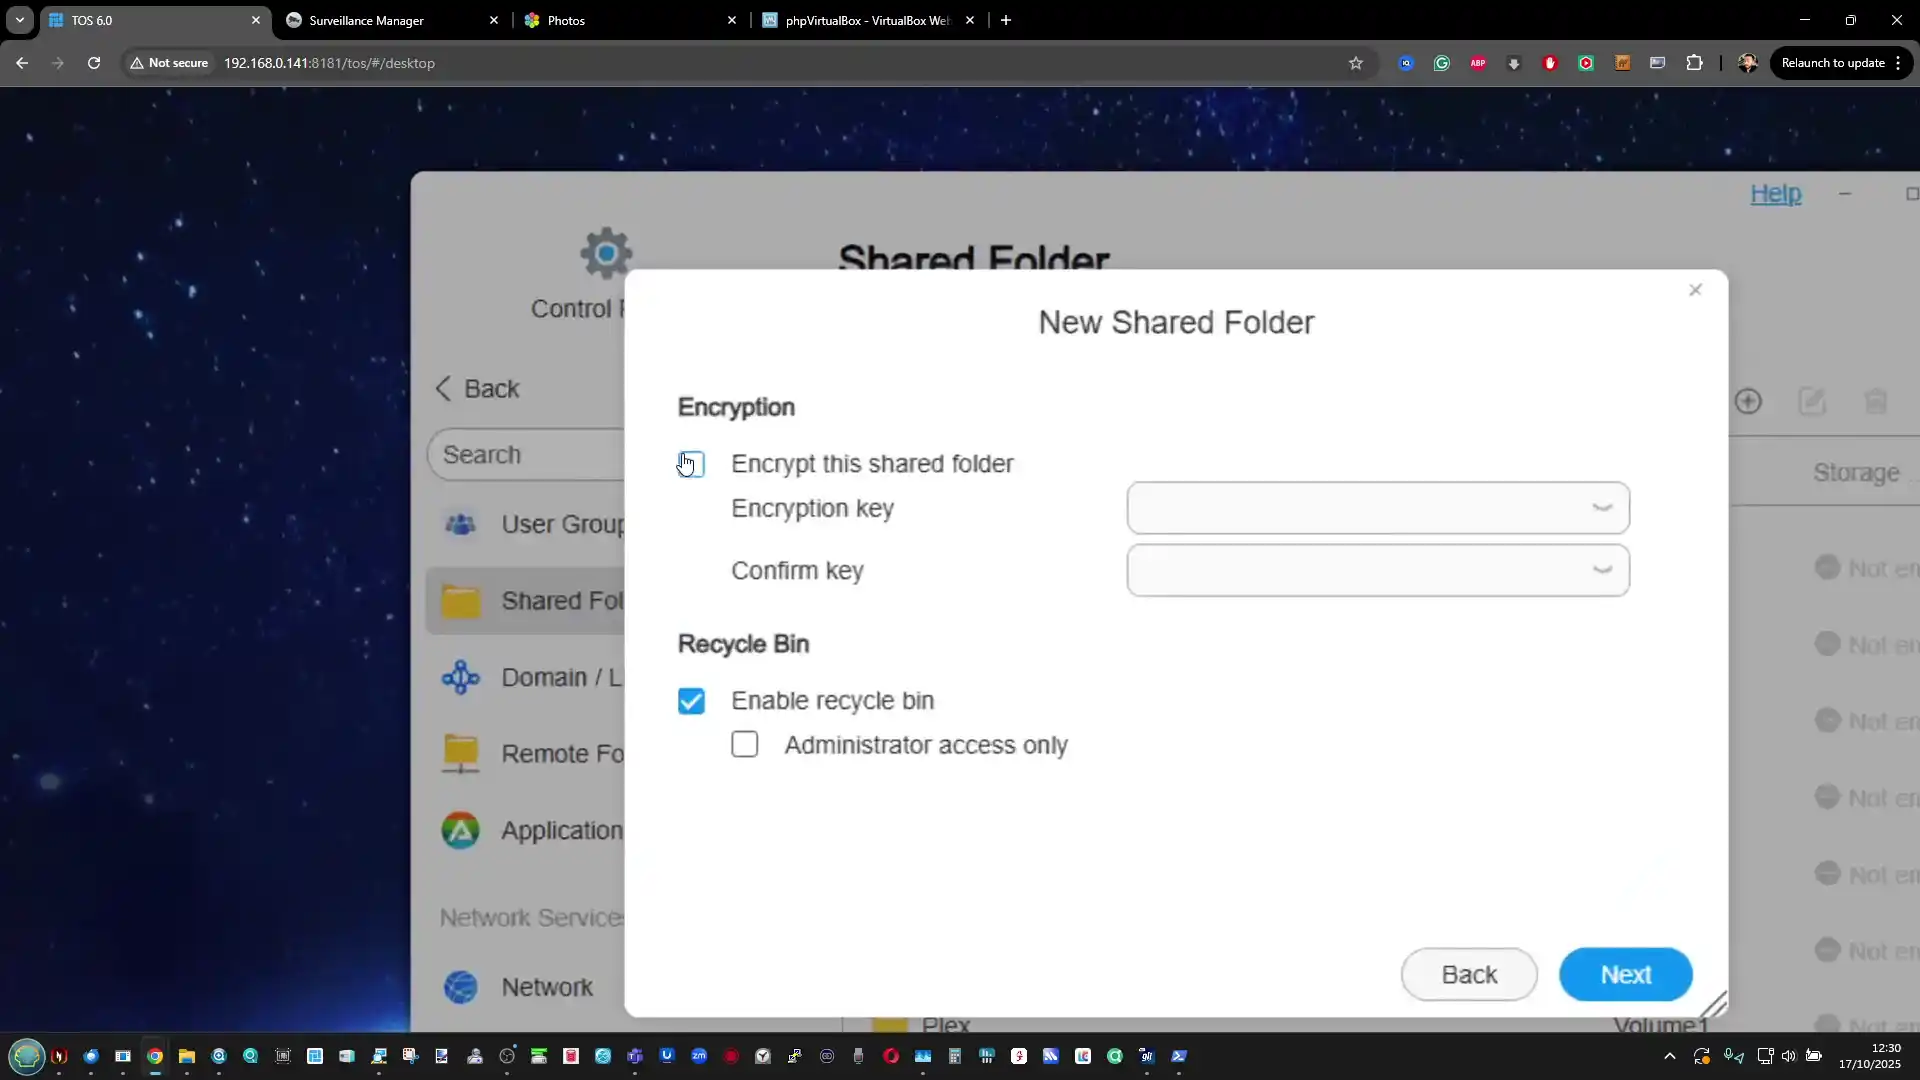
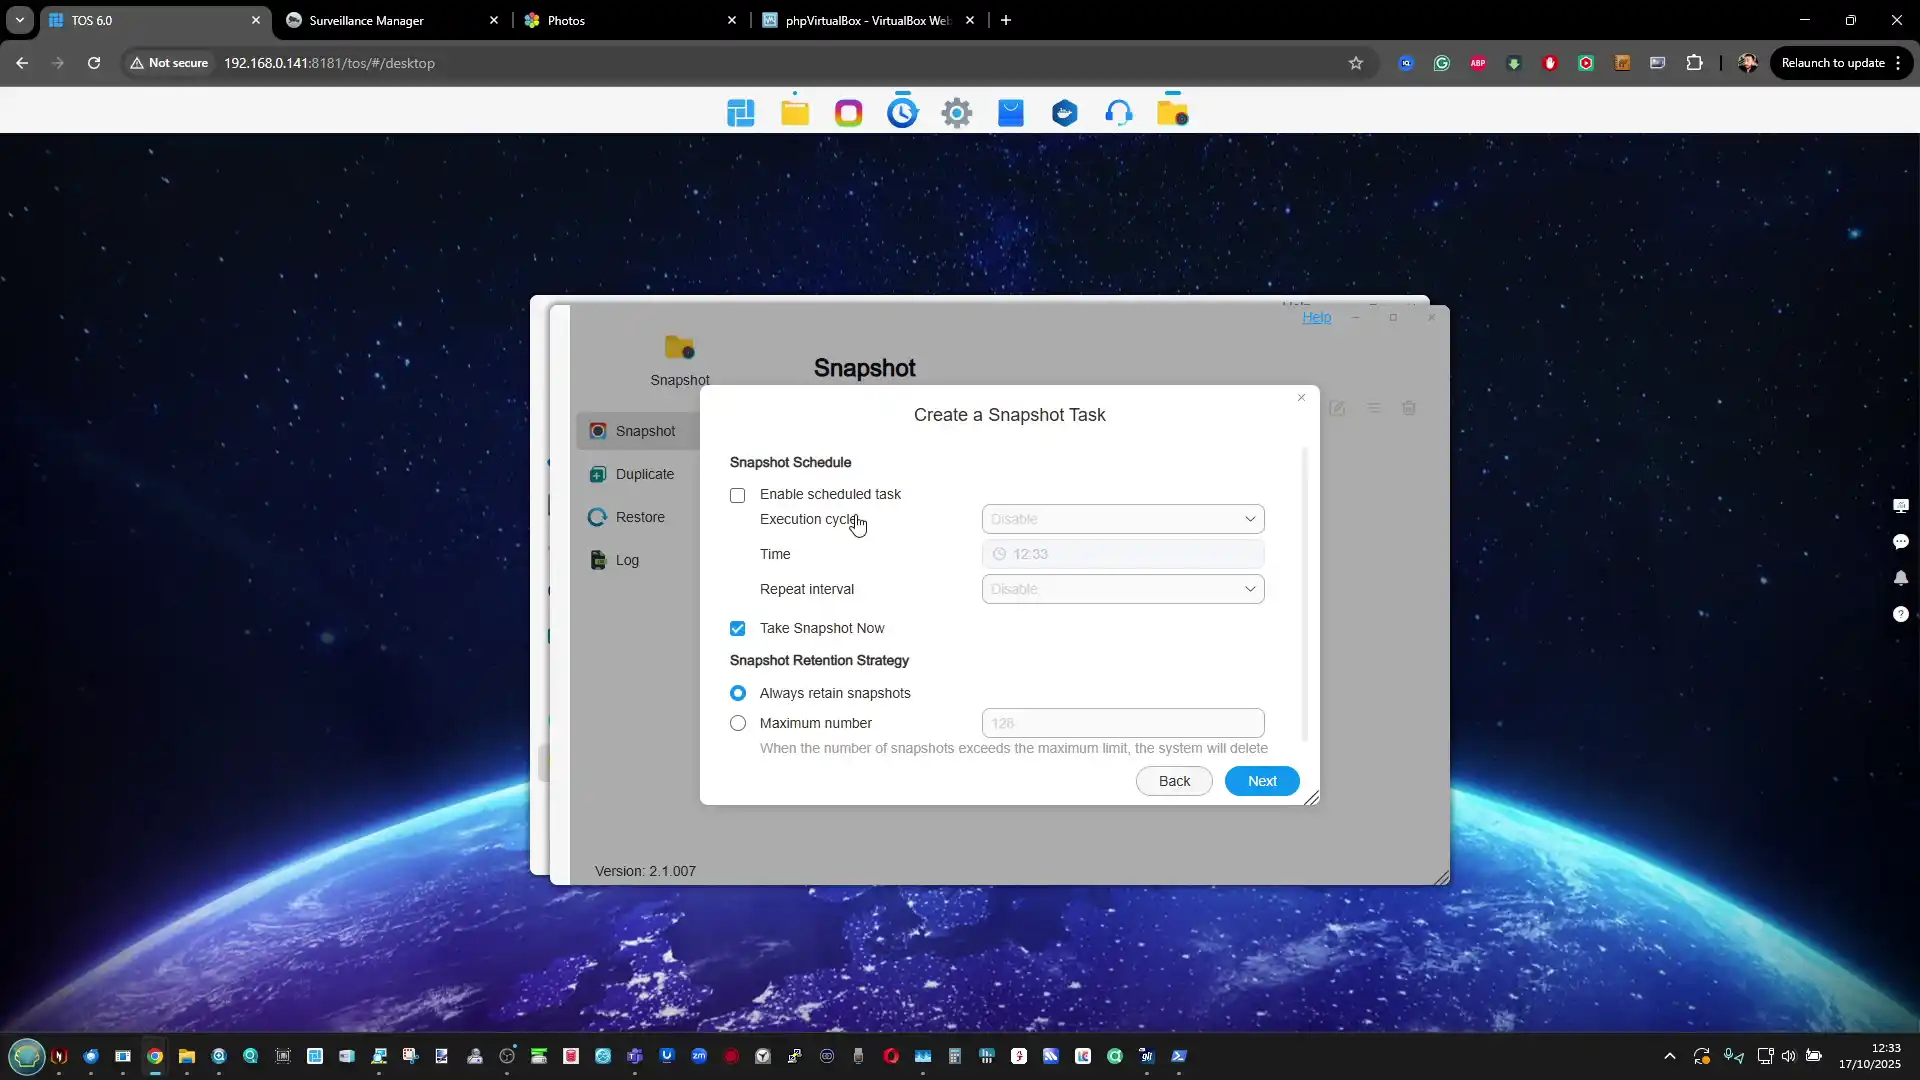
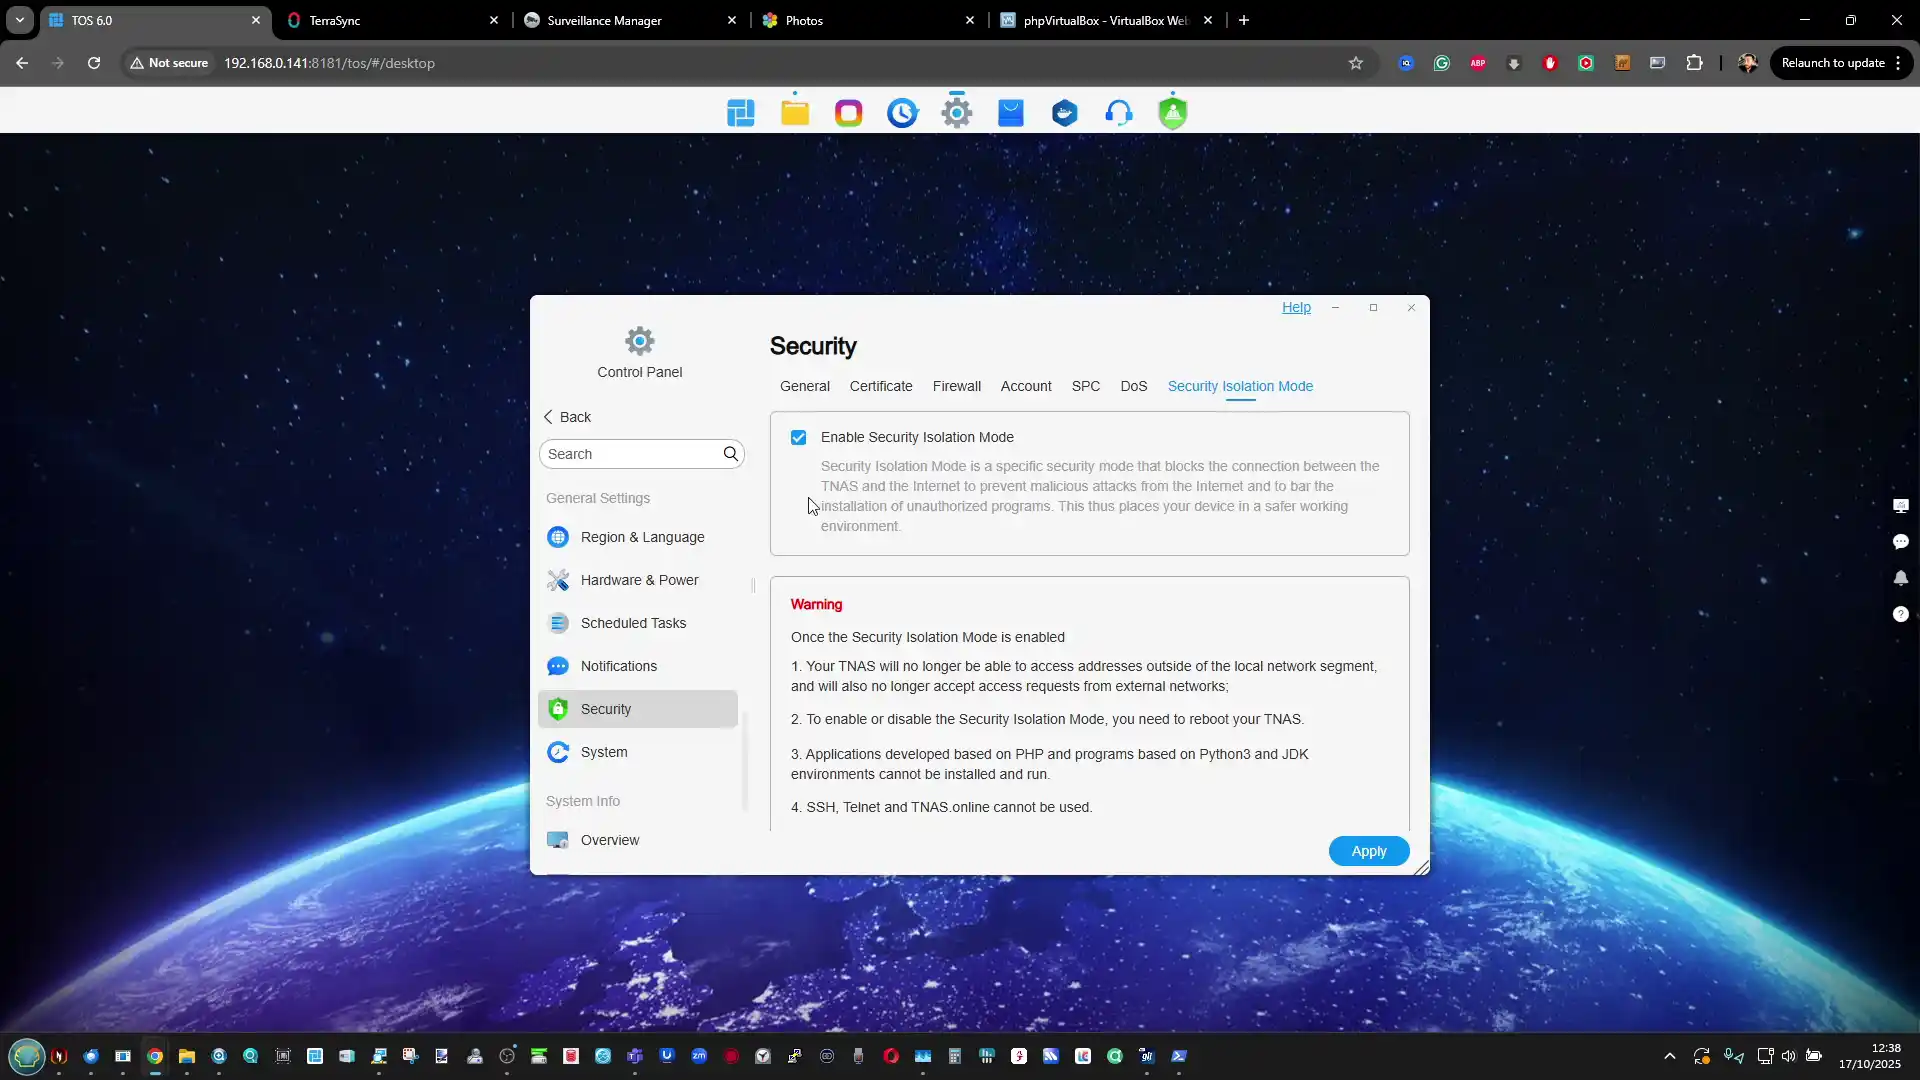
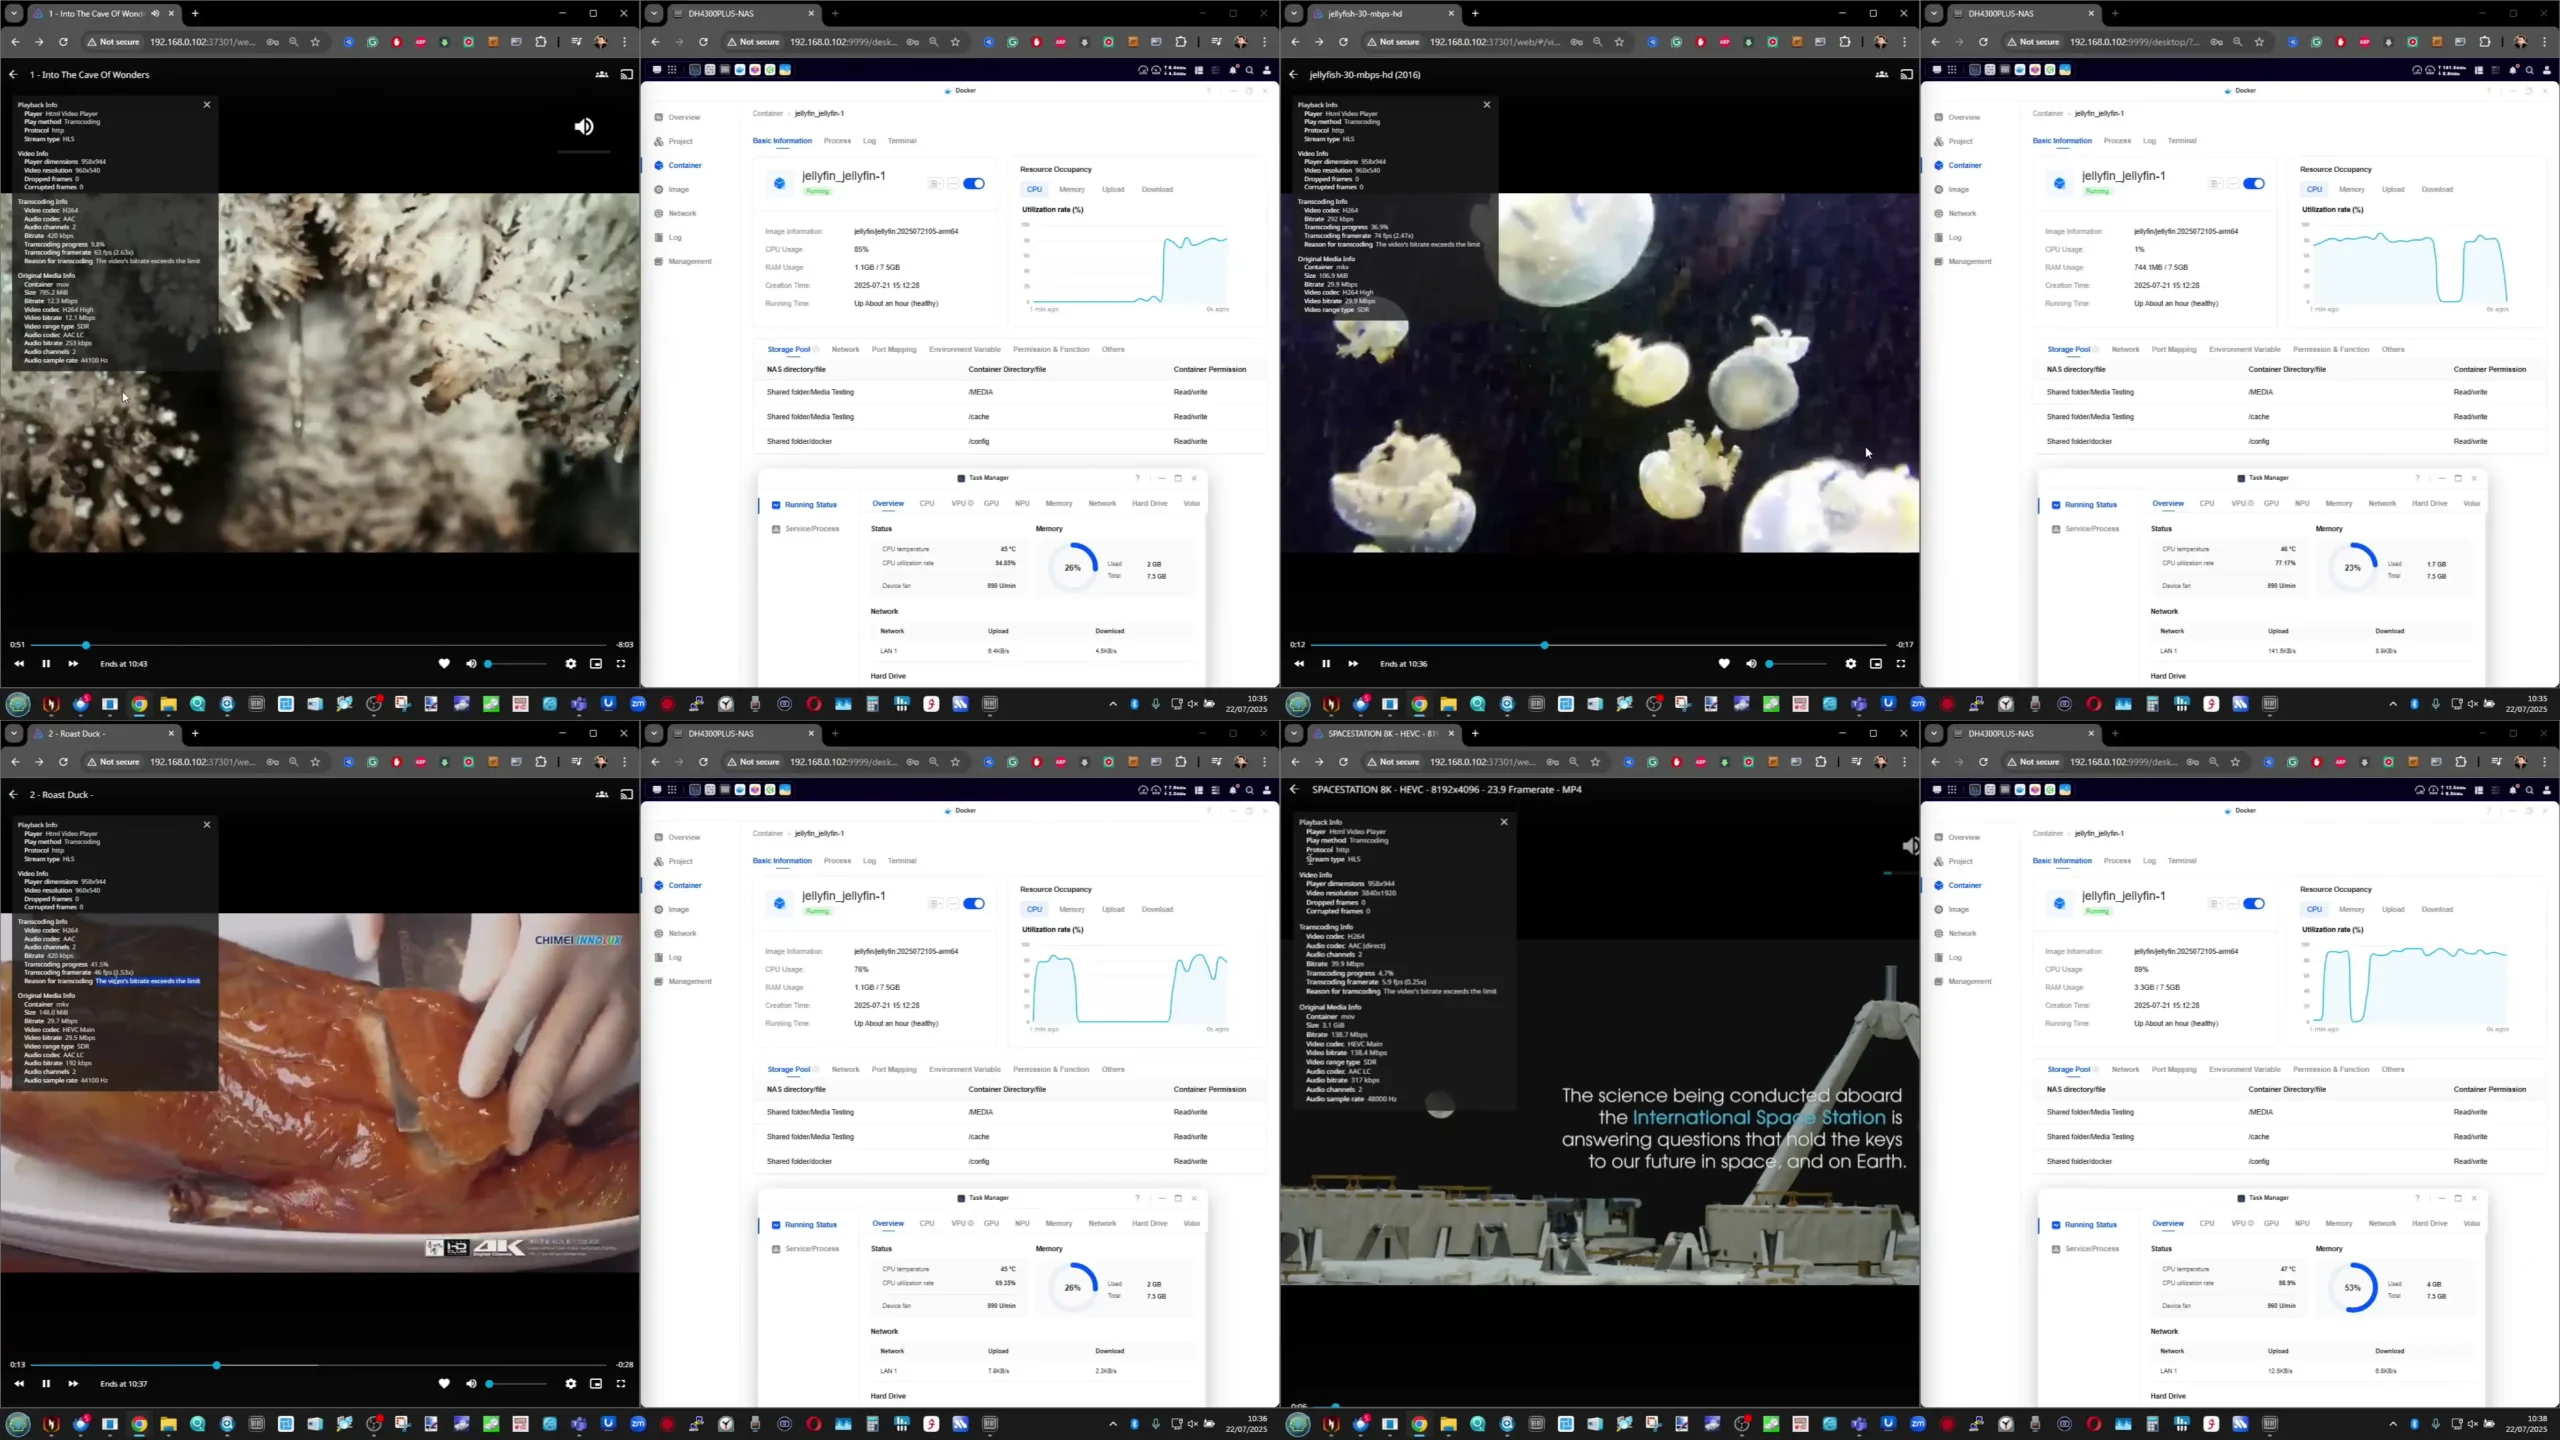
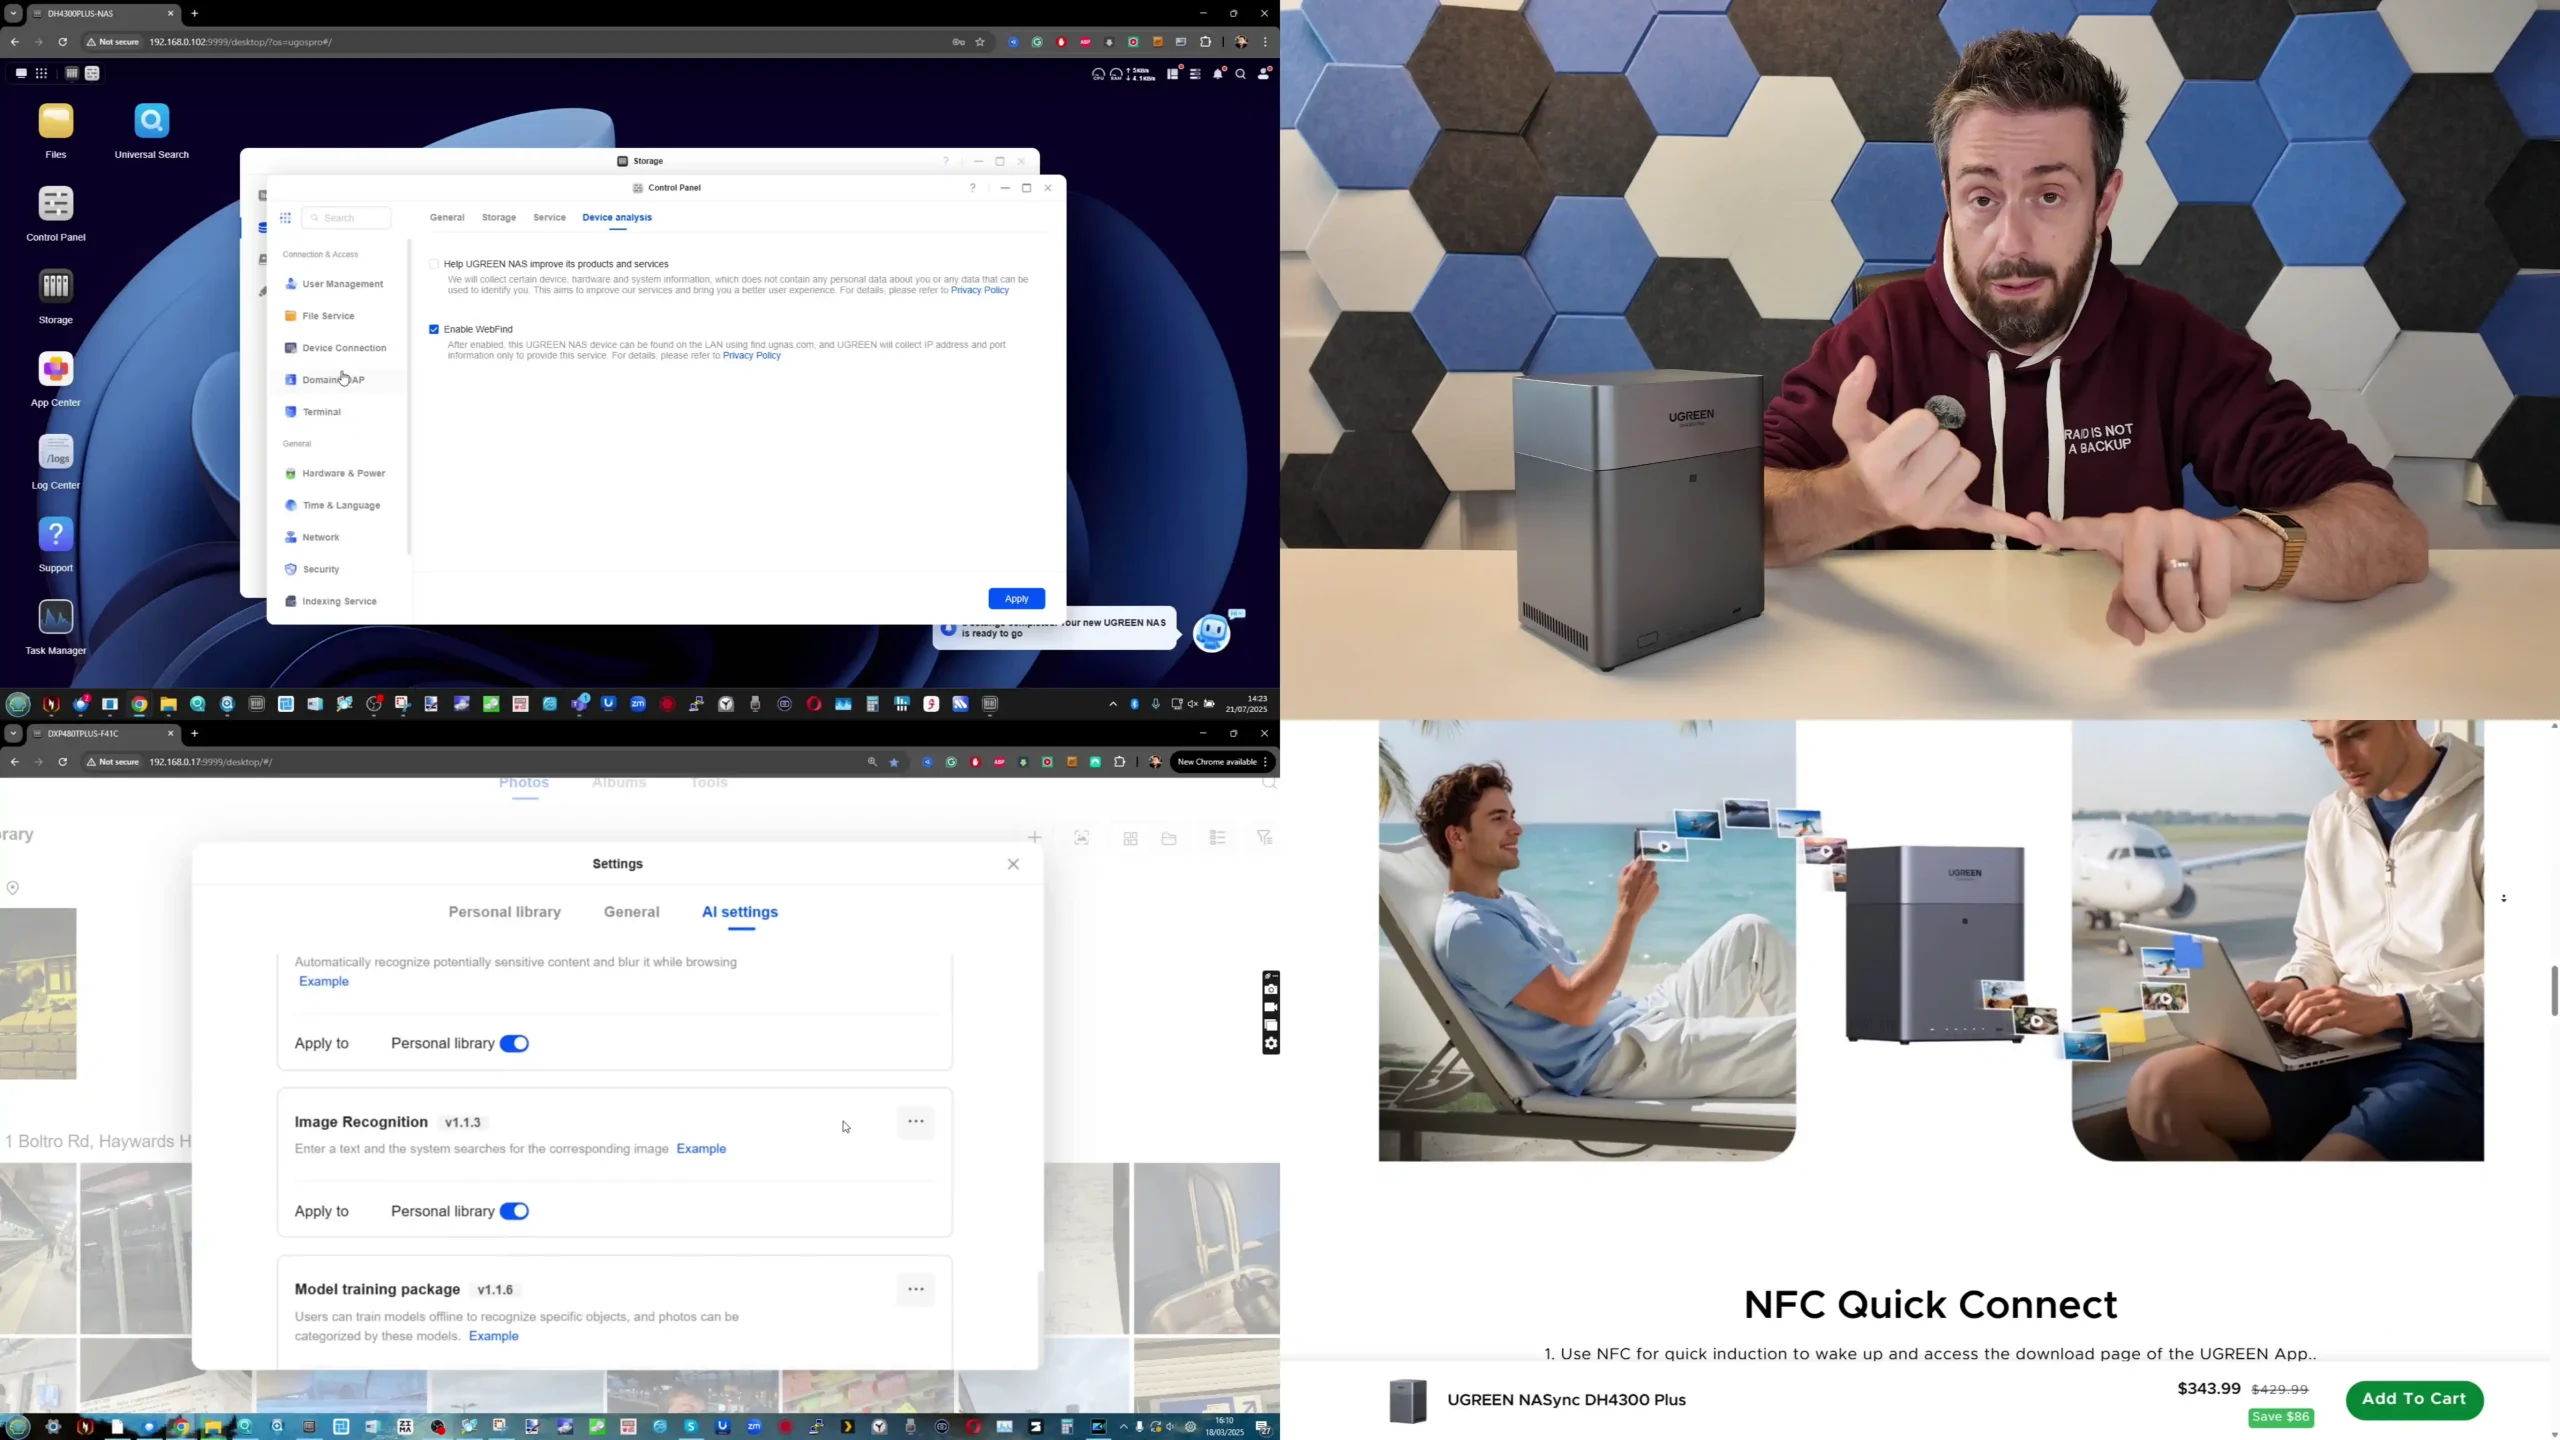
The biggest difference between these 2 NAS systems is not the chassis or the processor, but the software scope. The UniFi UNAS 4 runs UniFi Drive and is clearly built around a narrower storage-first brief, with support for SMB, NFS, snapshots, file encryption, Time Machine, share links, user groups, remote backup, cloud backup targets, and client apps. It covers the main NAS fundamentals expected by home users and small offices, but it does so within a more controlled environment that places simplicity and consistency ahead of feature breadth. The UGREEN DH4300 Plus, running UGOS Pro, aims much wider and includes not only file serving and backup tools, but also multimedia applications, container support, HDMI-based media playback, AI-assisted photo features, and broader service depth overall.
 |
 |
For pure storage management, UniFi Drive is cleaner and more focused, particularly for users who want the NAS to act primarily as private cloud storage, backup target, and centralized file repository. Its interface is built to align with the broader UniFi platform, and that gives it an advantage for users already running UniFi networking equipment and remote management tools. However, that same focus also means the UNAS 4 is less flexible as a general-purpose NAS. The UGREEN platform does not have the same ecosystem tie-in, but it operates more independently and gives the user more scope to use the system for different workloads beyond file storage.
 |
 |
Application support is where the gap becomes more obvious. The UGREEN DH4300 Plus supports Docker and has a noticeably broader service layer for media, backup, and user applications. That creates options for running third-party software, home media tools, and more customized services that simply are not part of the UniFi approach. The UniFi UNAS 4 does not currently try to compete in that area and instead presents itself as a dedicated NAS platform rather than an application host. For some users that will be a limitation, while for others it will be a benefit, because it reduces complexity and keeps the system centered on storage tasks rather than mixed workload experimentation.
 |
 |
In practical terms, the software decision comes down to whether the buyer values depth or focus. The UGREEN DH4300 Plus offers the broader NAS software experience and is better suited to users who want more features, more applications, and more ways to extend the system over time. The UniFi UNAS 4 offers the more controlled and storage-specific platform, with the clearest advantage appearing when it is deployed inside an existing UniFi environment. As a result, the UGREEN software stack is more versatile, while the UniFi software stack is more specialized.
 |
 |
UniFi UNAS 4 vs UGREEN DH4300 NAS – Conclusion & Verdict
Taken as a whole, these 2 systems are aimed at a similar buyer in price terms, but they are not trying to solve the same problem in the same way. The UniFi UNAS 4 is a more specialized NAS that focuses on storage, backup, remote access, and integration within the UniFi ecosystem. The UGREEN DH4300 Plus is a broader standalone NAS that gives the user more hardware resources, more software flexibility, and a wider overall role in the network. That difference matters more than the relatively small gap in price, because in day to day use they will appeal to different priorities. The UniFi UNAS 4 makes more sense for buyers who already use UniFi switches, gateways, and management tools, or for those who specifically want a NAS that stays focused on file storage instead of trying to become a media server or container host. Its built in NVMe cache support and PoE+++ deployment give it some useful differentiators, and its simpler software scope will suit users who want a more controlled experience. However, outside of the UniFi ecosystem, some of its strengths become less important, while its limitations in application support, connectivity, and hardware power become harder to ignore.
 |
|
The UGREEN DH4300 Plus is the better fit for users who want a more traditional all-round NAS. It has the stronger CPU, more memory, broader external connectivity, more RAID options, HDMI output, Docker support, and a software platform with more room to scale into multimedia, backup variety, and third party services. It is the more capable choice for mixed home and small business use, particularly for buyers who are not tied to any specific network brand and want their NAS to handle more than just centralized storage. It is also the easier system to recommend to users comparing it against other established 4-bay NAS platforms in the same price bracket. So, in direct usage terms, the UniFi UNAS 4 is better for UniFi-centric deployments, cleaner storage-first use, and buyers who value NVMe caching and PoE-based installation. The UGREEN DH4300 Plus is better for users who want stronger hardware, more software features, better connectivity, and a wider long term usage profile. If the question is which is the better pure value NAS for the largest number of users, the UGREEN DH4300 Plus is the stronger overall option. If the question is which fits better into a UniFi-led network and a simpler storage-focused role, the UniFi UNAS 4 is the more appropriate choice.
 |
 |
| Buy the UGREEN DH4300 on Amazon @399 | Buy the UniFi UNAS 4 on The UniFi Store for $379 |
 |
|

 SUBSCRIBE TO OUR NEWSLETTER
[contact-form-7]
 Join Inner Circle
 Get an alert every time something gets added to this specific article!
Subscribe
This description contains links to Amazon. These links will take you to some of the products mentioned in today's content. As an Amazon Associate, I earn from qualifying purchases. Visit the NASCompares Deal Finder to find the best place to buy this device in your region, based on Service, Support and Reputation - Just Search for your NAS Drive in the Box Below
Need Advice on Data Storage from an Expert?
Finally, for free advice about your setup, just leave a message in the comments below here at NASCompares.com and we will get back to you. Need Help?
Where possible (and where appropriate) please provide as much information about your requirements, as then I can arrange the best answer and solution to your needs. Do not worry about your e-mail address being required, it will NOT be used in a mailing list and will NOT be used in any way other than to respond to your enquiry.
[contact-form-7]
Need Help?
Where possible (and where appropriate) please provide as much information about your requirements, as then I can arrange the best answer and solution to your needs. Do not worry about your e-mail address being required, it will NOT be used in a mailing list and will NOT be used in any way other than to respond to your enquiry.
[contact-form-7]
 Ko-fi or old school Paypal. Thanks!To find out more about how to support this advice service check HEREIf you need to fix or configure a NAS, check Fiver
Have you thought about helping others with your knowledge? Find Instructions Here
Ko-fi or old school Paypal. Thanks!To find out more about how to support this advice service check HEREIf you need to fix or configure a NAS, check Fiver
Have you thought about helping others with your knowledge? Find Instructions Here


|
 |


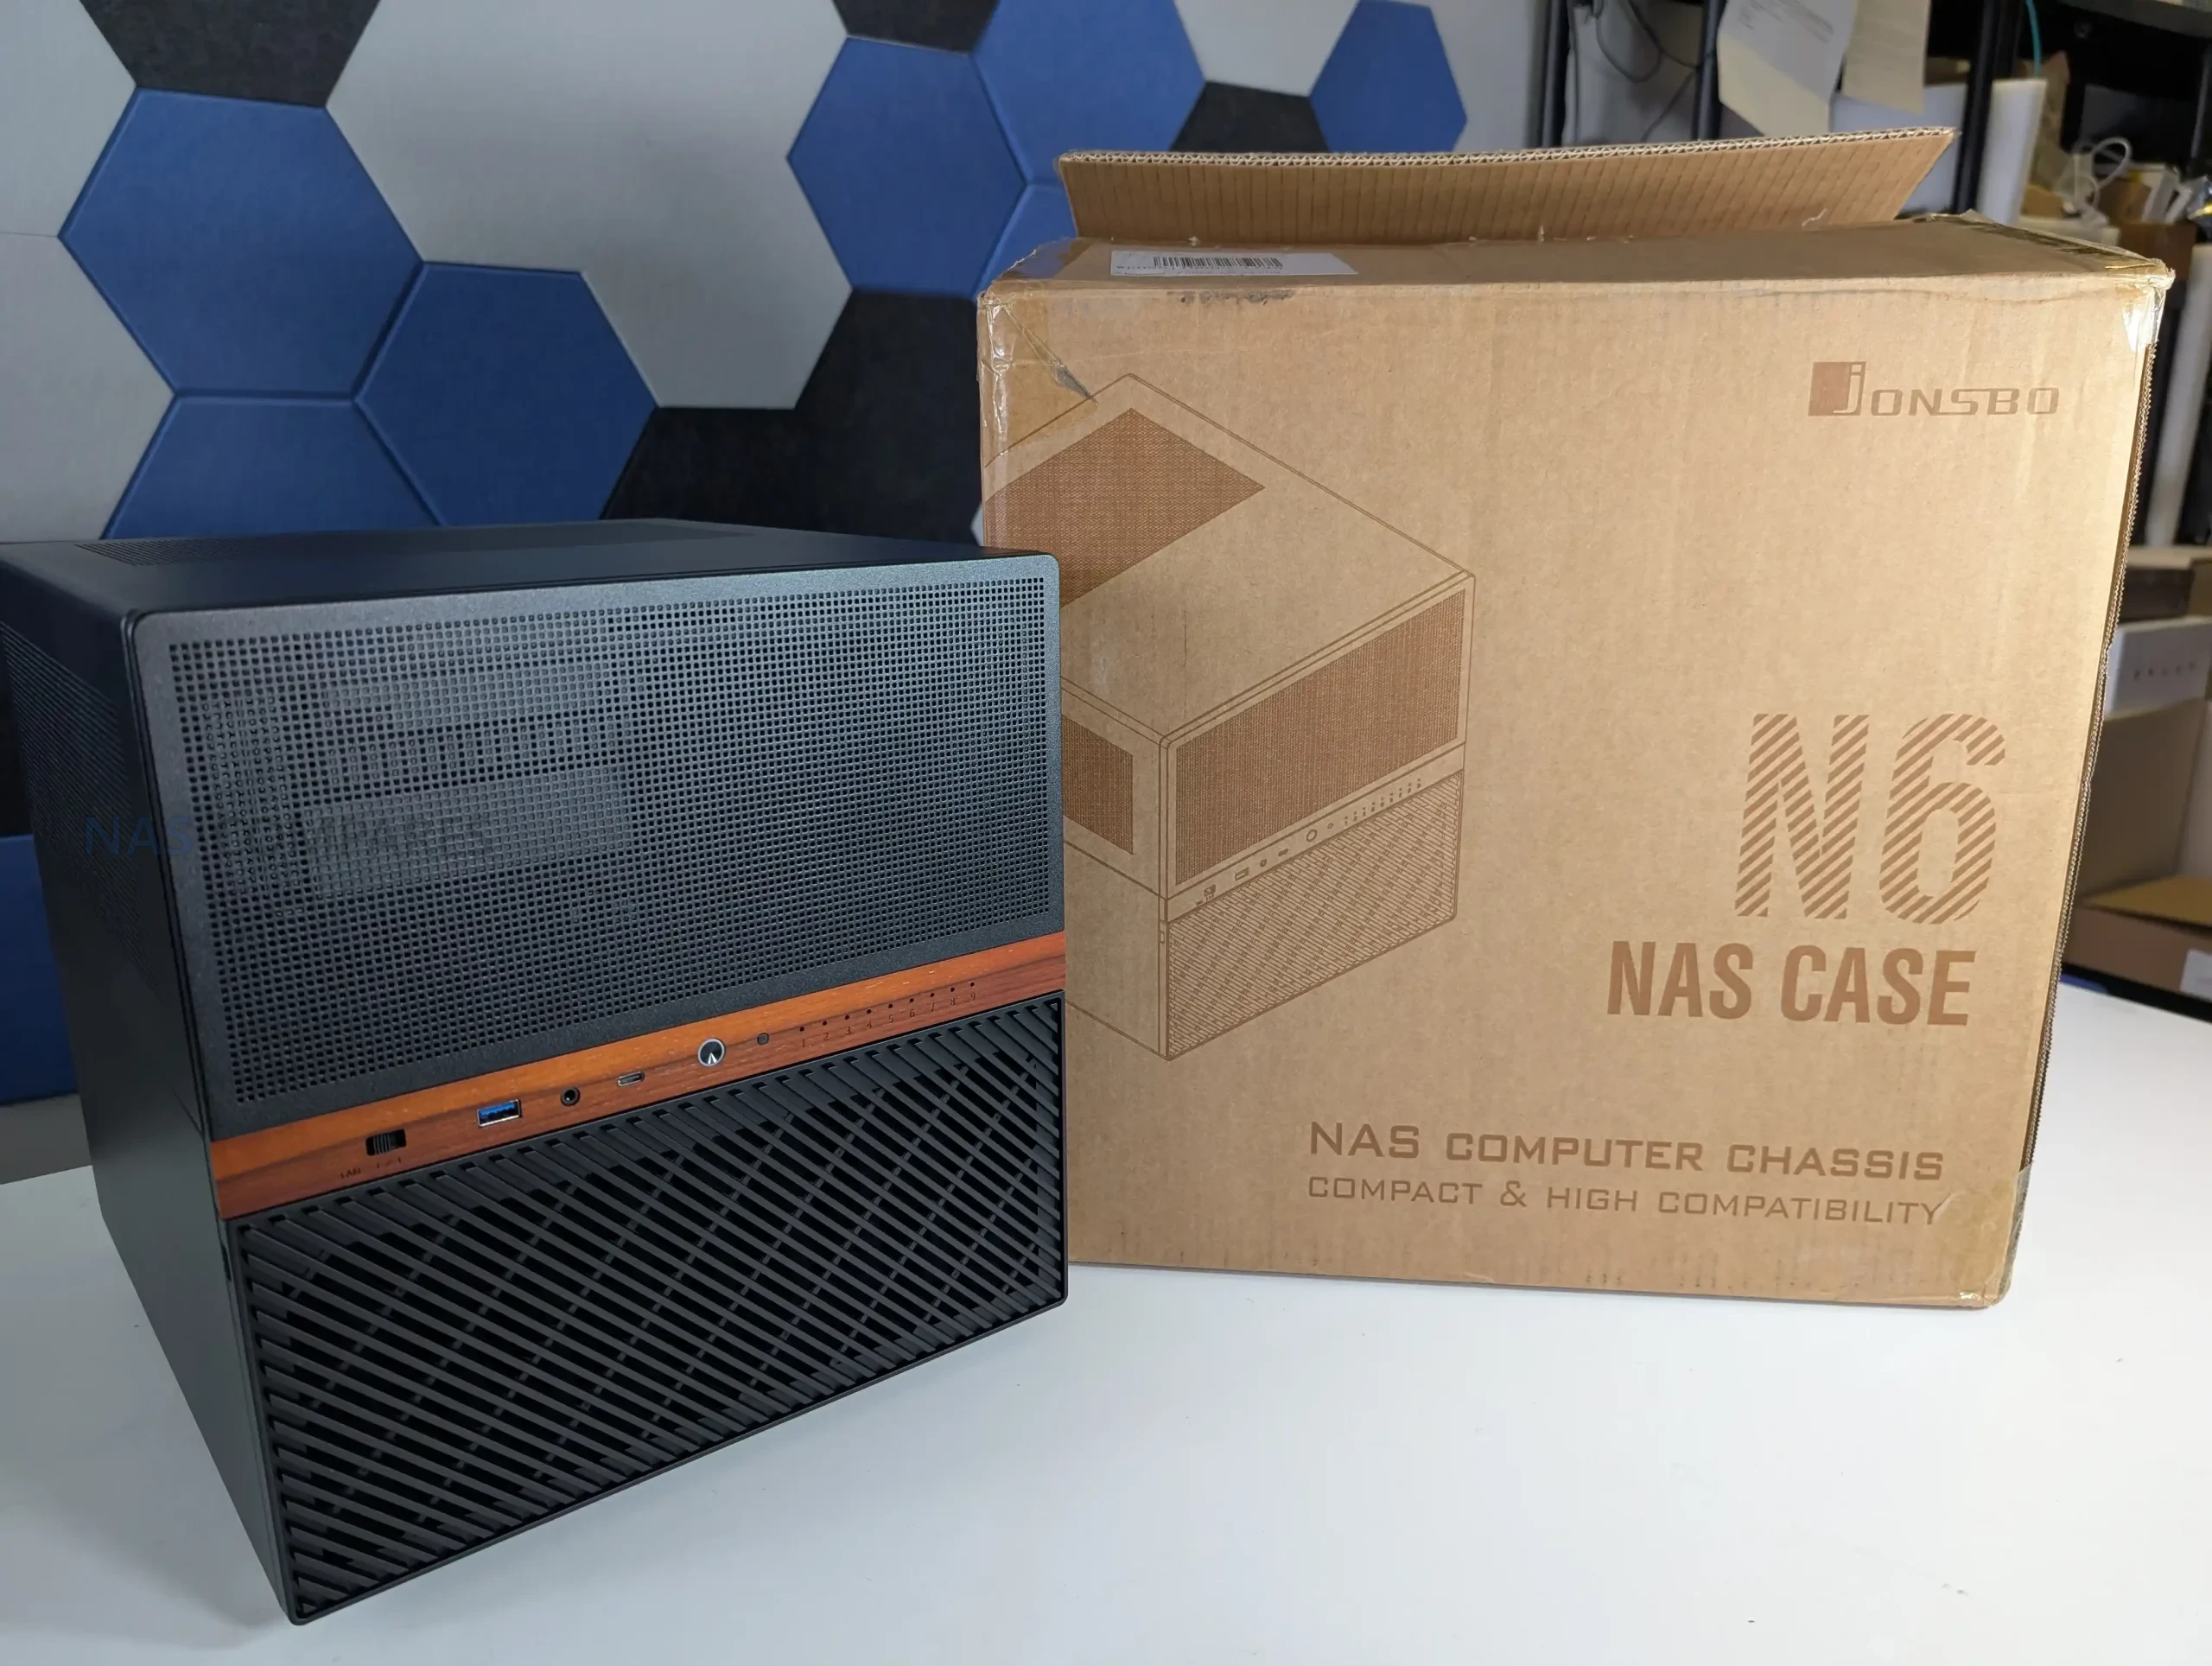
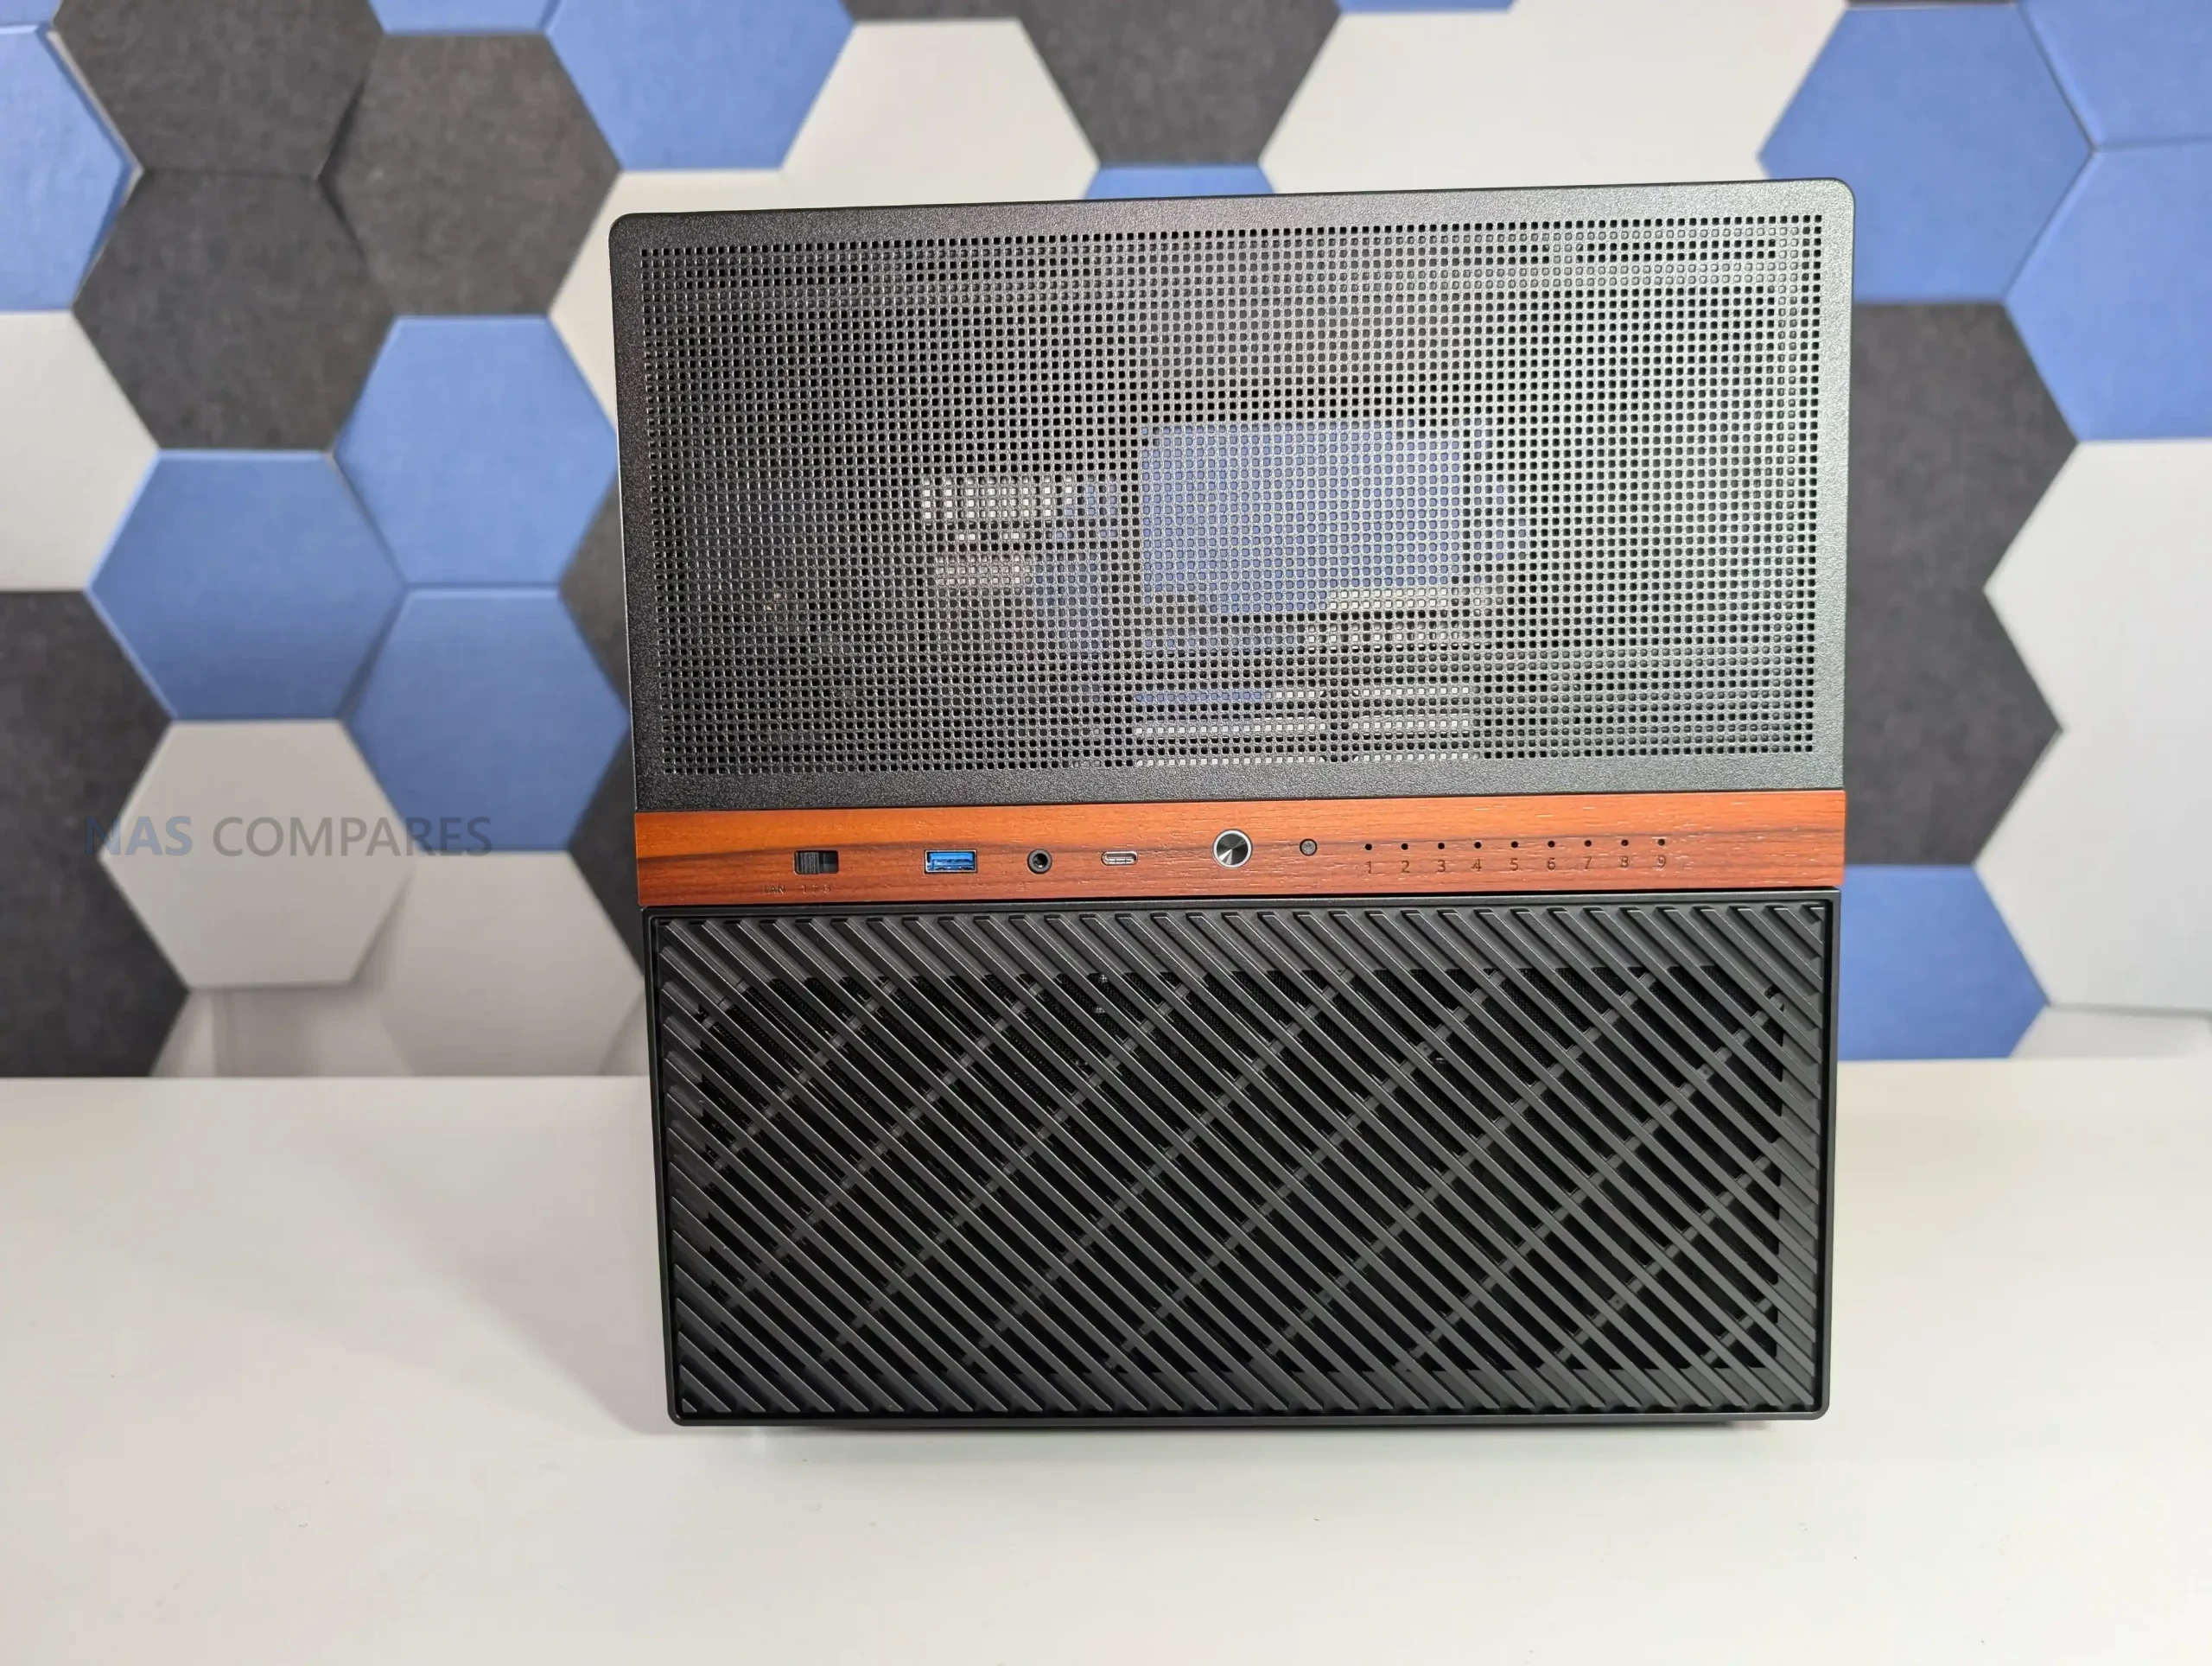


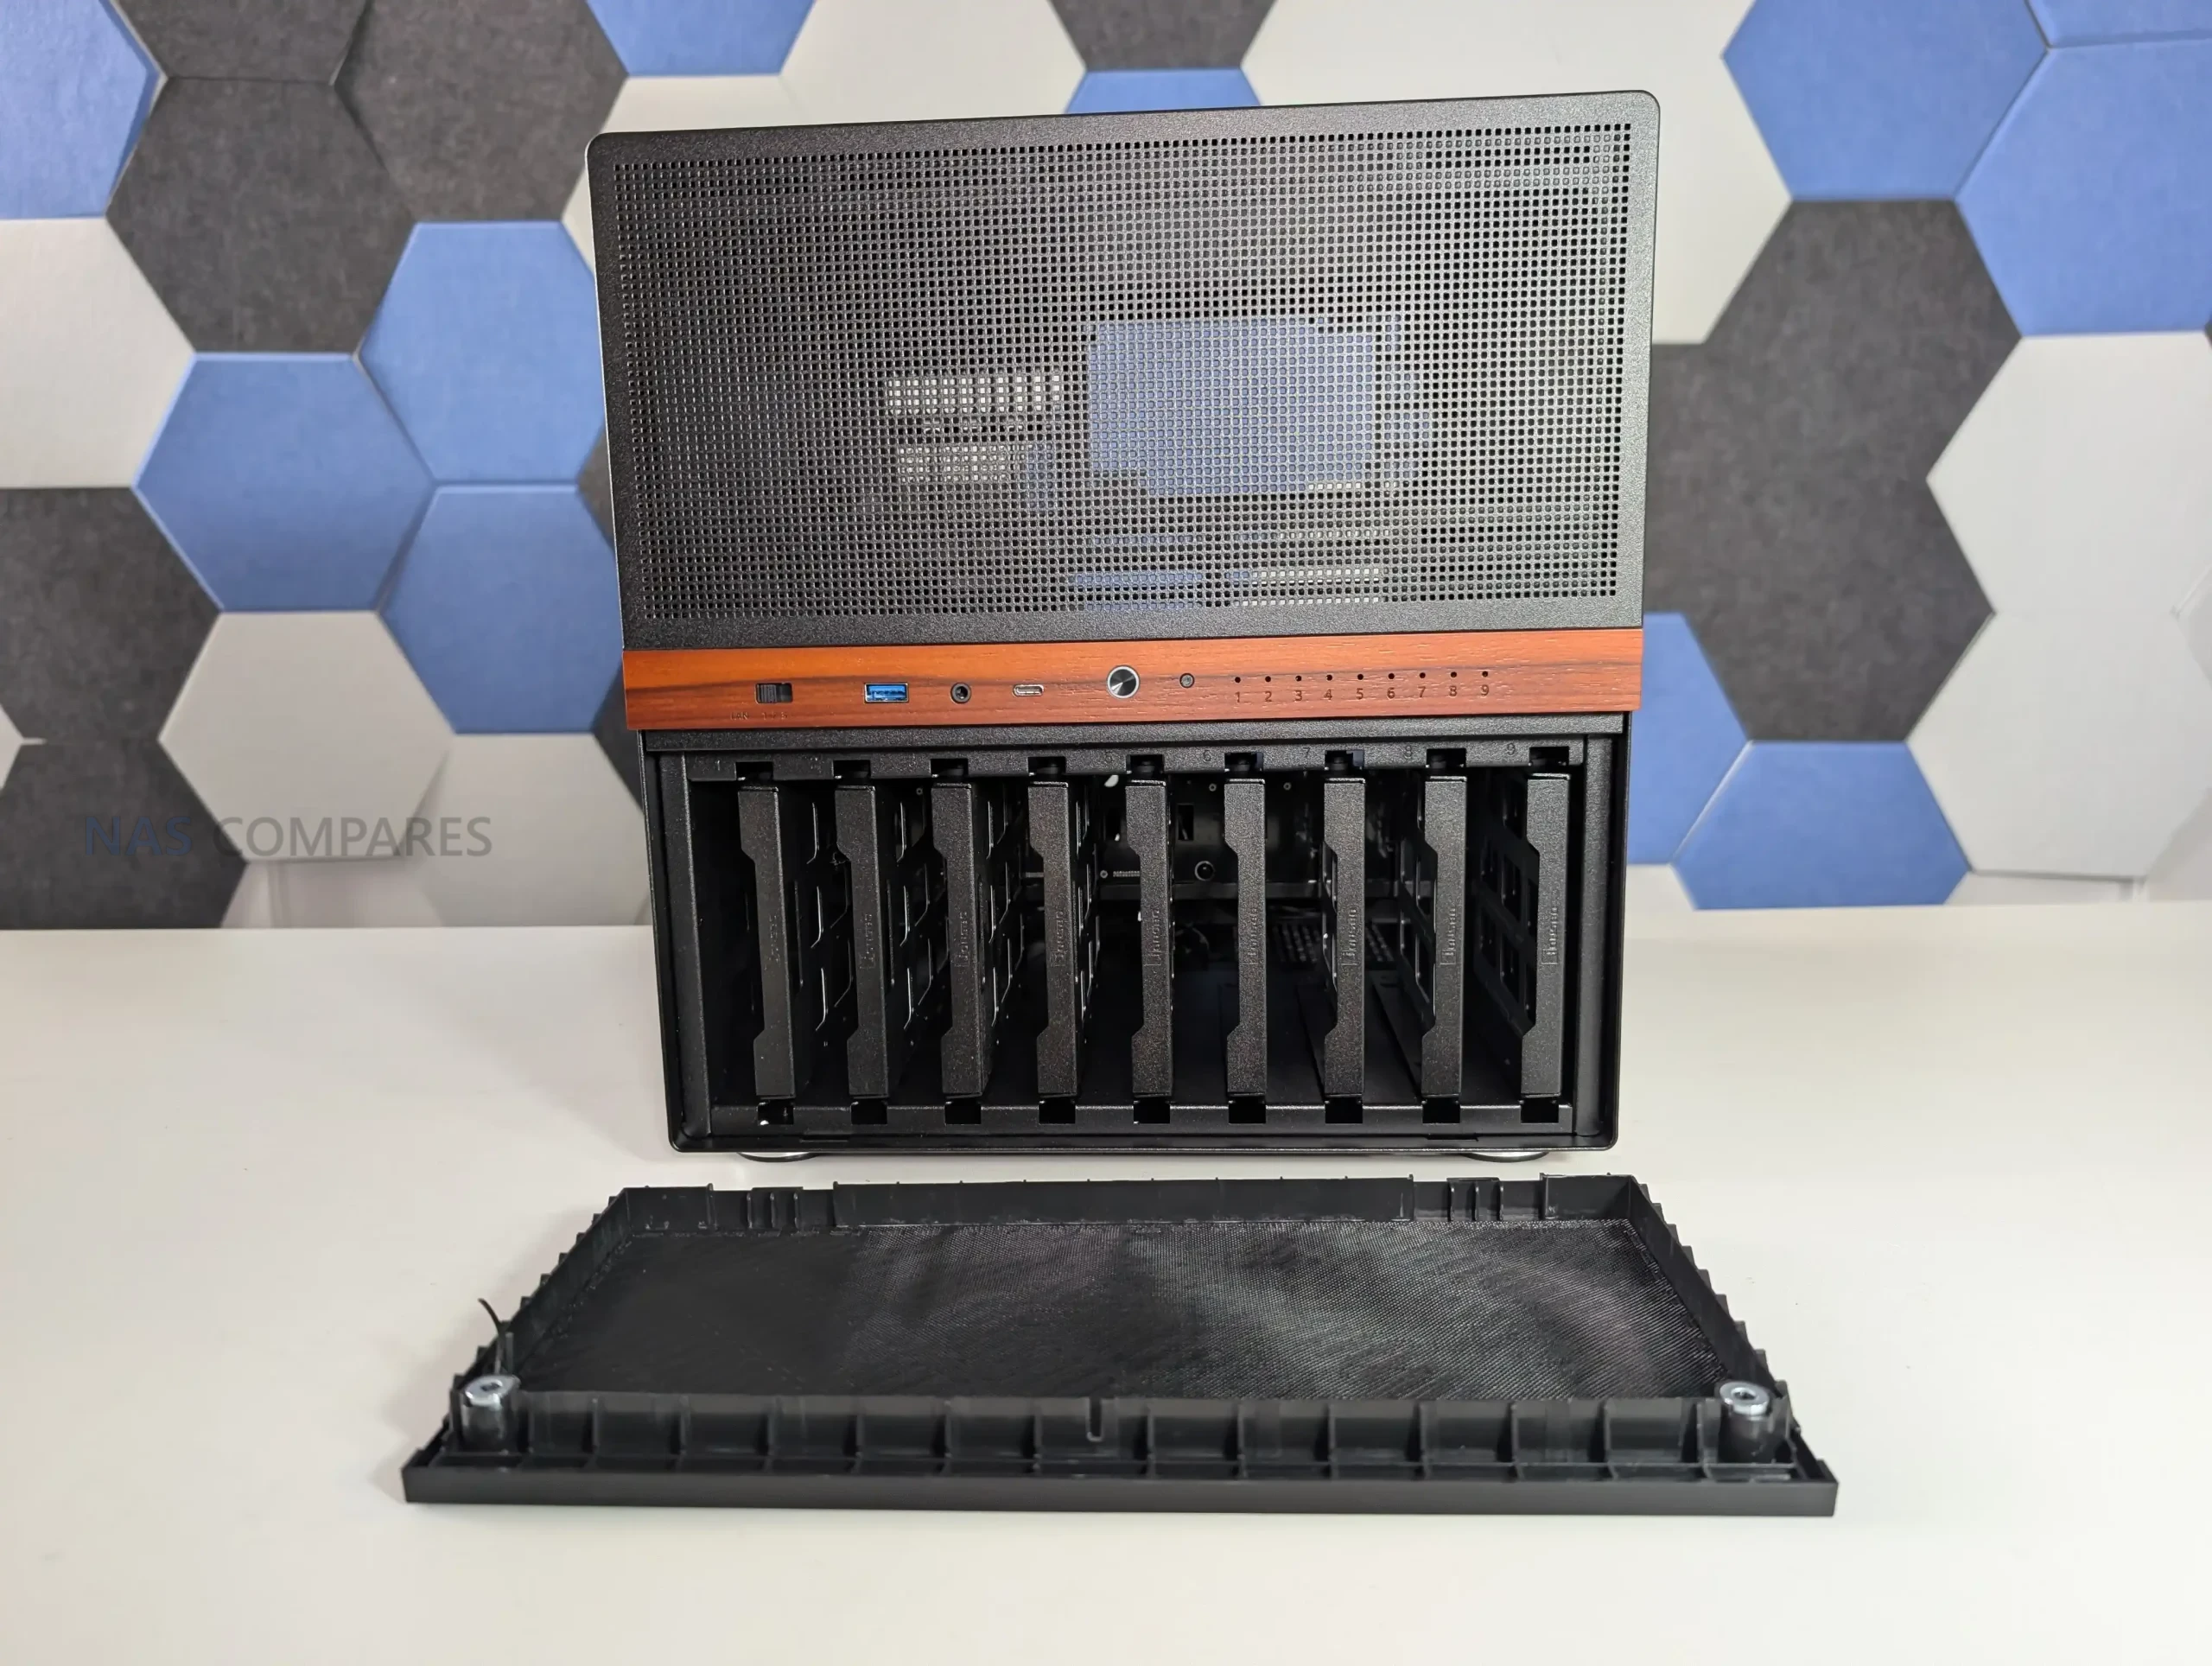
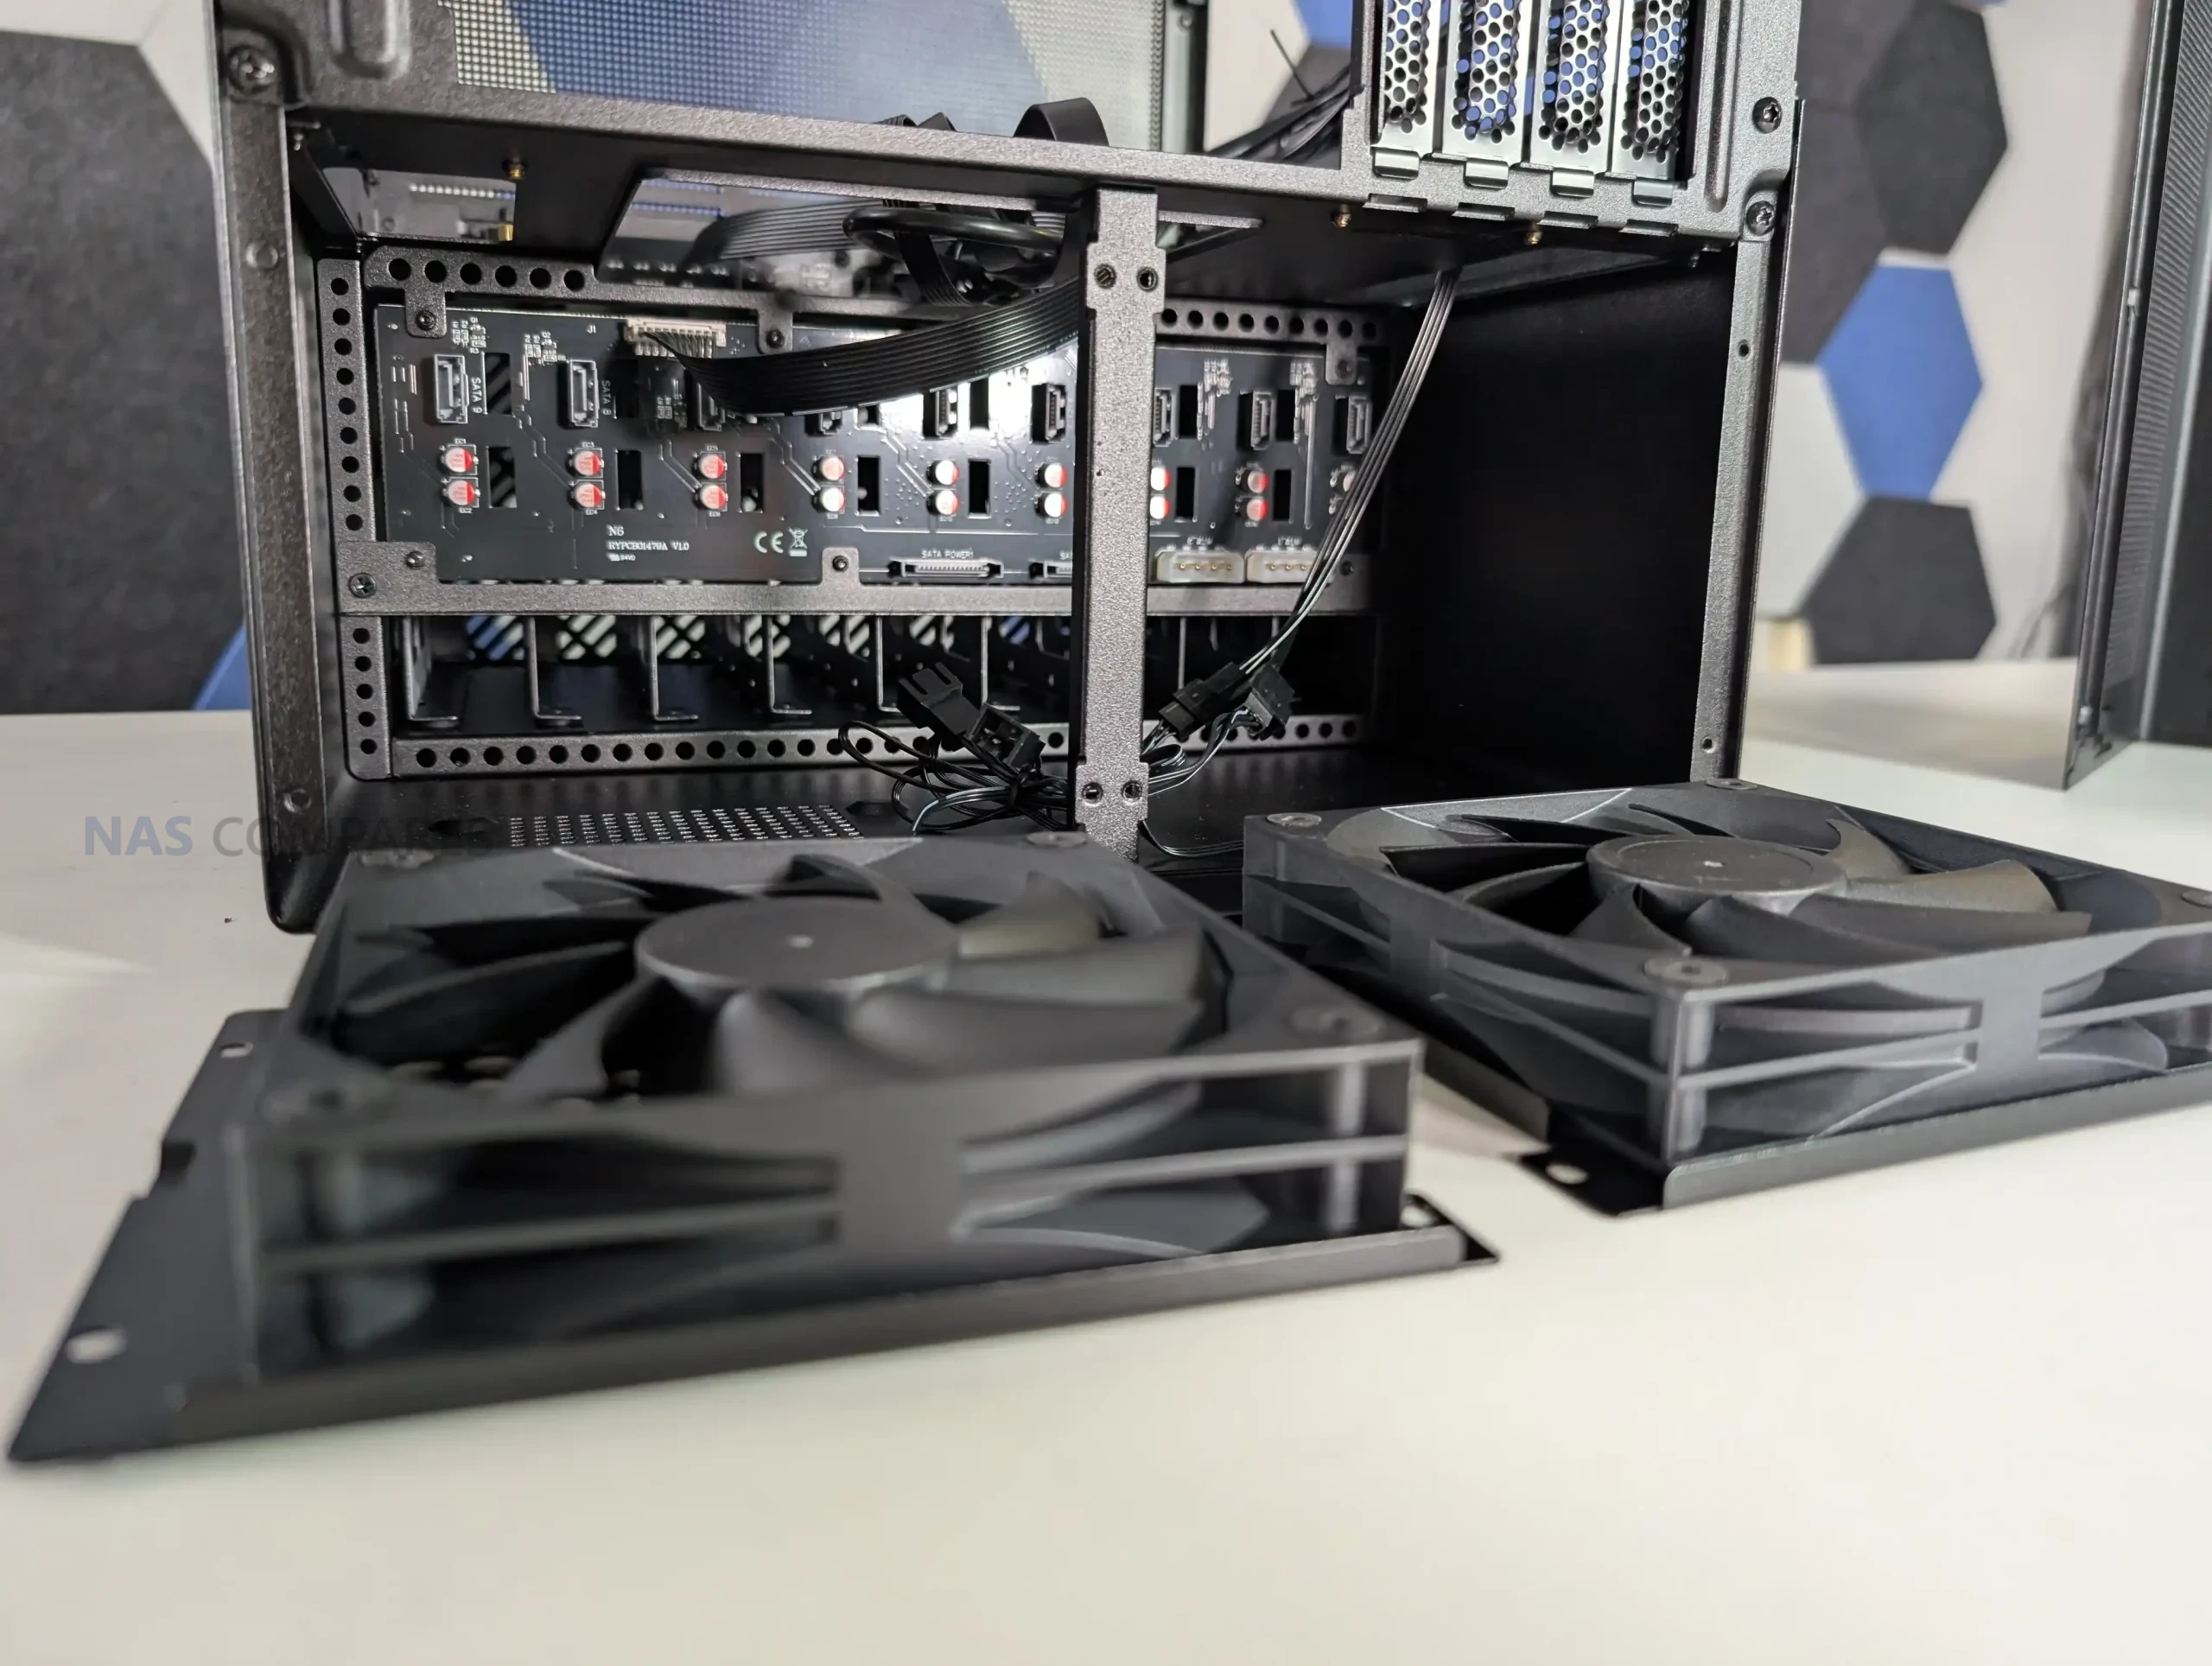
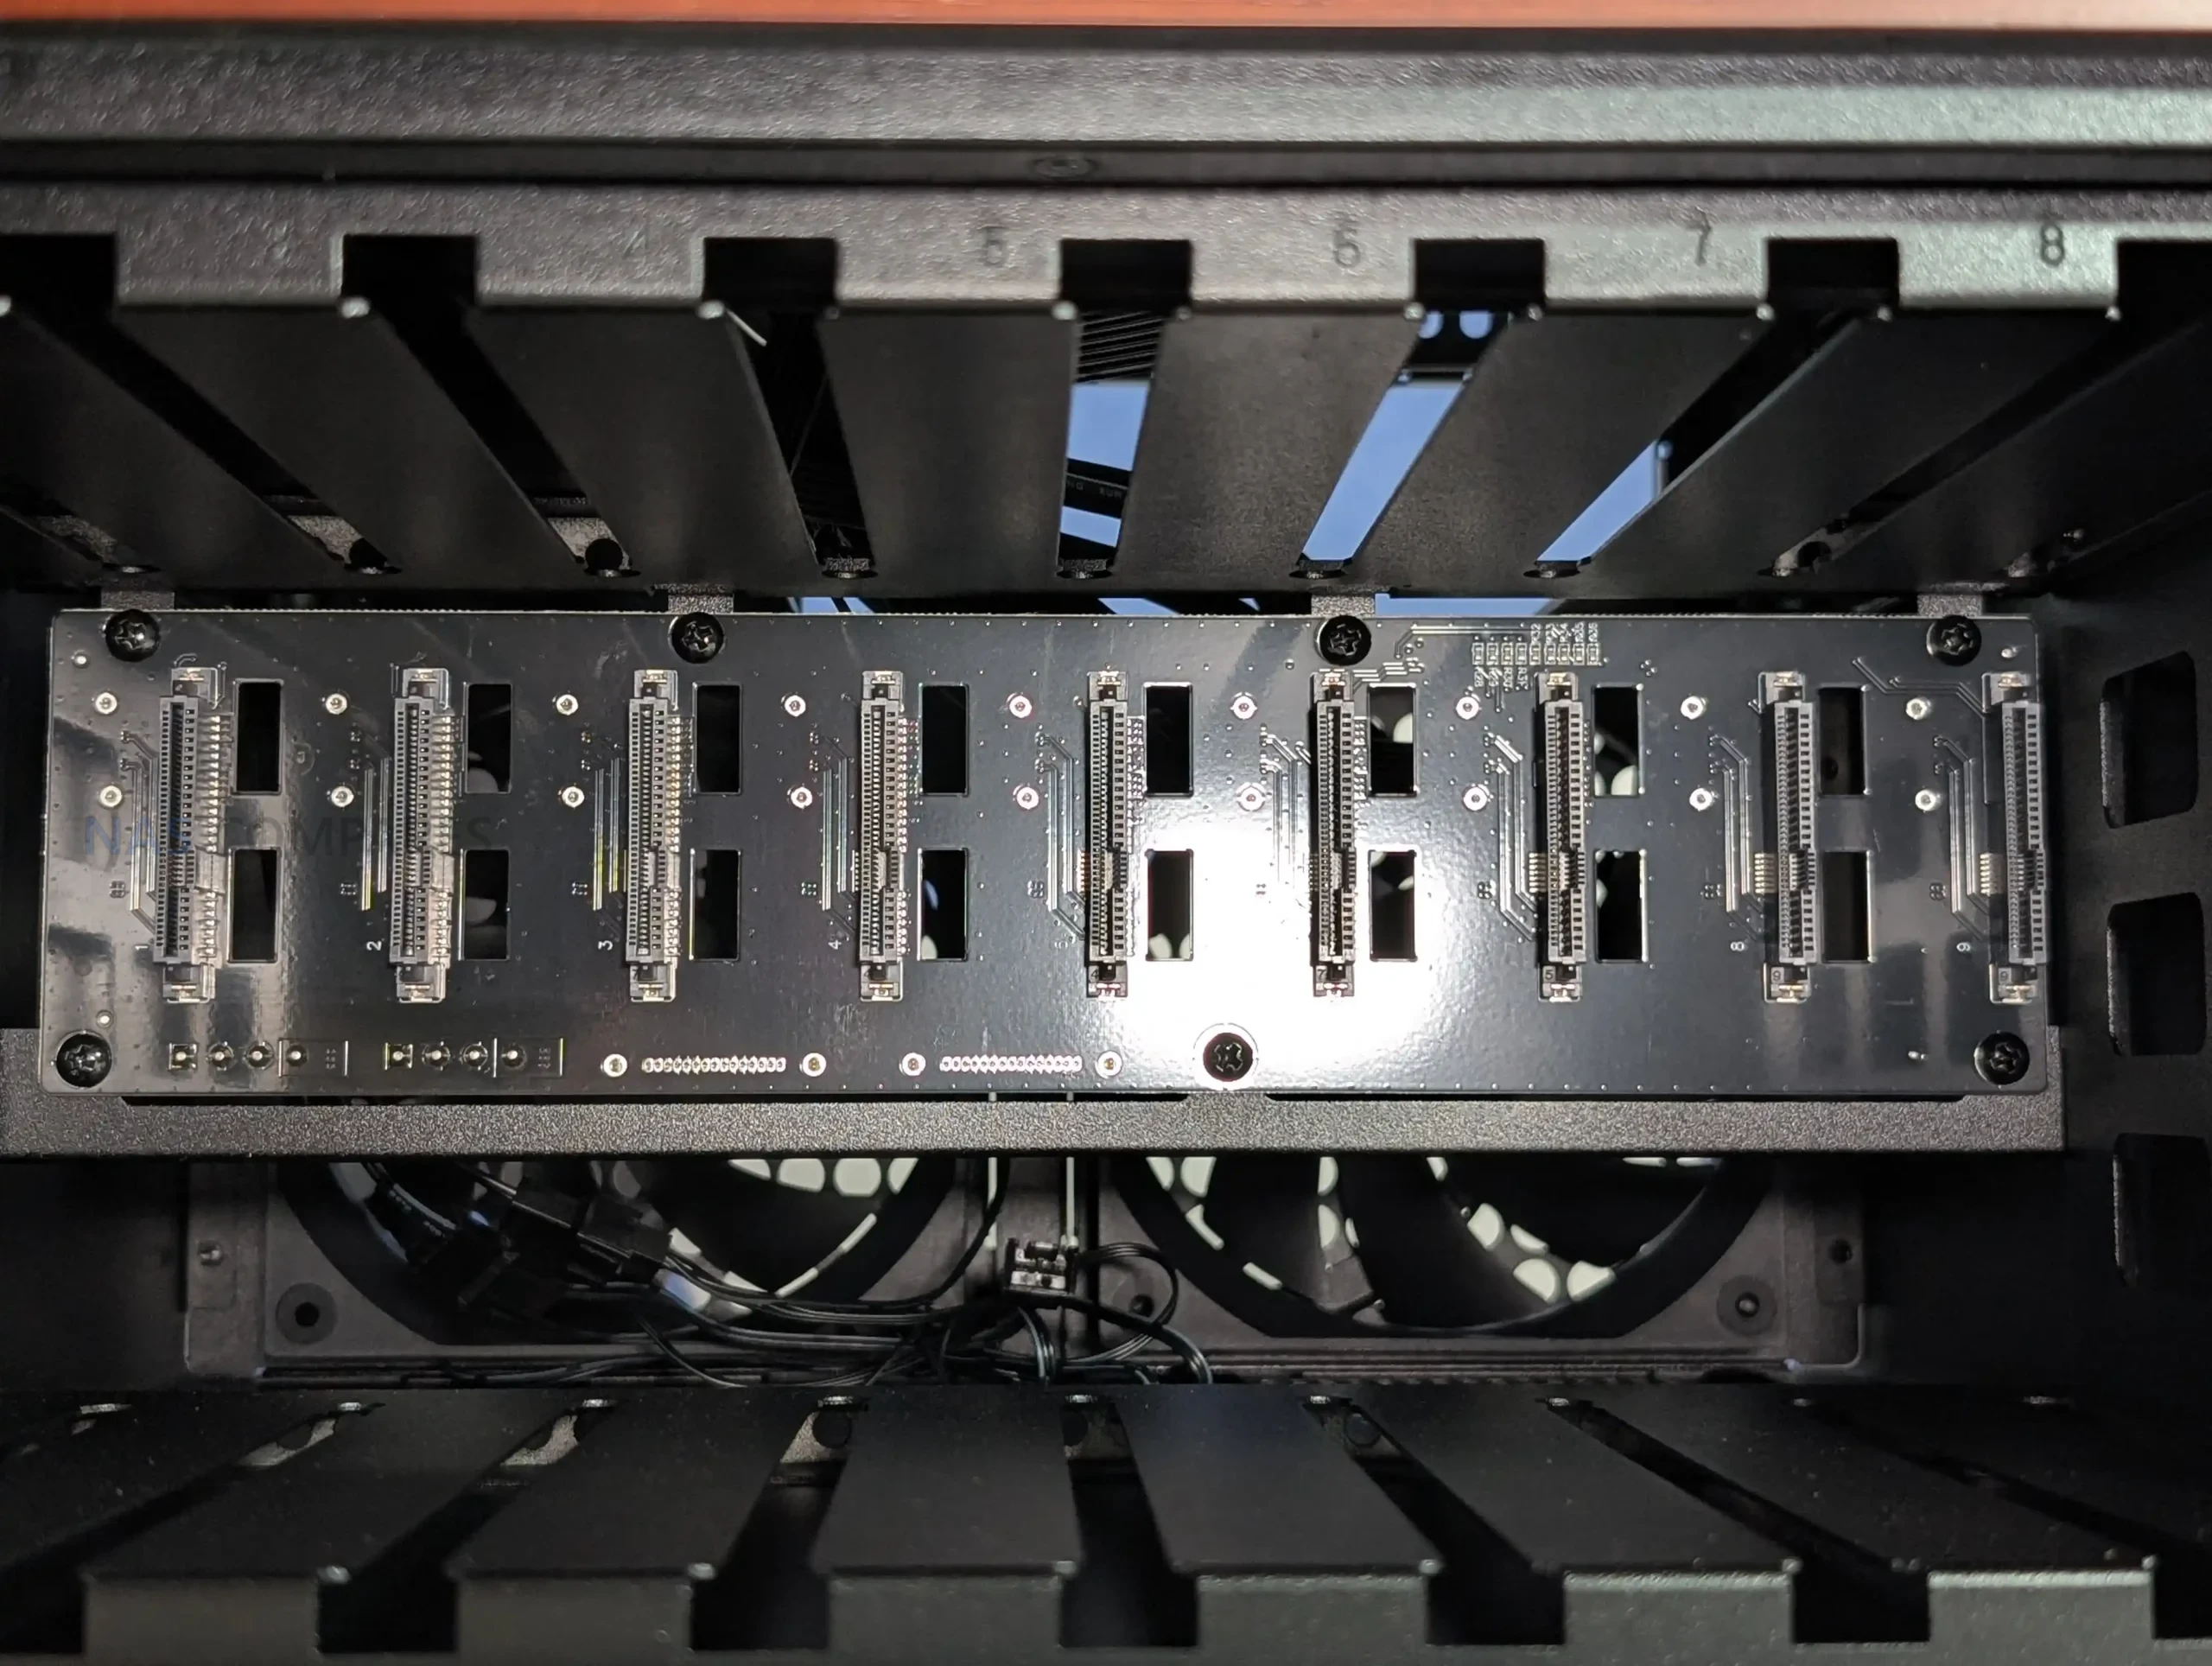
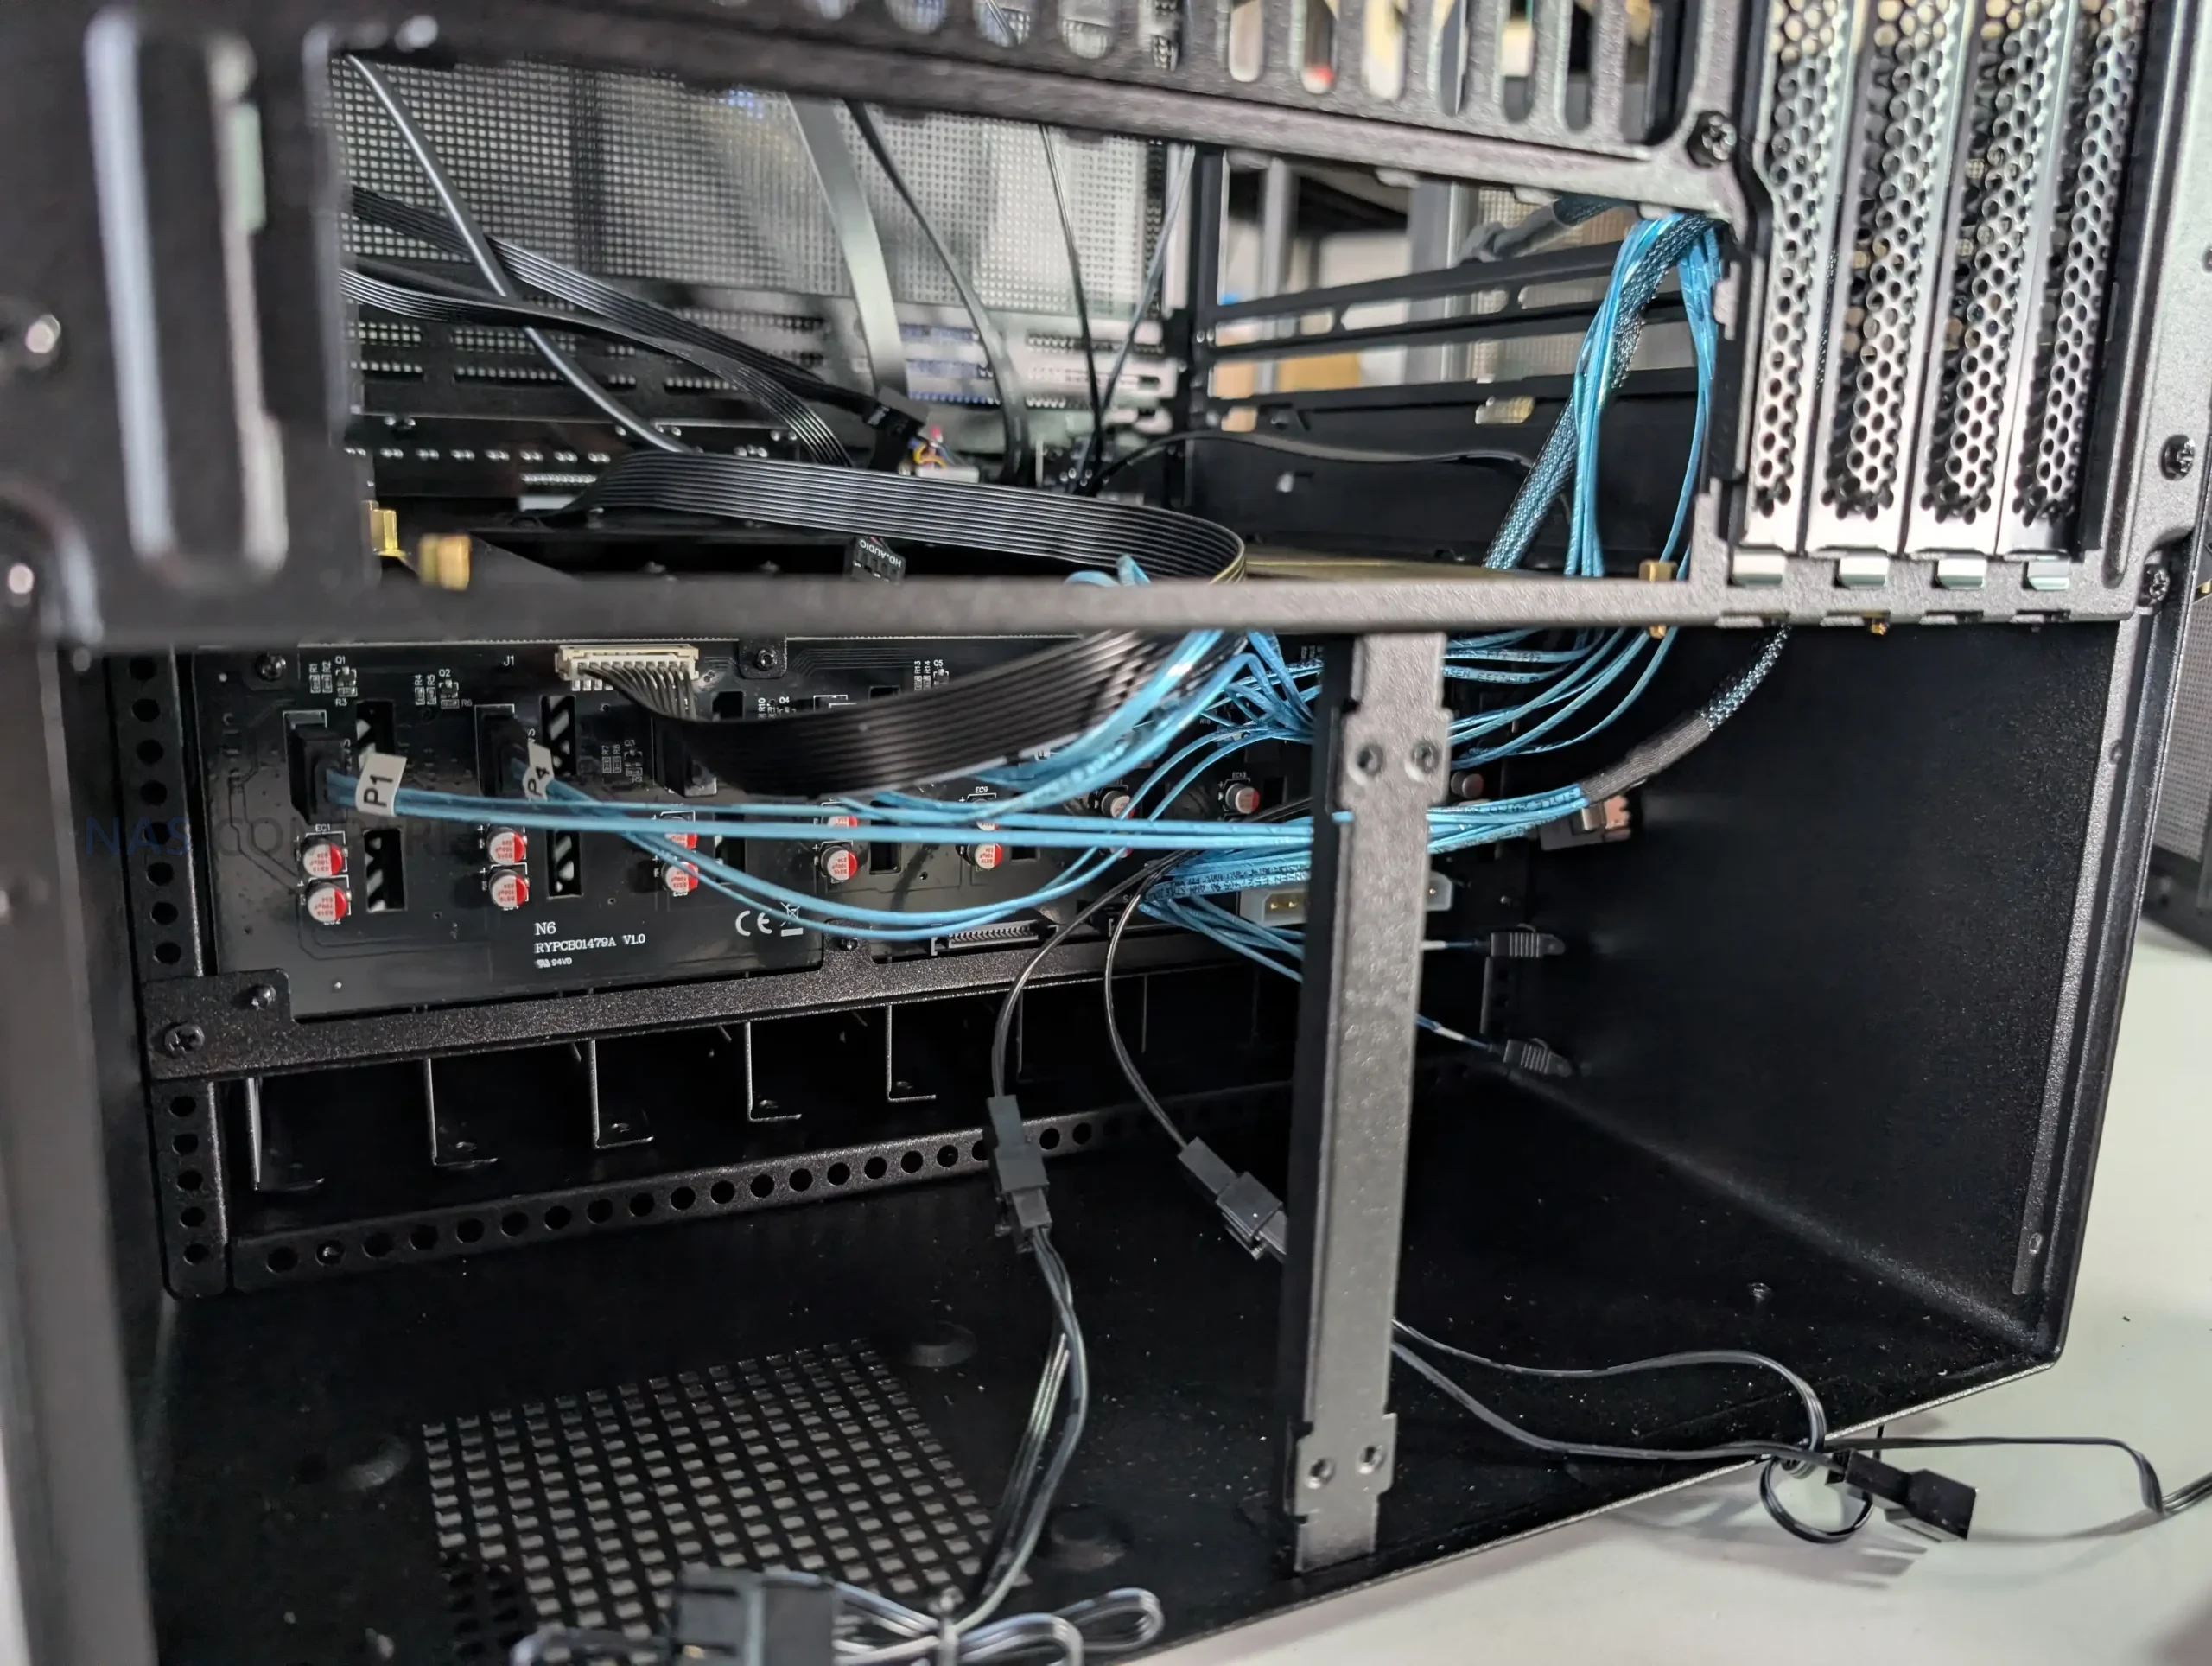
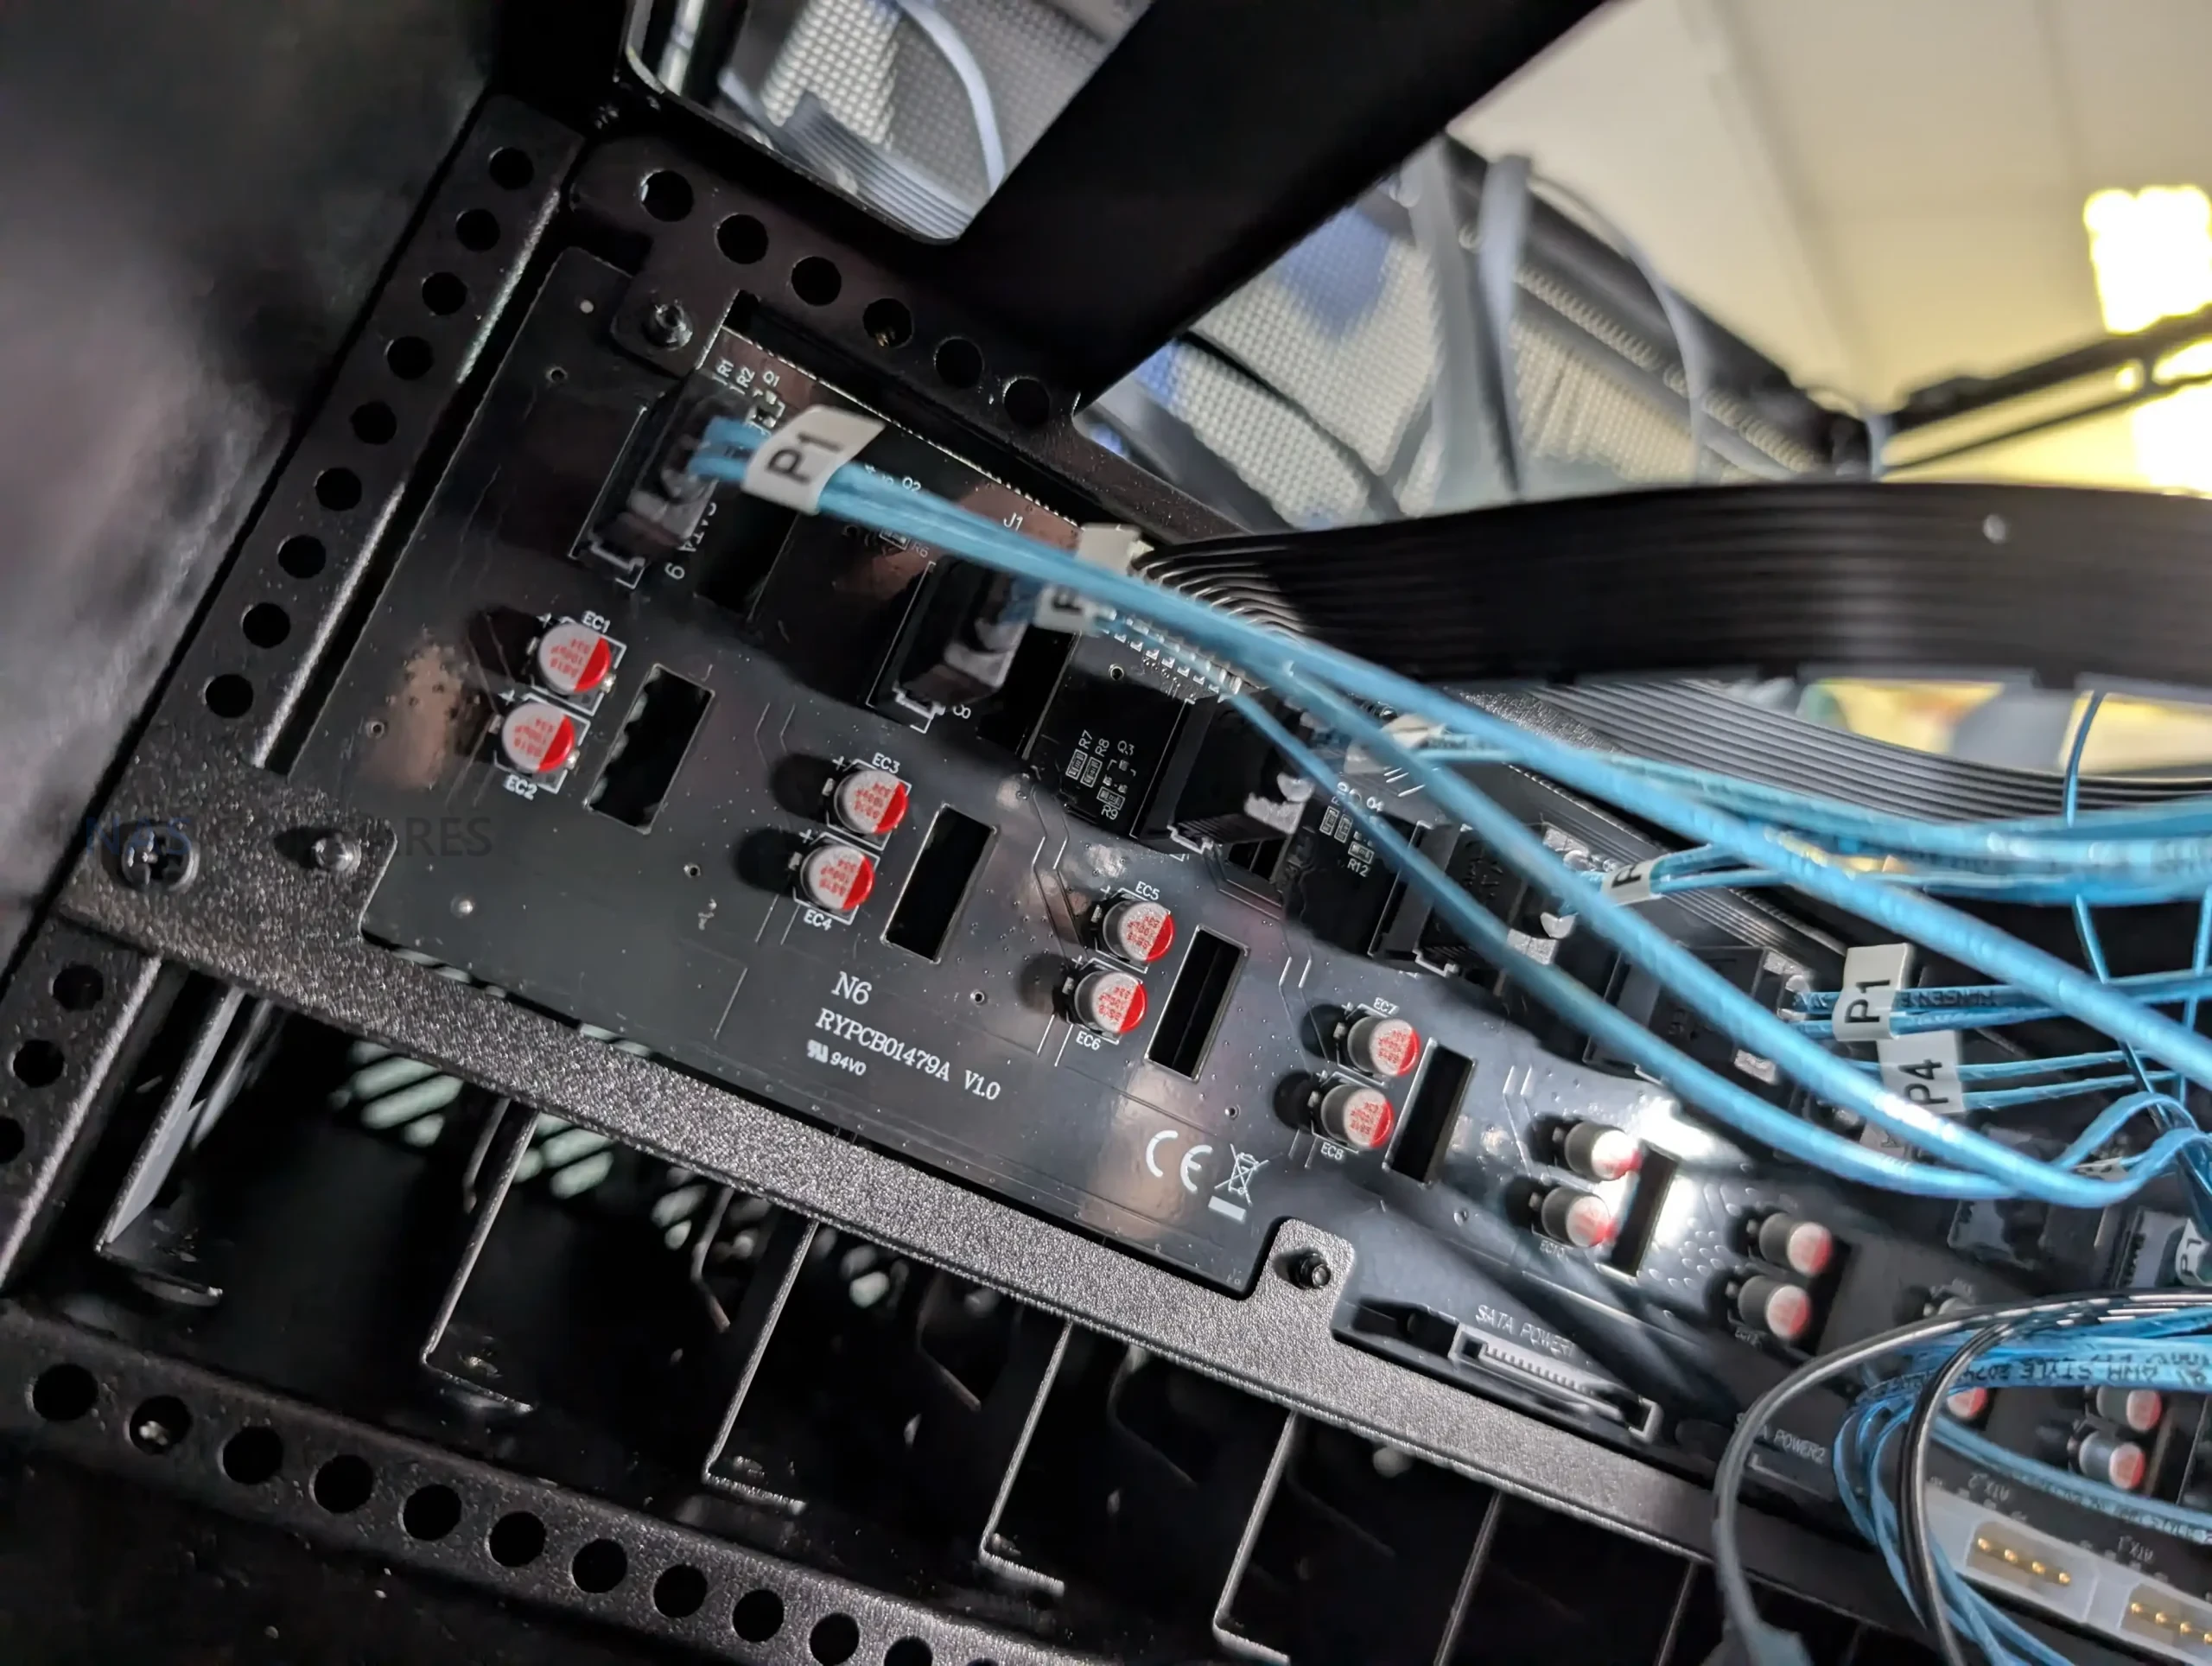
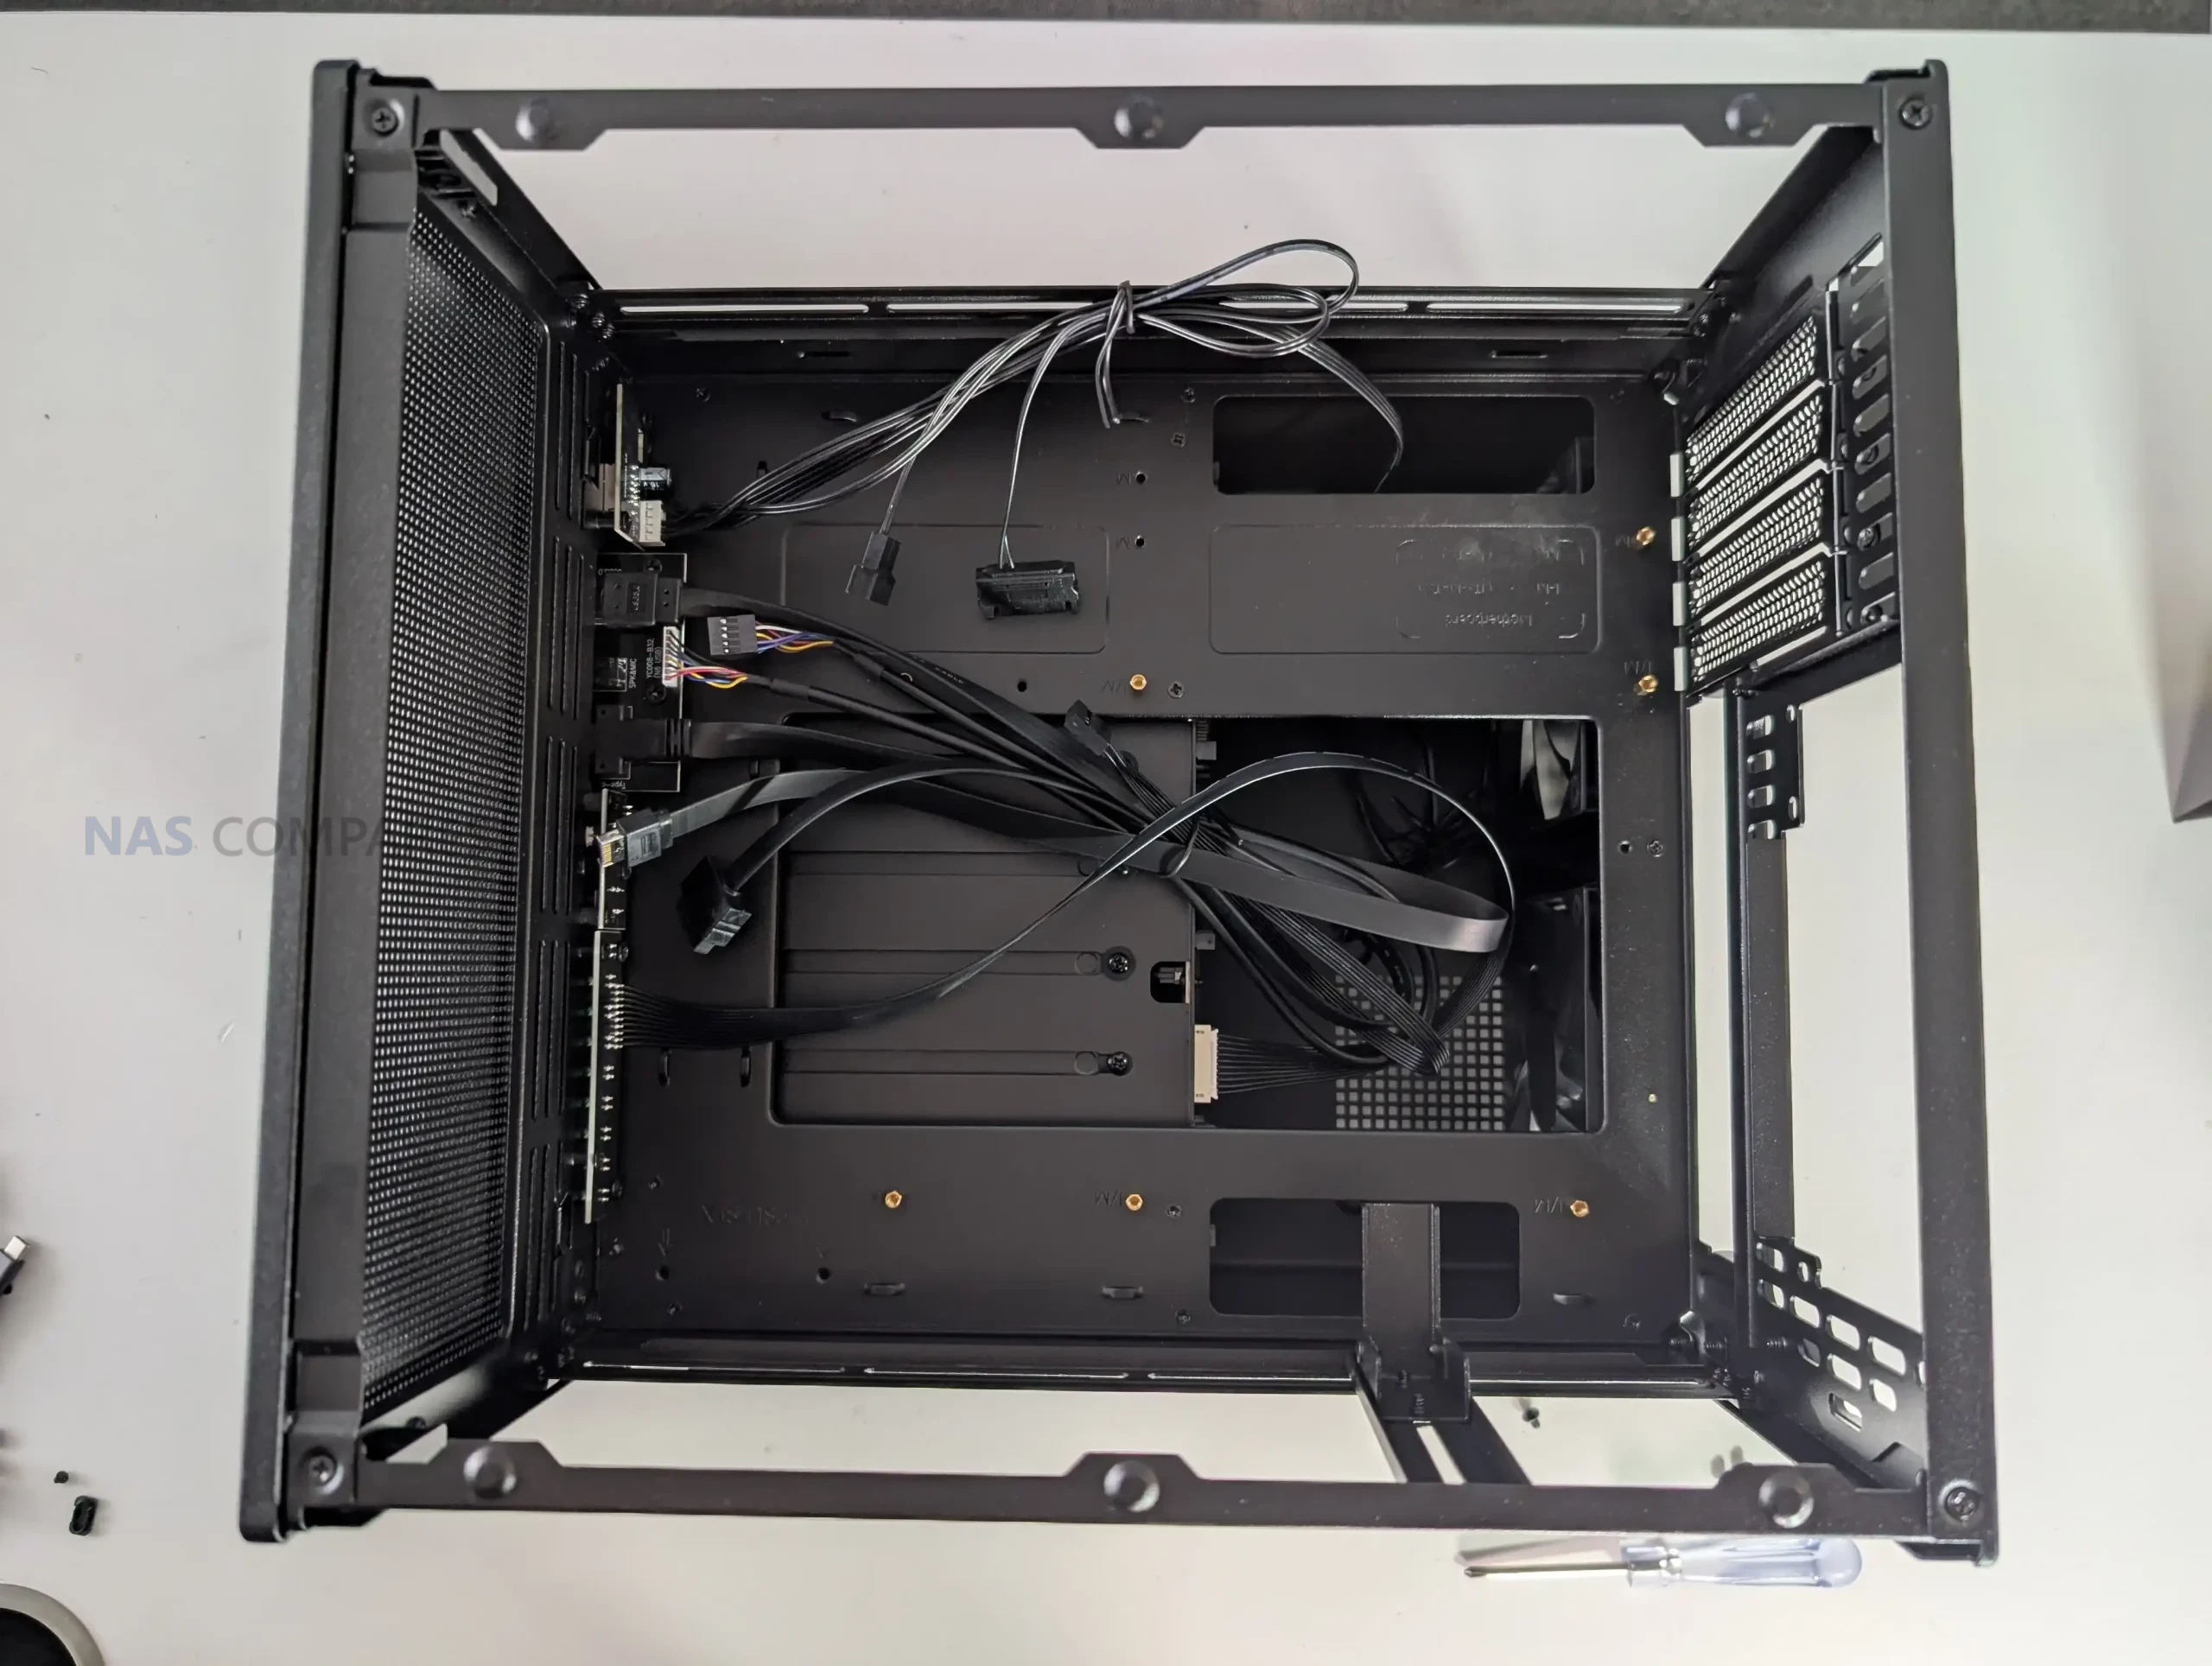
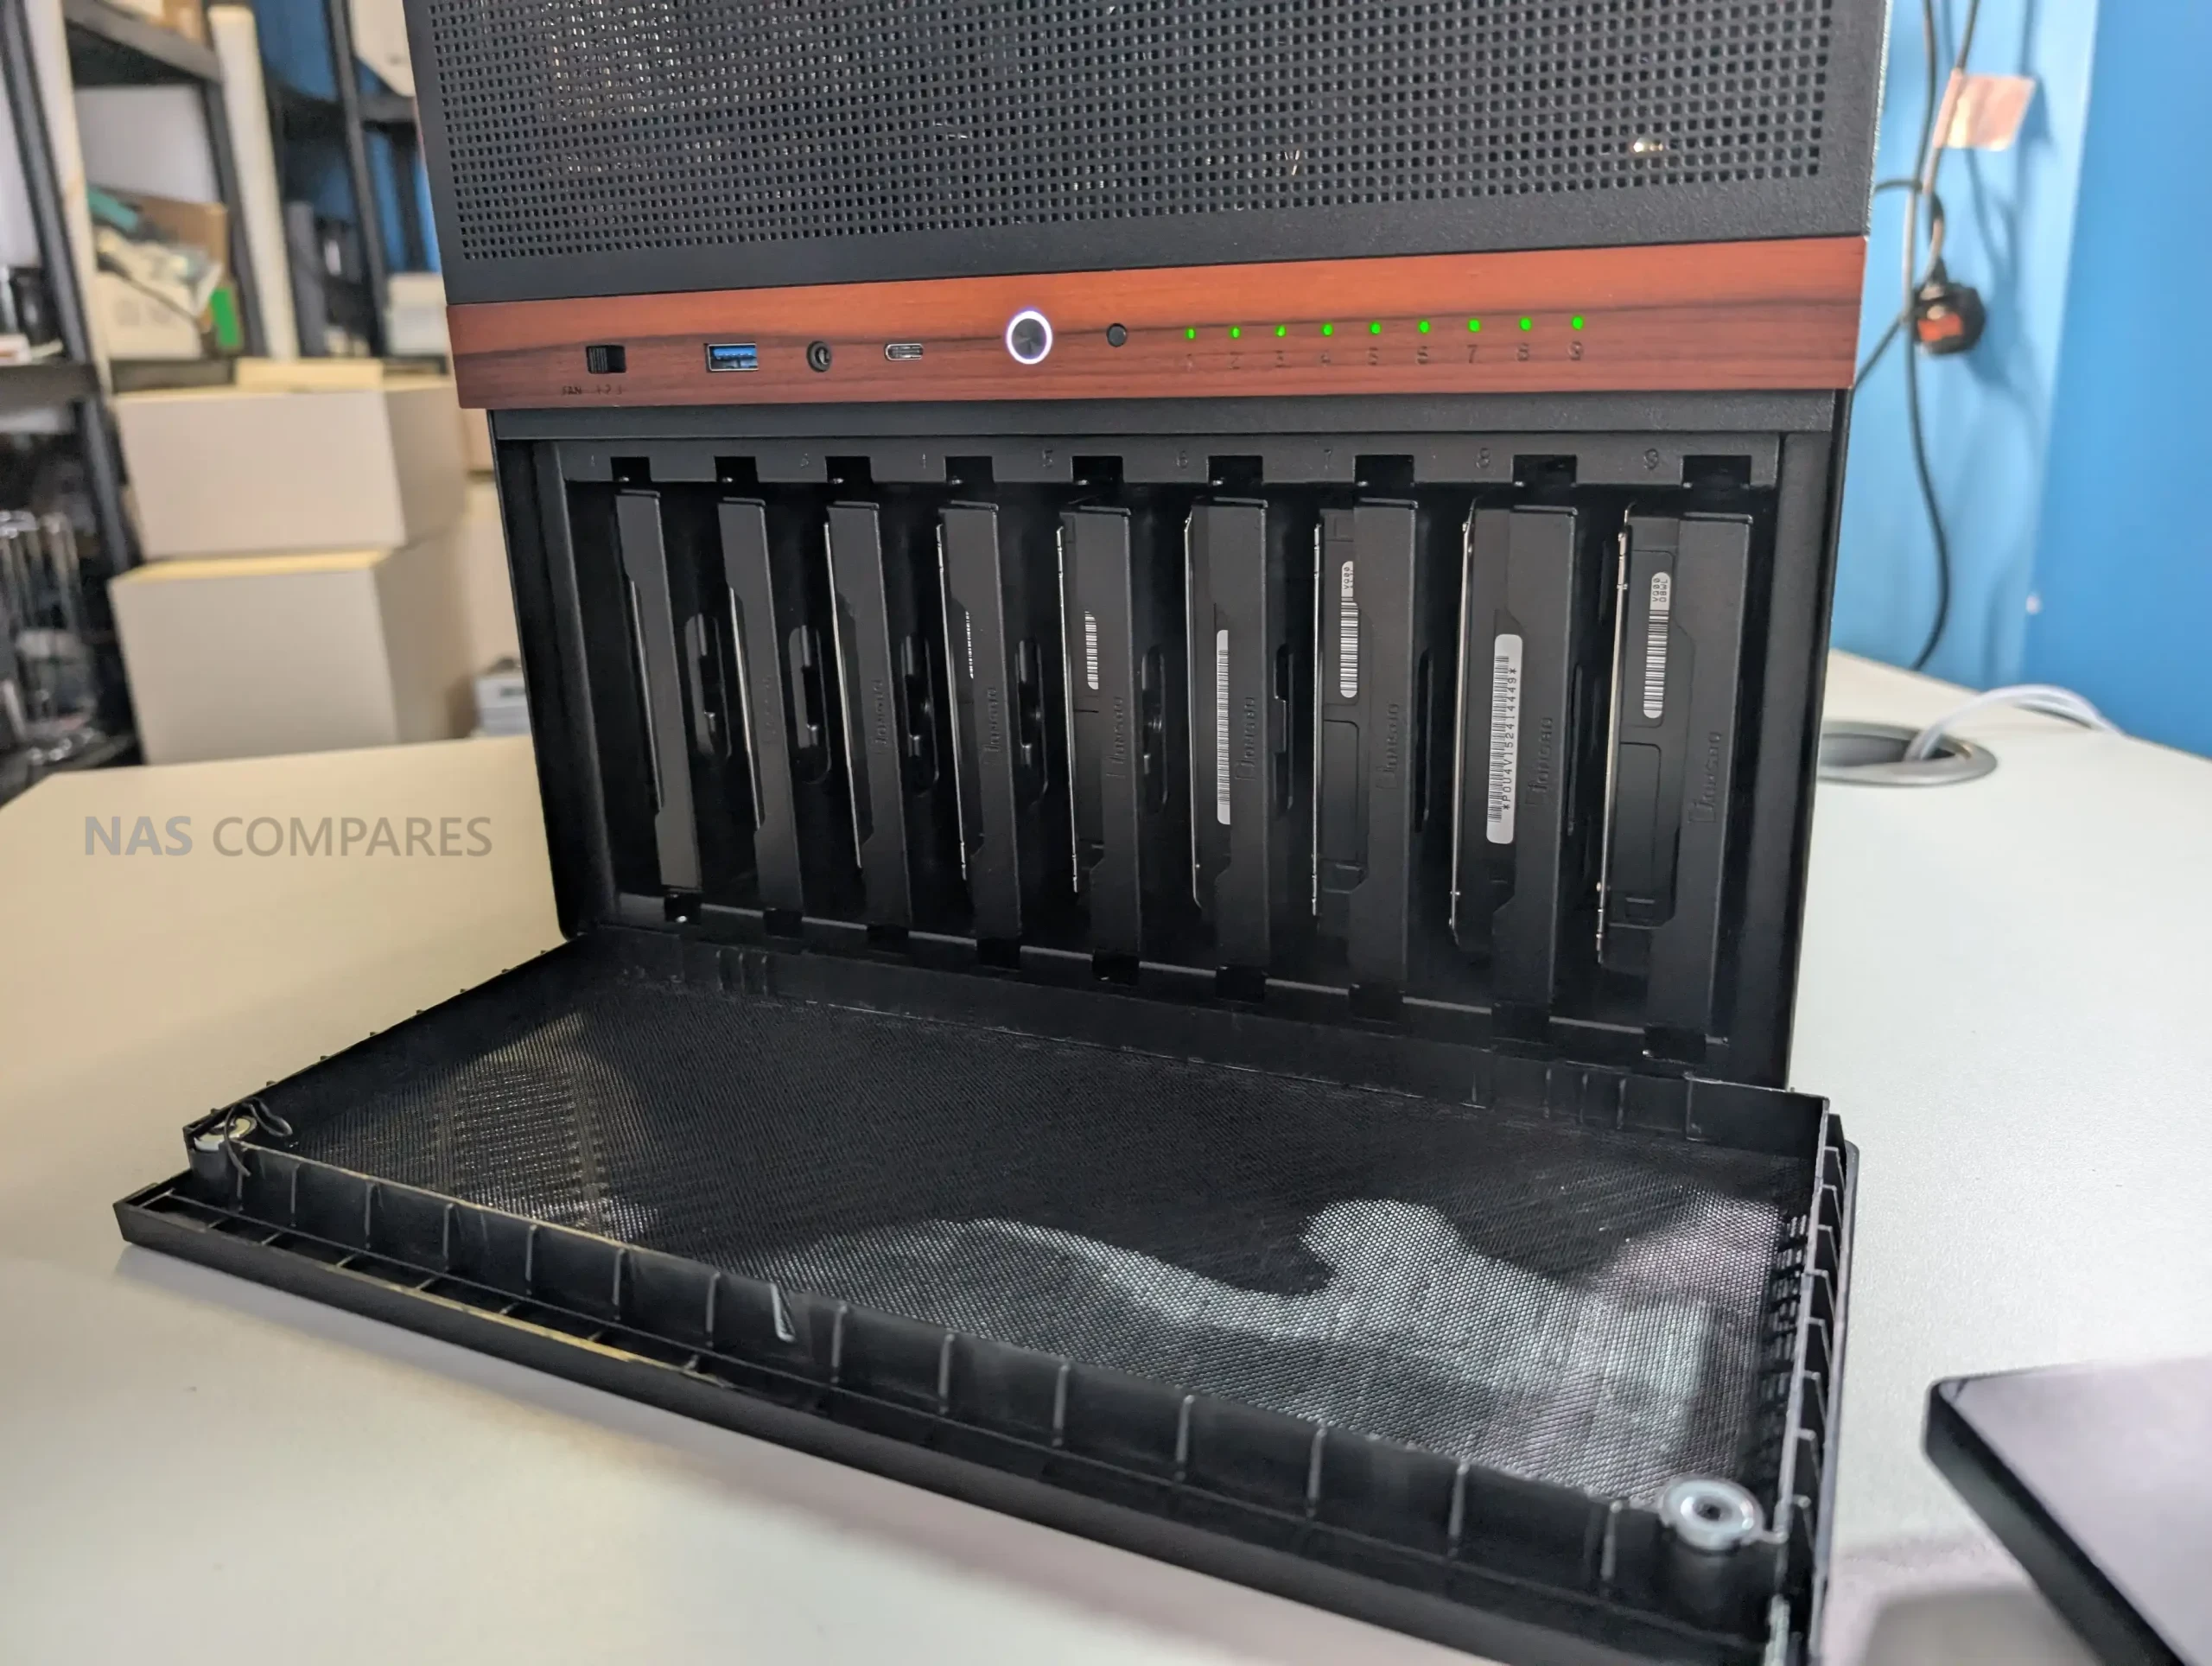
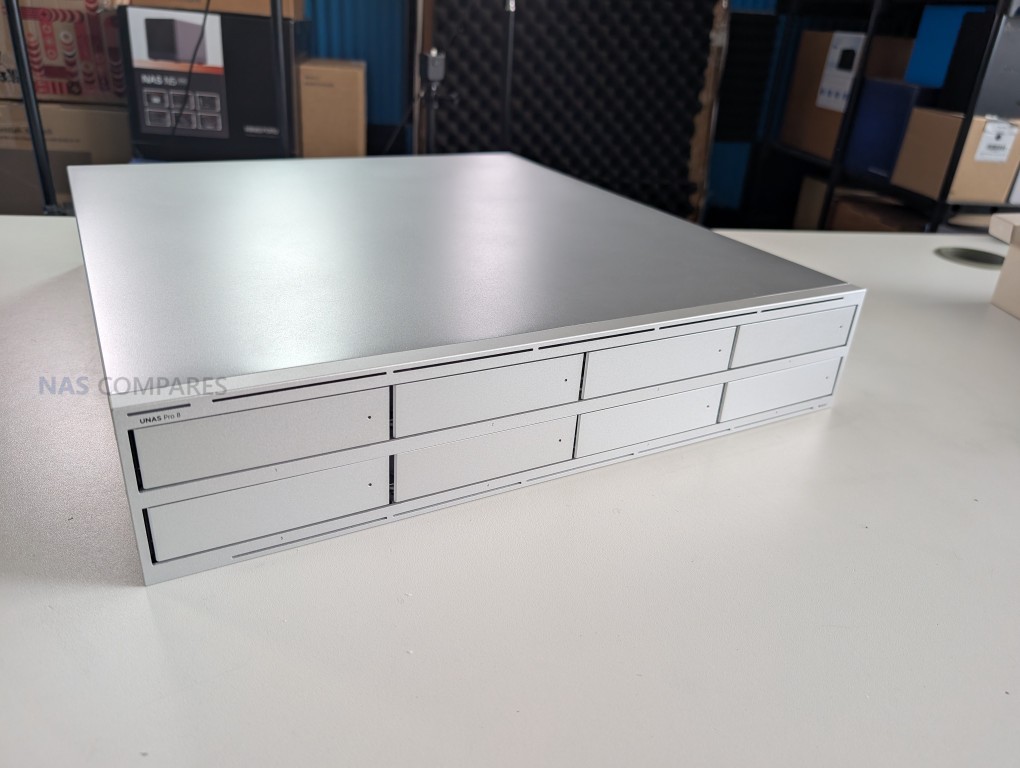
 Supports up to 9 x 3.5 inch or 2.5 inch drives, allowing dense storage in a relatively compact footprint
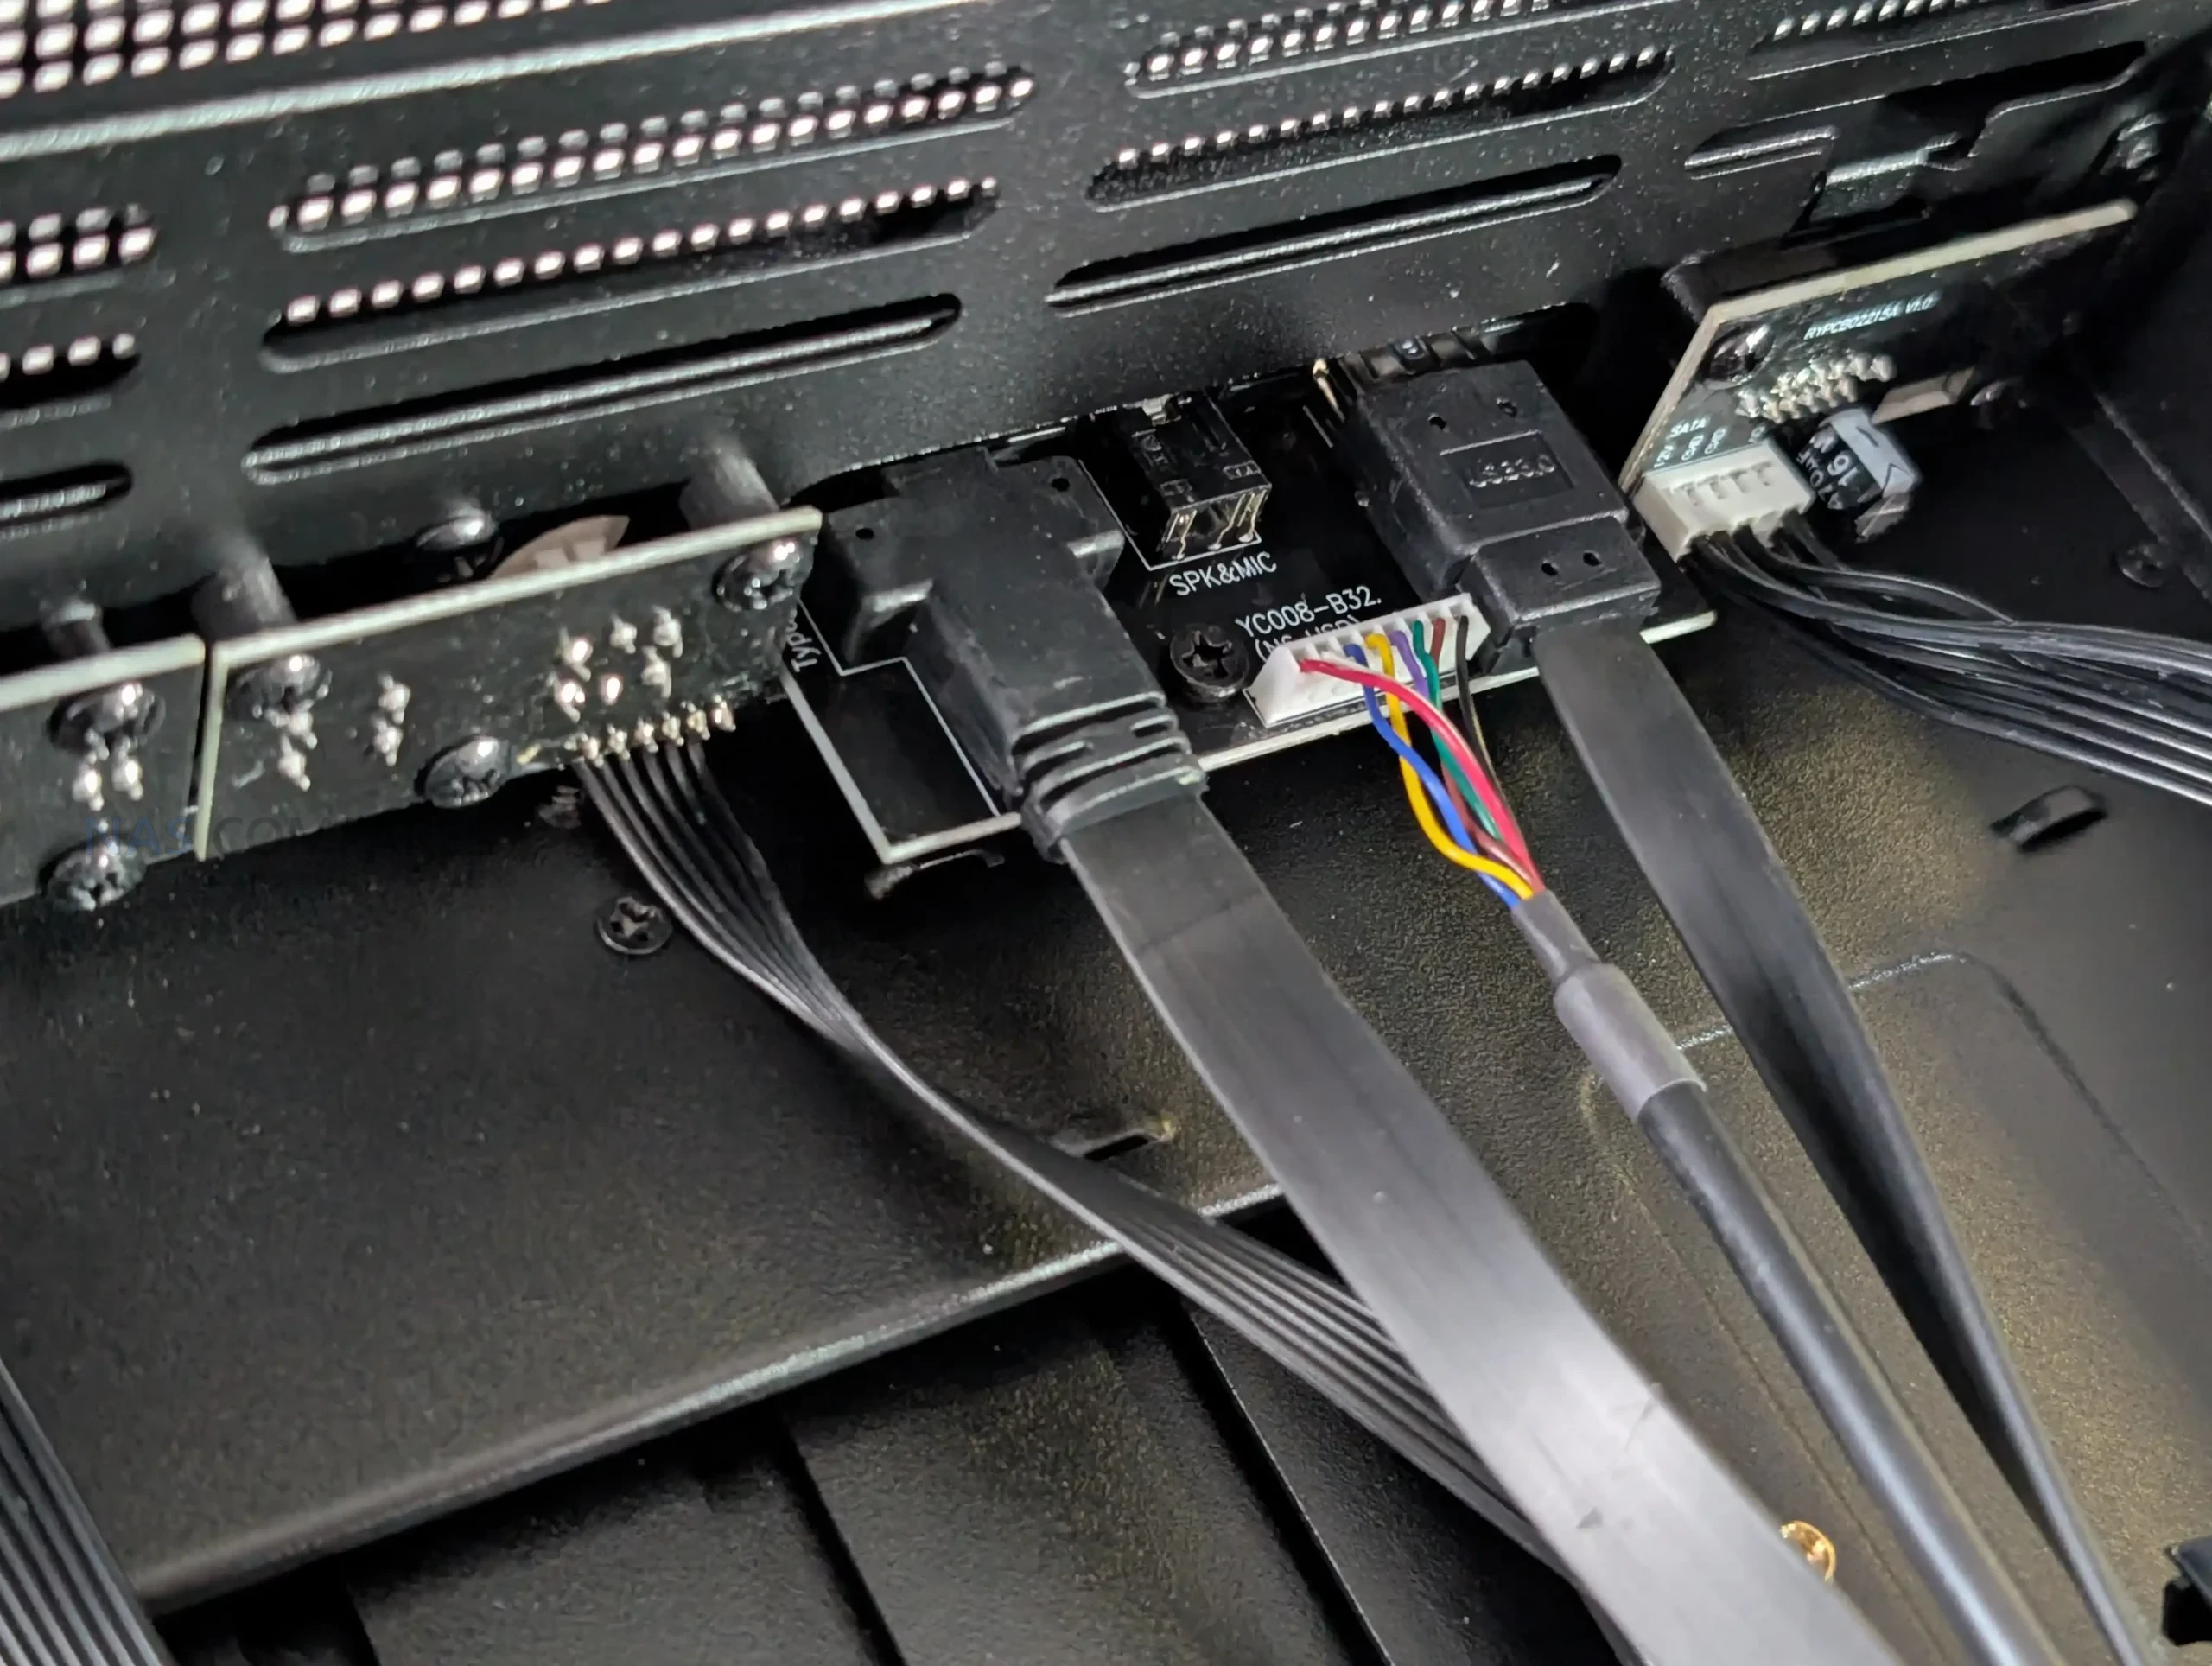
 Backplane uses individual SATA connectors rather than Mini SAS, limiting appeal for SAS focused builds