Synology NAS vs EVERYONE ELSE – Which Is Best?
If Not Synology? Which Other NAS Brand Should You Choose?
It’s an odd question, but with Synology arguably making some rather higher business and enterprise decisions in recent years, there have been increasing queries about who would fill the void if they moved onwards and upwards. As Synology holds such a powerful position in the NAS market, their absence would certainly lead to quite the battle of strength from other players. The obvious answer would be QNAP, a brand that has a similar history to Synology (over two decades in the business, Taiwan-based, in-house OS, numerous 1st-party tools, home and business solutions, etc.), but in 2025, the reality is nowhere near as clear-cut. Younger established brands that have jockeyed for 3rd position, such as Asustor and Terramaster, have been challenged by several startups (ZimaCube and Zimaboard 2, Orico’s Cyberdata Vault, to name just two) entering the fray, as well as established brands like UGREEN, which are expanding their business into the NAS sector. If Synology, for whatever reason, ceased to occupy this important user class of private turnkey server ownership, who would be best placed to occupy it?
How, Where and Why Has Synology Changed?
Synology’s rapid change in business stance to be more enterprise/hyperscale-focused comes at the same time as their frequency of more entry-level, small business, prosumer, and enthusiast solutions has dropped. The regularity of smaller 2-Bay and 4-Bay solutions has noticeably decreased, and the hardware they feature has changed to accommodate more business-type use. This by no means suggests that the brand is making moves to exit these user groups (indeed, support of DSM and the latest revision DSM 7.2.2 extends to all existing users up to many systems released in the late 2010s). However, there has been plenty of user outcry from existing users and potential customers on the architecture of both DSM and the recent releases that exacerbate users to move away from the brand and spend their allocated budgets elsewhere. Synology still comfortably sits ahead of its competitors in terms of software, features, and the UX of their platform, but many changes in policy and support mentioned below have started this trend:
- Changes in 3rd-party HDD compatibility on systems above the 8-Bay scale, prioritizing their own 1st-party labeled HDDs and SSDs, as well as reducing the presentation and compatibility listings on their site significantly.
- Changes in the choice of internal hardware featured in their systems to be more focused on business file processes and less on multimedia use.
- Comparatively smaller increases in base hardware between refreshes of individual series (e.g., J4125 and V1500B CPUs in 2024 launch devices, despite first appearing in 2019/2020).
- Considerable increased focus on software enhancements over hardware (not a bad thing, but an undeniable fact).
- Increased proprietary hardware support over 3rd-party (e.g., Synology-only Memory modules, custom 10GbE adapters like the E10G22-T1, Synology-only M.2 SSDs for Pool Use).
- An increasing number of cloud subscription services getting newer features, while local services remain secure and stable but static.
- New product focus shifting towards newer larger-scale solutions like the evolving GridStation series, Active Protect subscription system, and C2 innovations.
- The predicted elimination of the J entry-level series in favor of the pre-populated and software-streamlined BeeStation.
All of the above are small factors in themselves, but add them all up, and you see small but important stepping stones toward a gear shift in Synology’s target demographic. So, if Synology were to intentionally or inadvertently begin to move outside of these user groups of home, small business, and enthusiast, who stands to fill this space and grow?
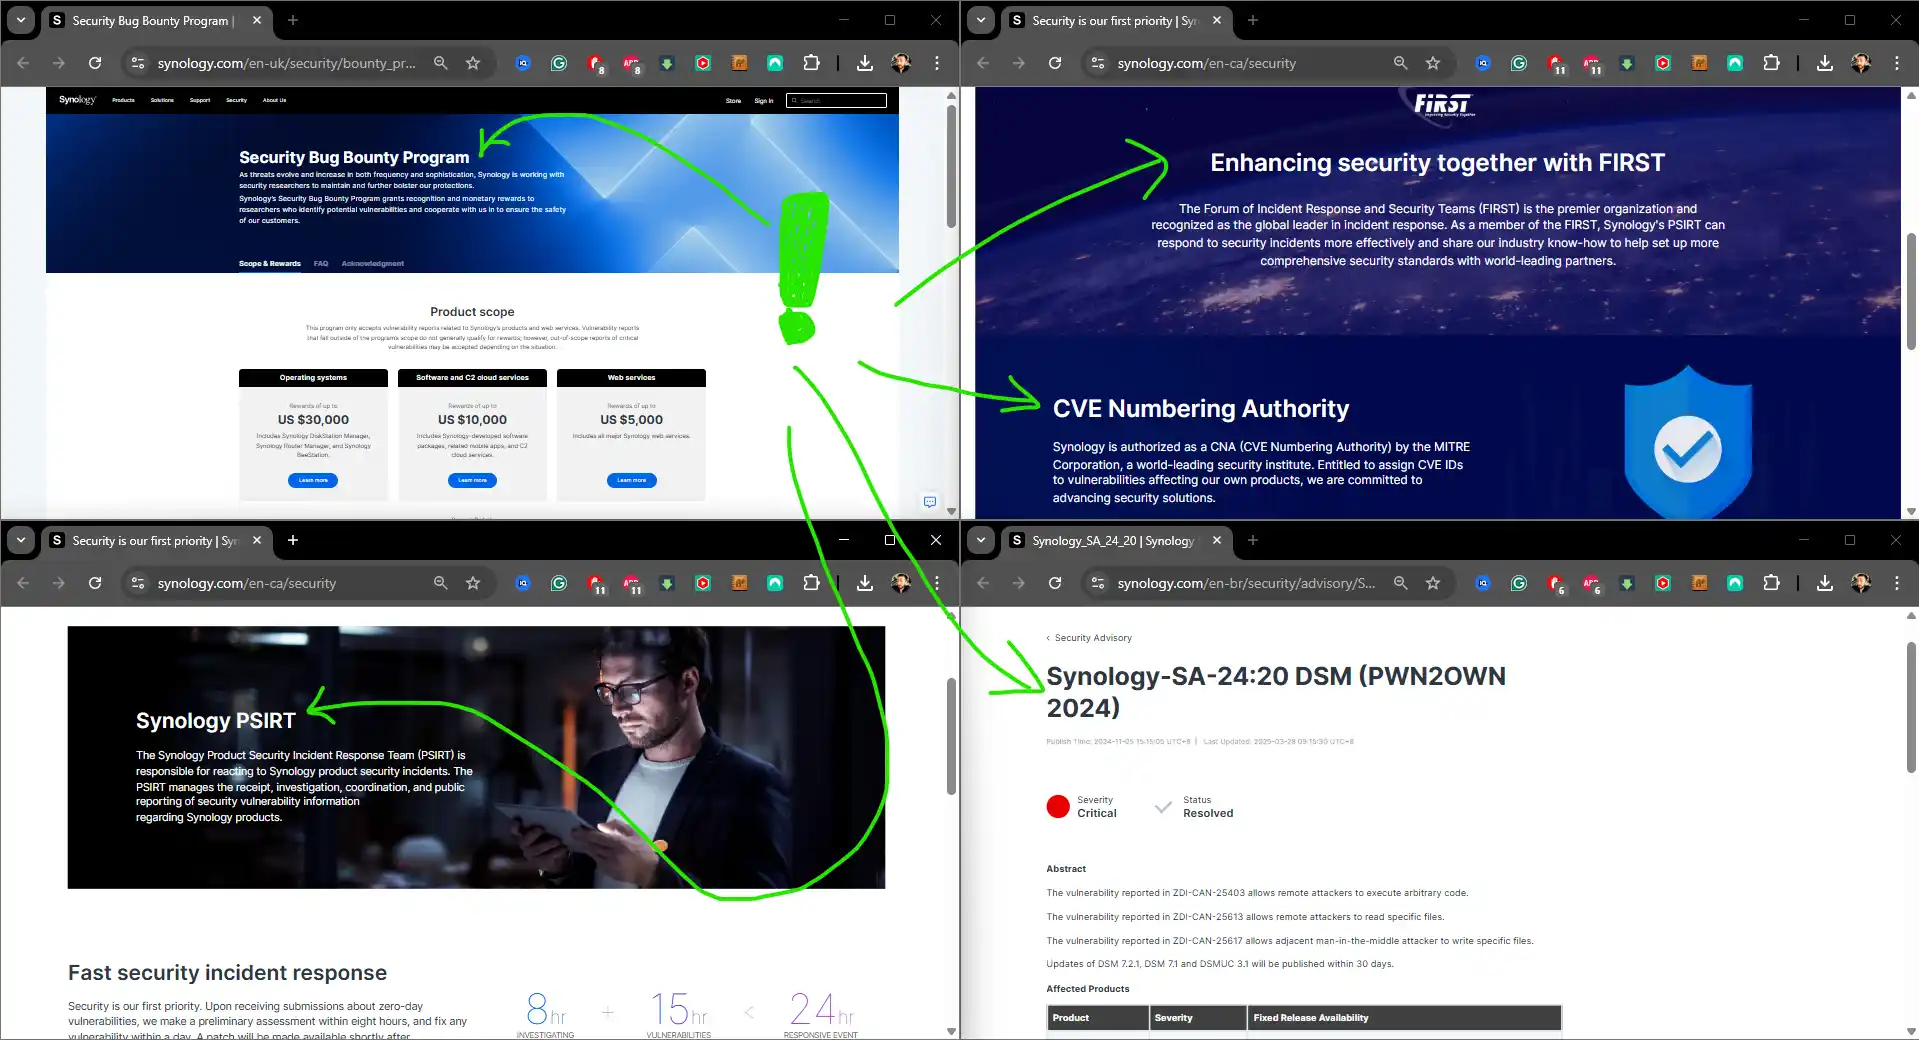
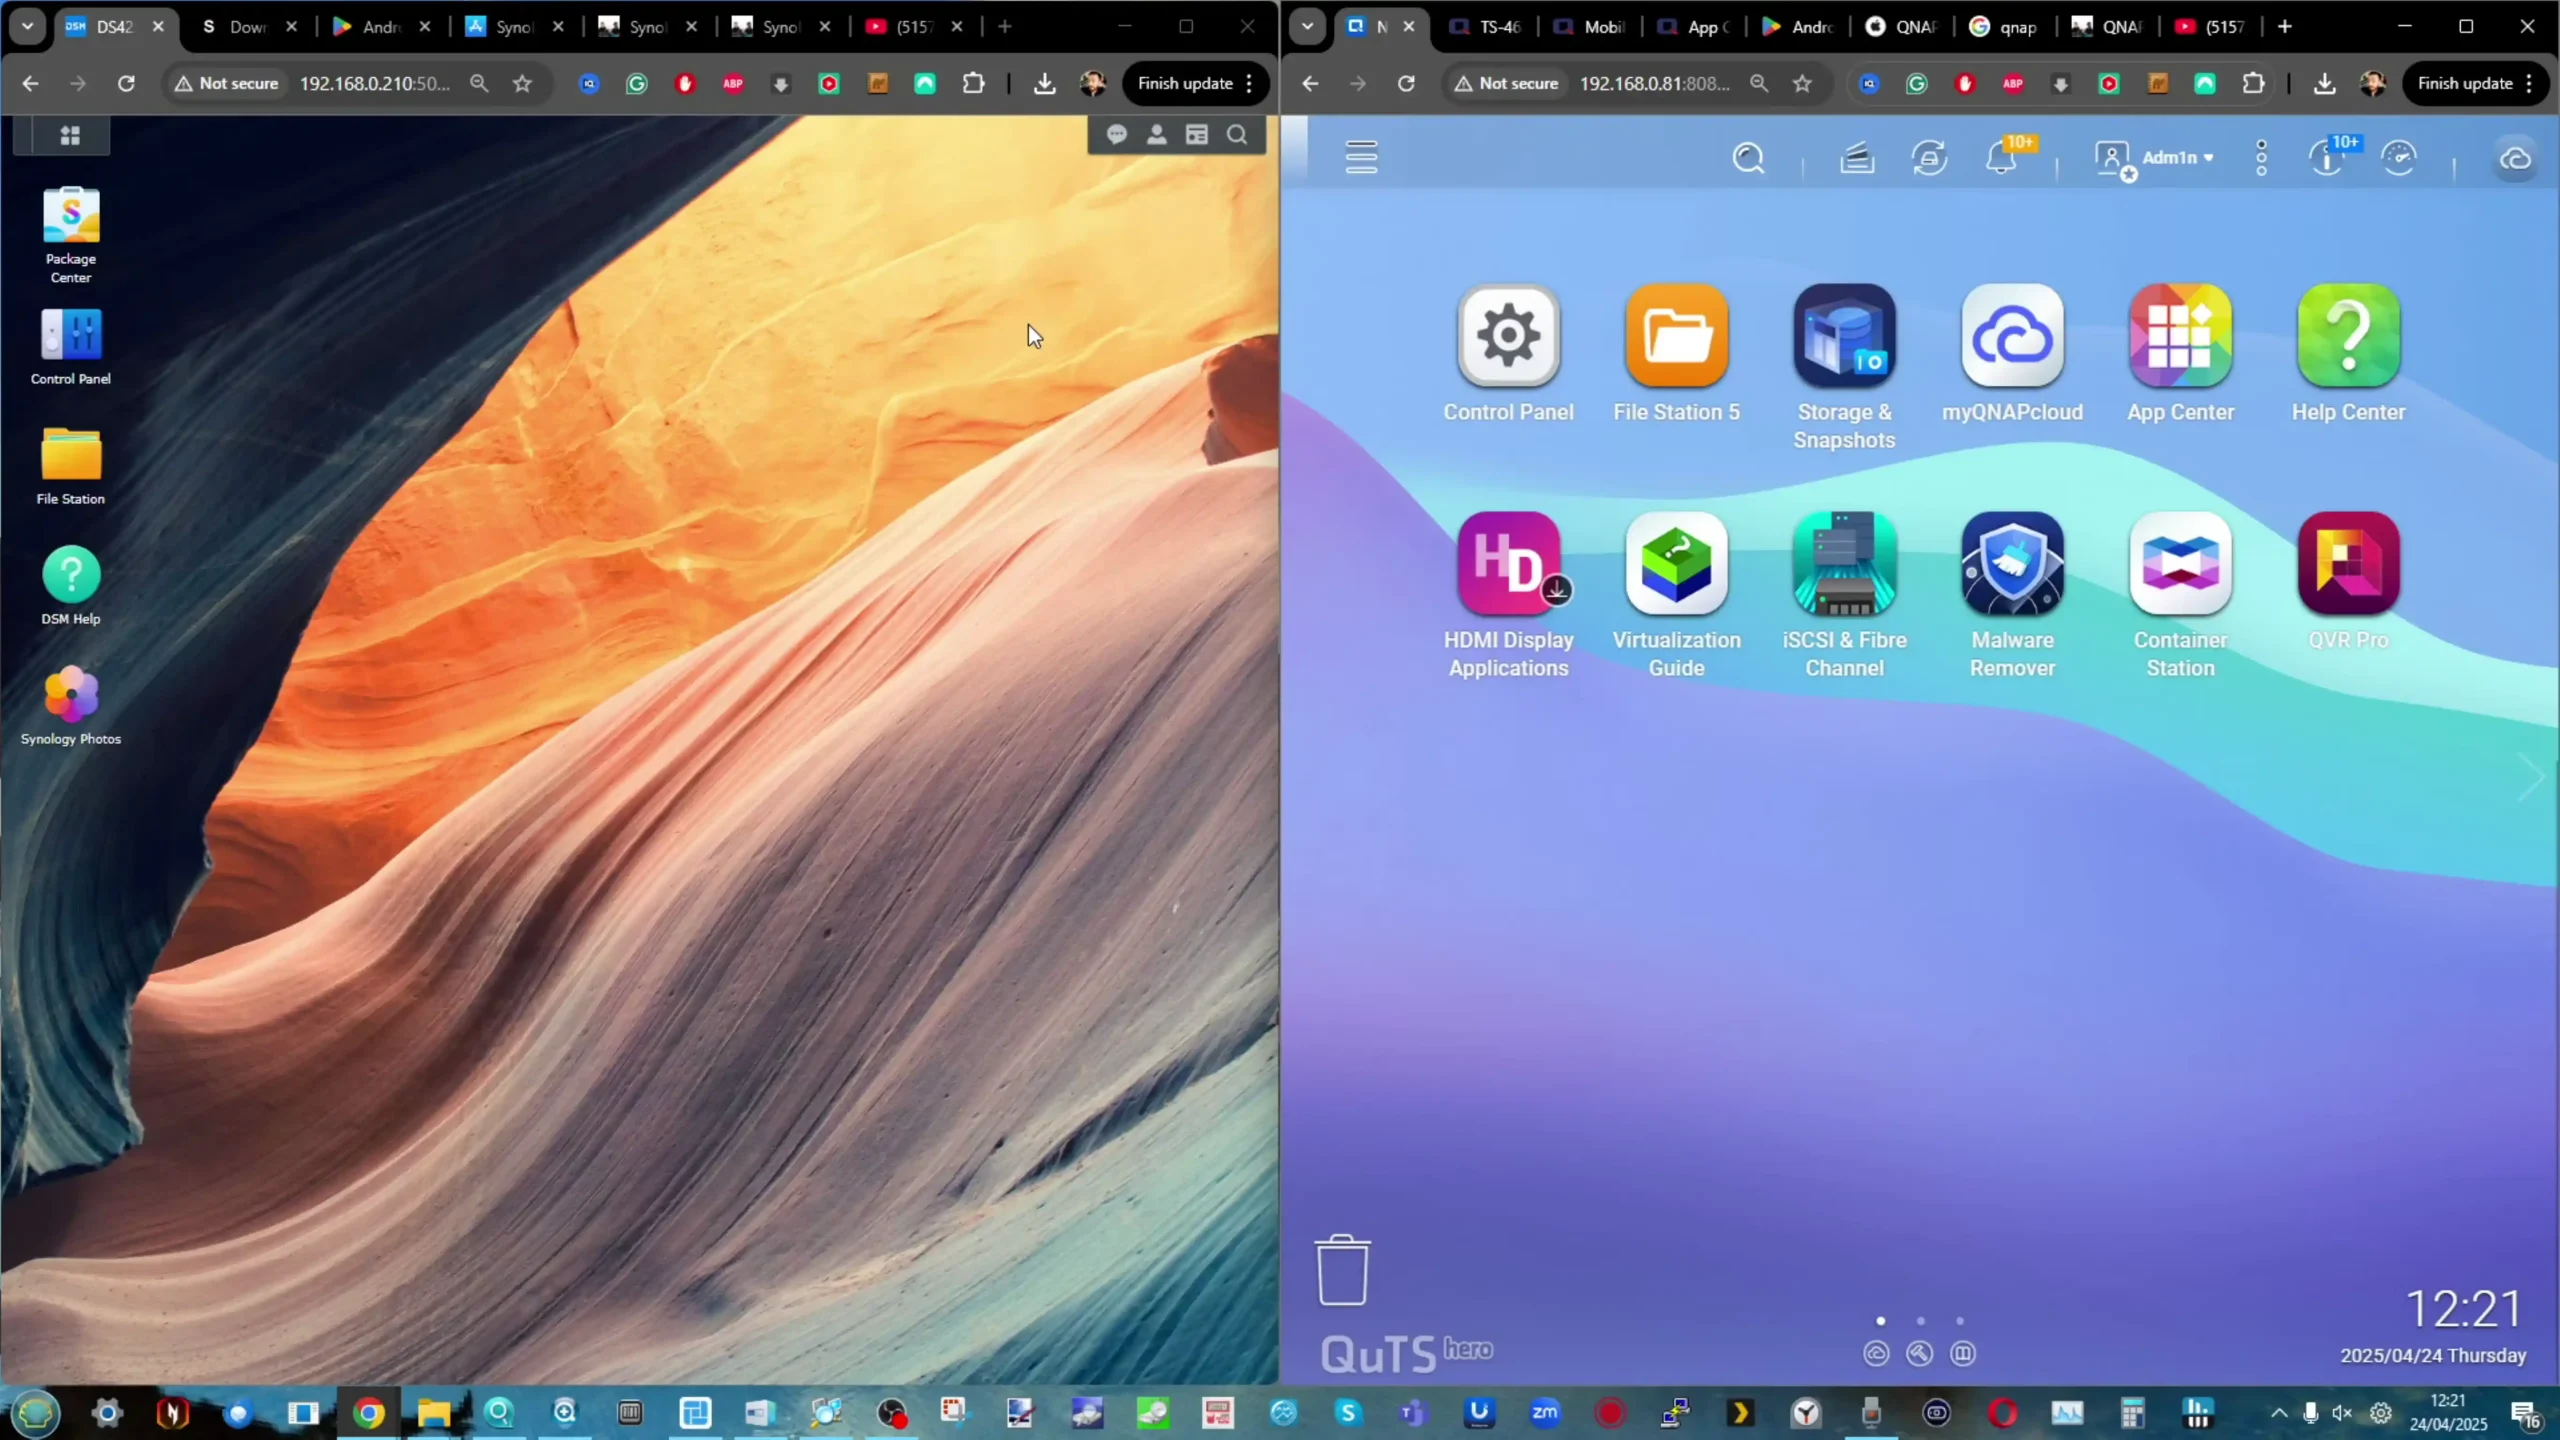
QNAP vs Synology?
![]()
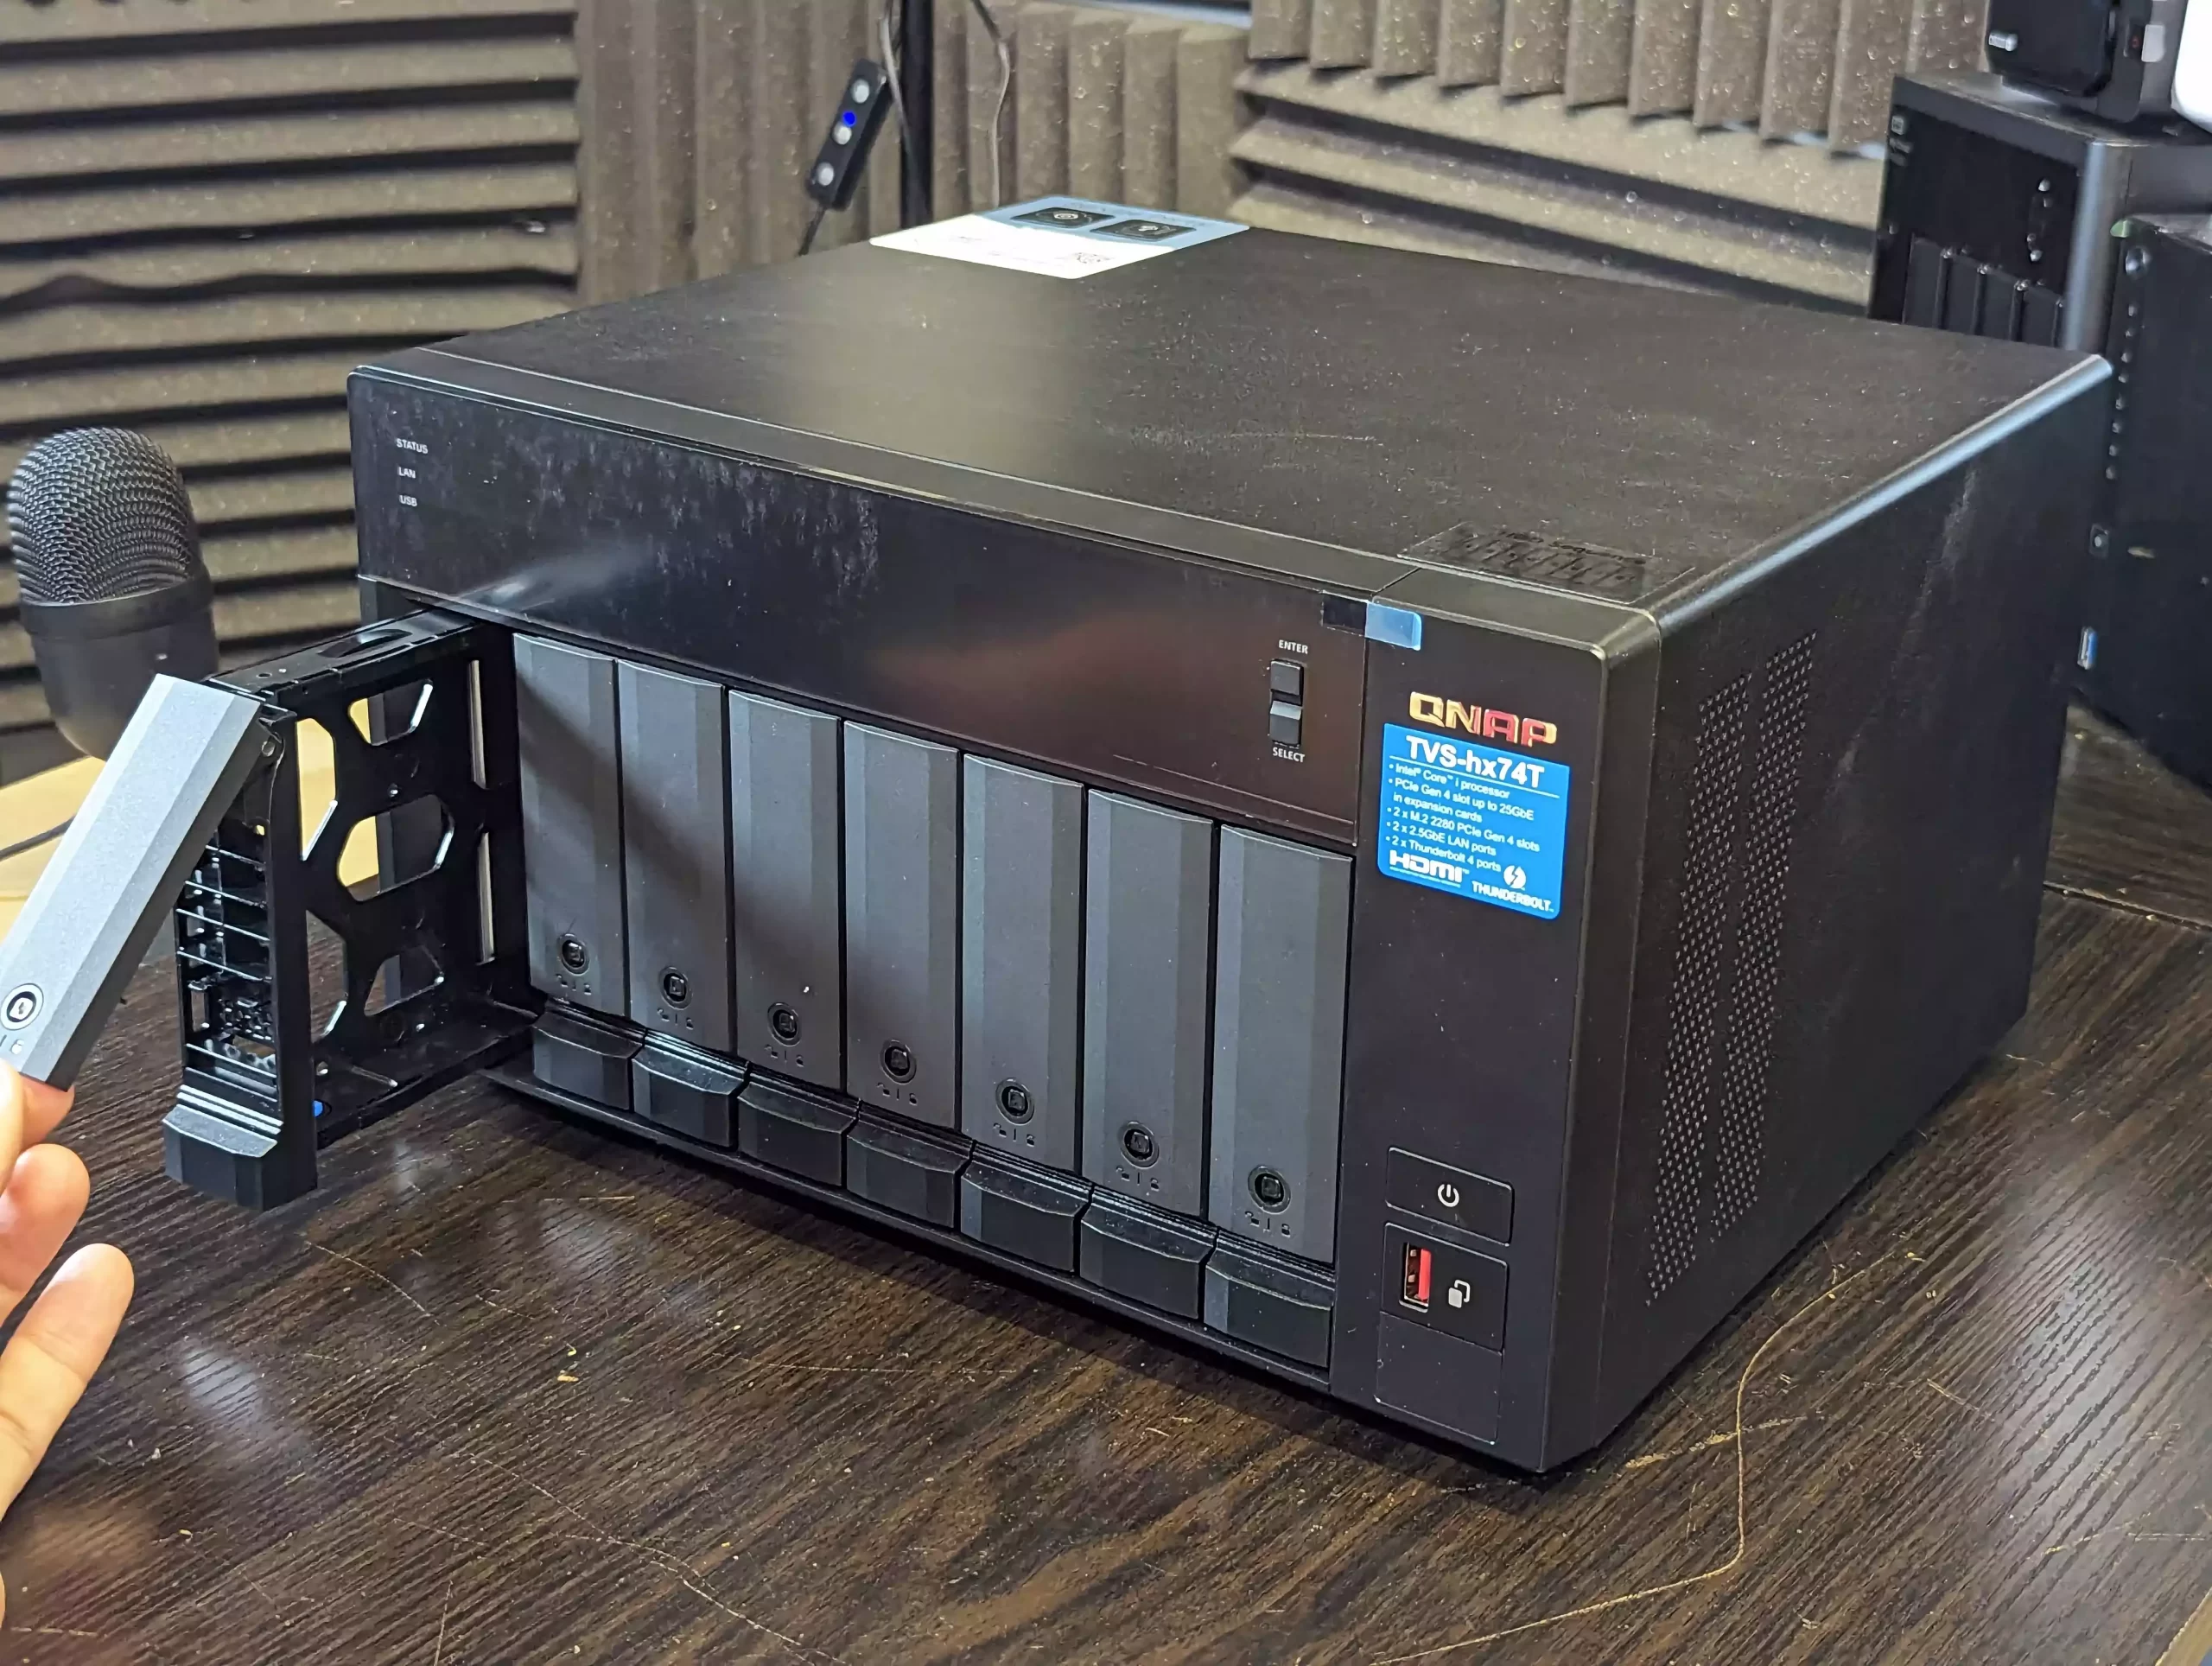
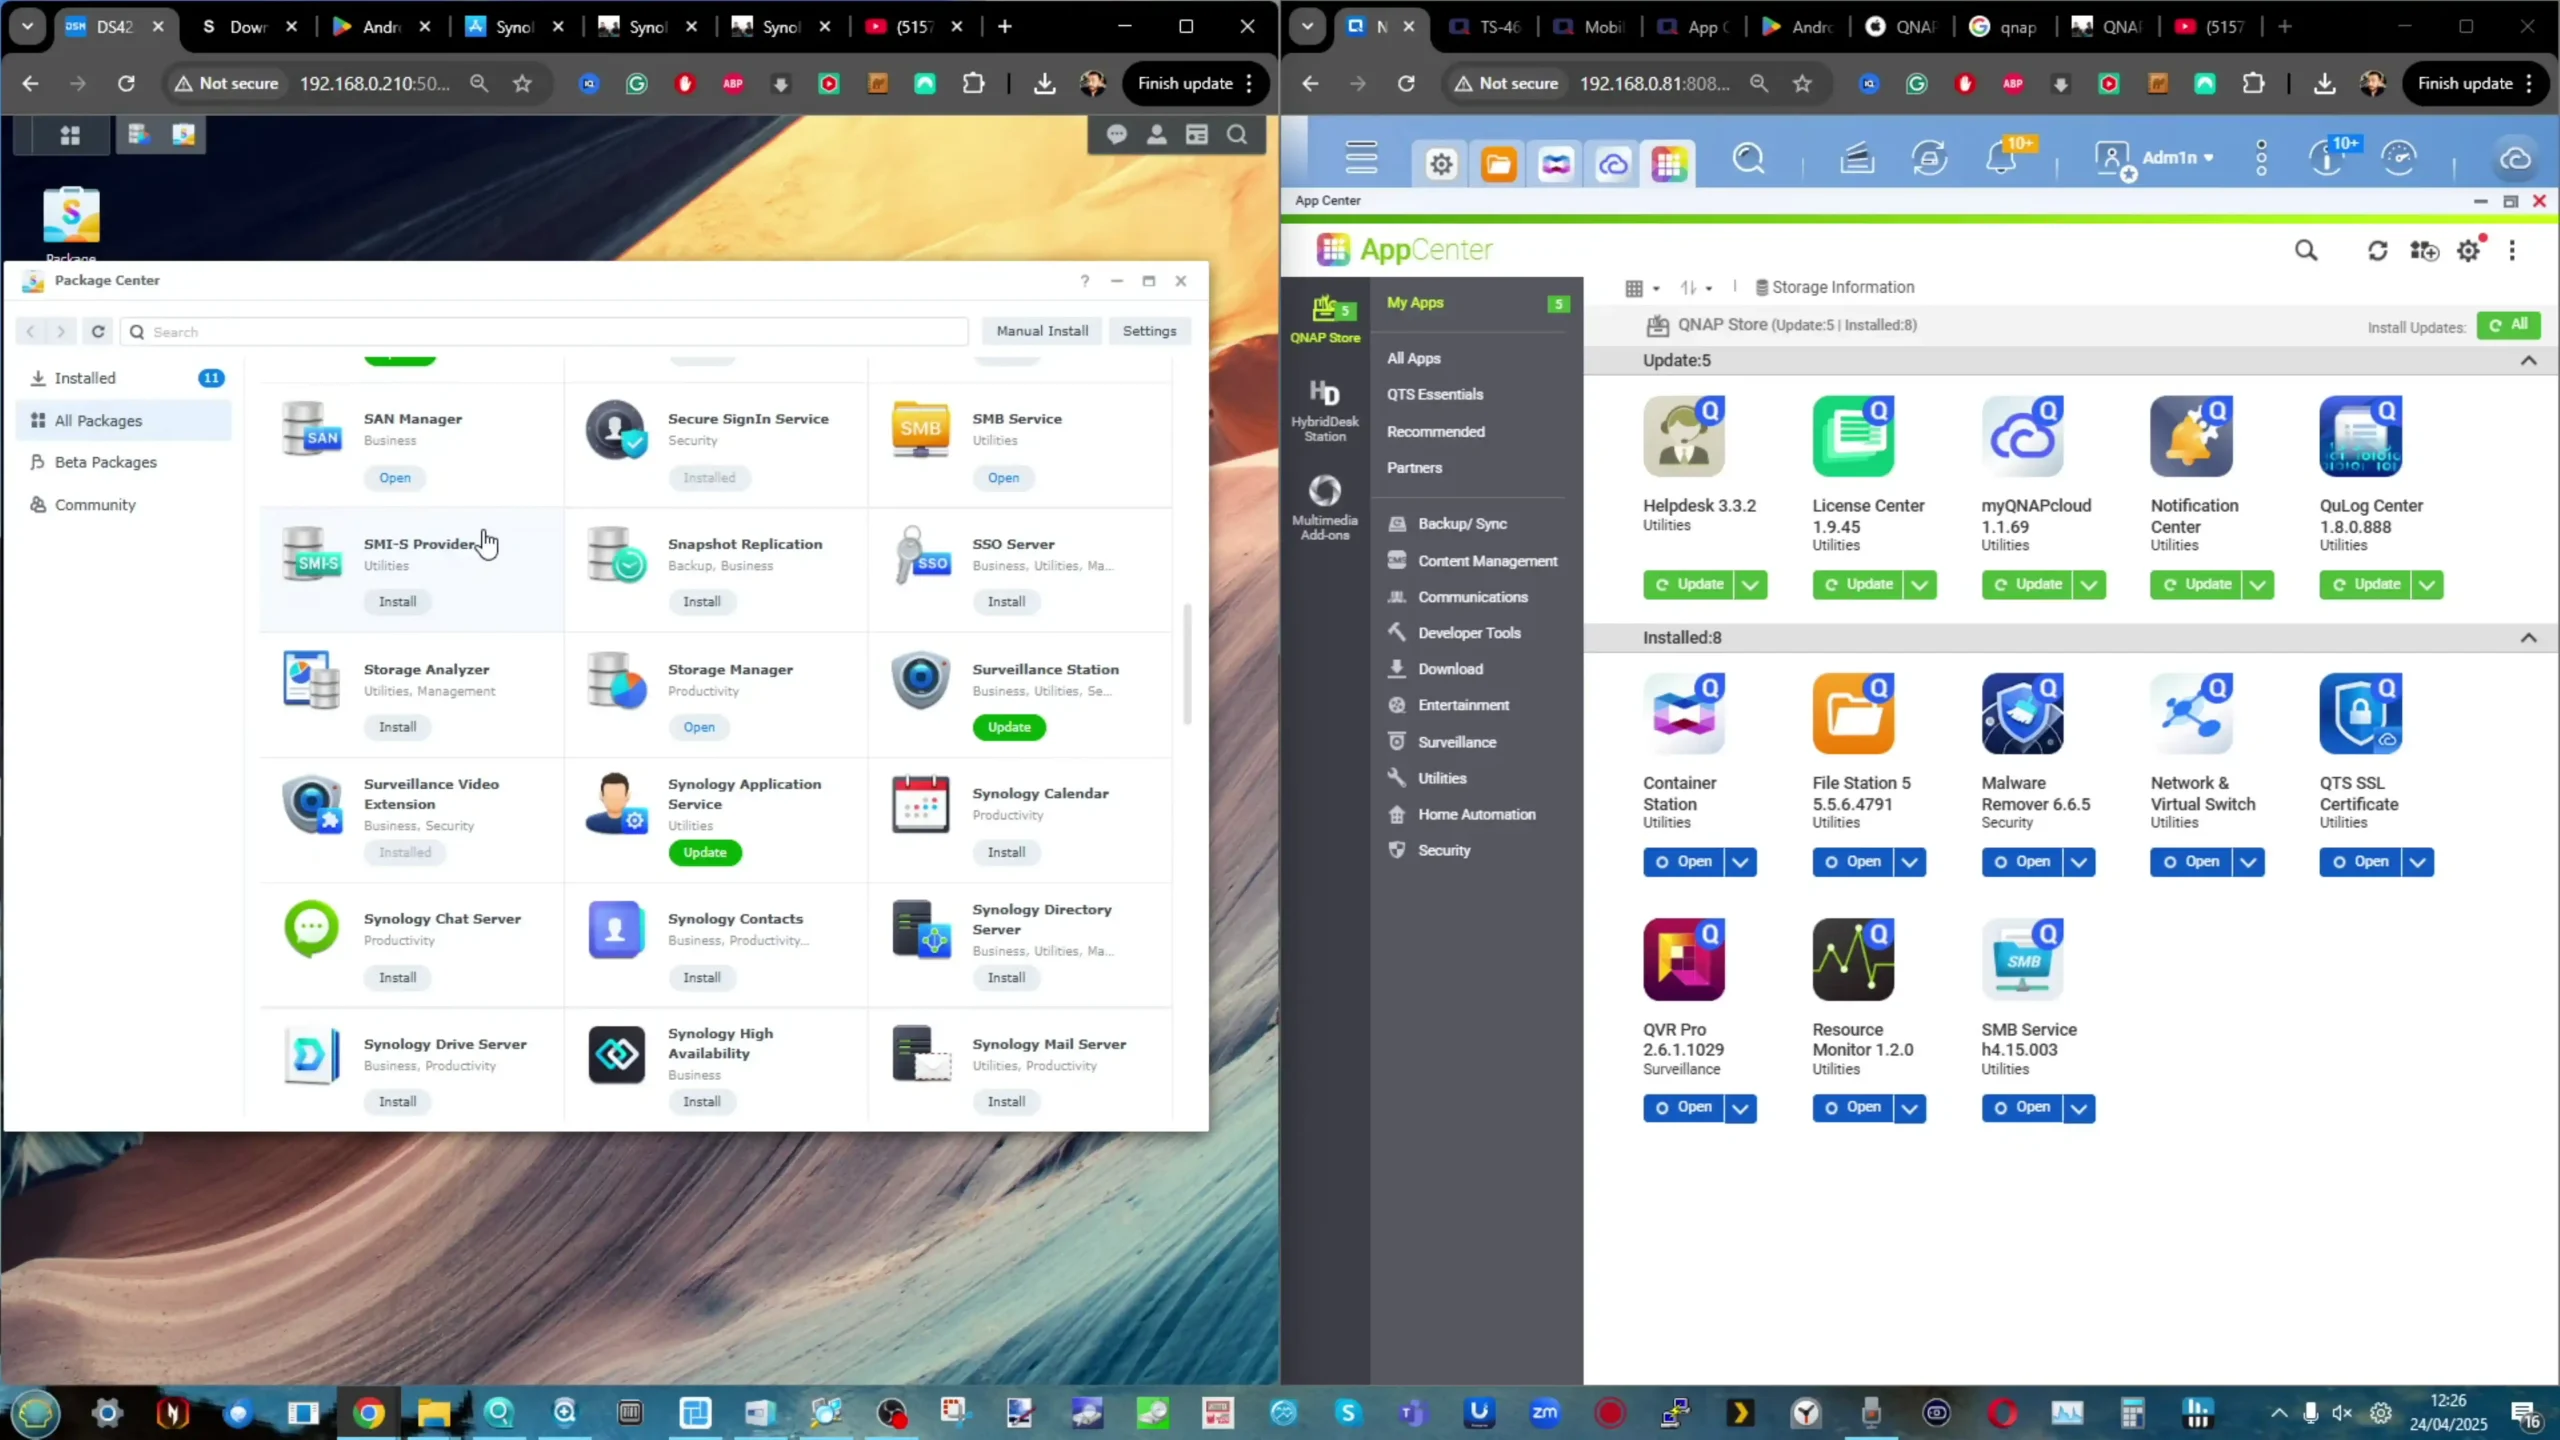
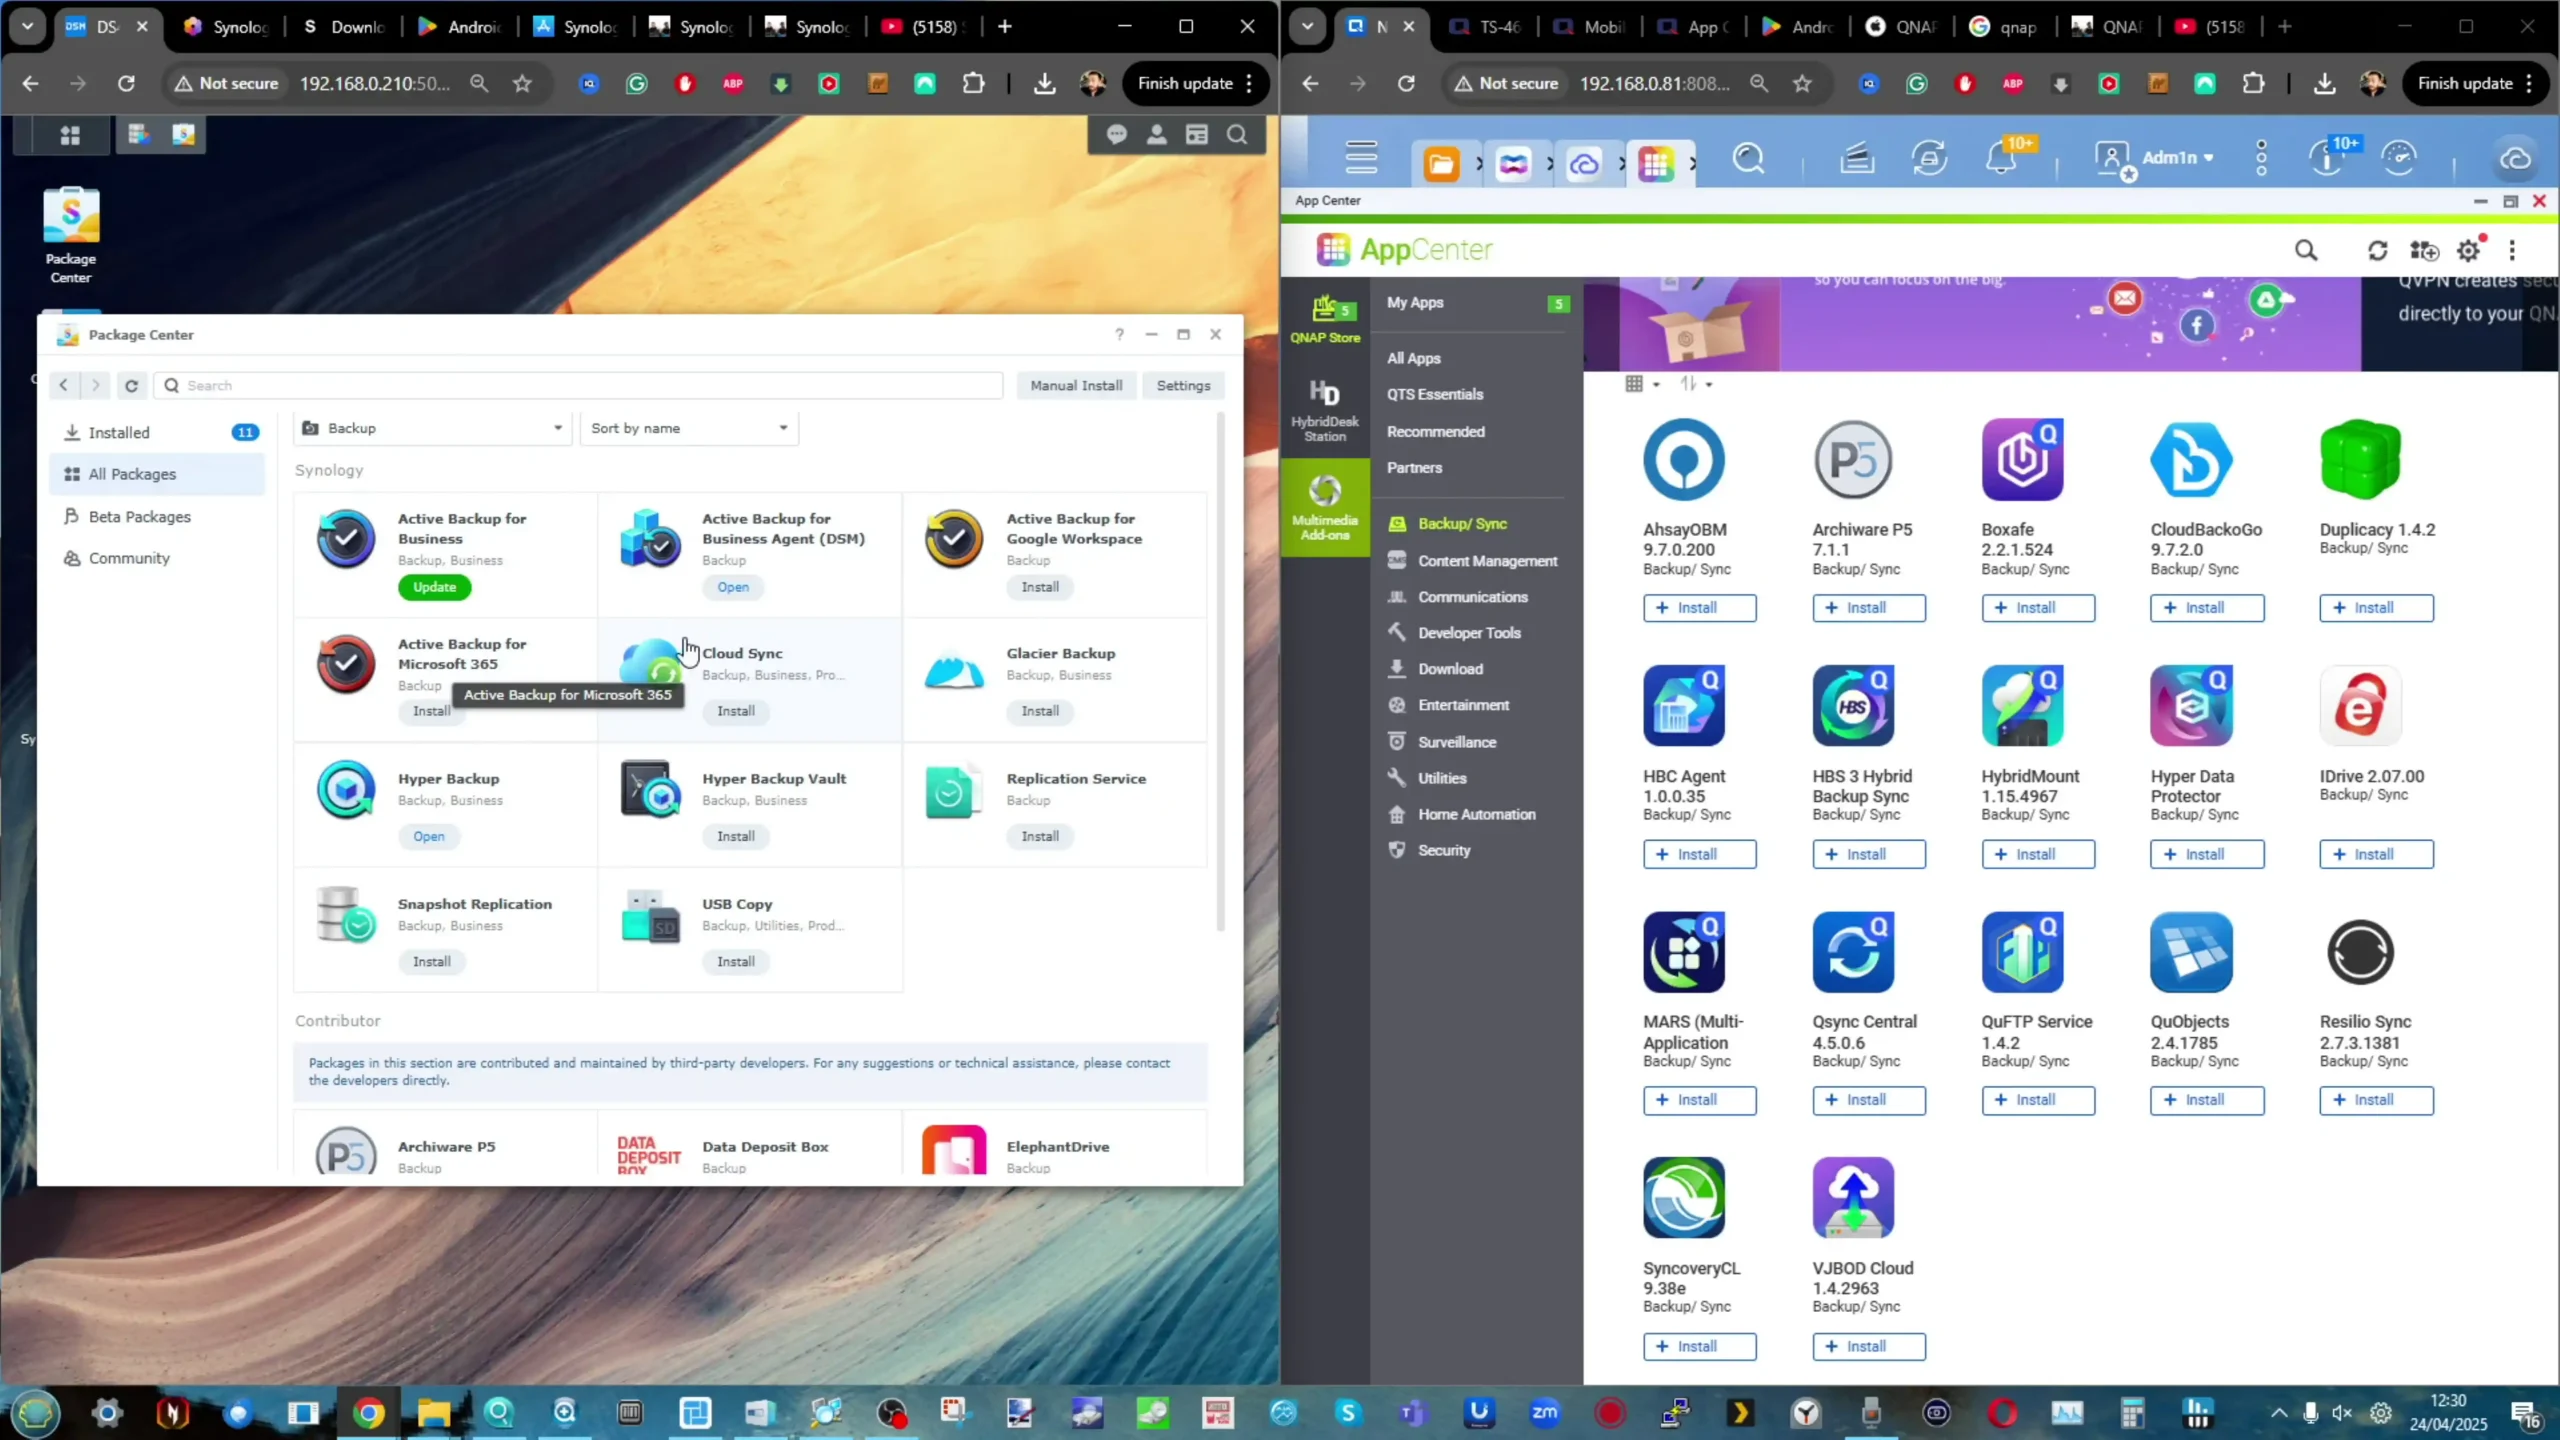
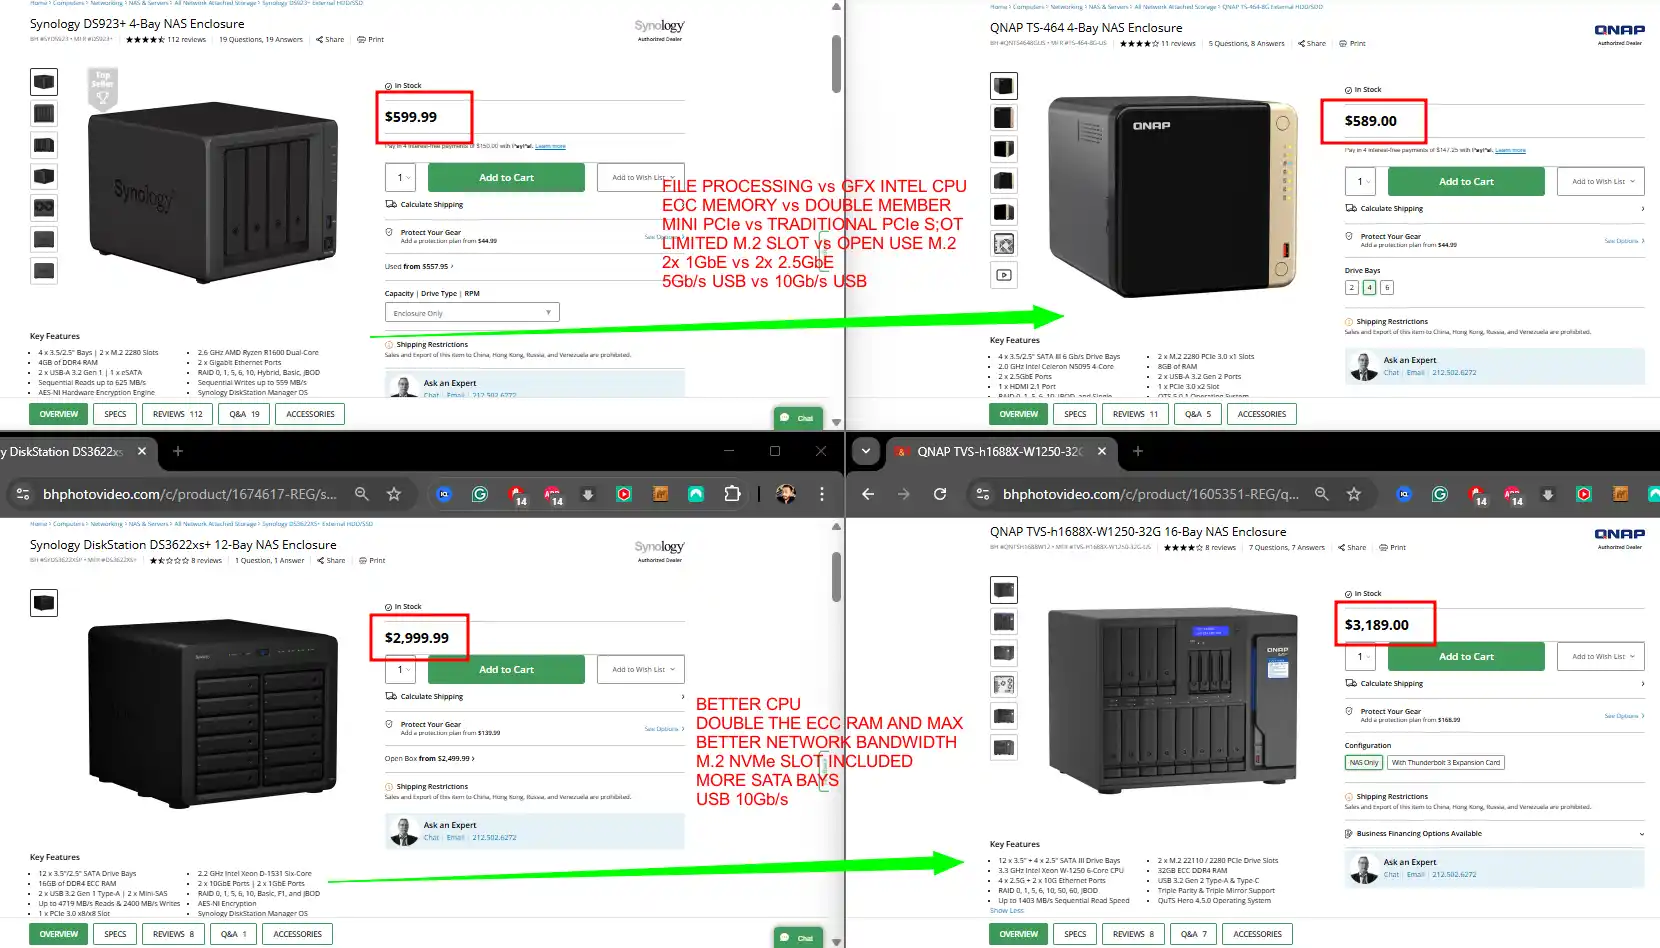
As mentioned earlier, QNAP stands to be the most likely contender to fill this space. With over 20 years of history, a larger range of hardware solutions than Synology, and software that does pretty much everything Synology’s does, they have been consistent competitors. However, inconsistencies in user experience, conflicting UIs, and a tendency to try to do “too much” have resulted in their losing ground to Synology in terms of software. Add to this the negative brand impact of security incidents in 2020-2022, which tarnished their reputation around security and safety, requiring serious improvement. To the brand’s credit, they have made considerable internal culture changes on this subject, adding bounty programs, tightening system defaults, increasing pen testing, introducing several system security scanning tools, disabling things like SSH and admin super user accounts as standard, and more.
| Value Series | Best All Rounder | Prosumer NAS |
 |
 |
 |
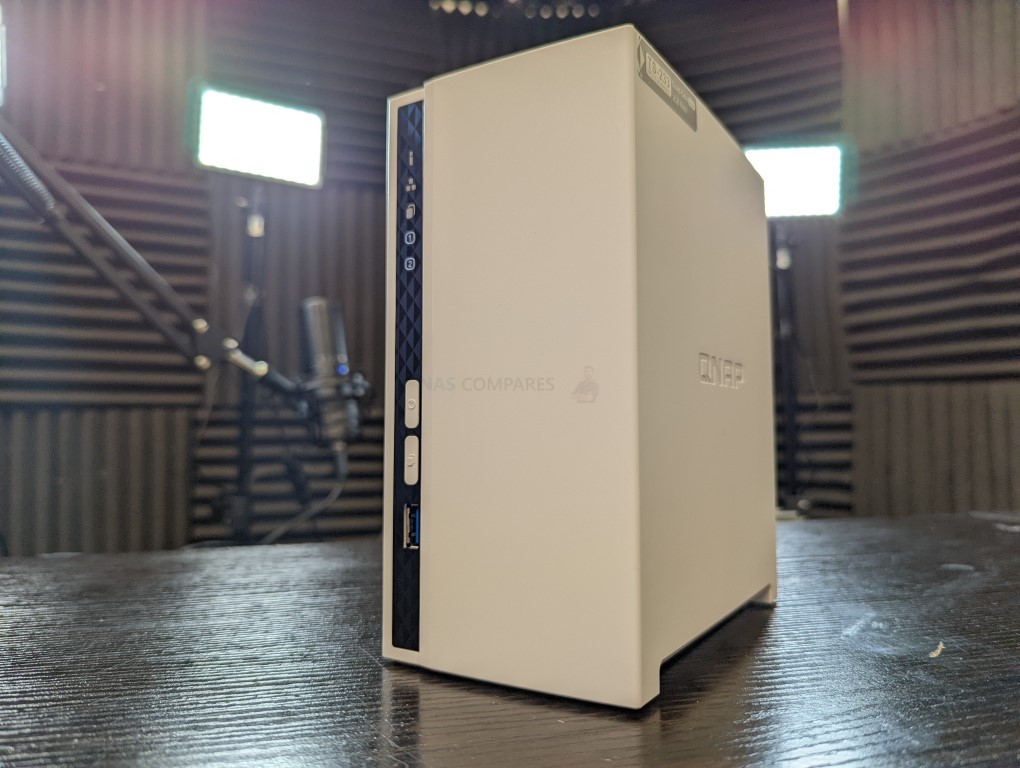
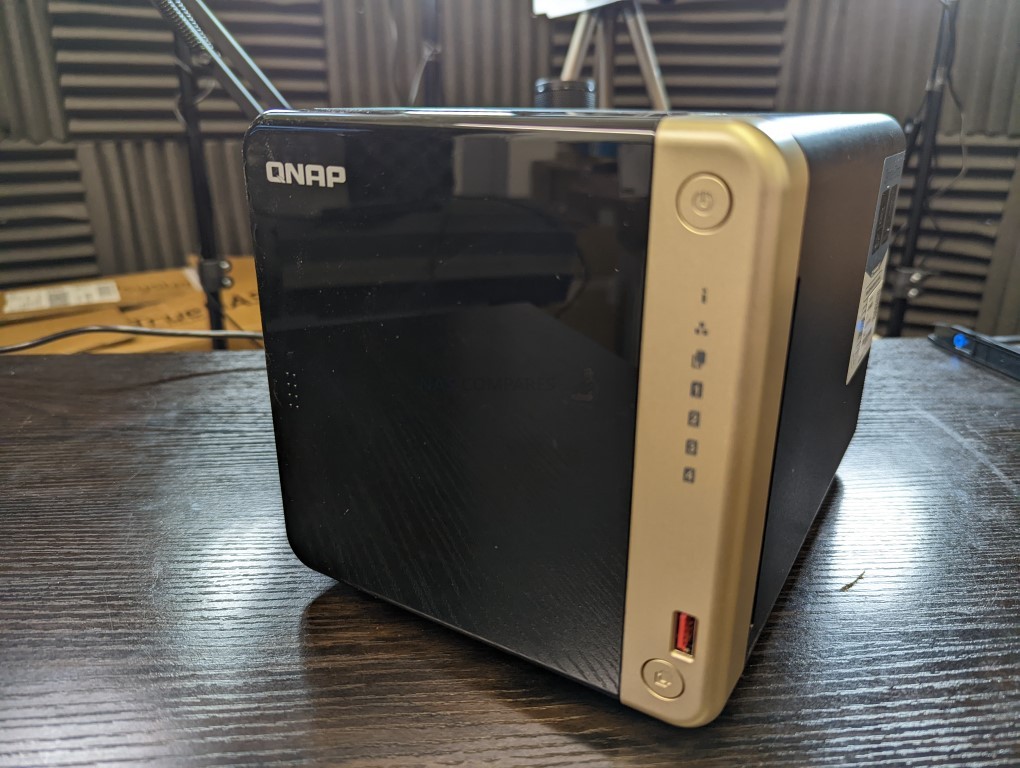
| TS-233 2-Bay NAS | TS-464 4-Bay NAS | TVS-h874 8-Bay NAS |
| $189 on Amazon (Check Here)
|
$549 on Amazon (Check Here)
|
$2499 on Amazon (Check Here)
|

In terms of hardware, they have mostly stuck to what works, refreshing existing product families at the same rate of 2.5-3 years for desktop small-medium scale, and 3-5 years for larger scale. They have also introduced significantly more recent CPUs from both Intel and AMD, as well as 2.5GbE as standard on their solutions at the same price point as 1GbE. If it weren’t for the damaging brand harm caused by the Deadbolt/QSnatch/Qlocker ransomware attacks, I think Synology would have been significantly challenged by QNAP in the last 2-3 years across all fronts. However, the setback to QNAP’s reputation reduced this growth potential significantly, and in the last two years, we have seen an increasing number of new names pop up in NAS that have also harmed QNAP’s appeal to users in terms of hardware value, the thing they could always be relied upon to beat Synology on. QNAP would still stand to become the ‘top dog’ in the event of a Synology exit (Synexit?) from the low-to-medium tiers of NAS storage, but many new players have entered the field, such as…
UGREEN vs QNAP?
![]()
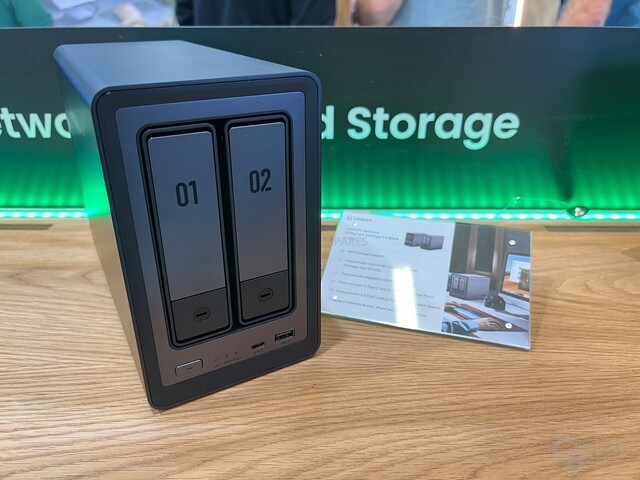
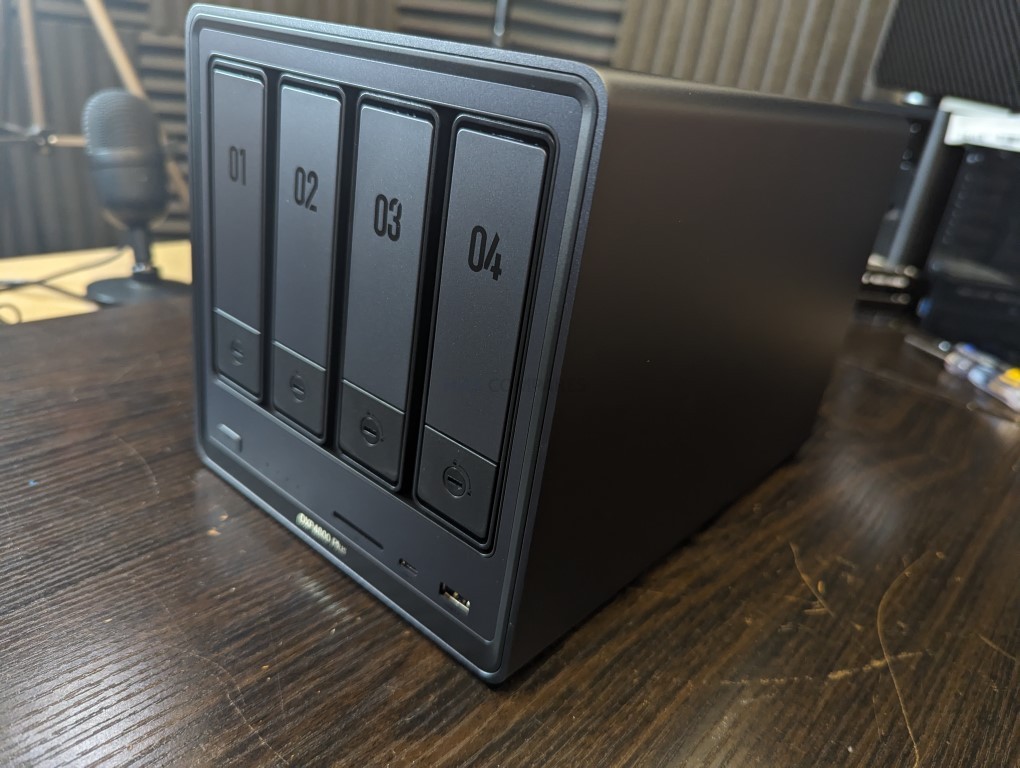
Largely known for their power adapters and PC accessories, a year ago UGREEN had practically no real presence in the world of NAS. They had a smaller scale and more entry-level range of solutions that were limited to the East, but aside from that, they were complete outsiders. Fast forward to now, and following a successful and well-marketed Kickstarter campaign that raised millions of dollars, they are now a provider of genuinely impressive turnkey NAS solutions—the NASync series. The key word there is “turnkey”, as in they are providing both the hardware and the software. They could have just rolled out their hardware and made it OS-free (i.e., “Here’s a ready-built server, now go install UnRAID or TrueNAS”), but instead, they opted to produce and include an impressively responsive NAS OS in UGOS. Genuinely challenging the feature set of the likes of Asustor and Terramaster, as well as the design of Synology and the hardware level of QNAP, UGREEN has made a rapidly growing name for itself in the small-to-medium NAS sector.
| Value Series | Best All Rounder | Prosumer NAS |
 |
 |
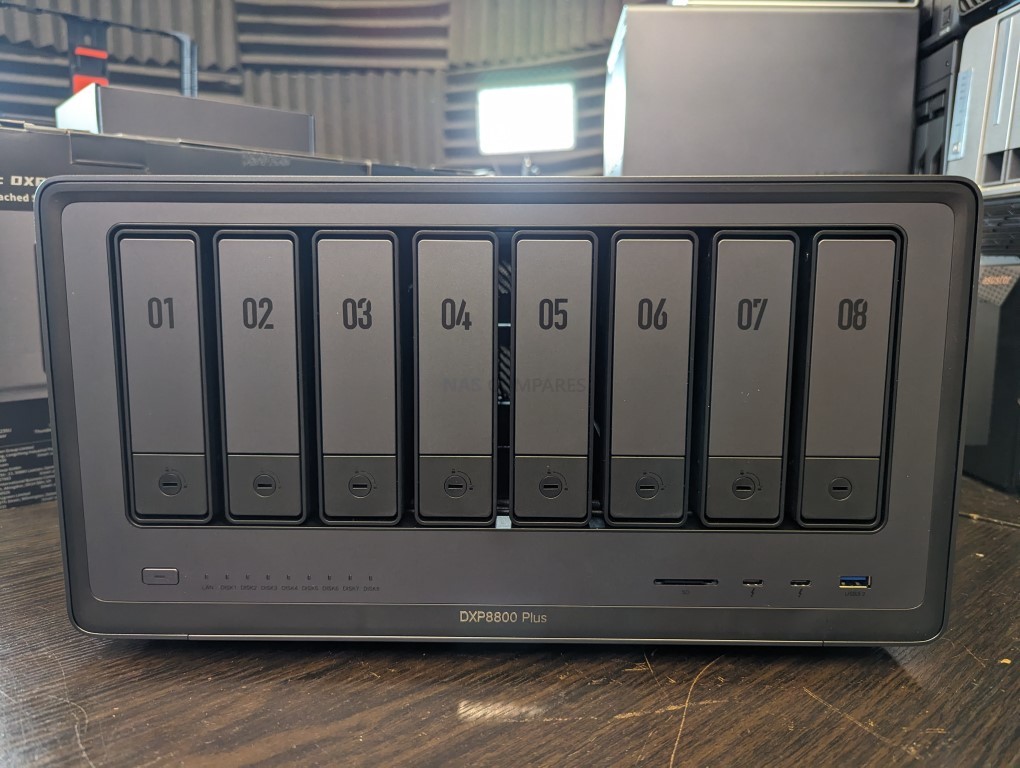 |
| DXP2800 2-Bay NAS | DXP4800 PLUS 4-Bay NAS | DXP8800 PLUS 8-Bay NAS |
| $399 on Amazon (Check Here)
|
$699 on Amazon (Check Here)
|
$1499 on Amazon (Check Here)
|
They definitely lack the range of solutions that those other brands offer, with only 6 solutions currently available (the DXP2800, DXP4800/PLUS, DXP6680, DXP8800, and DXP480T), and no rackmount solutions yet, but it’s a solid start. Equally, their software, although fluid and responsive in nailing down the NAS fundamentals, lacks many of the more impressive AAA+ solutions that are offered by the bigger brands. Lastly, although they raised a considerable sum during the crowdfunding, they do not have the global support, offices, or availability of their long-running NAS competitors—with solutions only being available in two regions, the US and Germany. All of these factors add up to a brand that is poised to make even bigger splashes in the years to come but is perhaps not quite ready to replace the big dog, Synology, just yet!
ASUSTOR vs Synology?
![]()
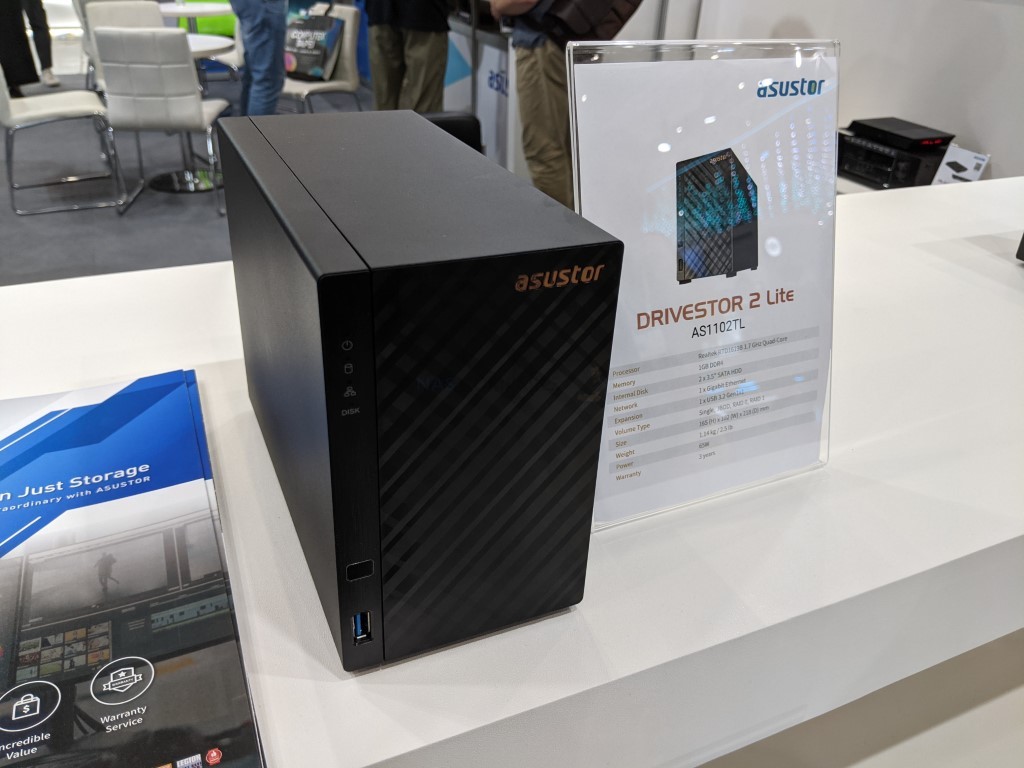
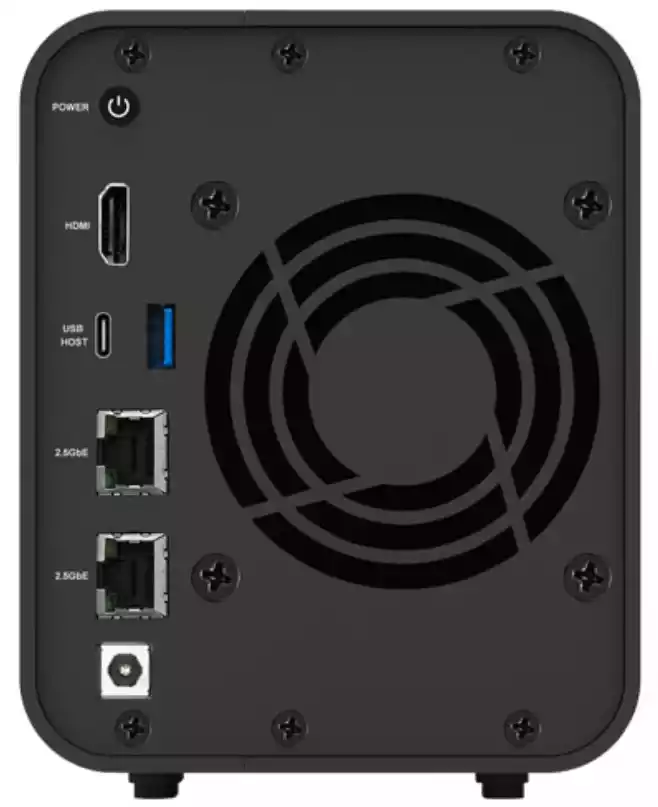
Always the bridesmaid, but never the bride, Asustor is a brand that has been around in the world of NAS in one shape or form for quite a few years. They are one of the mainstream Taiwanese brands in NAS that has always ‘been there’, but it is only in the last 4-5 years that they have been making sizable moves to take on both Synology and QNAP. One of the main ways in which they pursued this is by developing numerous features in both hardware and software that are available from their competitors individually. So features such as M.2 NVMe-focused storage systems, BTRFS support, WORM locking, 2.5GbE/5GbE support, HDMI output via a dedicated GUI, and more are features available on Synology and QNAP to some extent, but only Asustor rolls them under one brand umbrella. So, how poised are they to fill a void if Synology moved out of this space?
Well, from a hardware standpoint, Asustor is in a very good position. Them being Taiwan-based will certainly soothe concerns that have grown around Chinese companies and data storage solutions. Equally, their hardware has evolved rapidly in their last two generations to feature some genuinely unique solutions that are either specific to the platform or priced at a level that makes them genuinely competitive against DIY and BYO solutions. Systems such as the Flashstor series, Lockerstor series, and even value offerings like the Drivestor are surprisingly well equipped. They are not quite on the same level of hardware as QNAP (who have a significantly more diverse hardware portfolio), but they are fleshing it out very well.
| Value Series | Best All Rounder | Prosumer NAS |
 |
 |
 |
| Nimbustor Gen 2 2-Bay NAS | Flashstor Gen 1 12-Bay NAS | Lockerstor Gen 3 8/10-Bay NAS |
| $369 on Amazon (Check Here)
|
$449-749 on Amazon (Check Here)
|
$1999 on Amazon (Check Here)
|
However, it is the software of Asustor (ADM) that is unfortunately where the brand is a little more timid. They have a NAS OS, numerous client tools for Windows, Mac, iOS, and Android—and they nail down the bulk of the application fundamentals for storage management, multi-site backup handling, multimedia playback, containers, and more. But the platform lacks a few of the more AAA/desirable services, such as AI-powered photo recognition, a 1st-party VM tool, ZFS support, and ultimately is a little more reliant on 3rd-party applications to fill the gaps. They have recently countered this by officially detailing that they support users who buy Asustor hardware to go ahead and install 3rd-party NAS software like TrueNAS or UnRAID without it harming your warranty—so they know they are not leading the pack in terms of their own ADM NAS software but do make noticeable user concessions. With new hardware on the horizon in the Lockerstor Gen3 and Flashstor Gen2 (both of which see a significant bump in hardware profiles), we might see some impressive moves from Asustor in 2025. I just think they still have some ways to go before they can fill any potential void that Synology might leave.
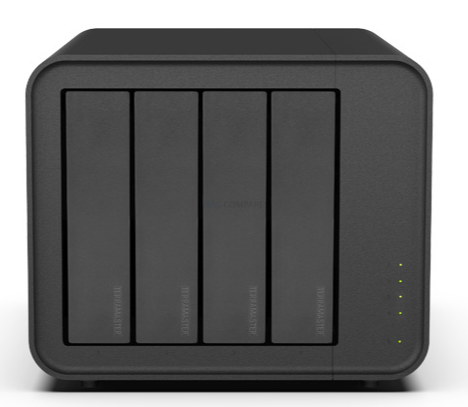
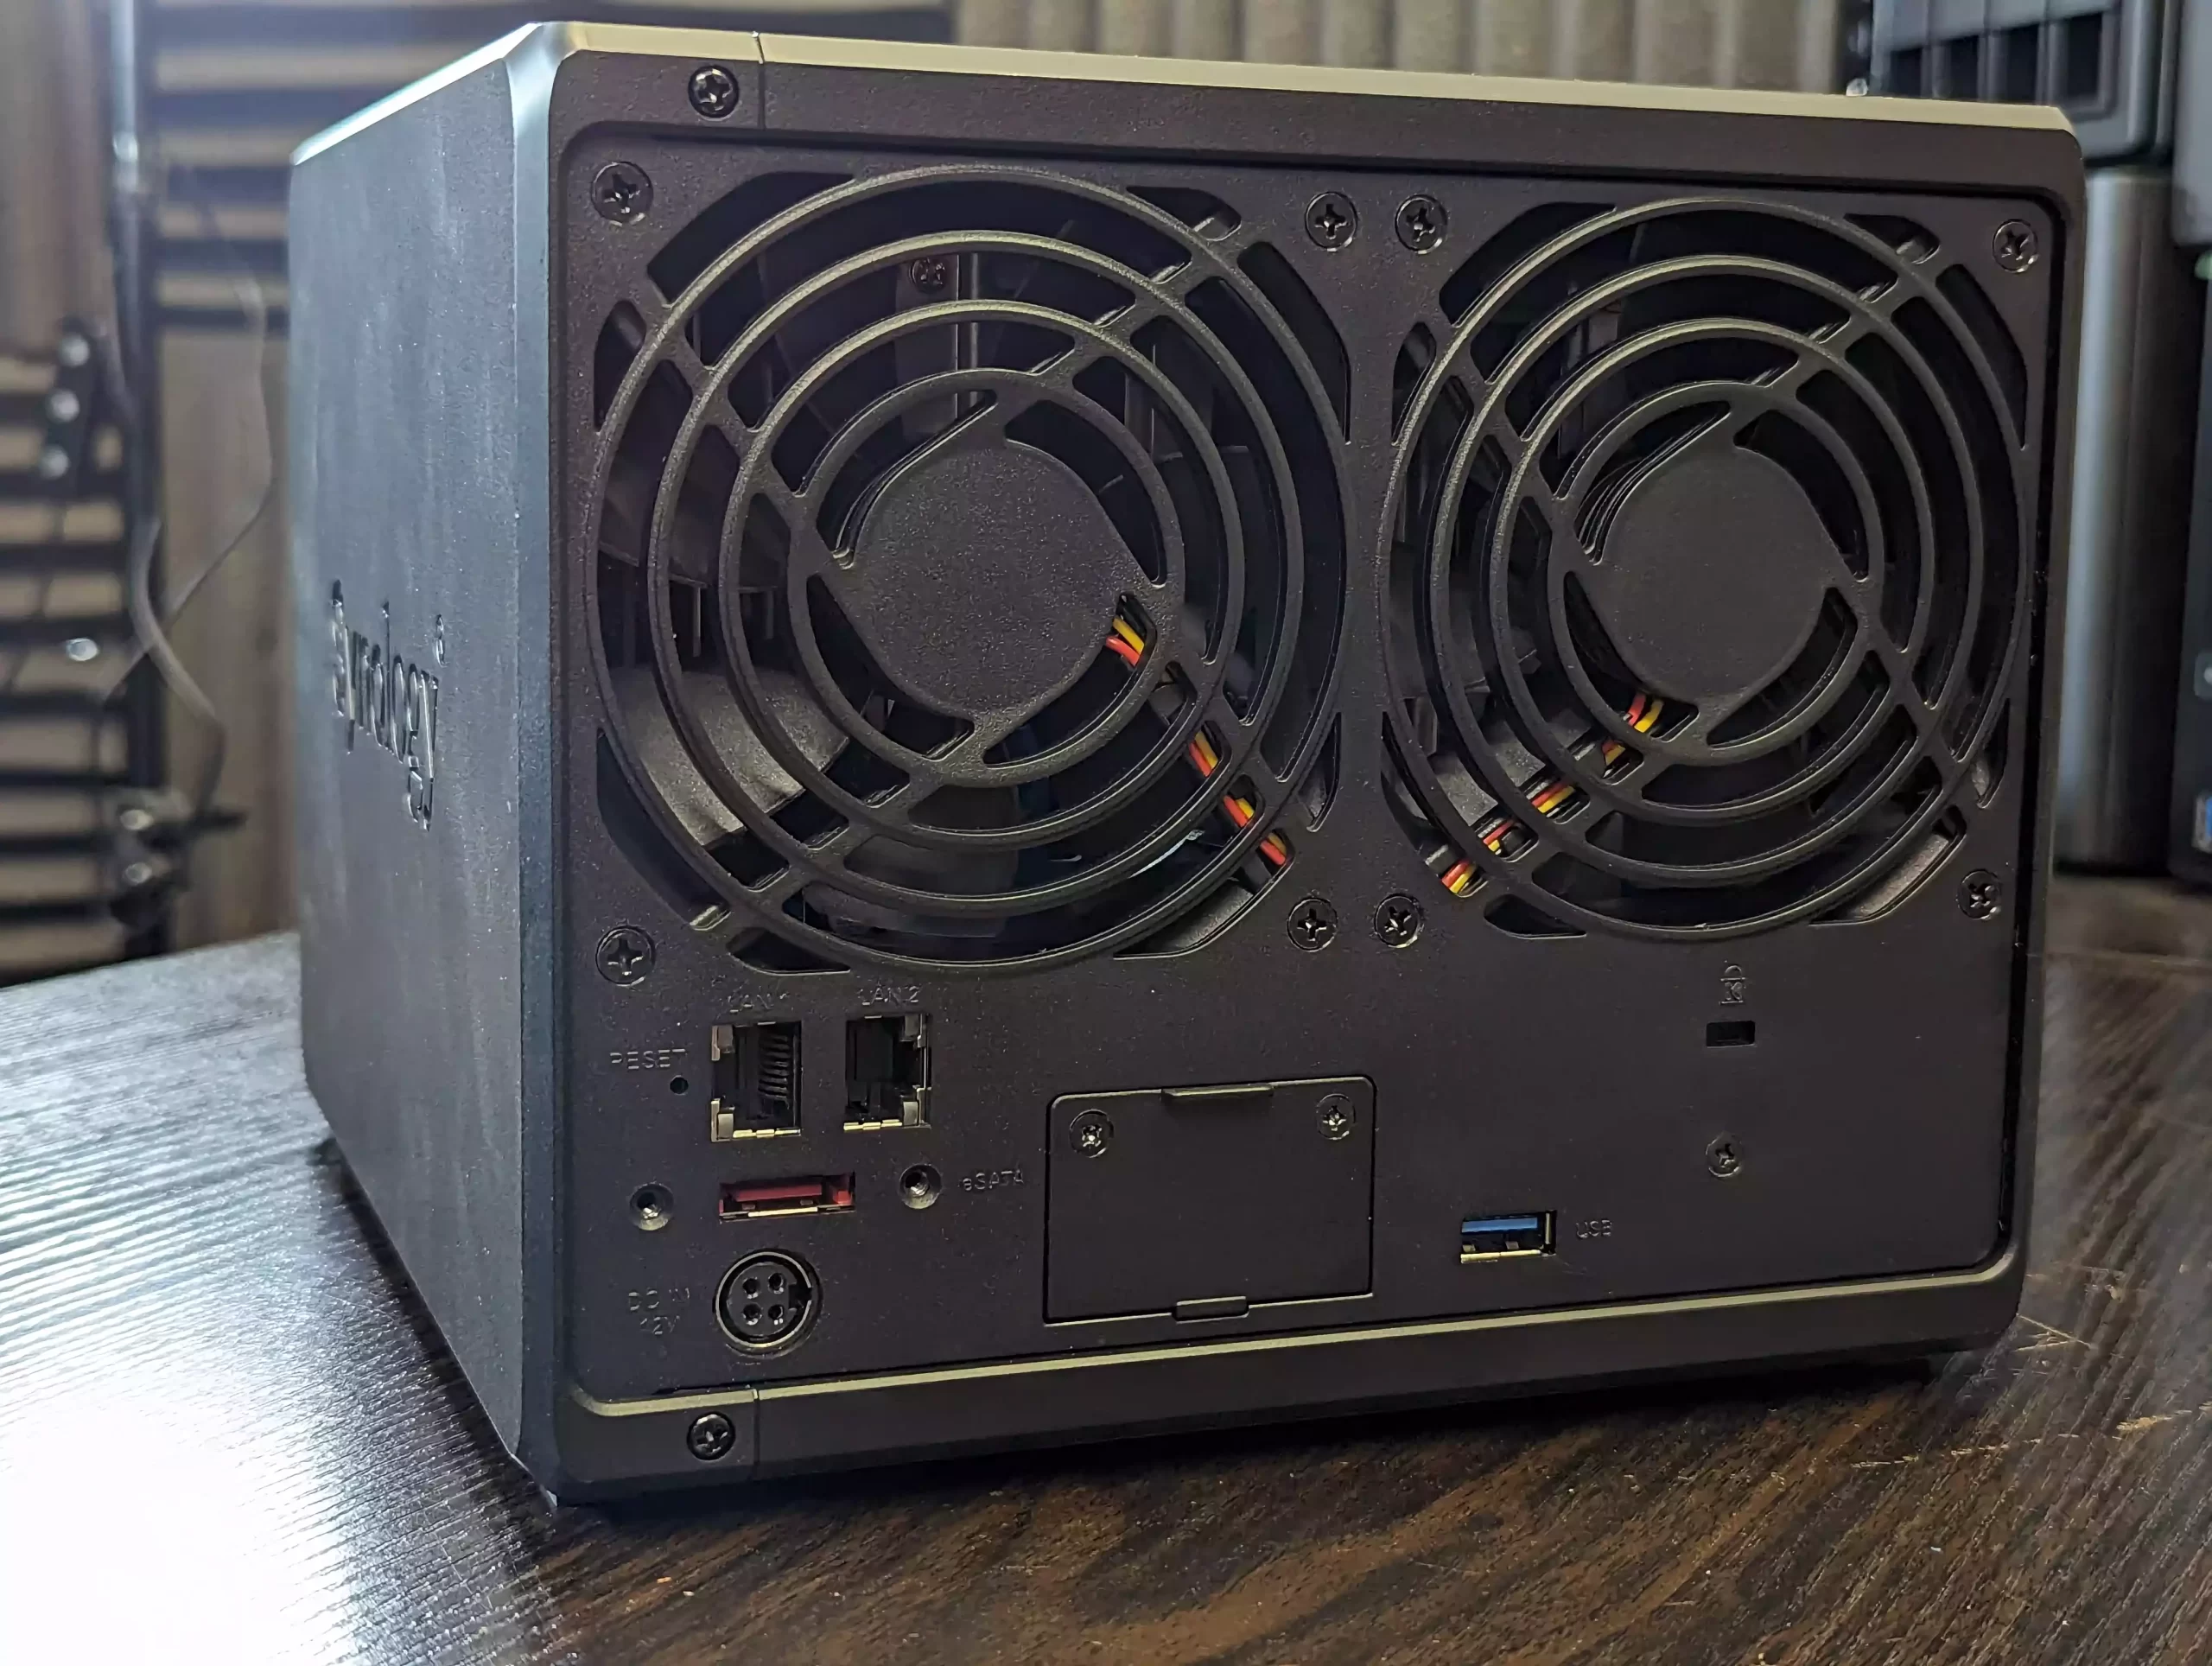
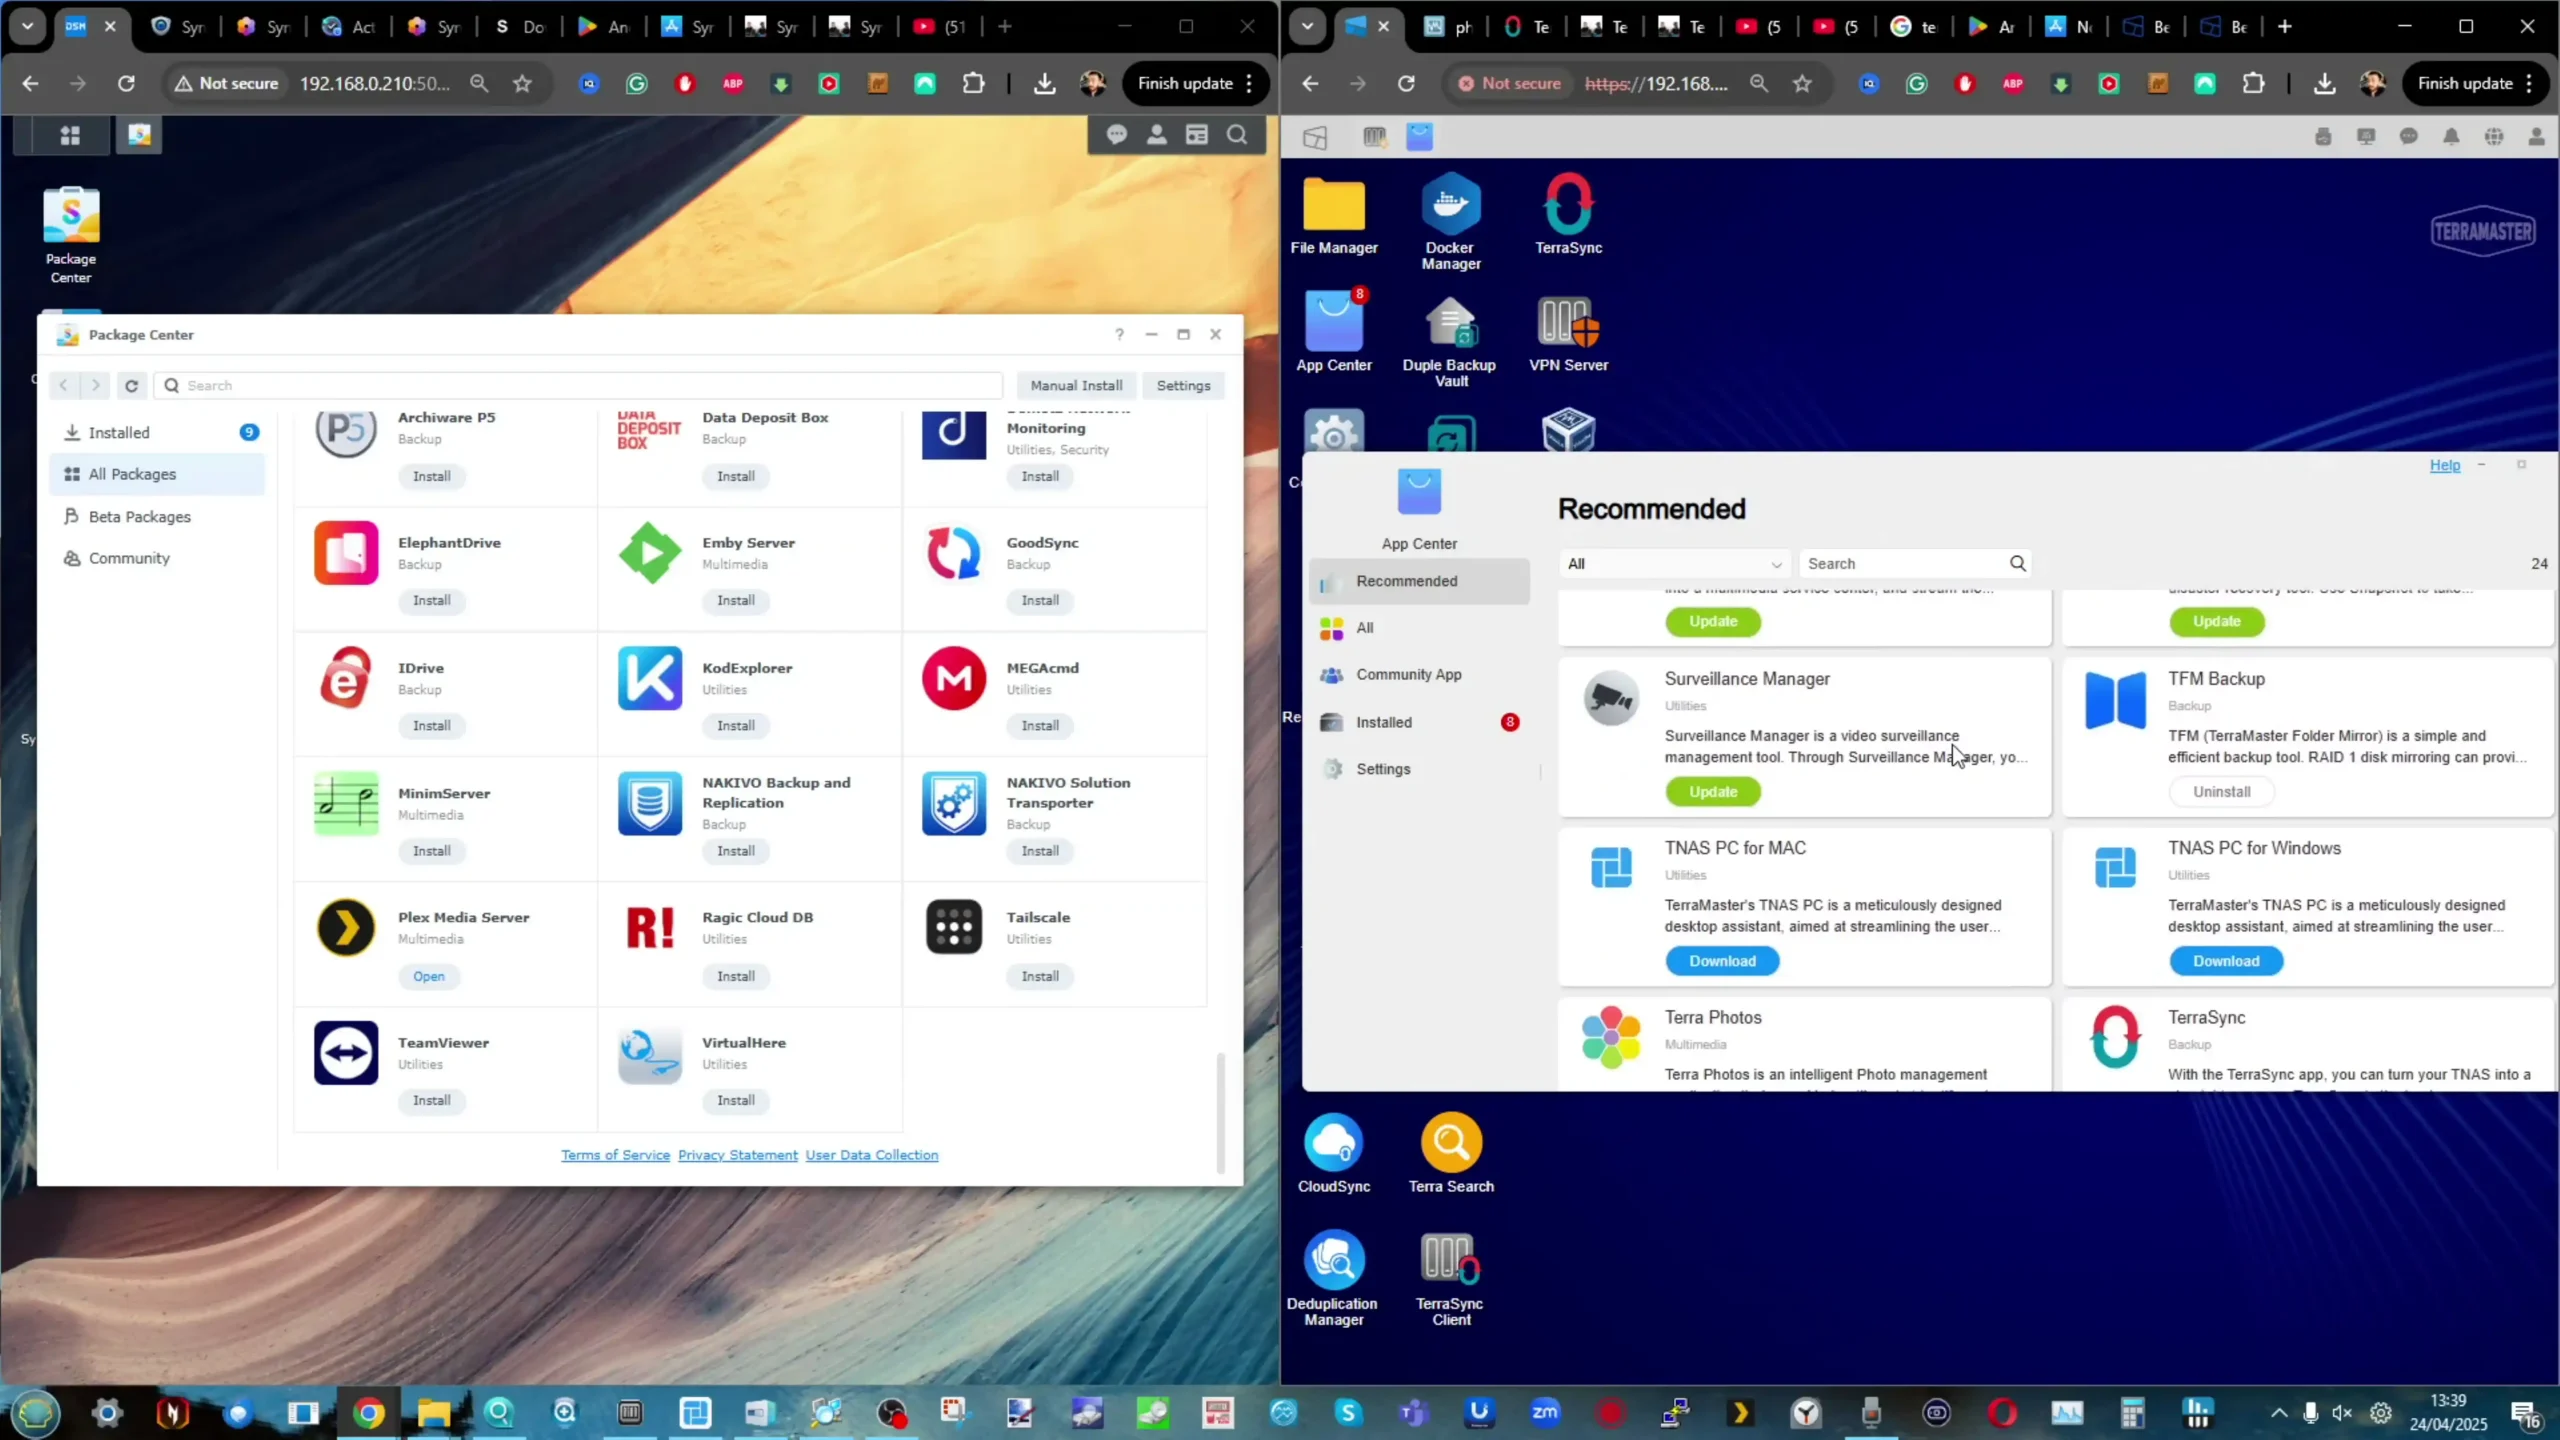
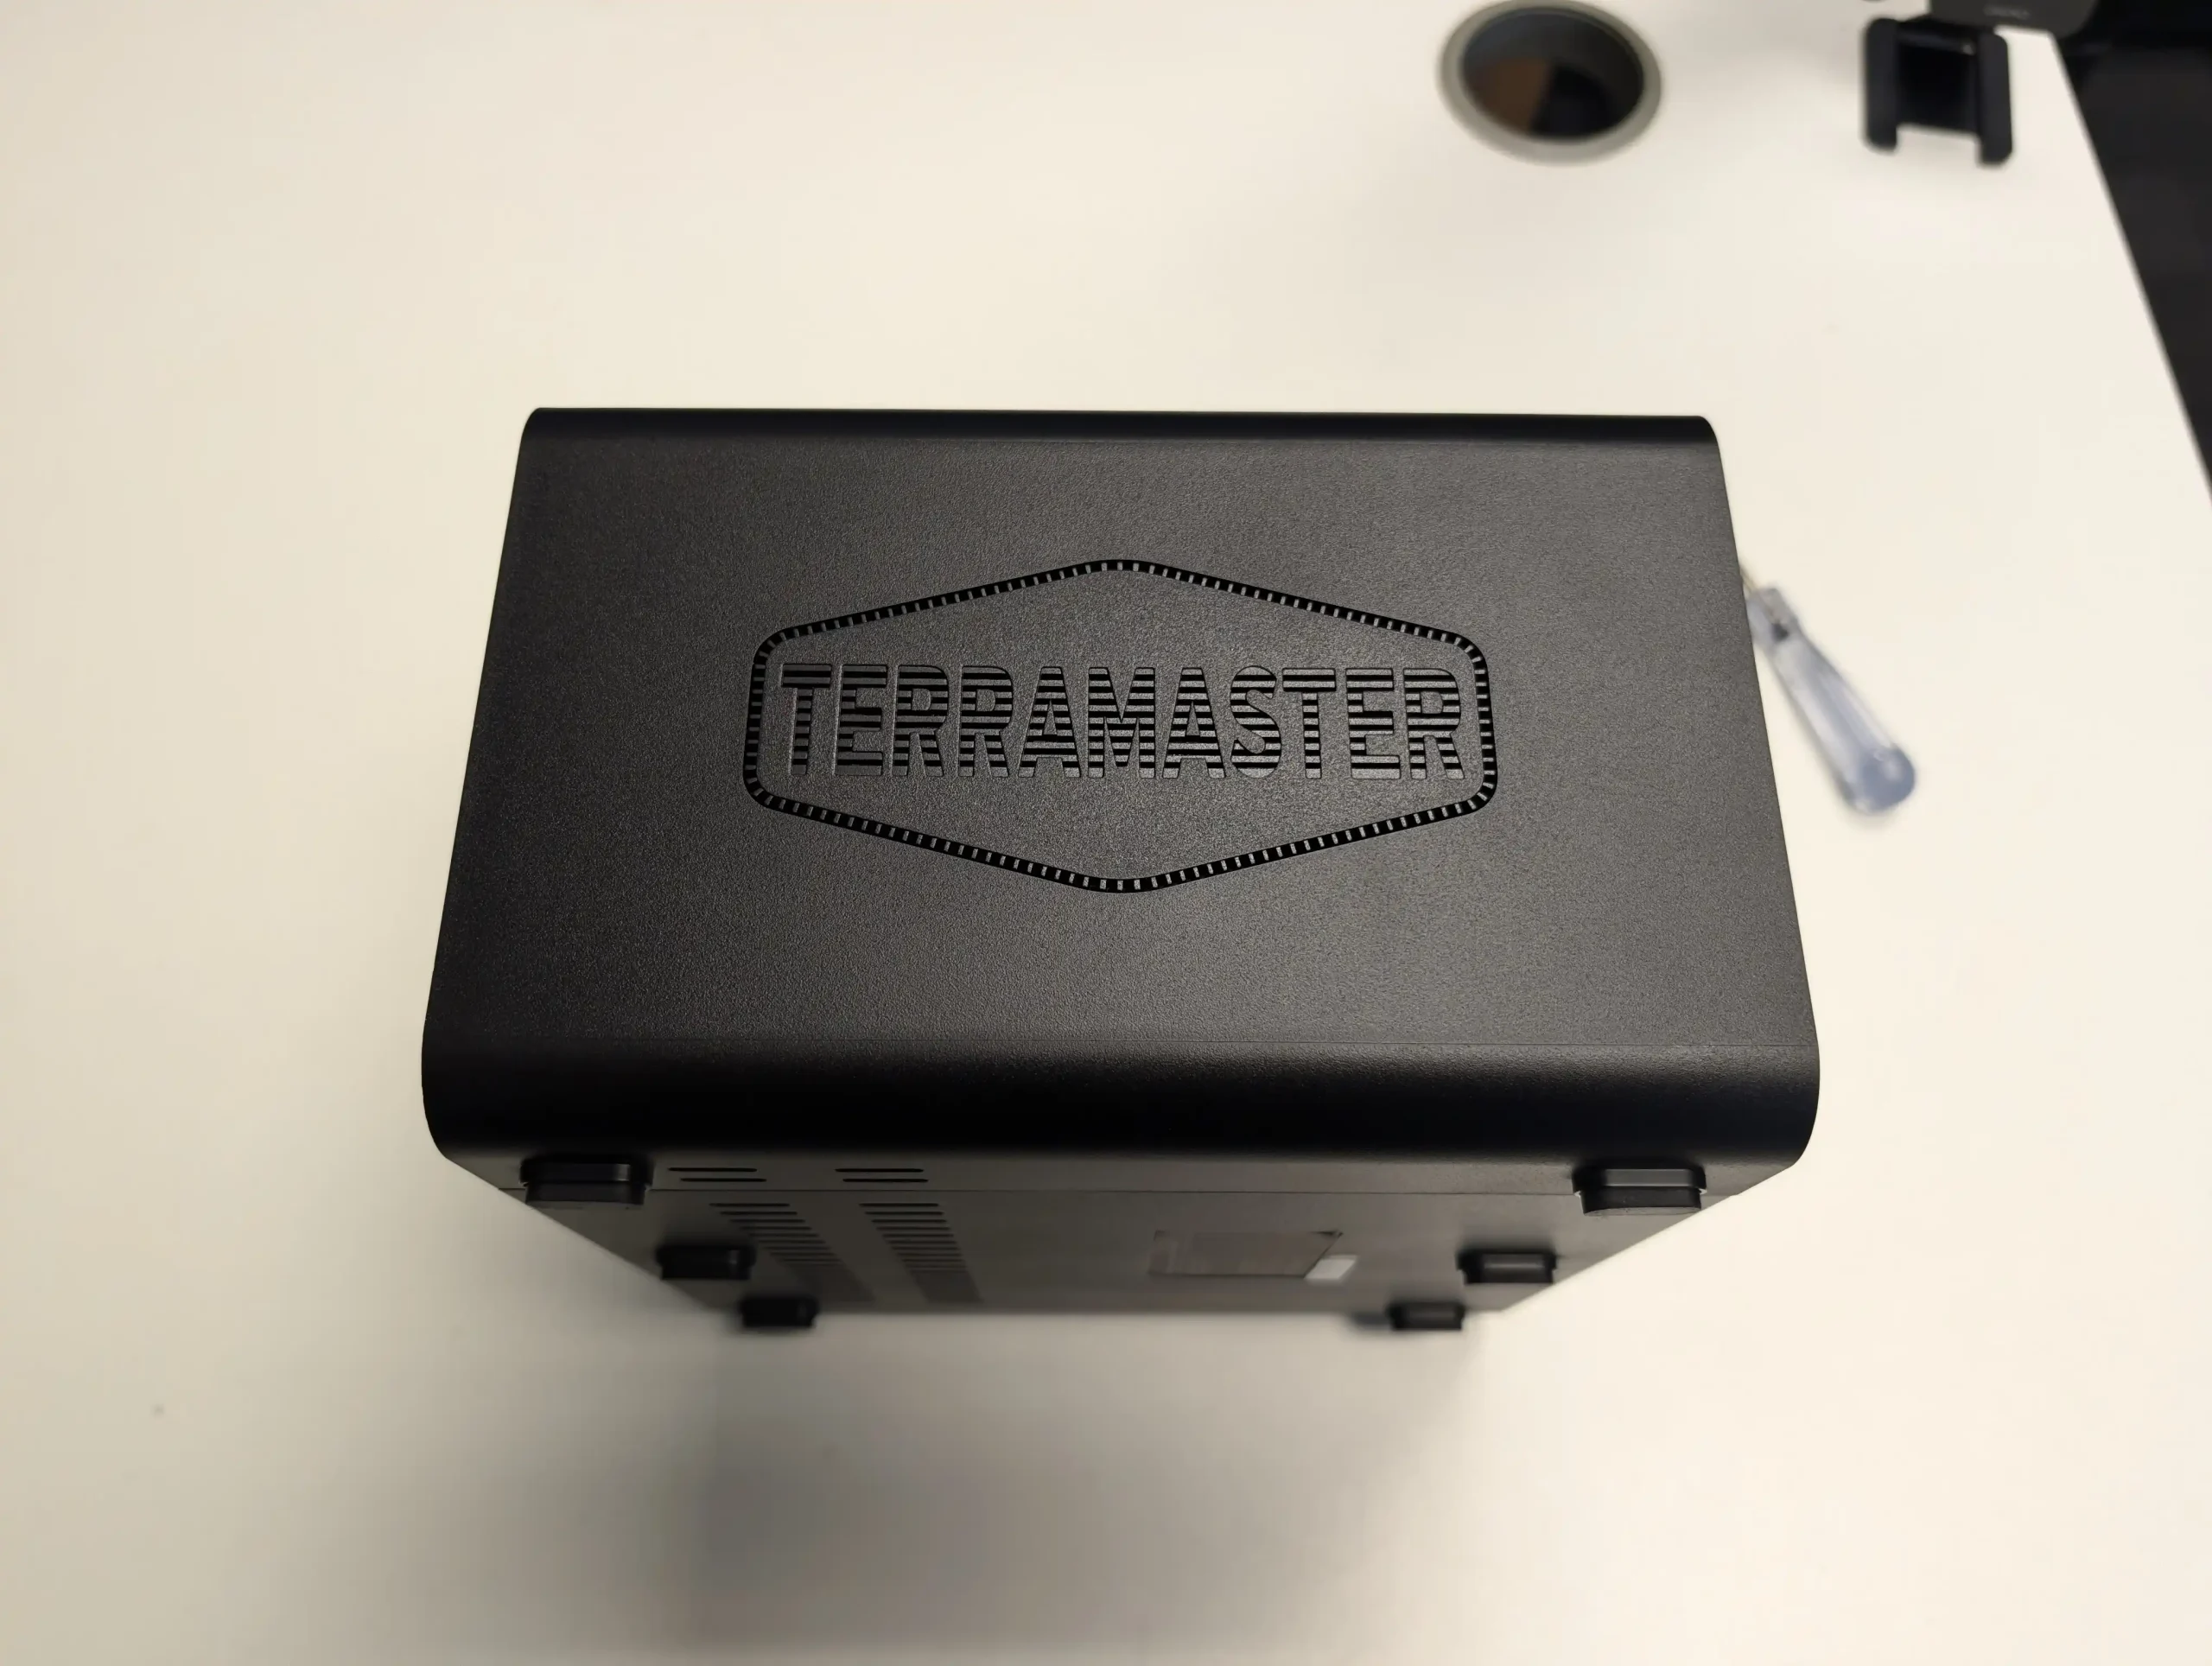
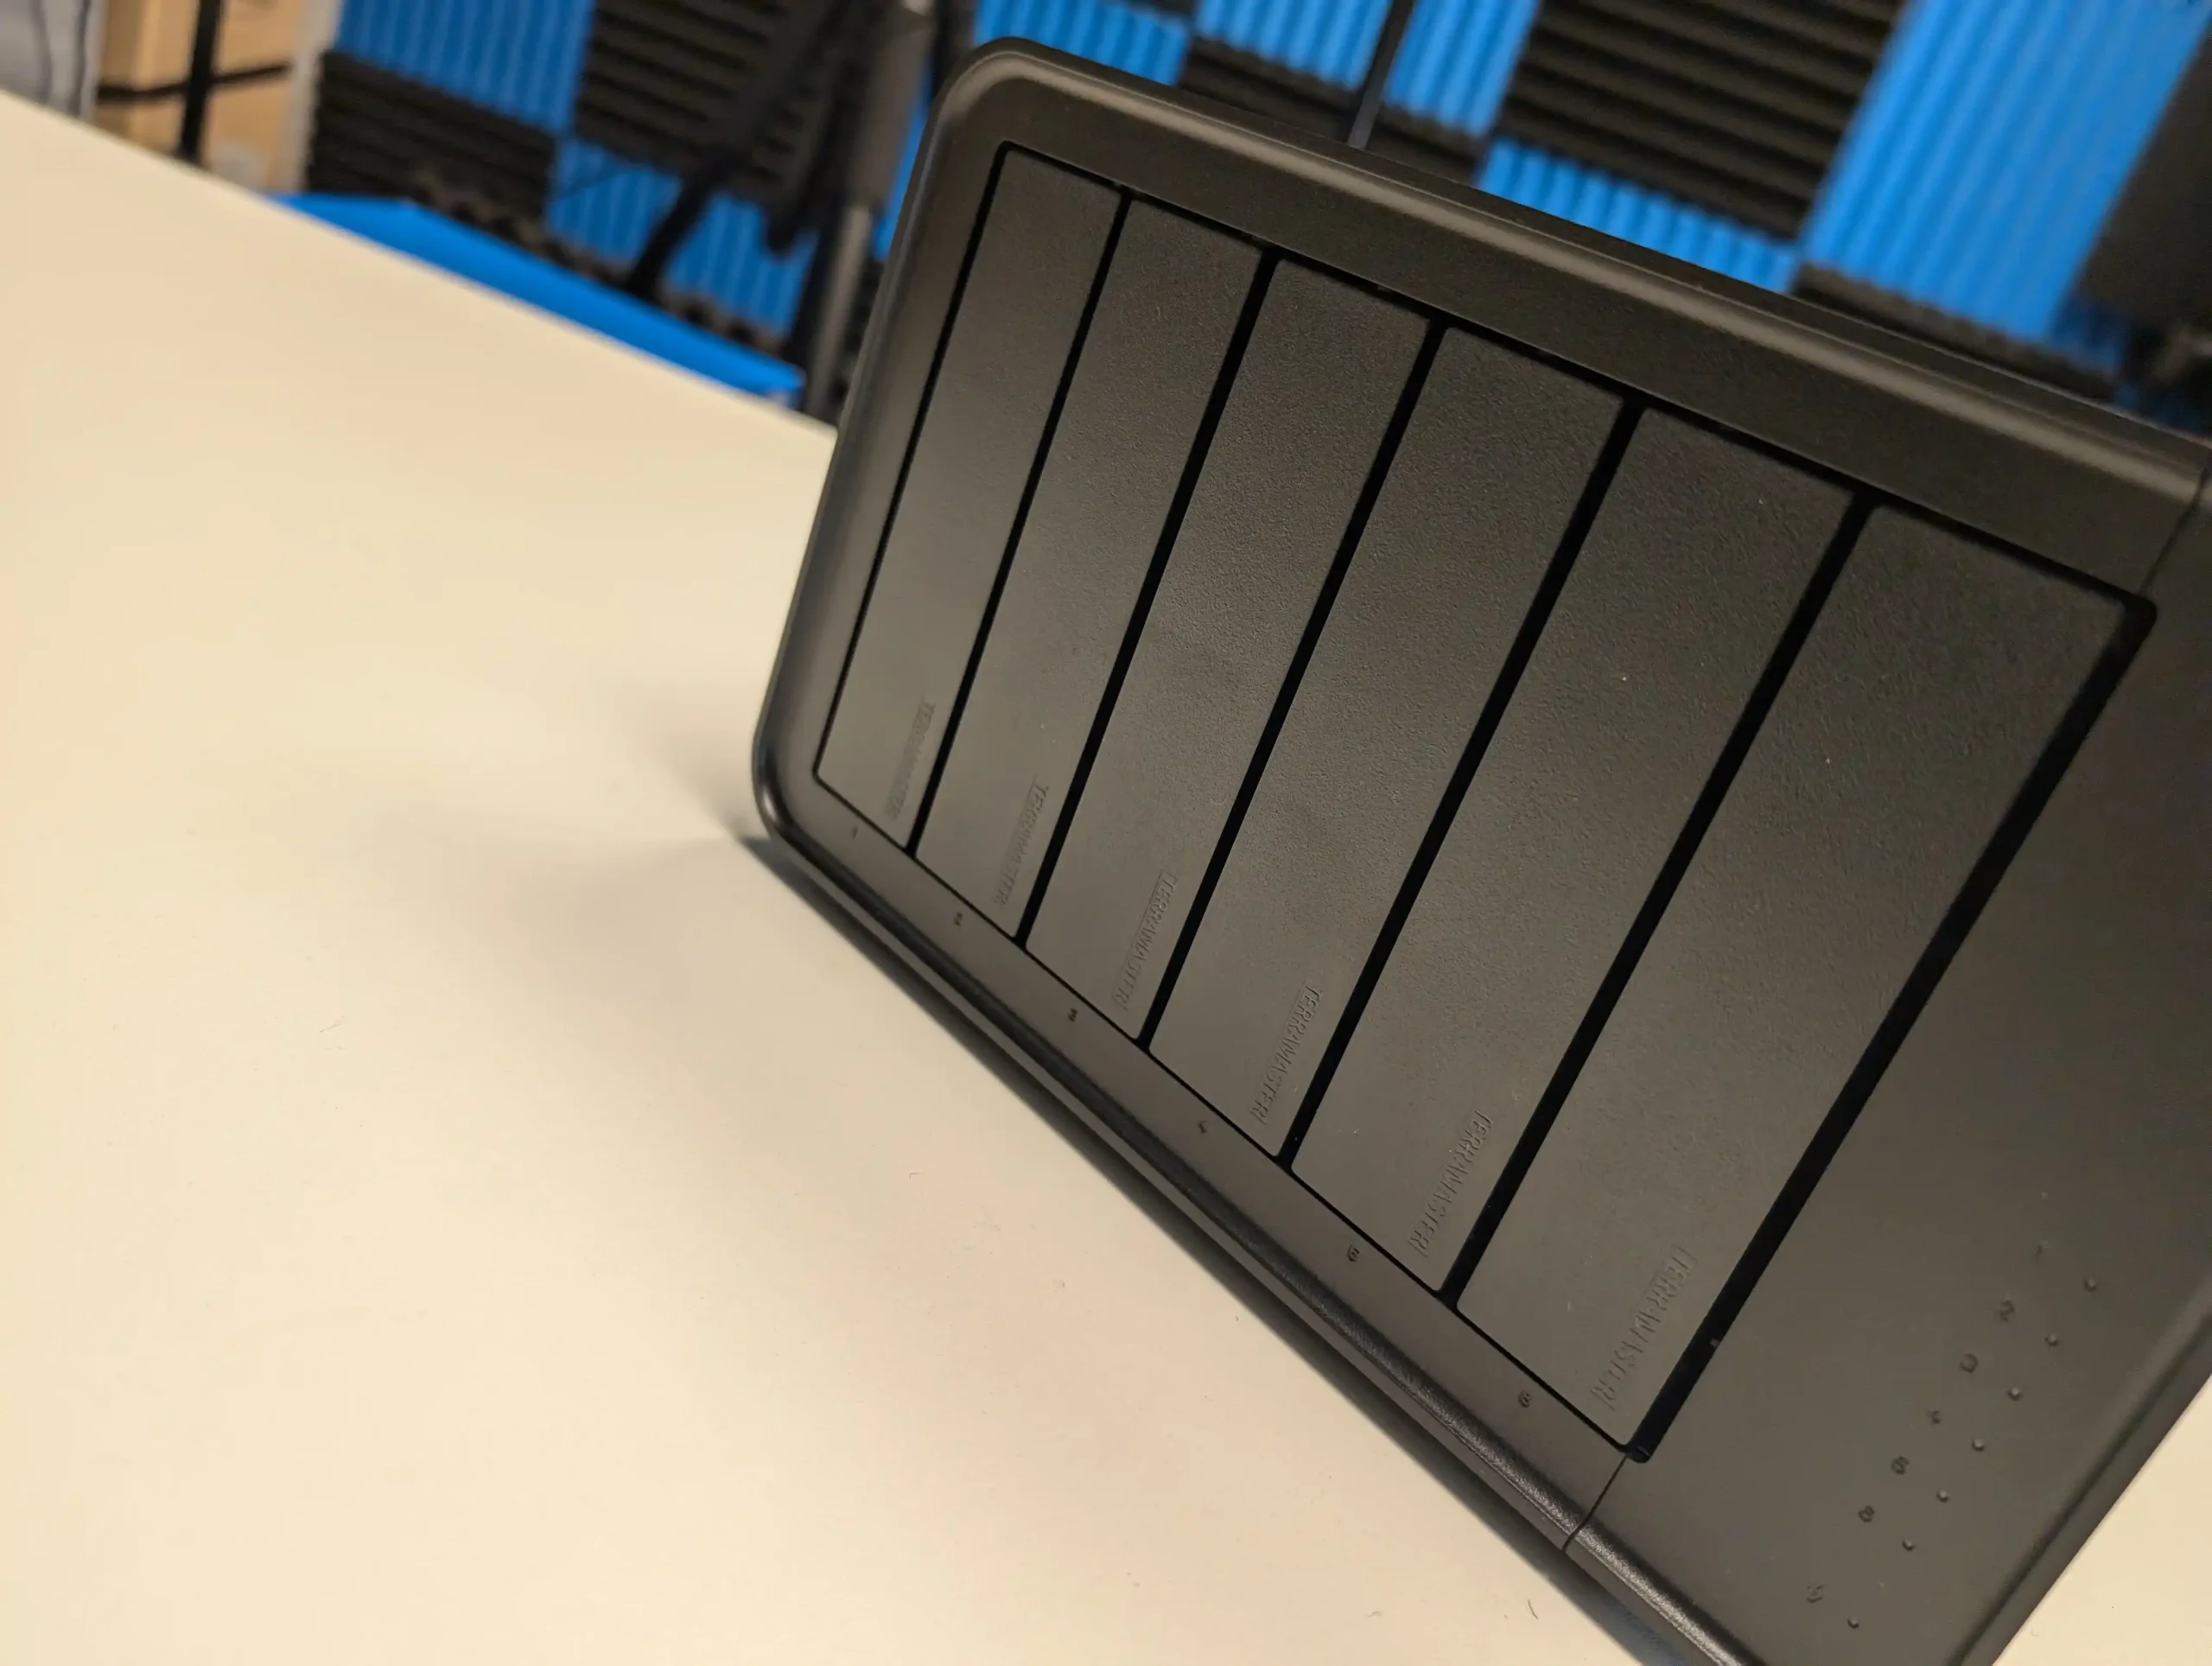
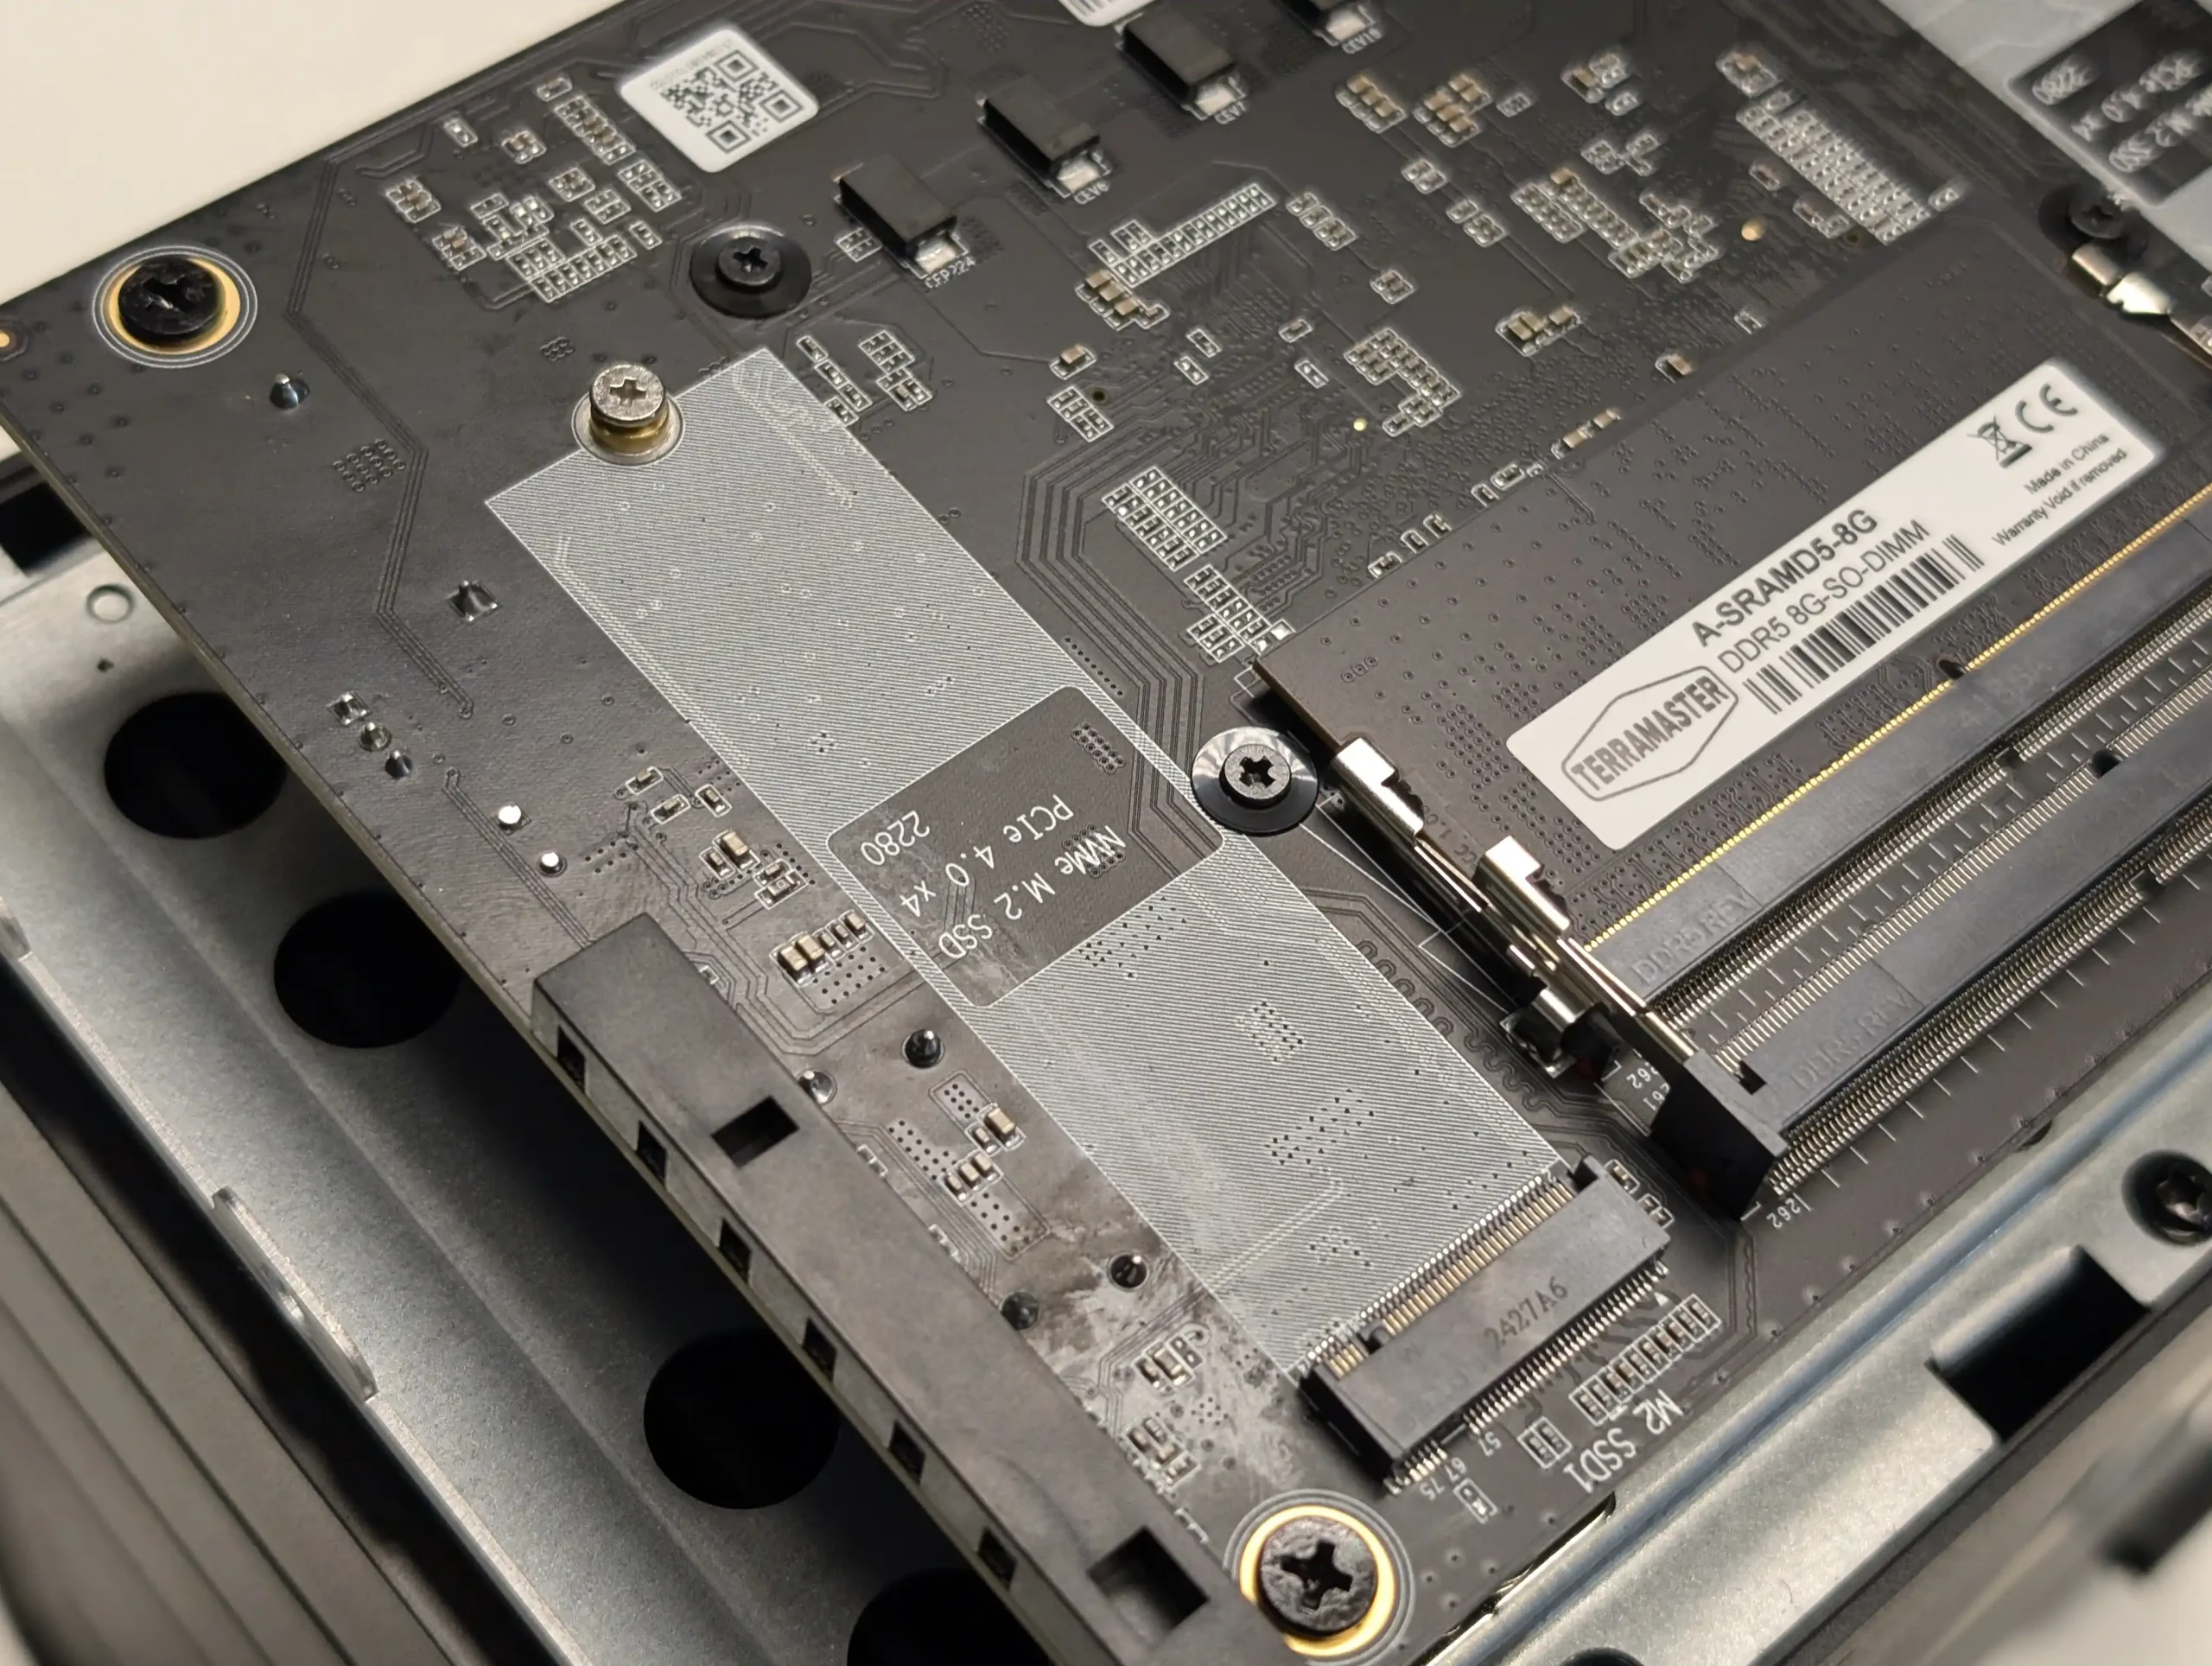
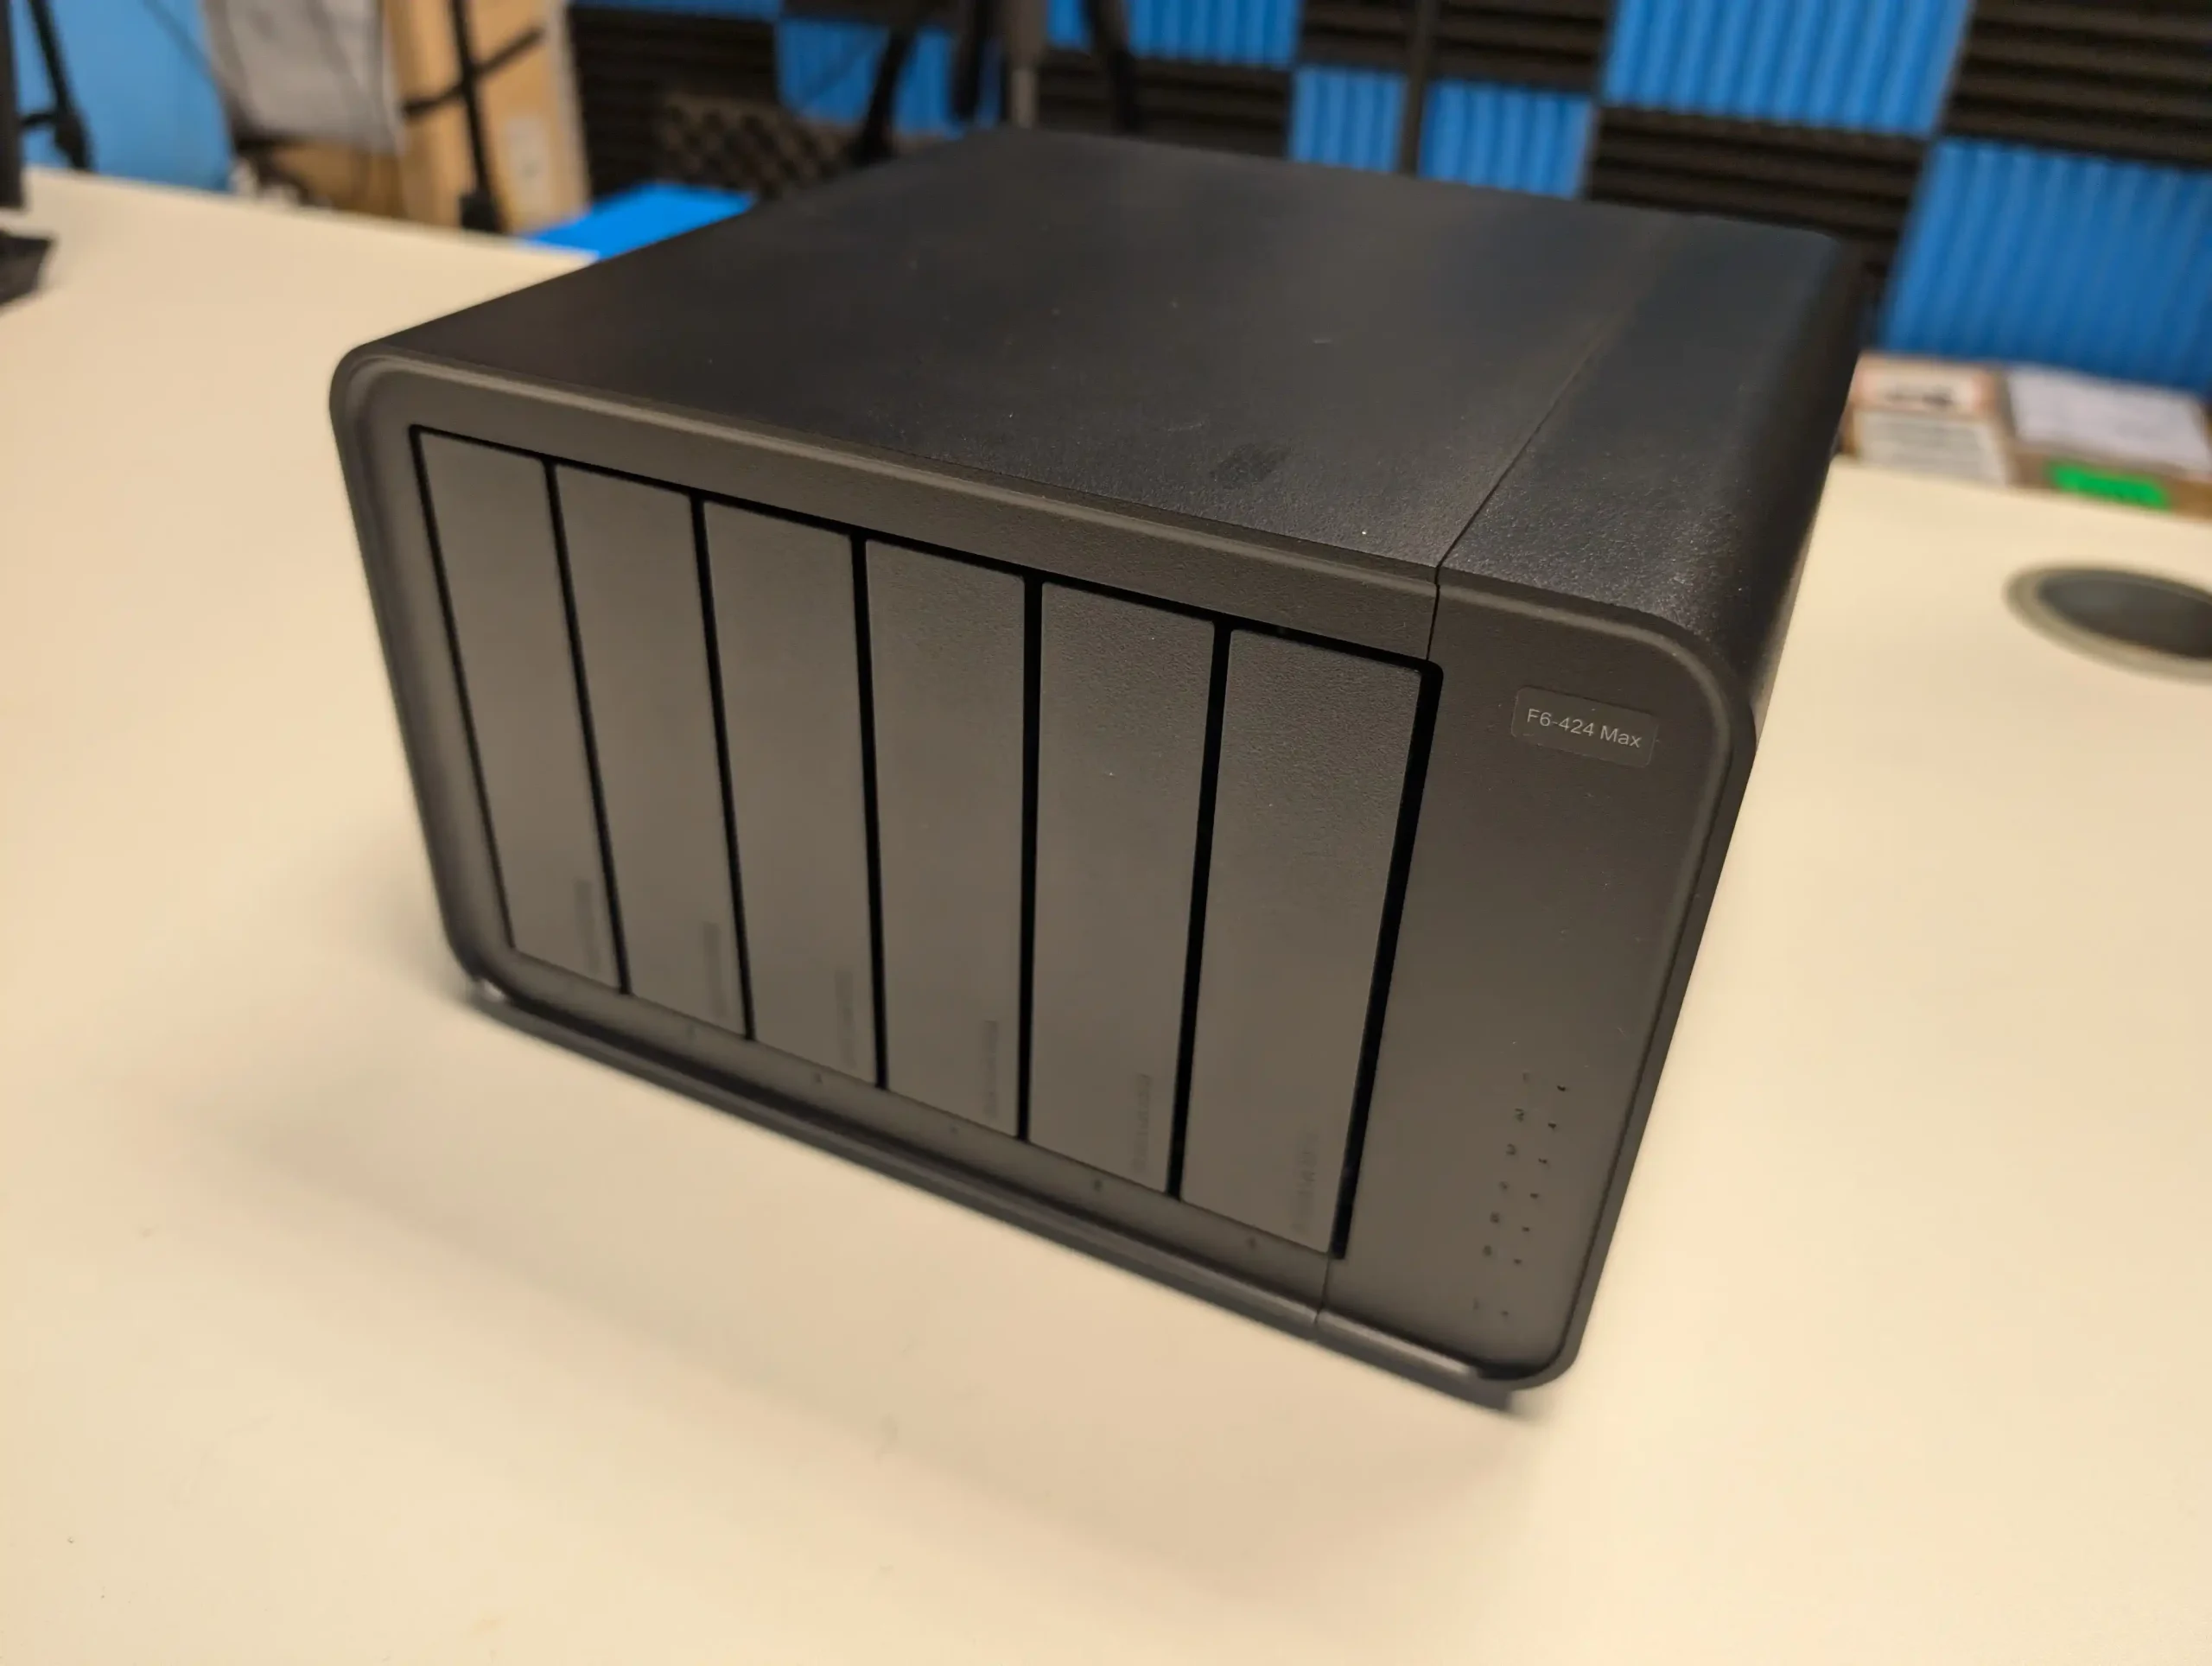
TERRAMASTER vs Synology?
![]()
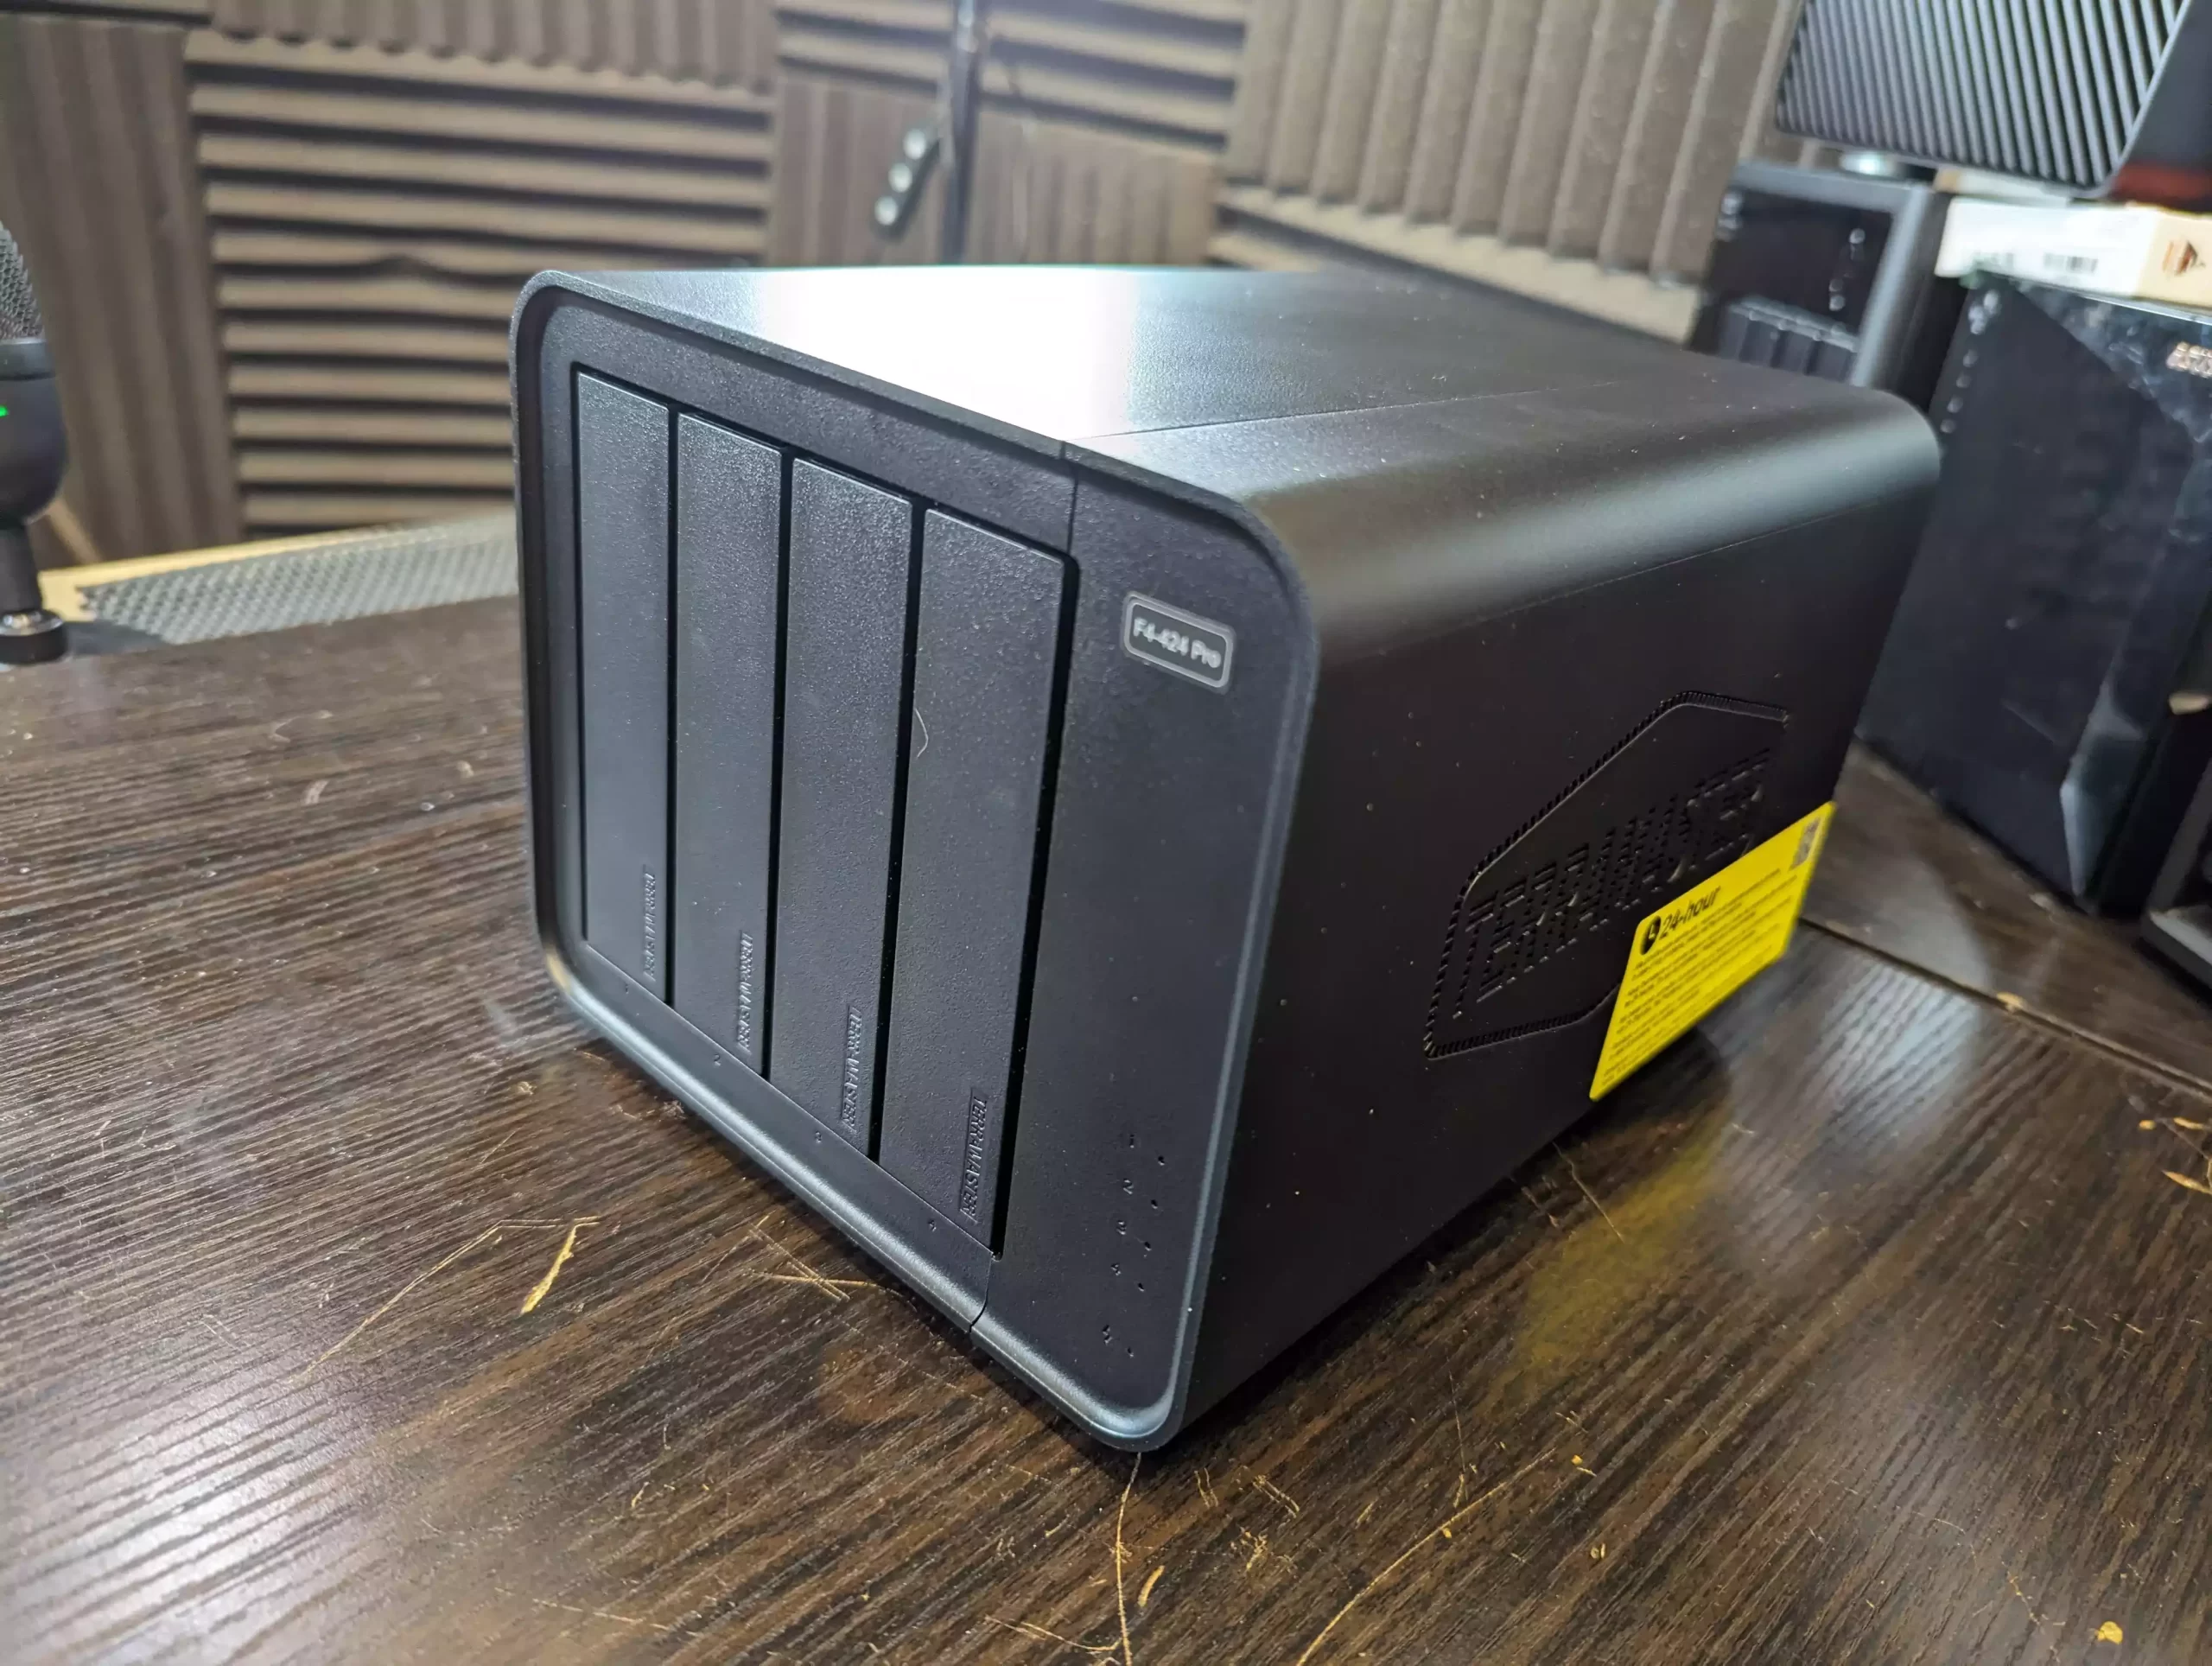
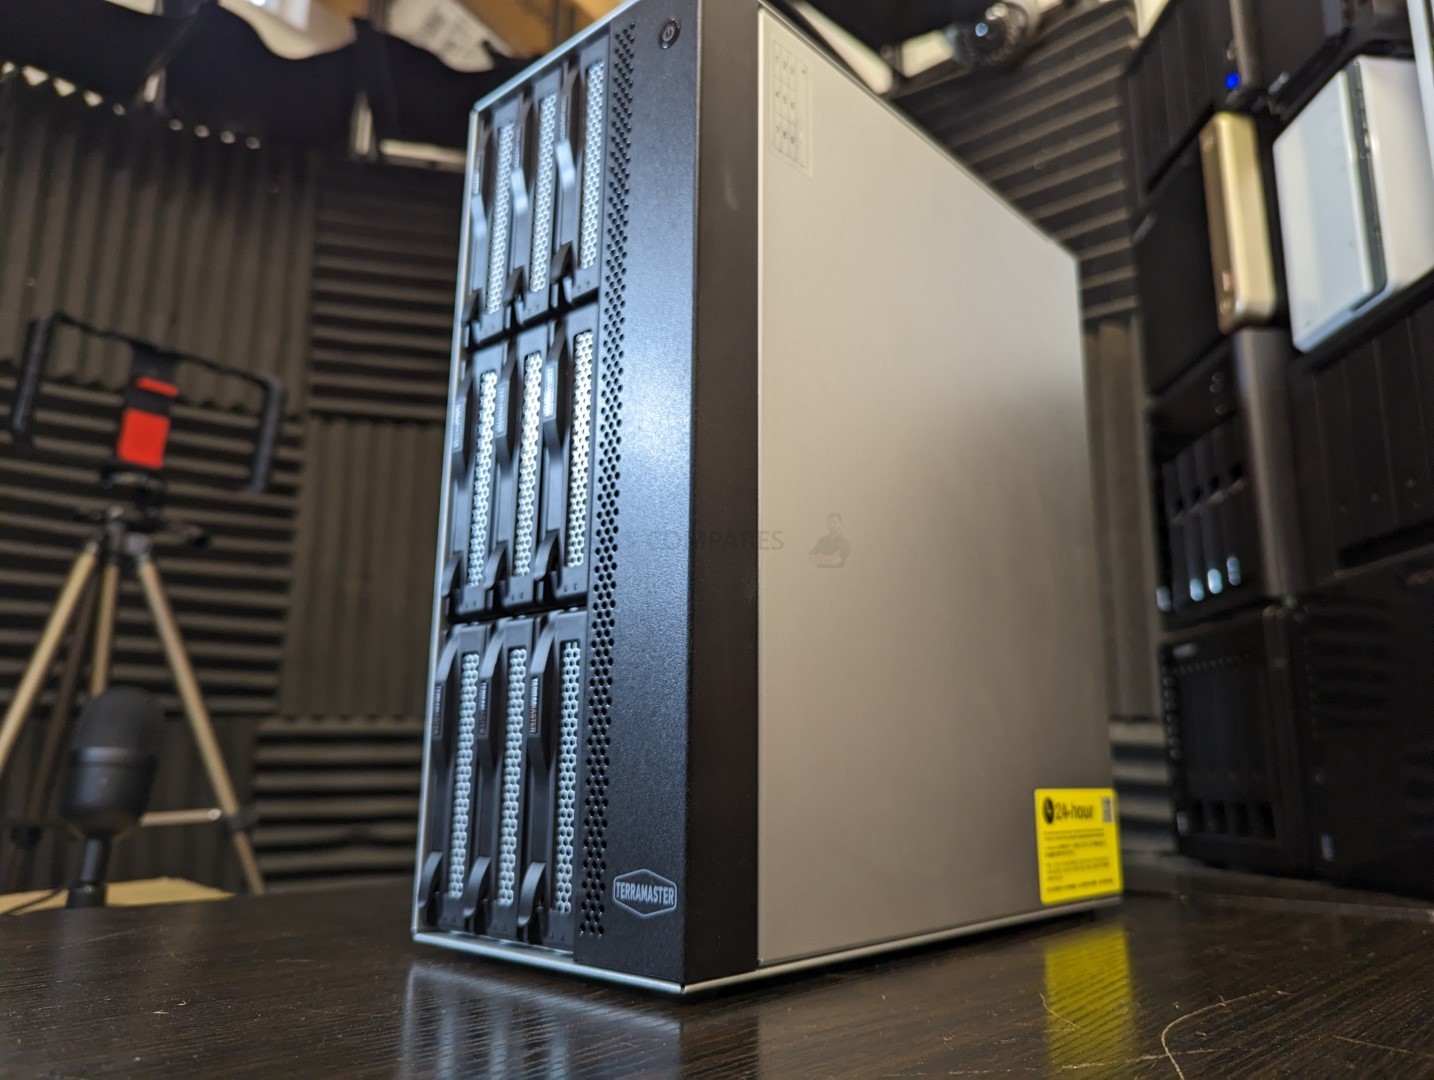
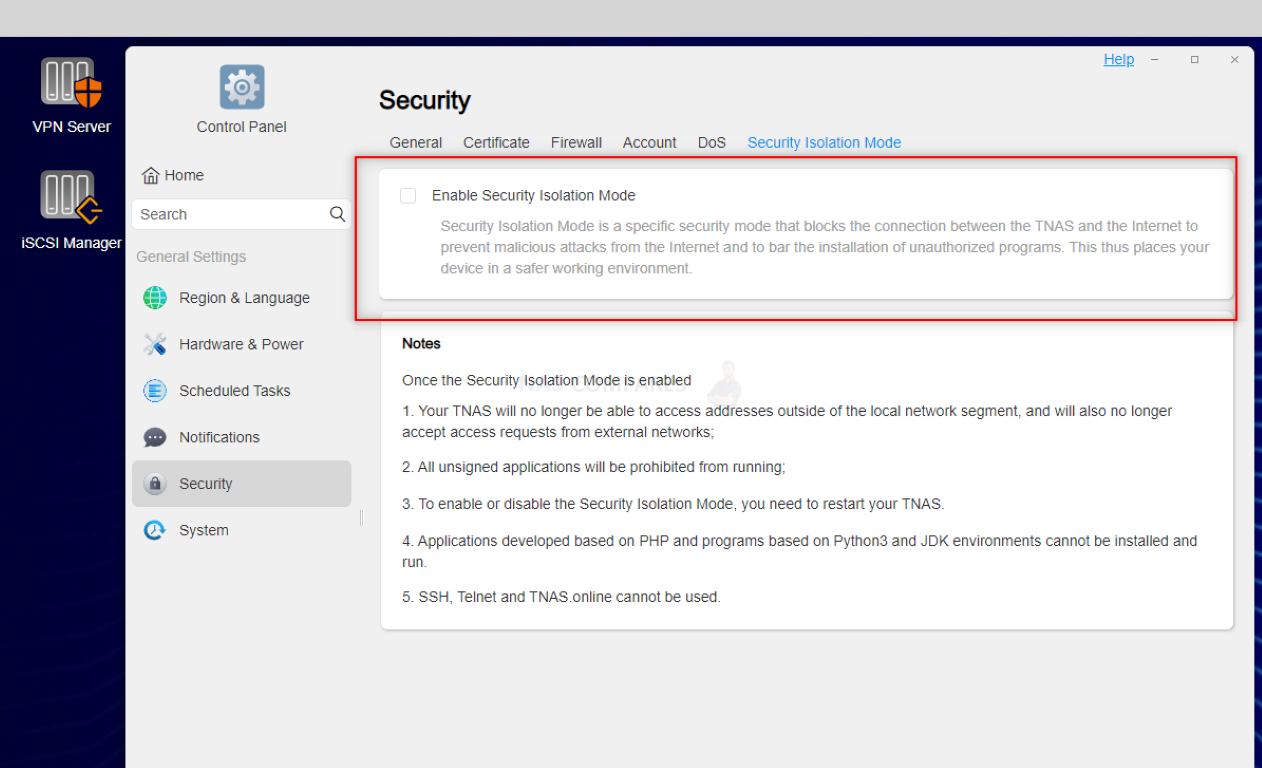
Terramaster has been jockeying for the NAS 3rd place spot with Asustor for well over a decade at this point, and much like their opponent, they have been good at integrating individual features from both QNAP and Synology into their own NAS hardware and TOS platform, but to a larger degree than Asustor. For example, their OS provides largely everything that Asustor ADM does (including TrueNAS/UnRAID support without voiding your warranty) but adds to this with an AI photo recognition platform, their own VM tool, and an impressive Isolation Mode that can sever the system at the click of a button from remote access, 3rd-party PHP, and any external requests (necessitating a restart to disable). However, as this brand is a Chinese brand, there will always be question marks raised by users about how this system compares with Taiwanese-based systems. This is a little unfair, given that Terramaster, Asustor, and QNAP were all successfully hit by the same ransomware attack (Deadbolt) a few years back, so there was plenty of ‘vulnerability’ to spread around!
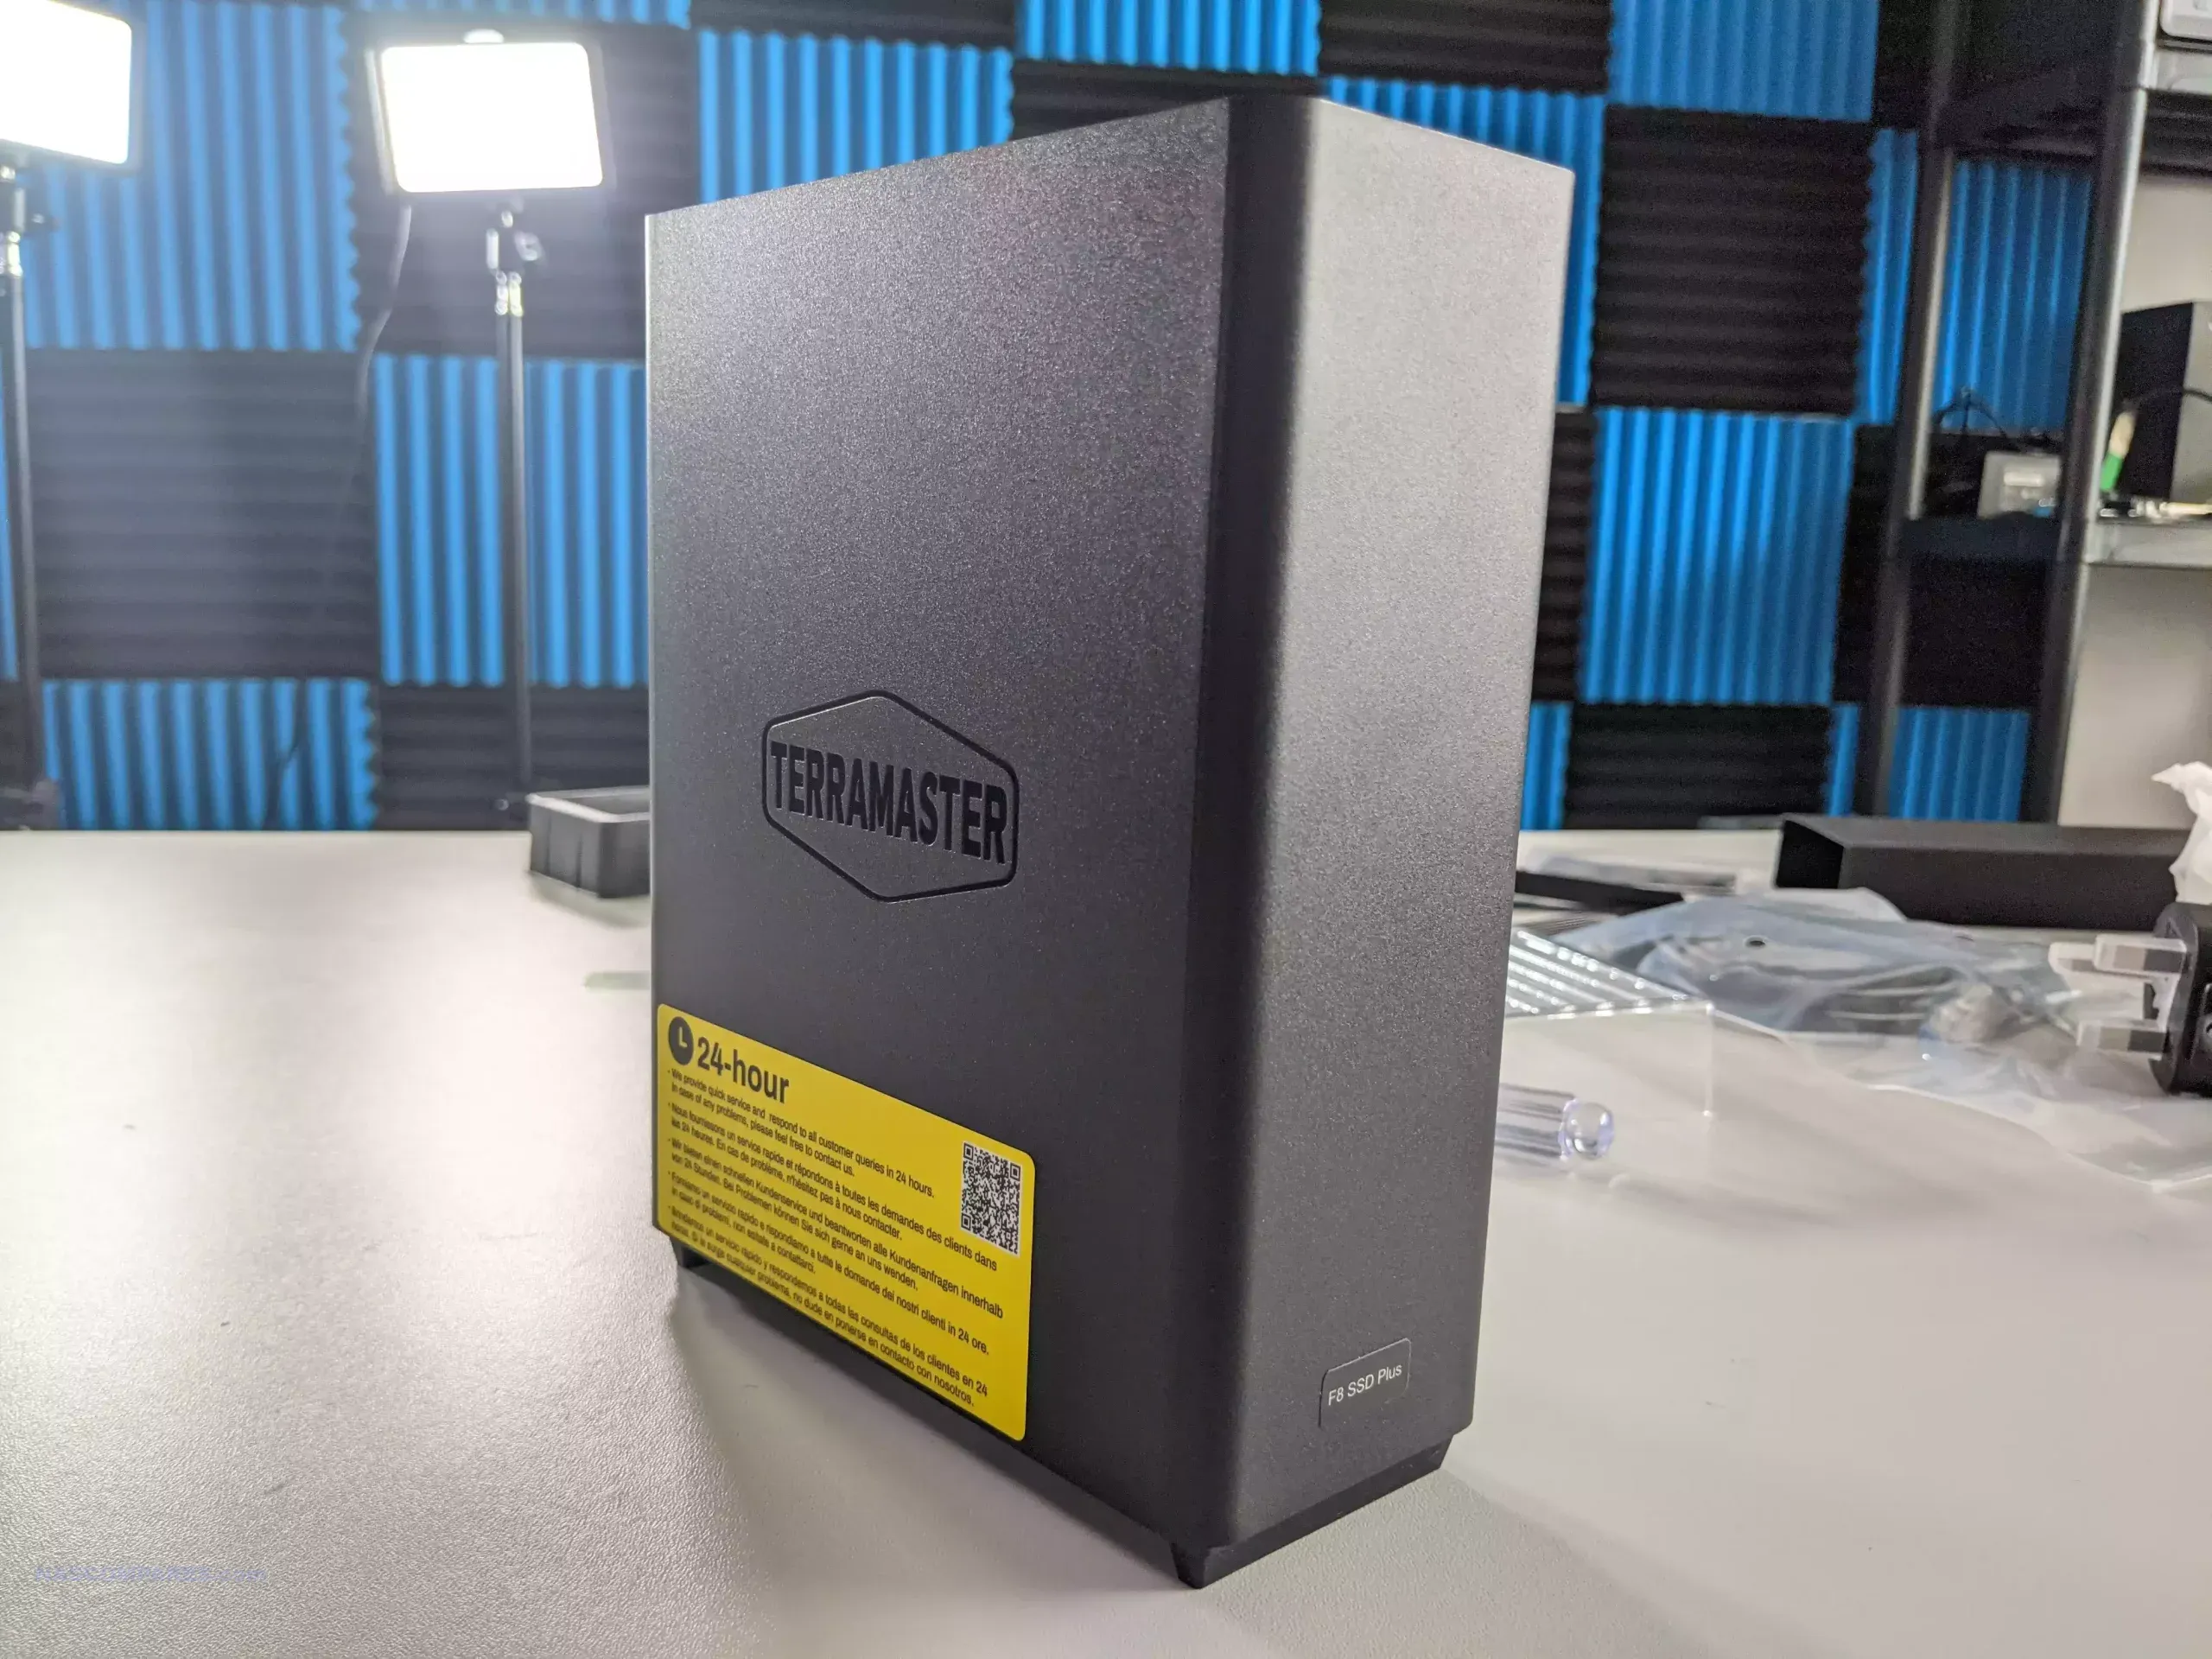
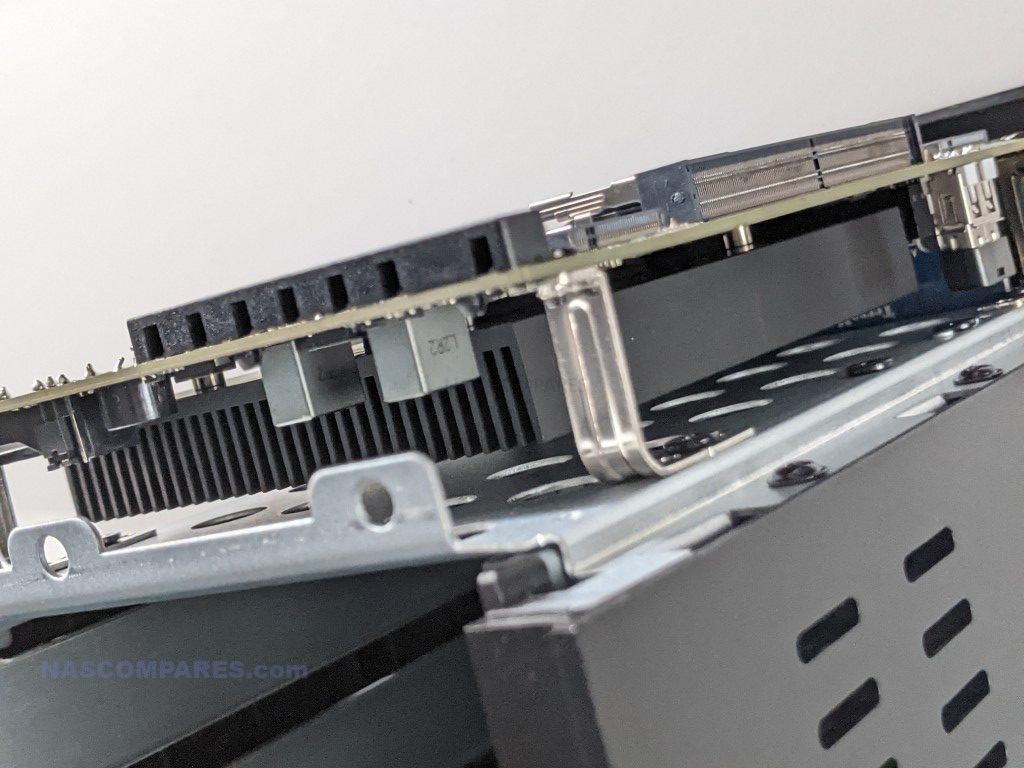
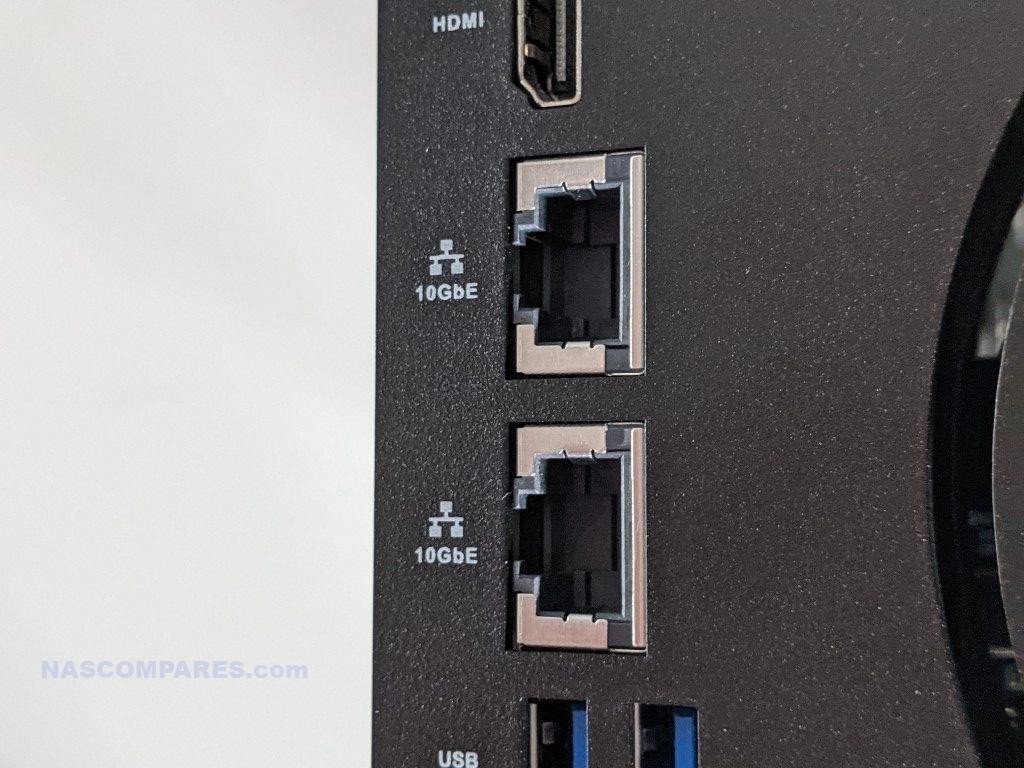
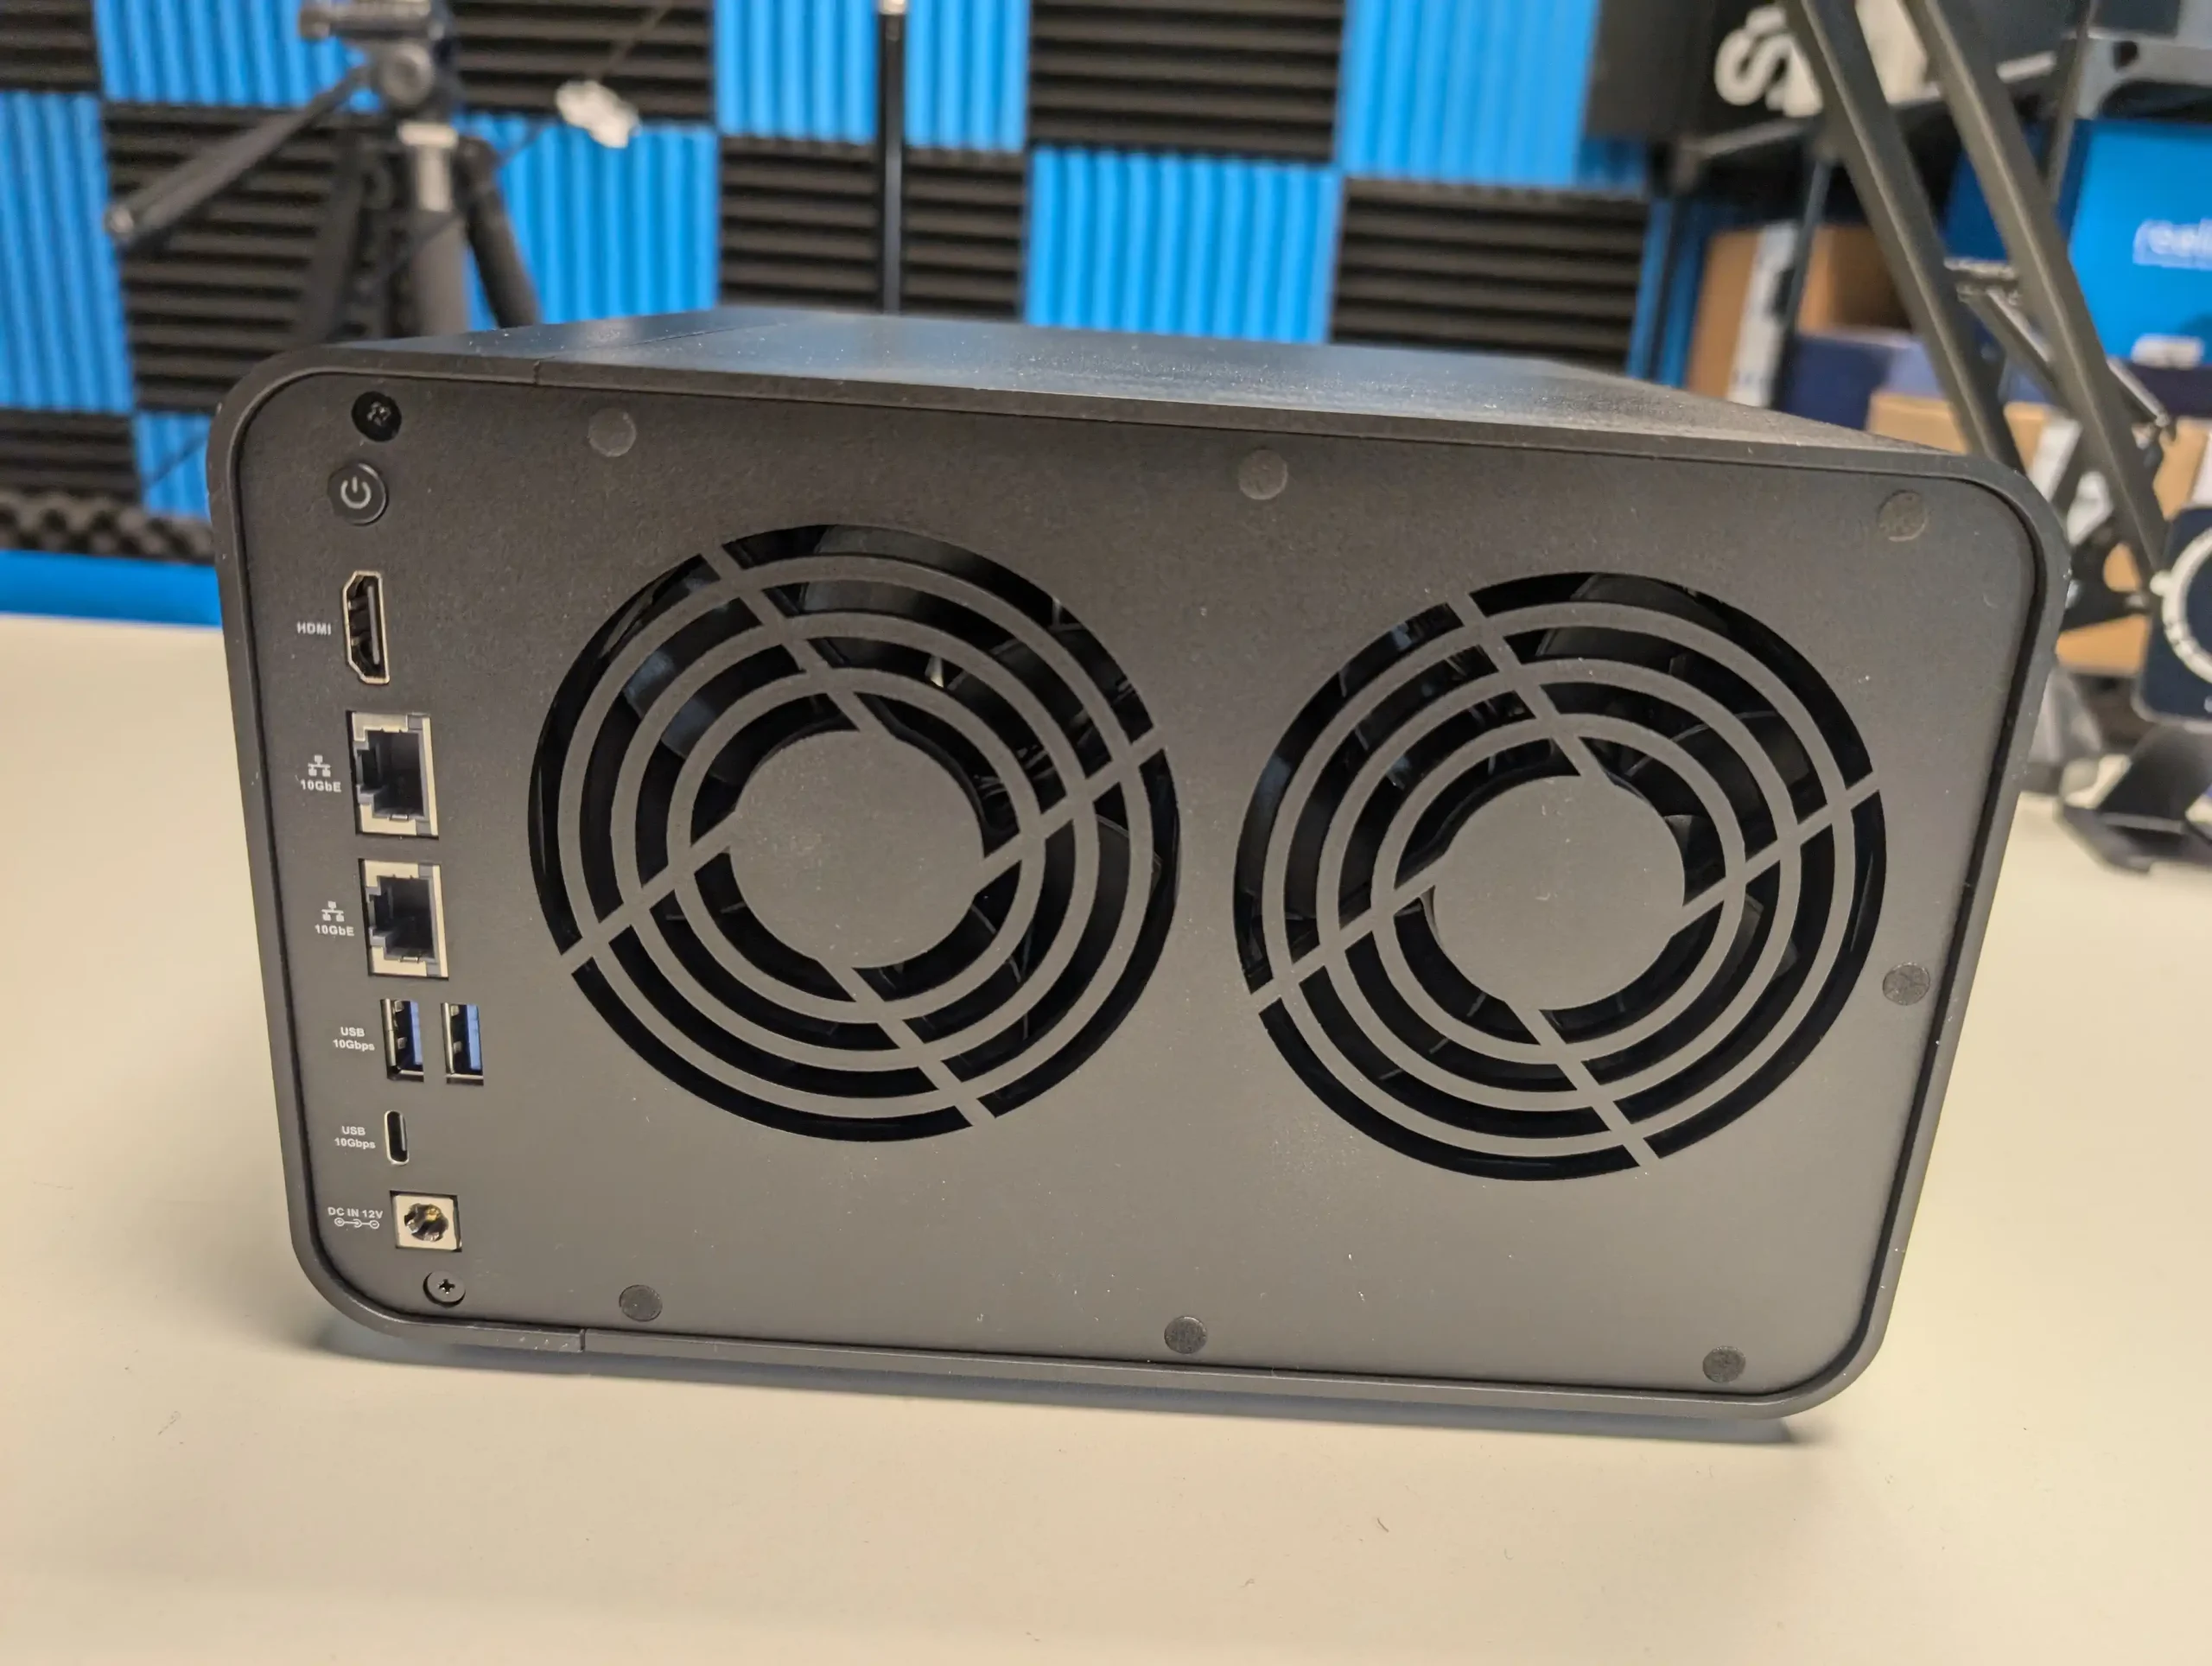
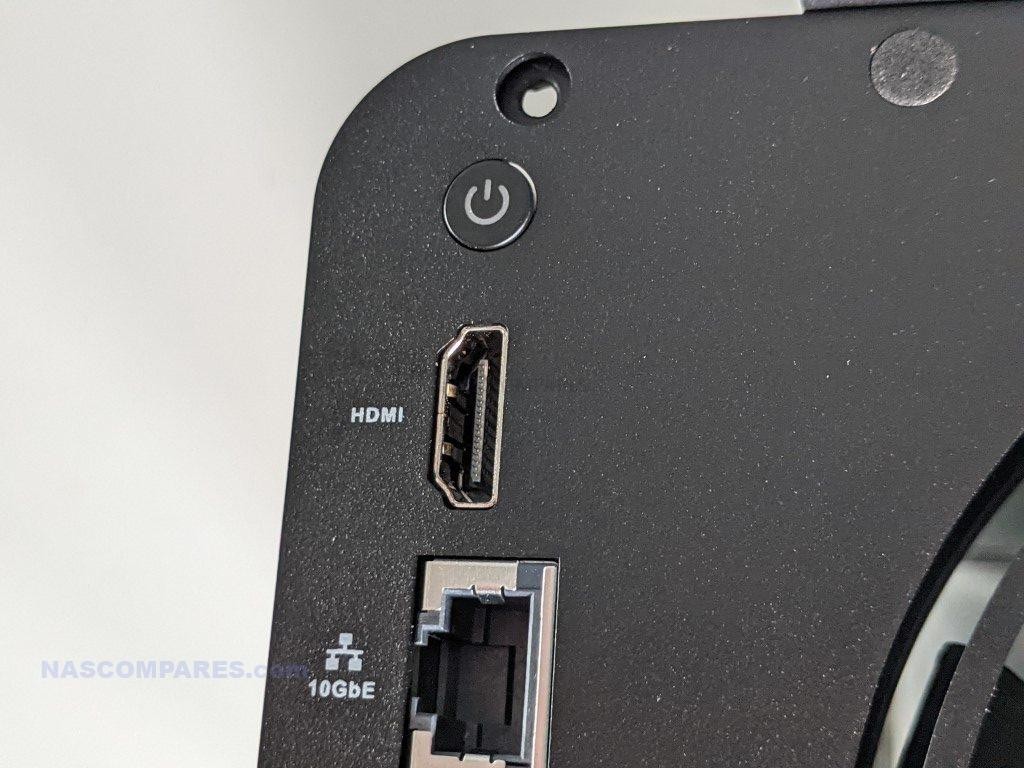
In terms of hardware, Terramaster has been making some impressive and aggressive strides in this area—with the recent launch of their 3-part F4-424 Intel NAS series (Standard, Pro, and MAX), the release of two 8-bay M.2 NVMe 10GbE equipped systems (the F8 PLUS and F8 SSD PLUS), and new desktop and rackmounts hot on their heels. They have also scaled up the design to better improve cooling, efficiency, and just general visual appeal.
| Value Series | Best All Rounder | Prosumer NAS |
 |
 |
 |
| F2-424 2-Bay NAS | F4-424 Max 4-Bay NAS | T9-500 Pro 9-Bay NAS |
| $369 on Amazon (Check Here)
|
$819 on Amazon (Check Here)
|
$1499 on Amazon (Check Here)
|
However, much like Asustor, their software is just not able to challenge the standard that Synology has set. For buyers looking for smooth and easy utilization like Synology, Terramaster’s TOS has the danger of feeling a little clunky. Their latest release, TOS6, brings new features, software standards, and design to the mix, but it lacks the range of mobile applications, desktop client tools, and consistent UX/presentation that Synology seems to do so well. Terramaster is a fantastic value-for-money choice, and I would argue they have significantly scaled up the level of hardware and software utility they provide year on year. But they still have a way to go before they can hit the same notes as Synology DSM yet.
WD / Netgear vs Synology?

This is a pretty short one! The answer is no! Both WD and Netgear have regularly reduced their hardware ranges and the frequency of software updates these last few years, and although there are a decent range of business file server systems still being released, the general home/enthusiast/prosumer level of hardware is pretty poor and uninteresting compared to everyone else on this list so far. I cannot help but get the feeling that, aside from some basic backup NAS systems that are still listed at the majority of retailers, the bulk of their range has been in circulation for 5-6 years now without any refresh in sight. For basic target file/folder storage, these systems still provide some limited modern NAS utility, but overall, they are a fairly weak alternative to Synology’s offerings in 2025.
A UniFi NAS?
![]()
With increased mentions and leaks online towards a potential NAS in the works from UniFi, this could be a very credible alternative to Synology in terms of software UX and presentation. UniFi, and its incredibly user-friendly UX featured on their Switch, Router, NVR, and Dream Machine combination systems, is where UniFi shines. No doubt any UniFi NAS solution would need to similarly blend into their ecosystem to the same degree. That said, if they were to launch a system, all their experience in the fields of network management, router security, and surveillance systems might not necessarily translate into a similar pedigree in network-attached storage. It’s hard to discuss how or if UniFi could fill any market space that a potential Synology absence would create, as they do not have any systems out in the market to make an informed decision. This is for the “To Be Continued…” pile!
Drobo vs Synology?
No…just…no. See Video Below:
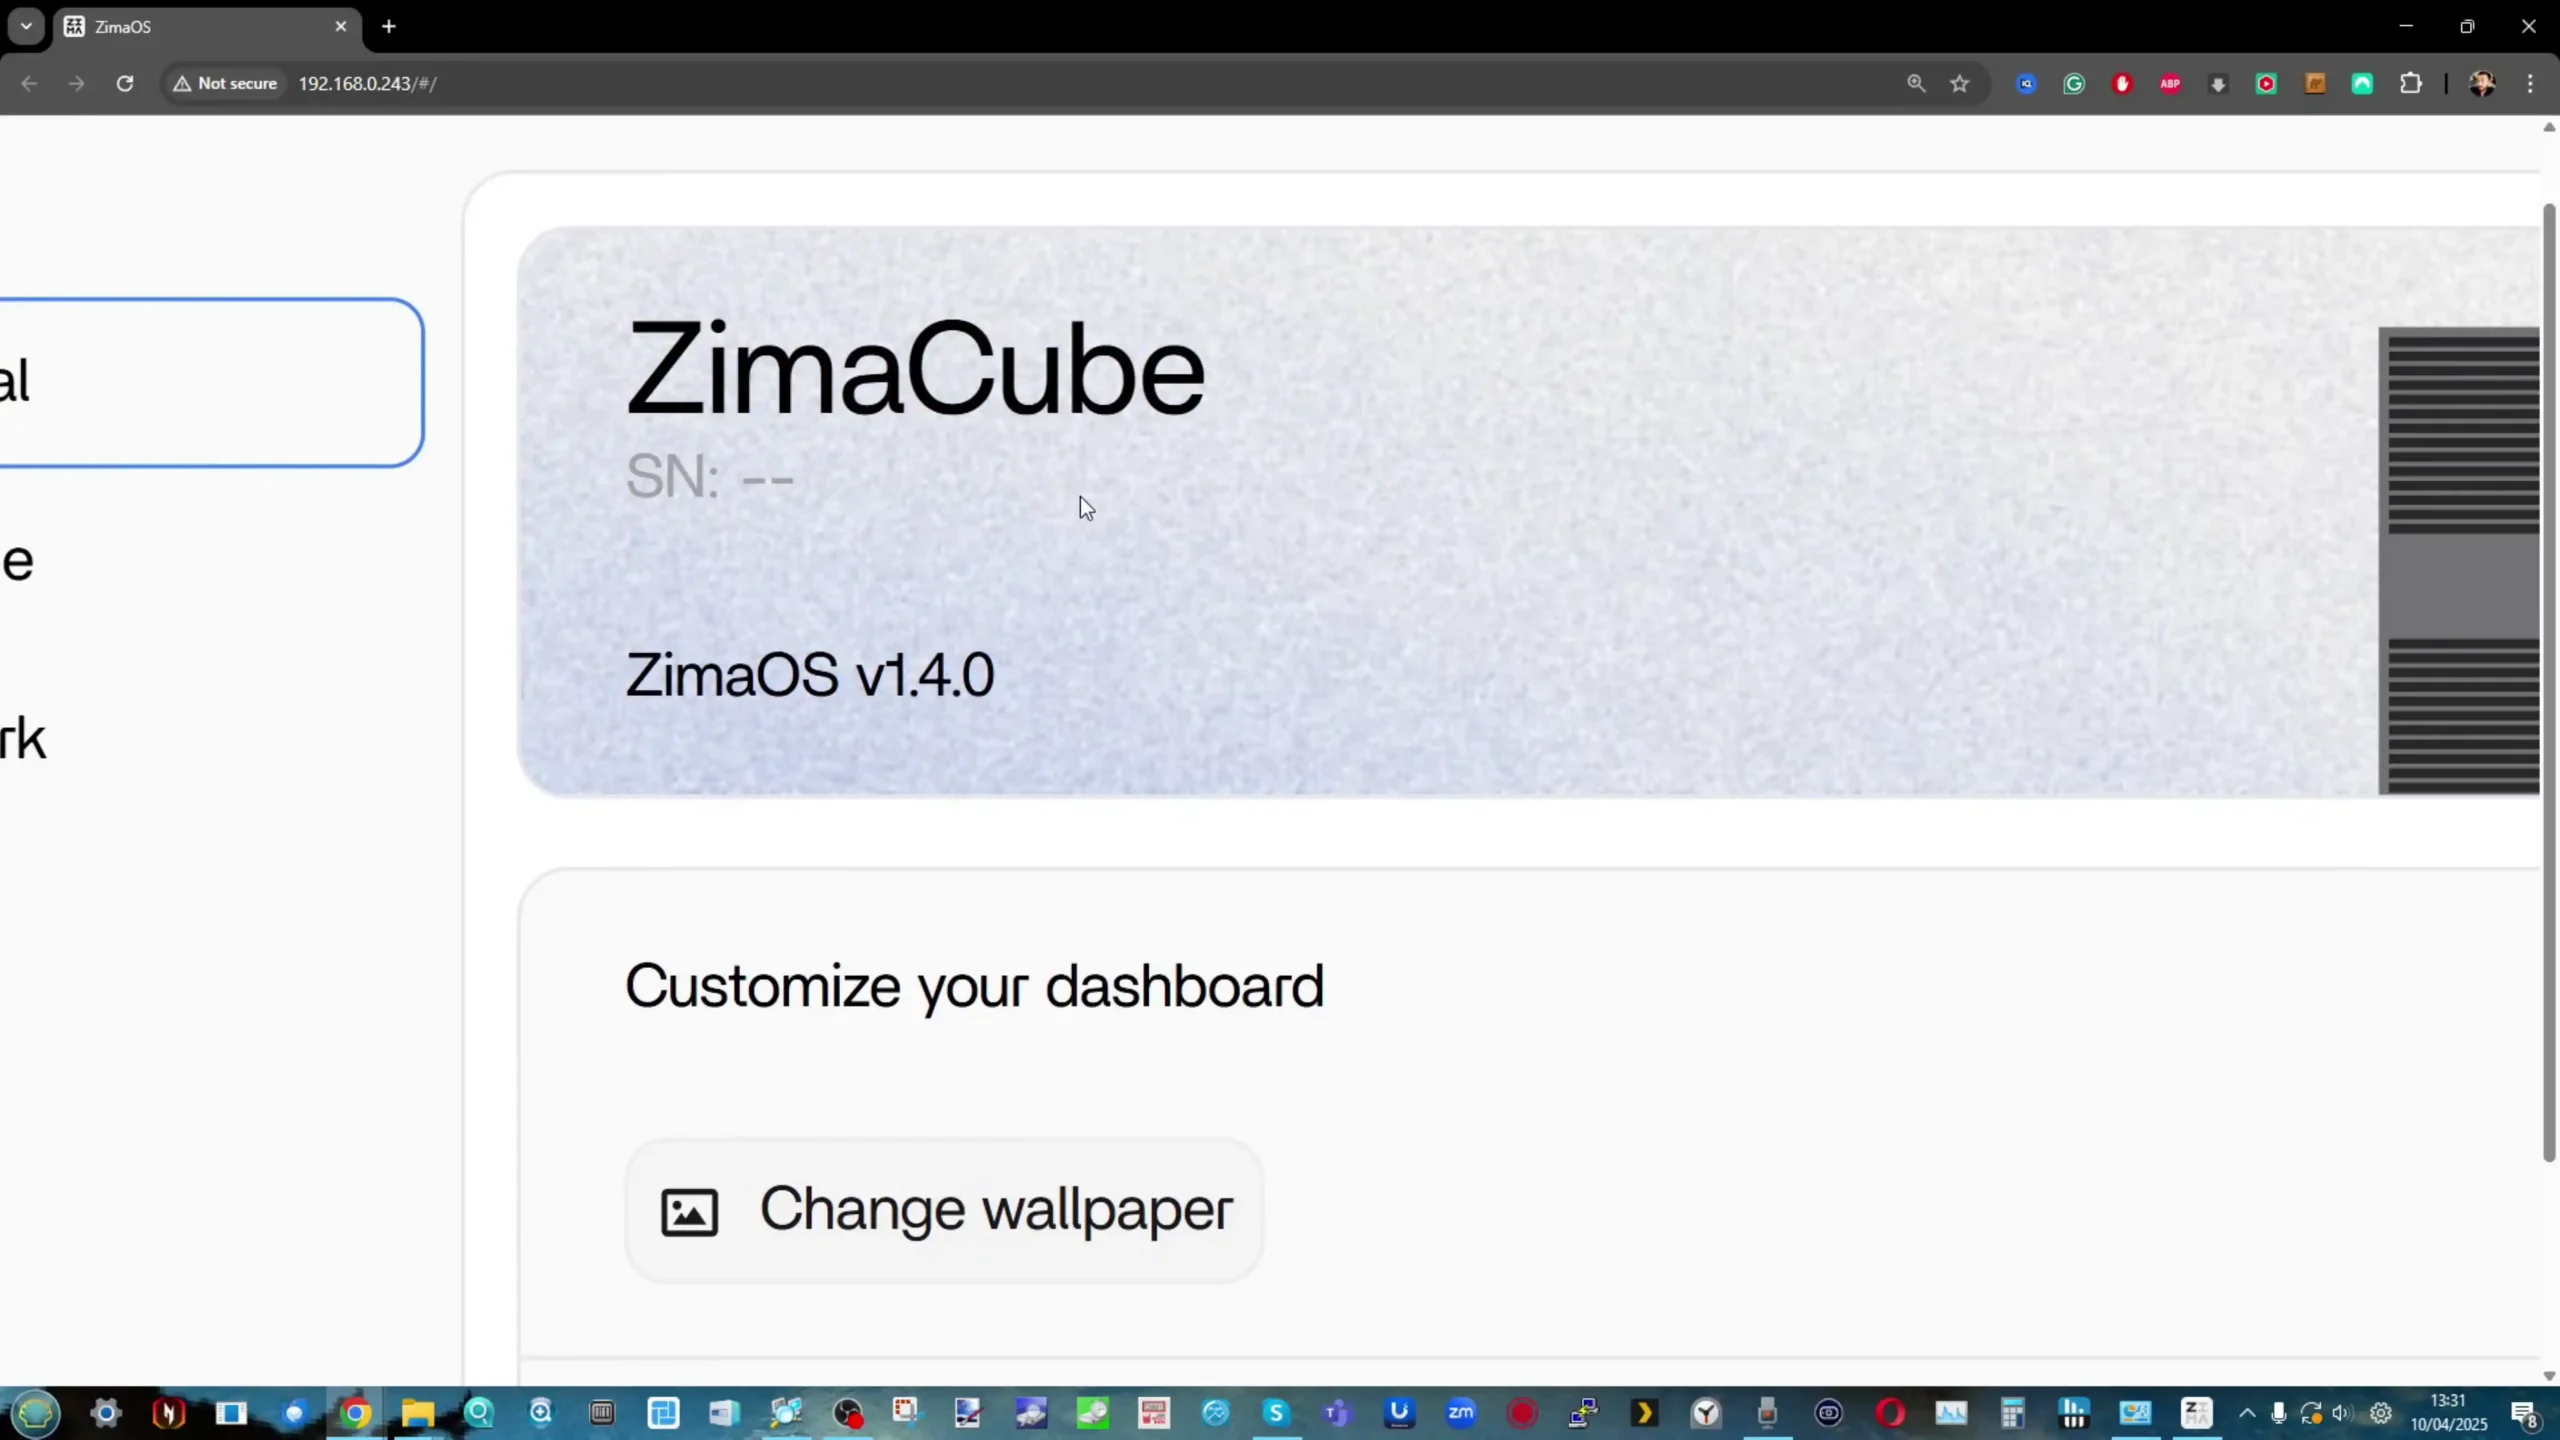
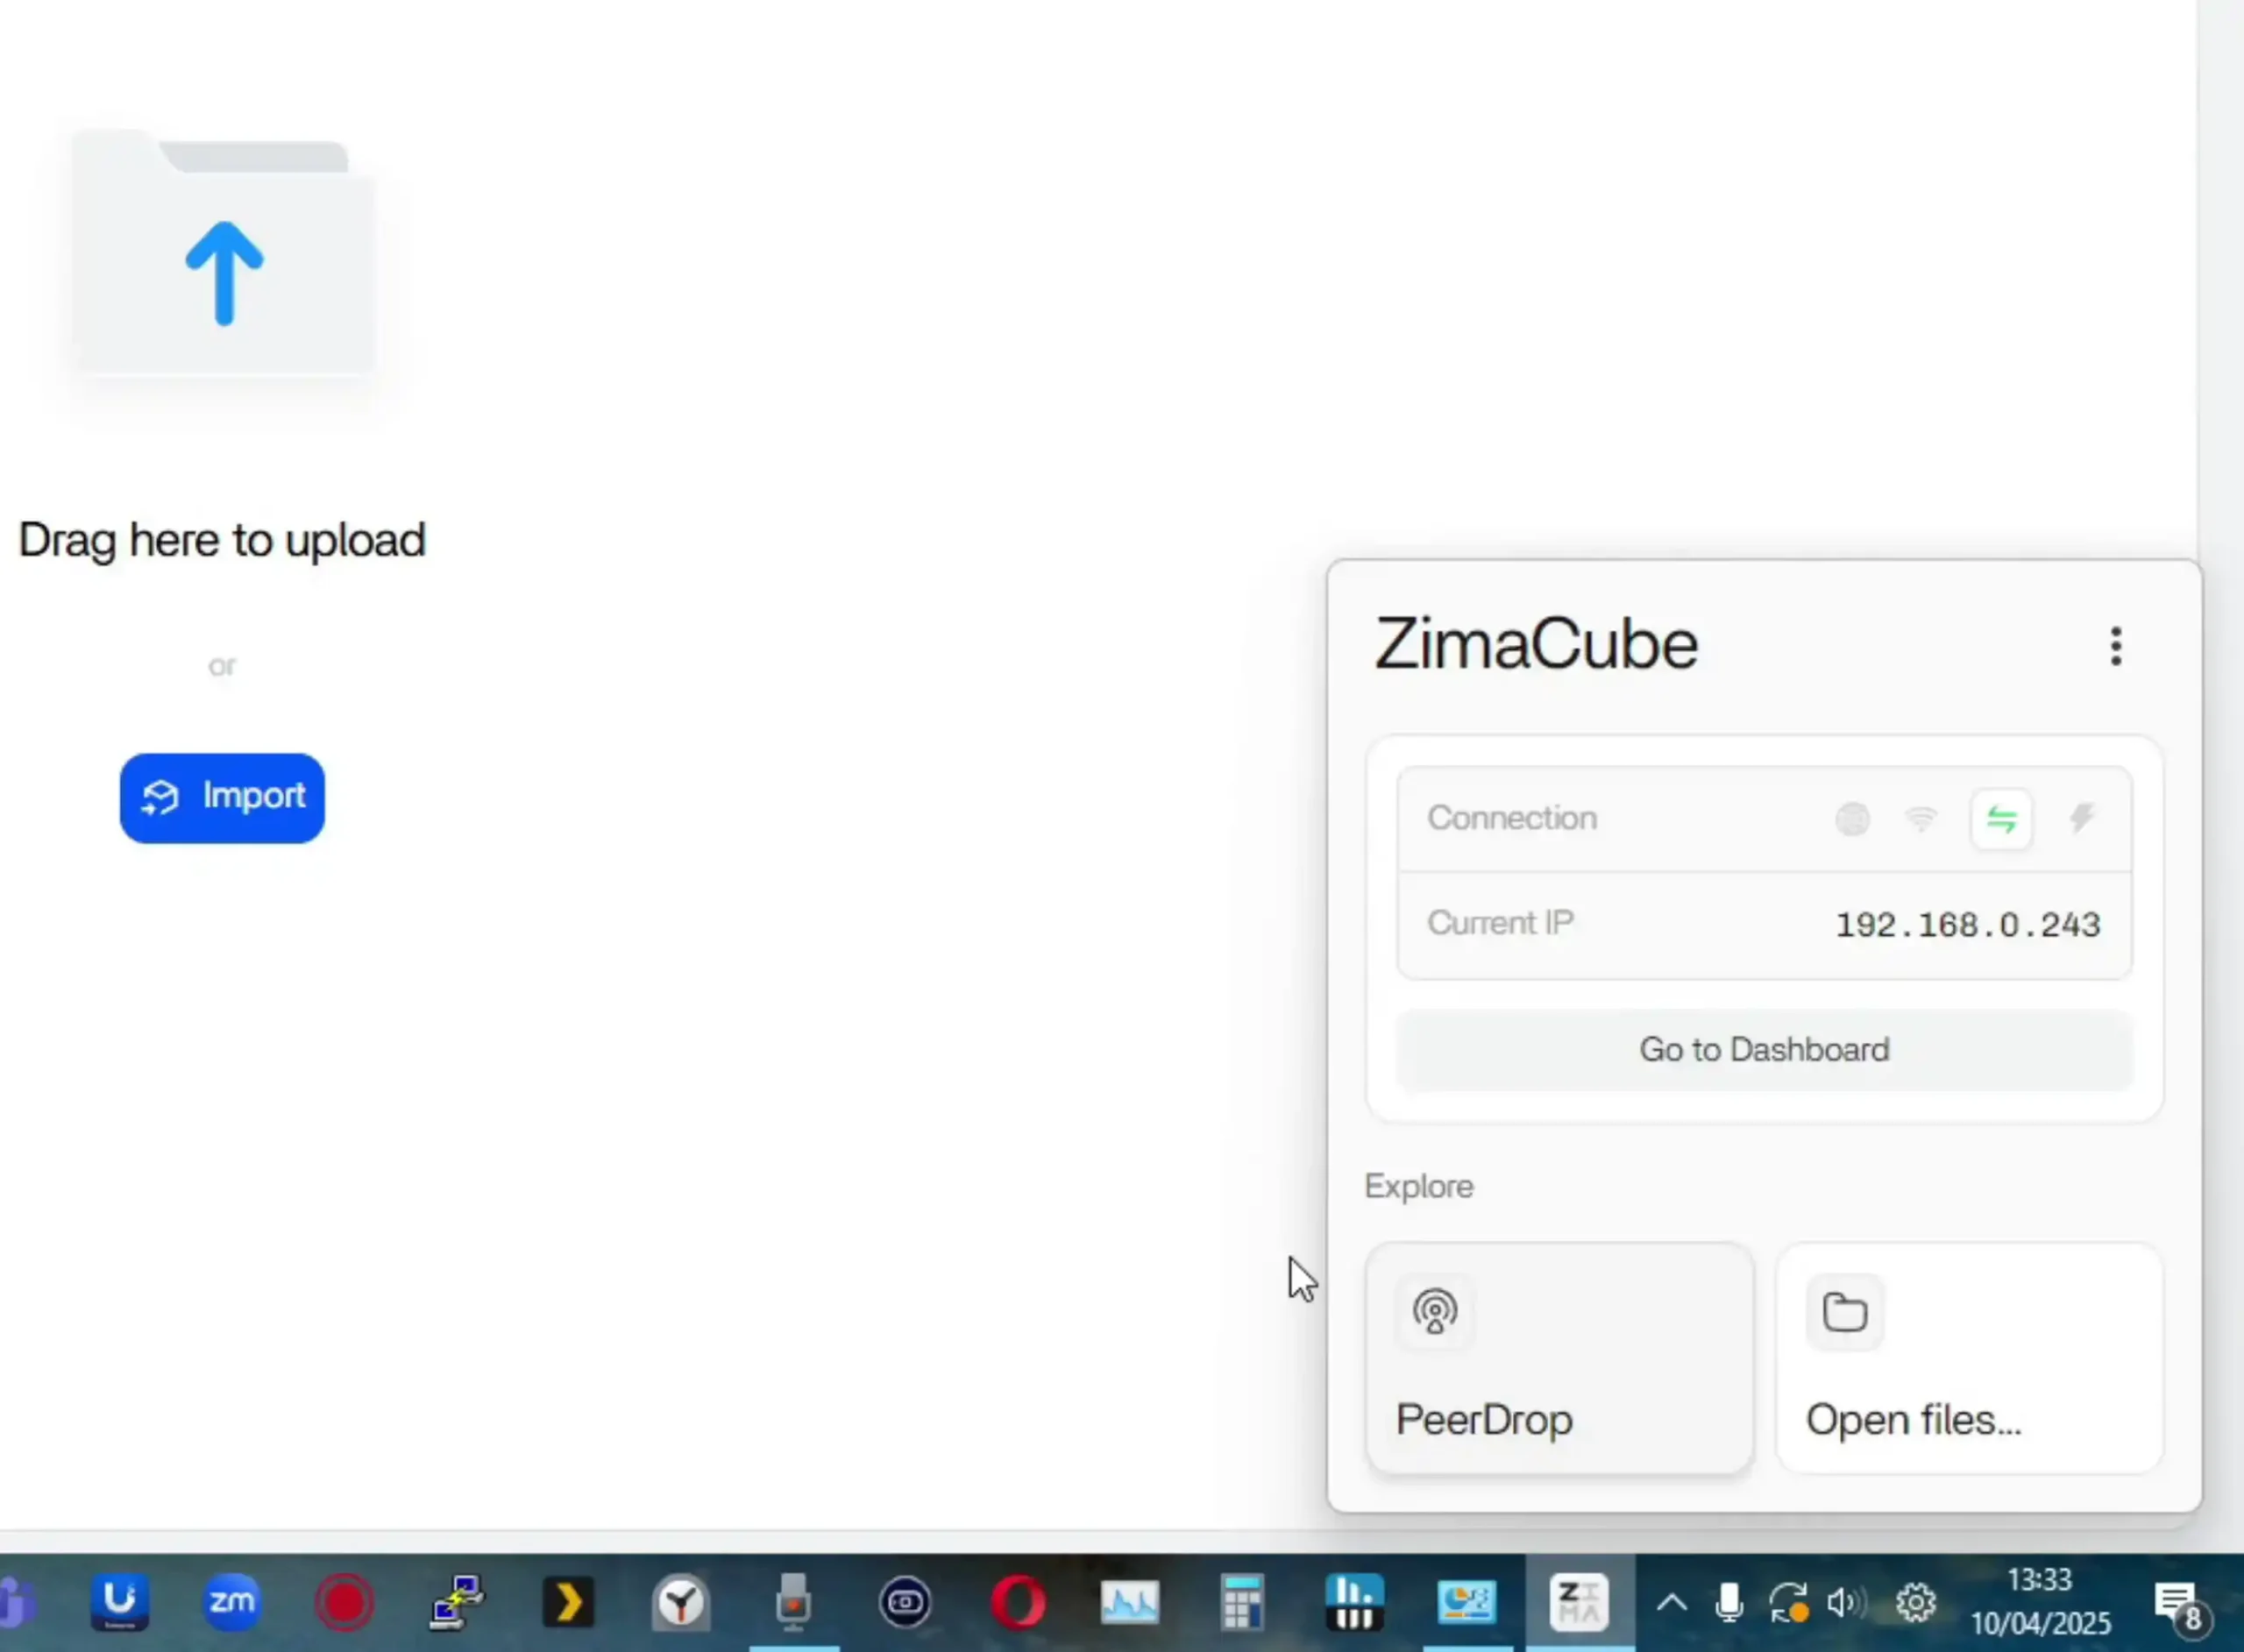
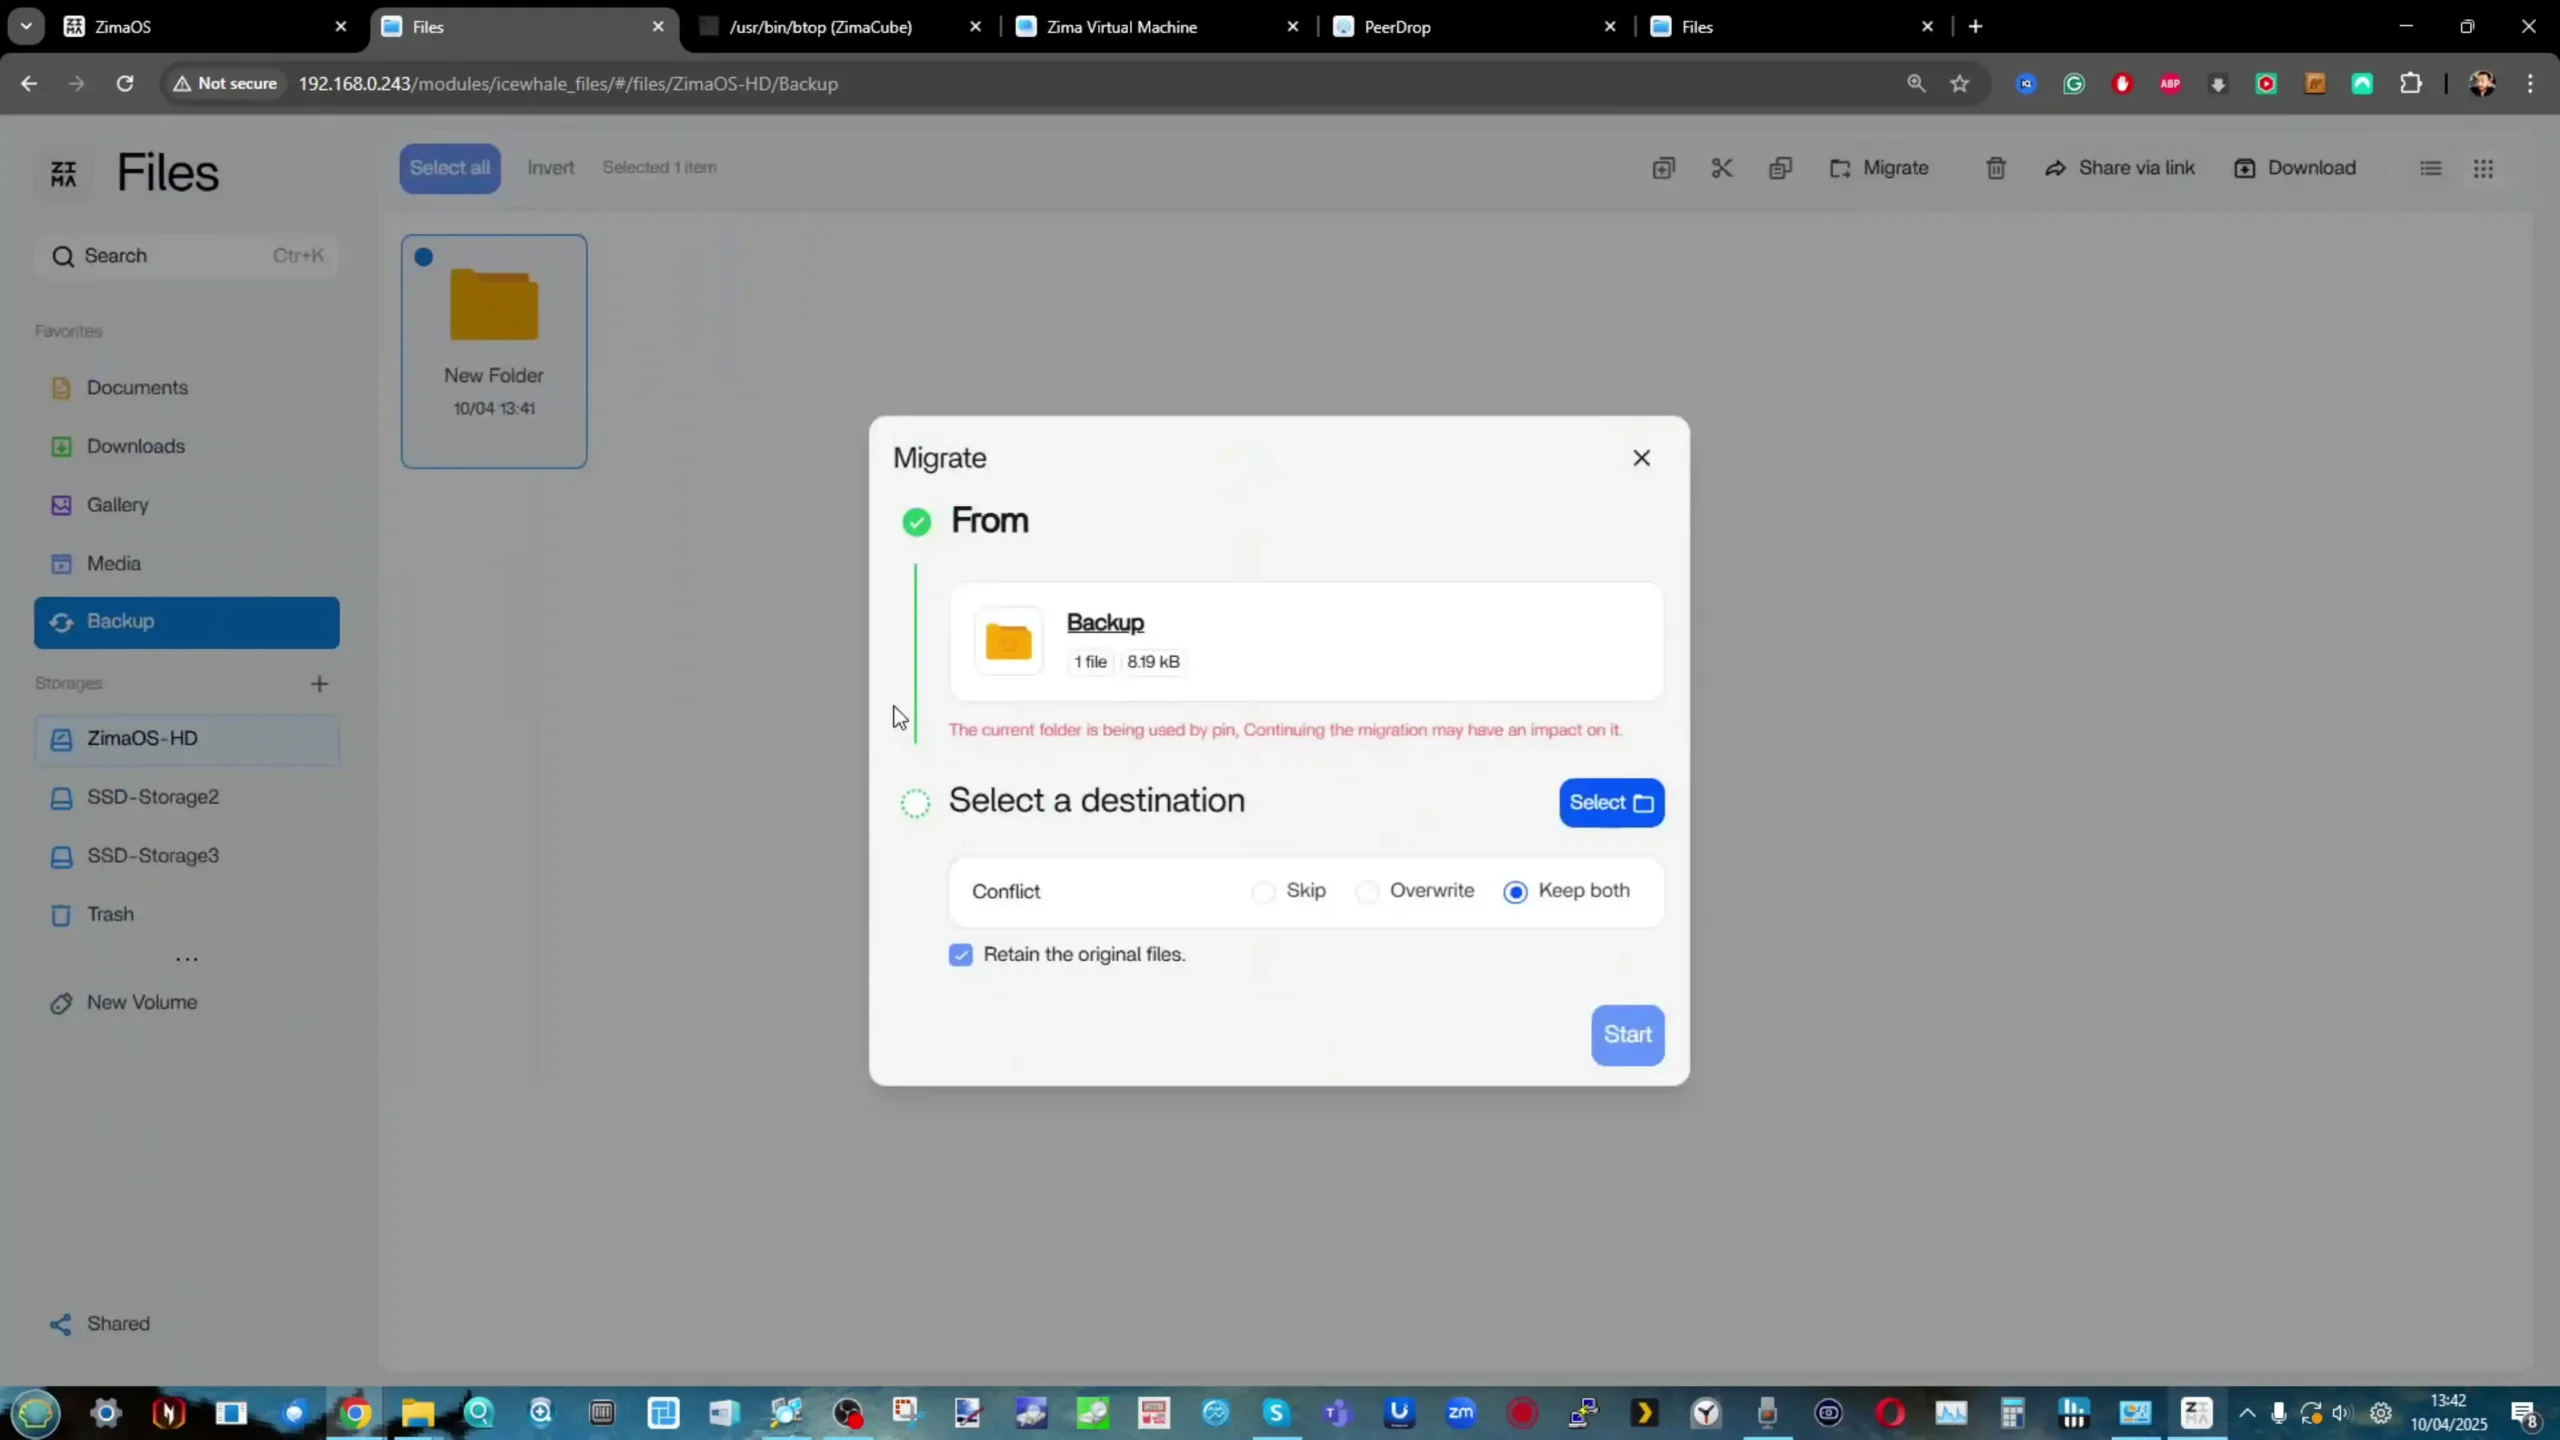
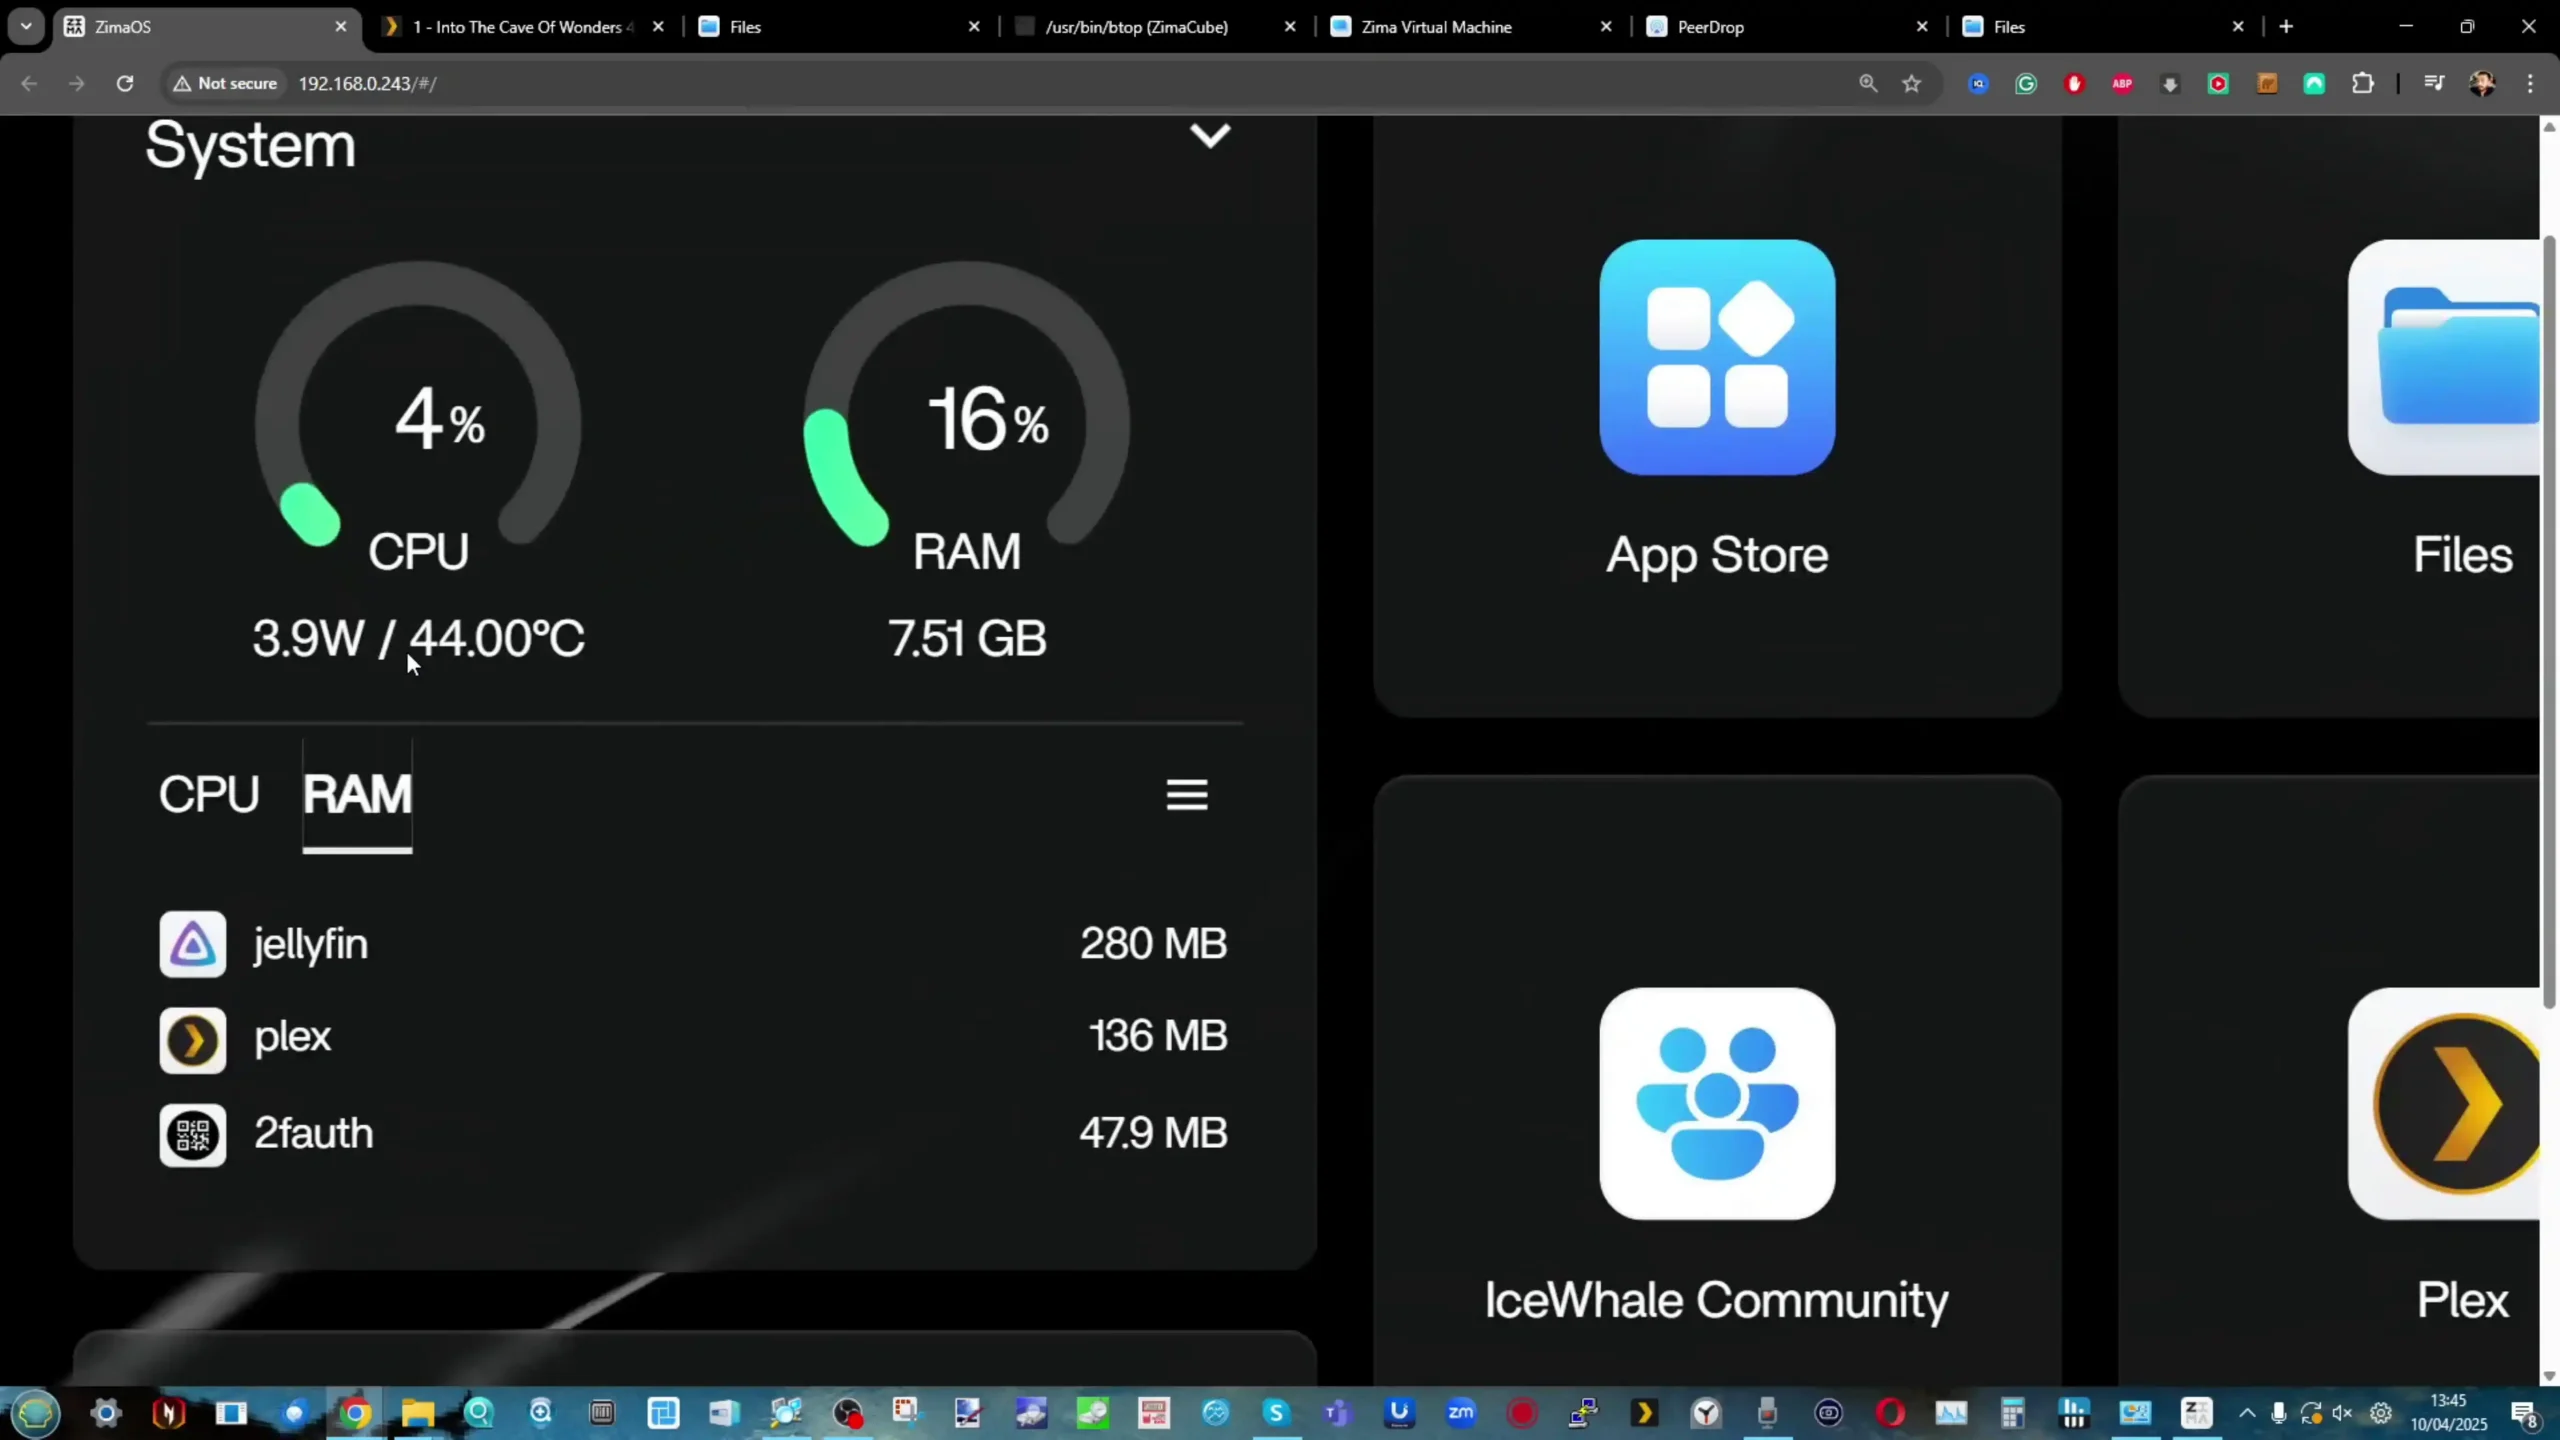
IceWhale / ZimaCube
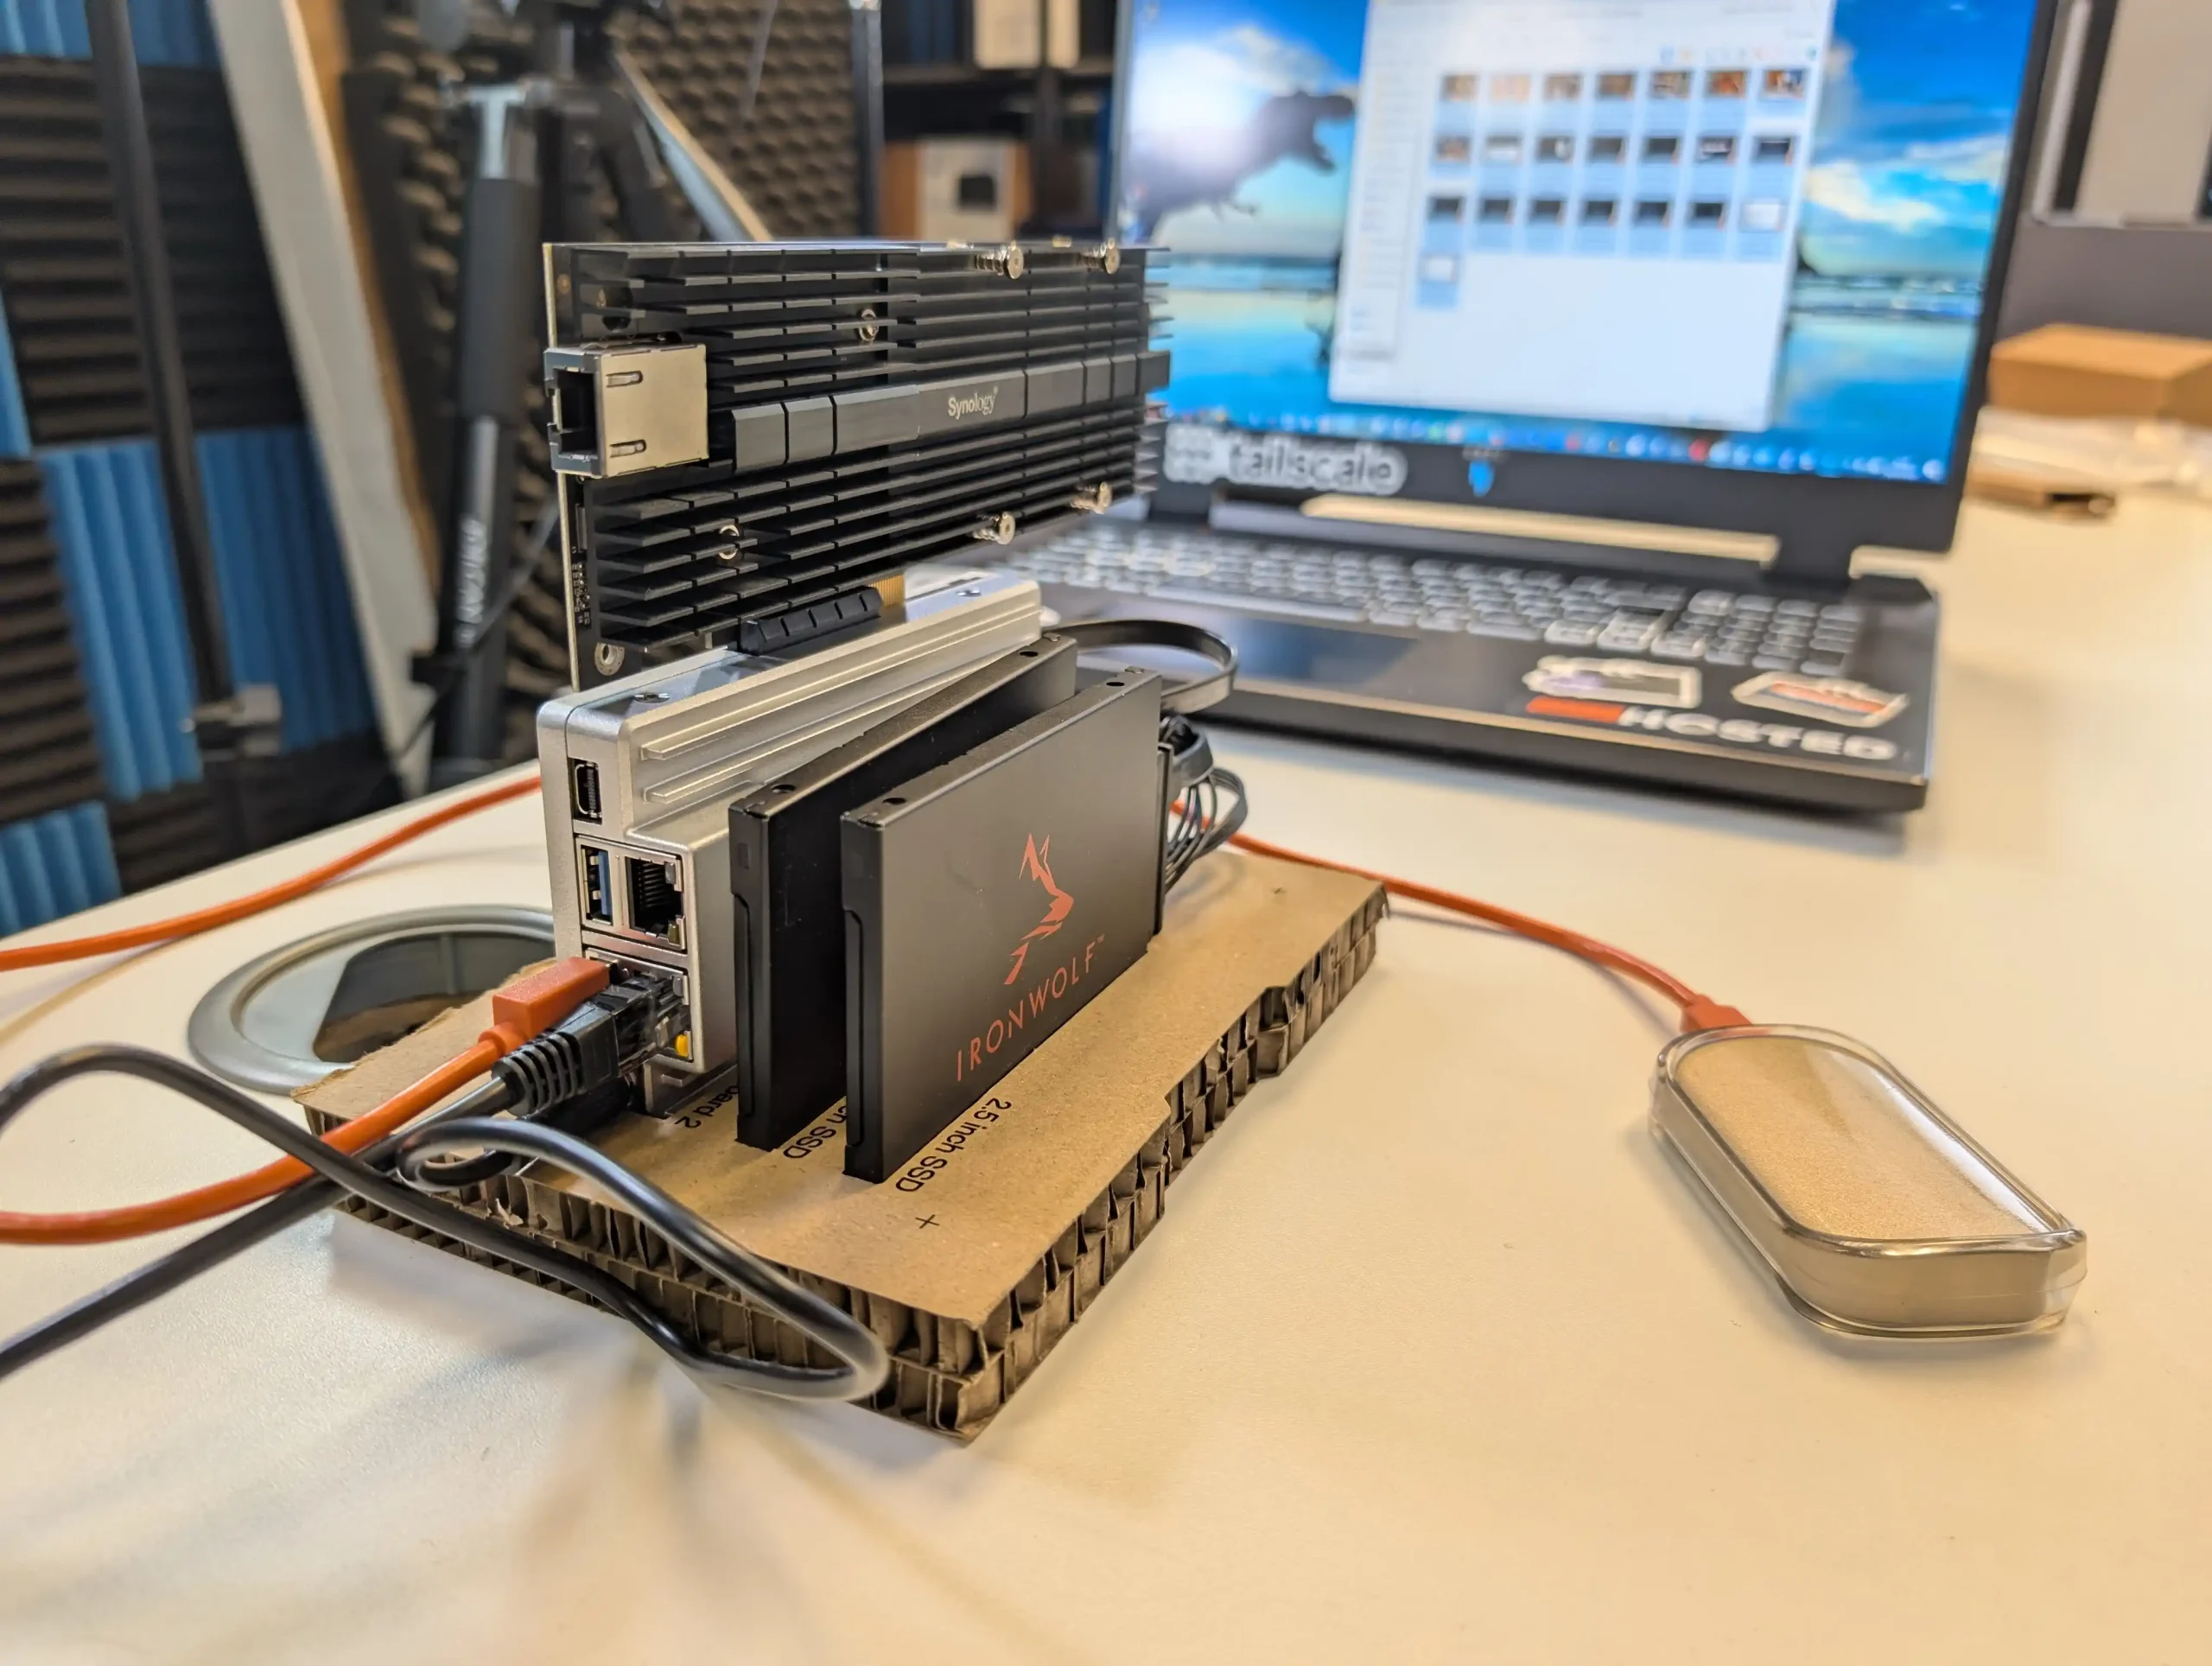
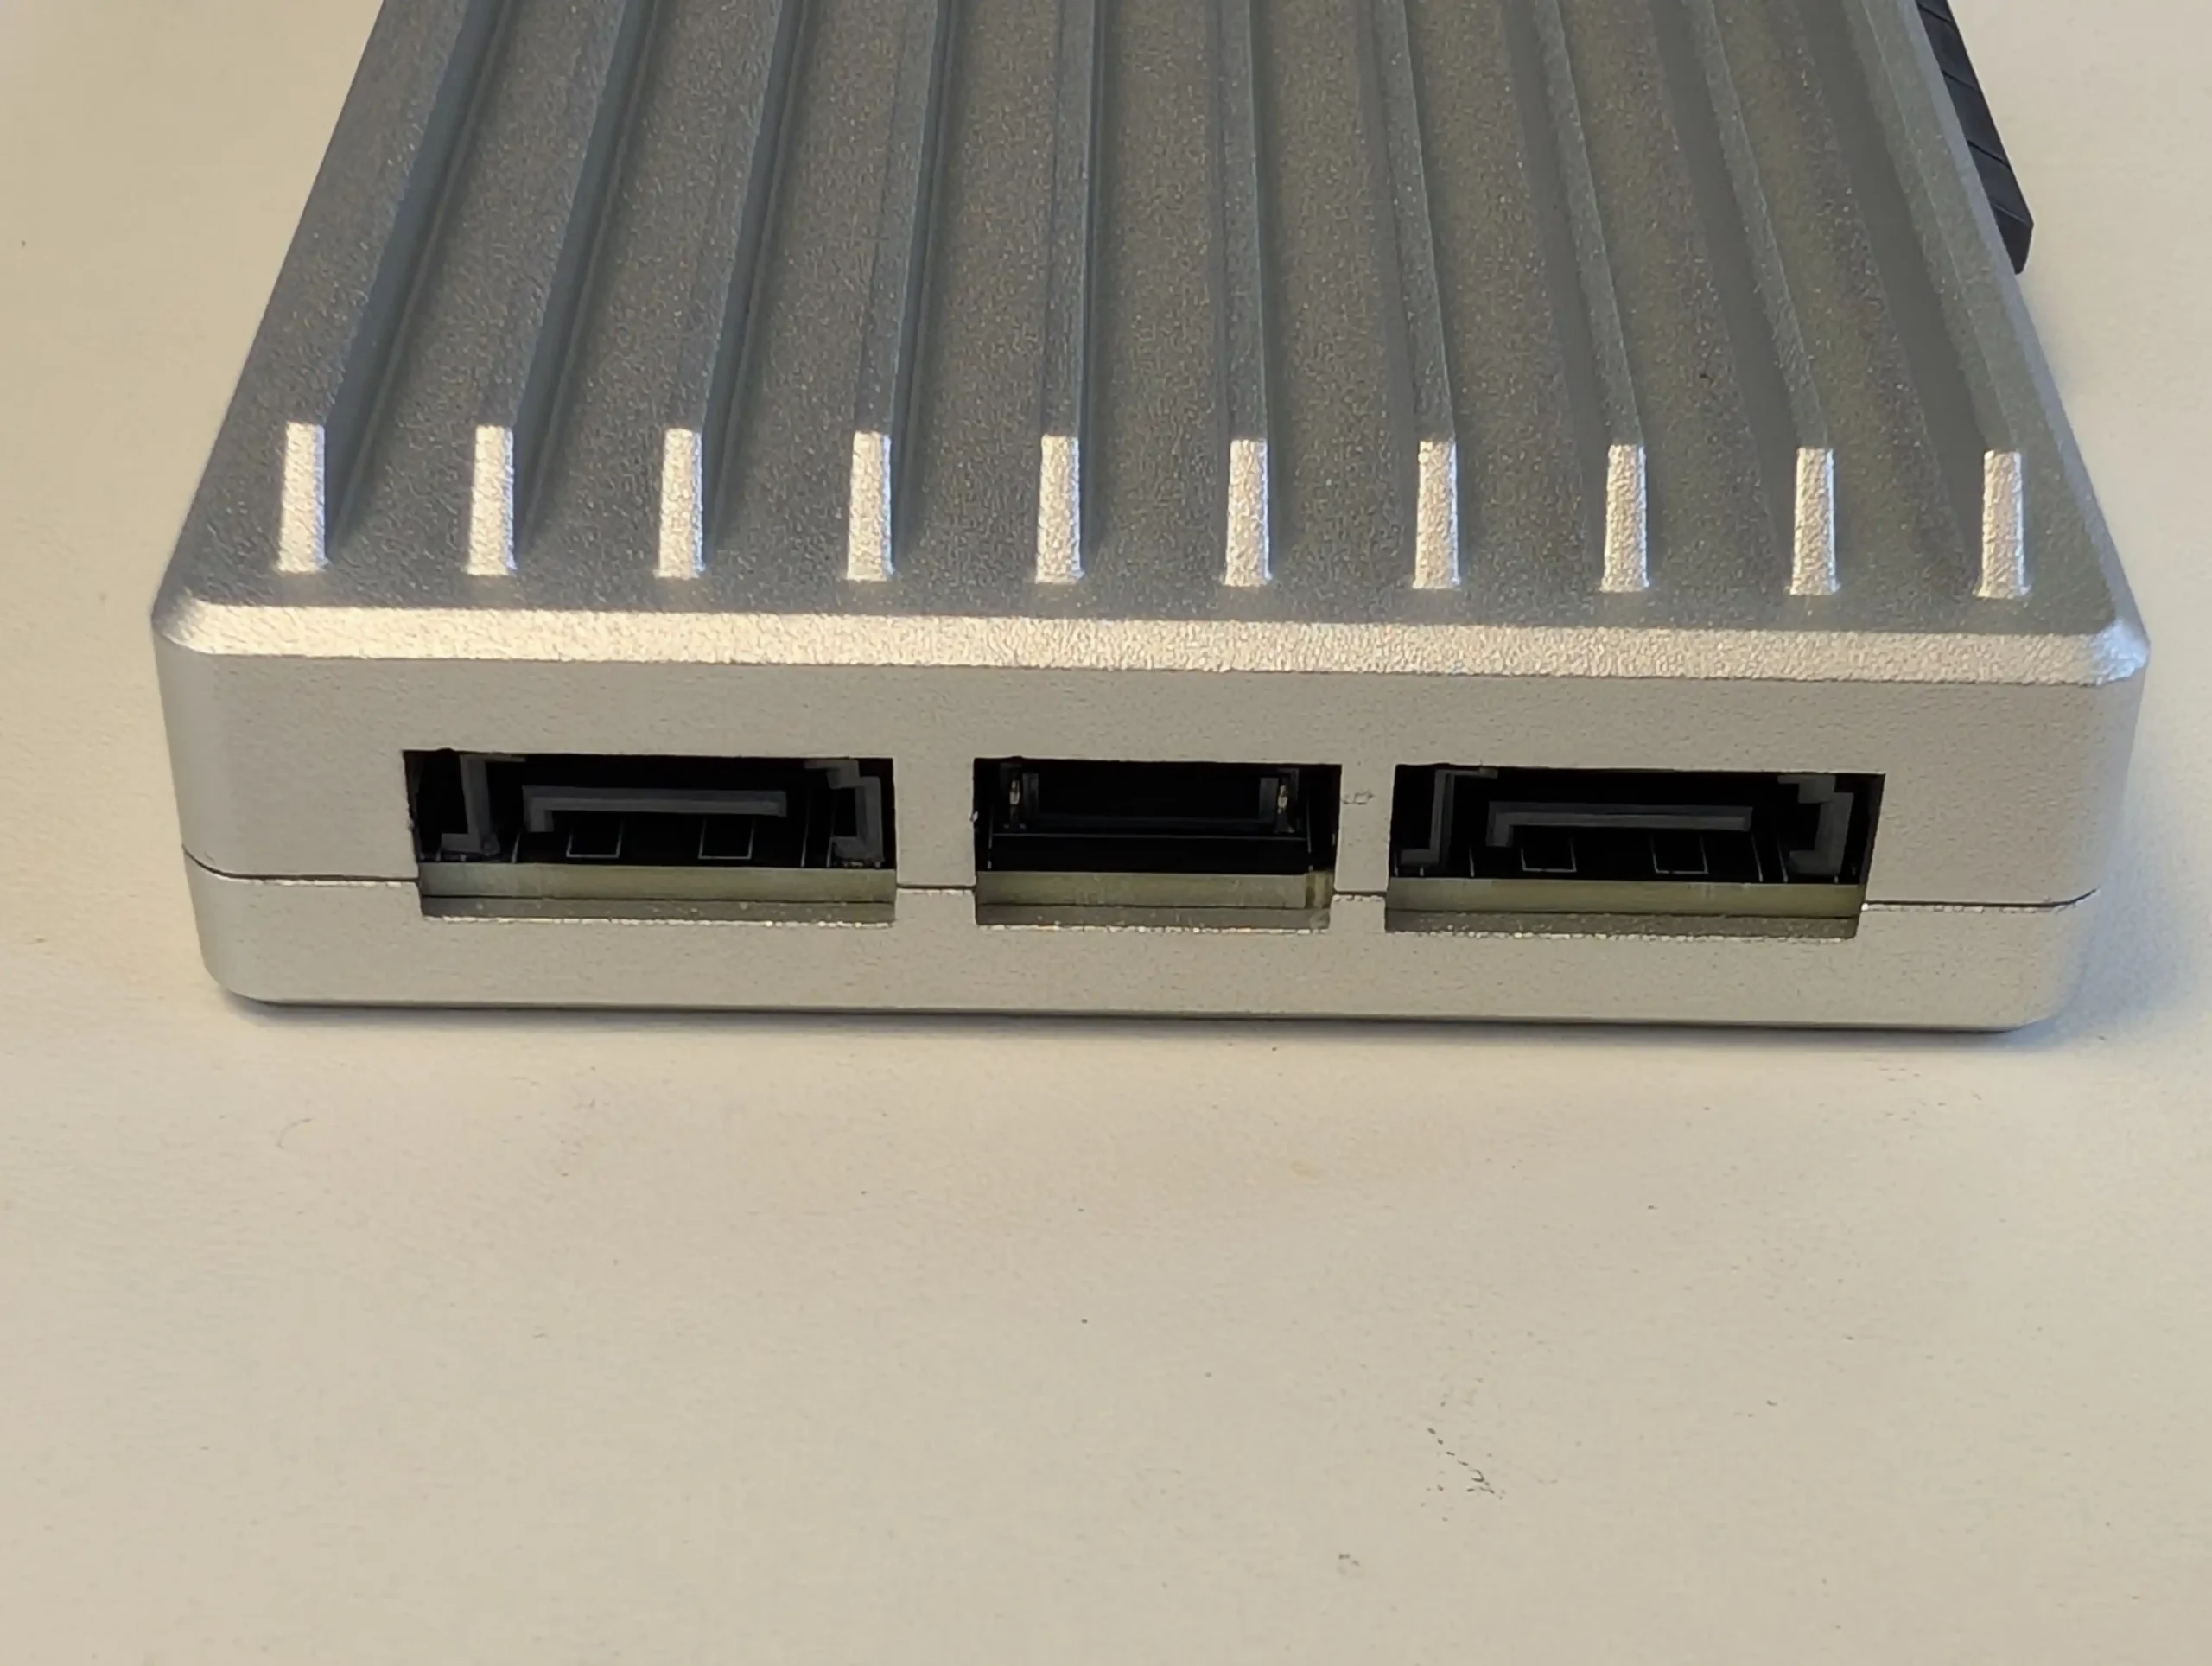
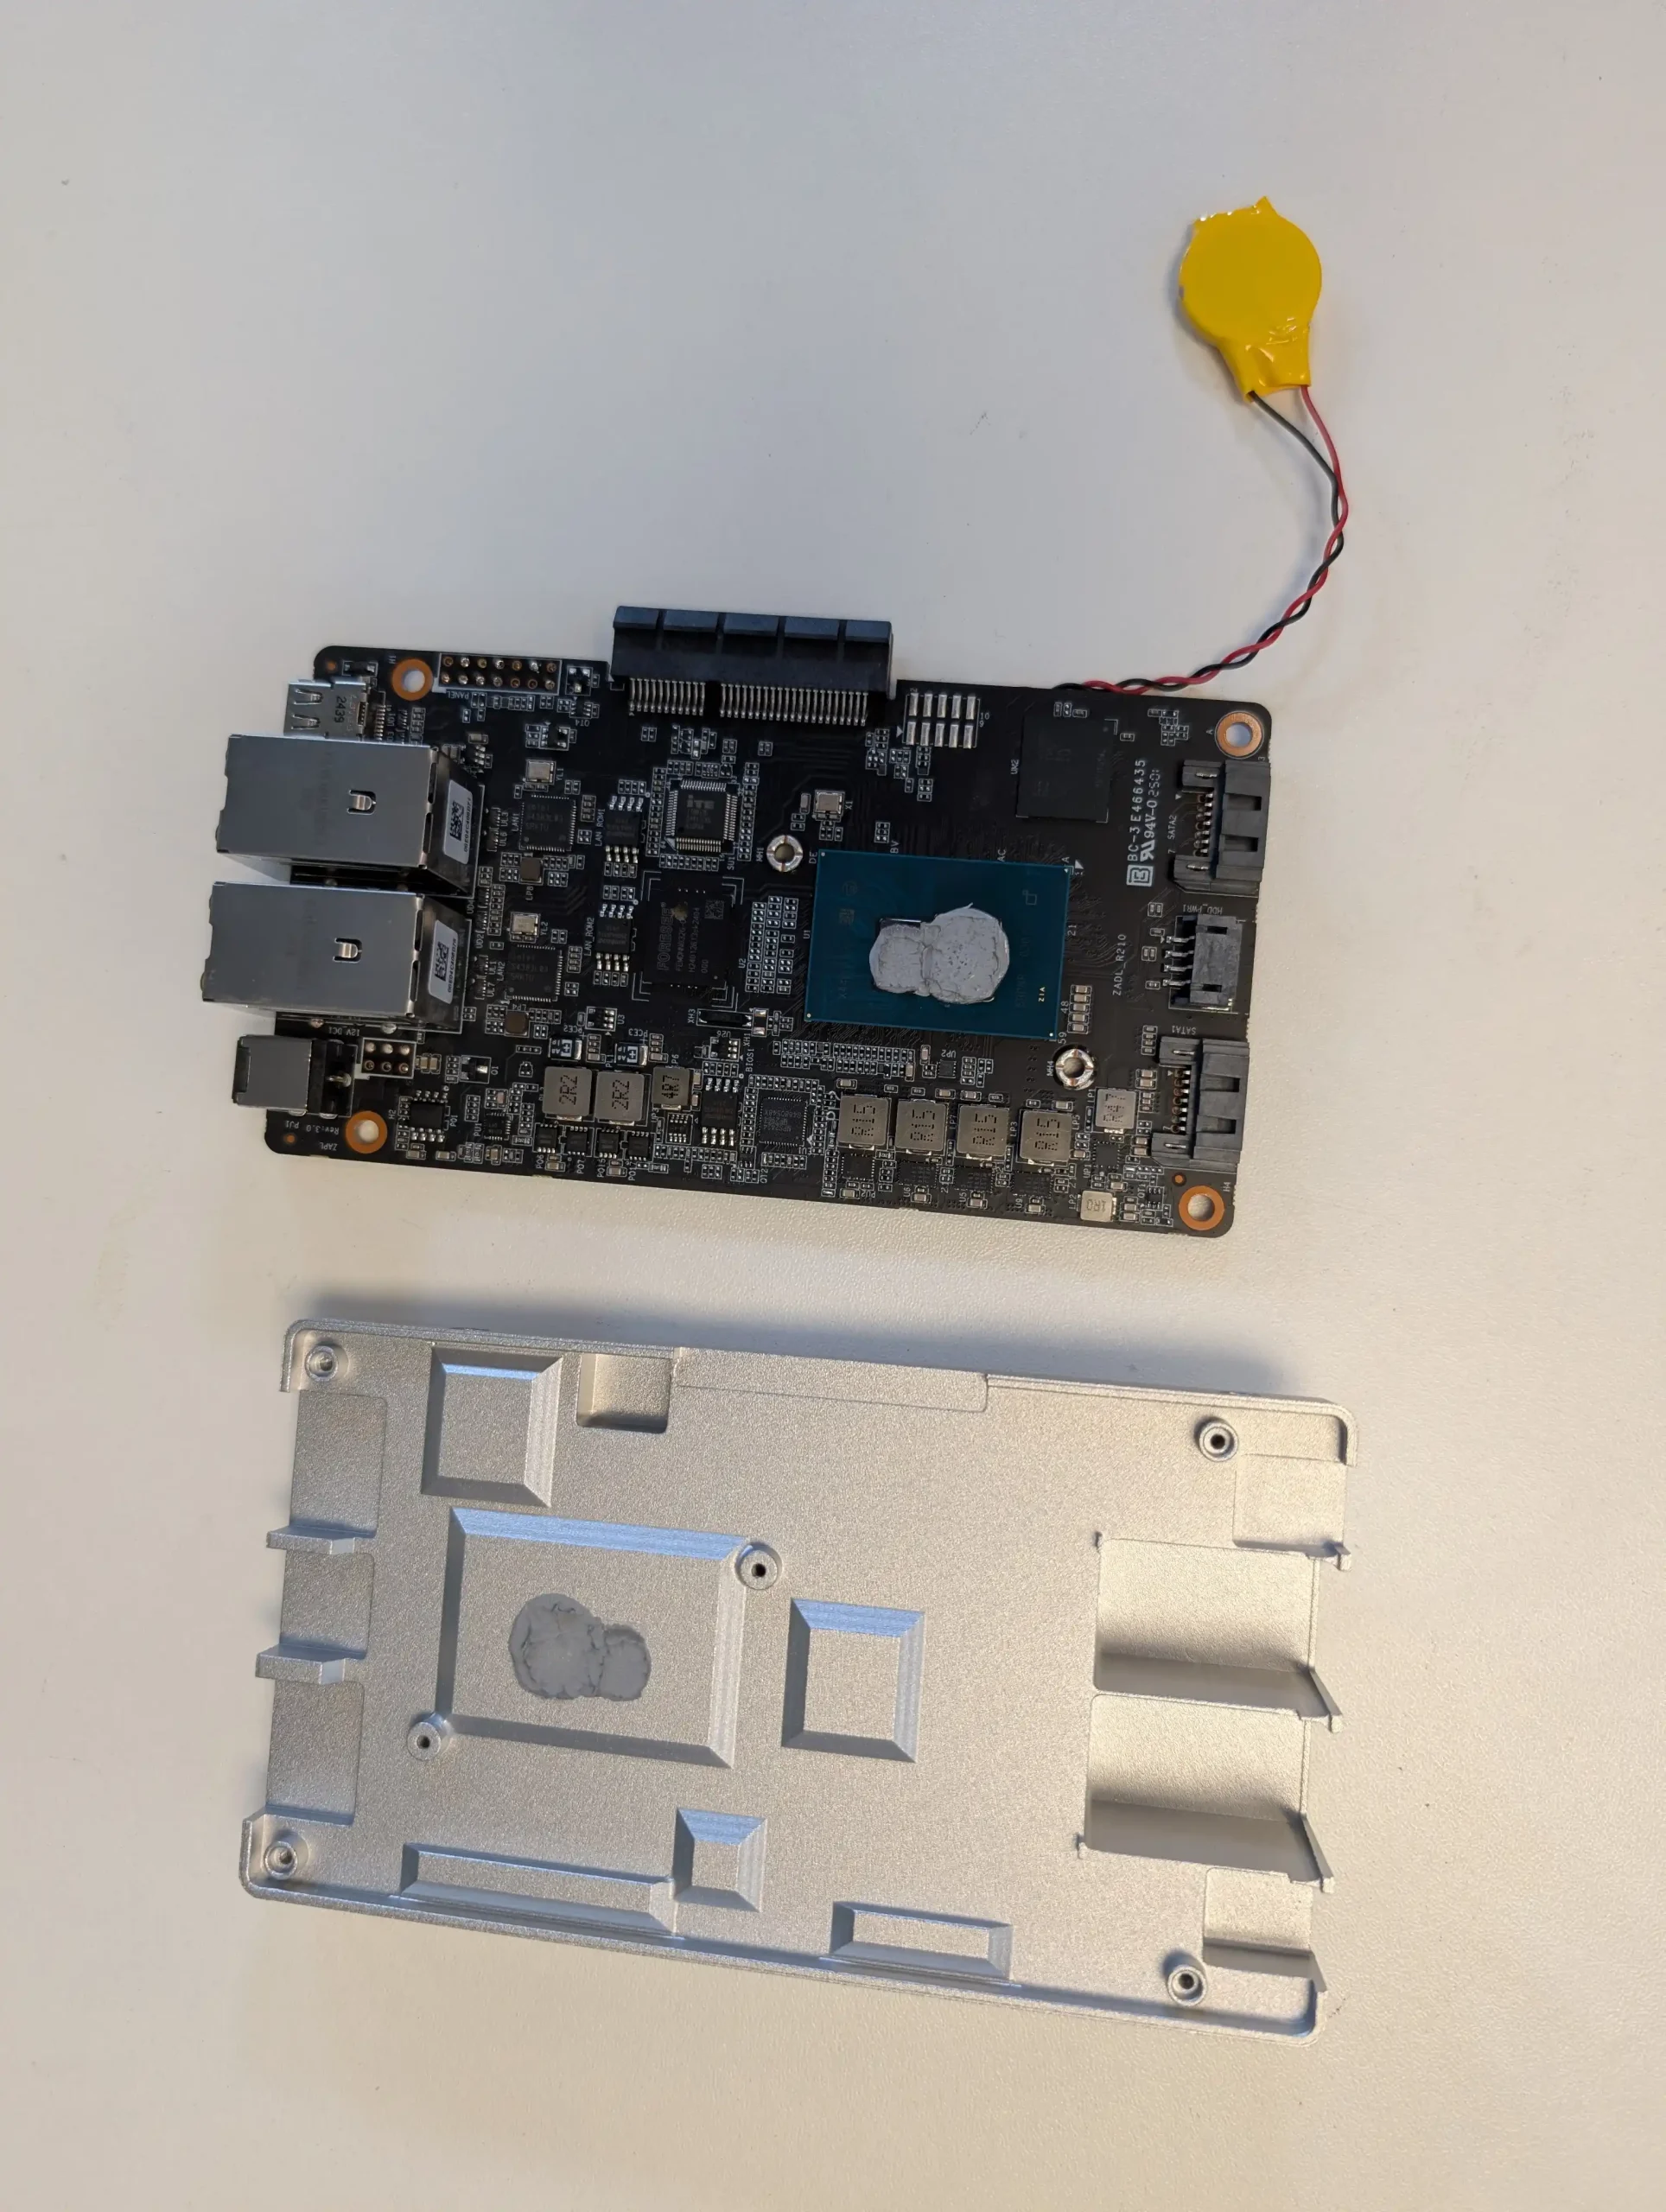
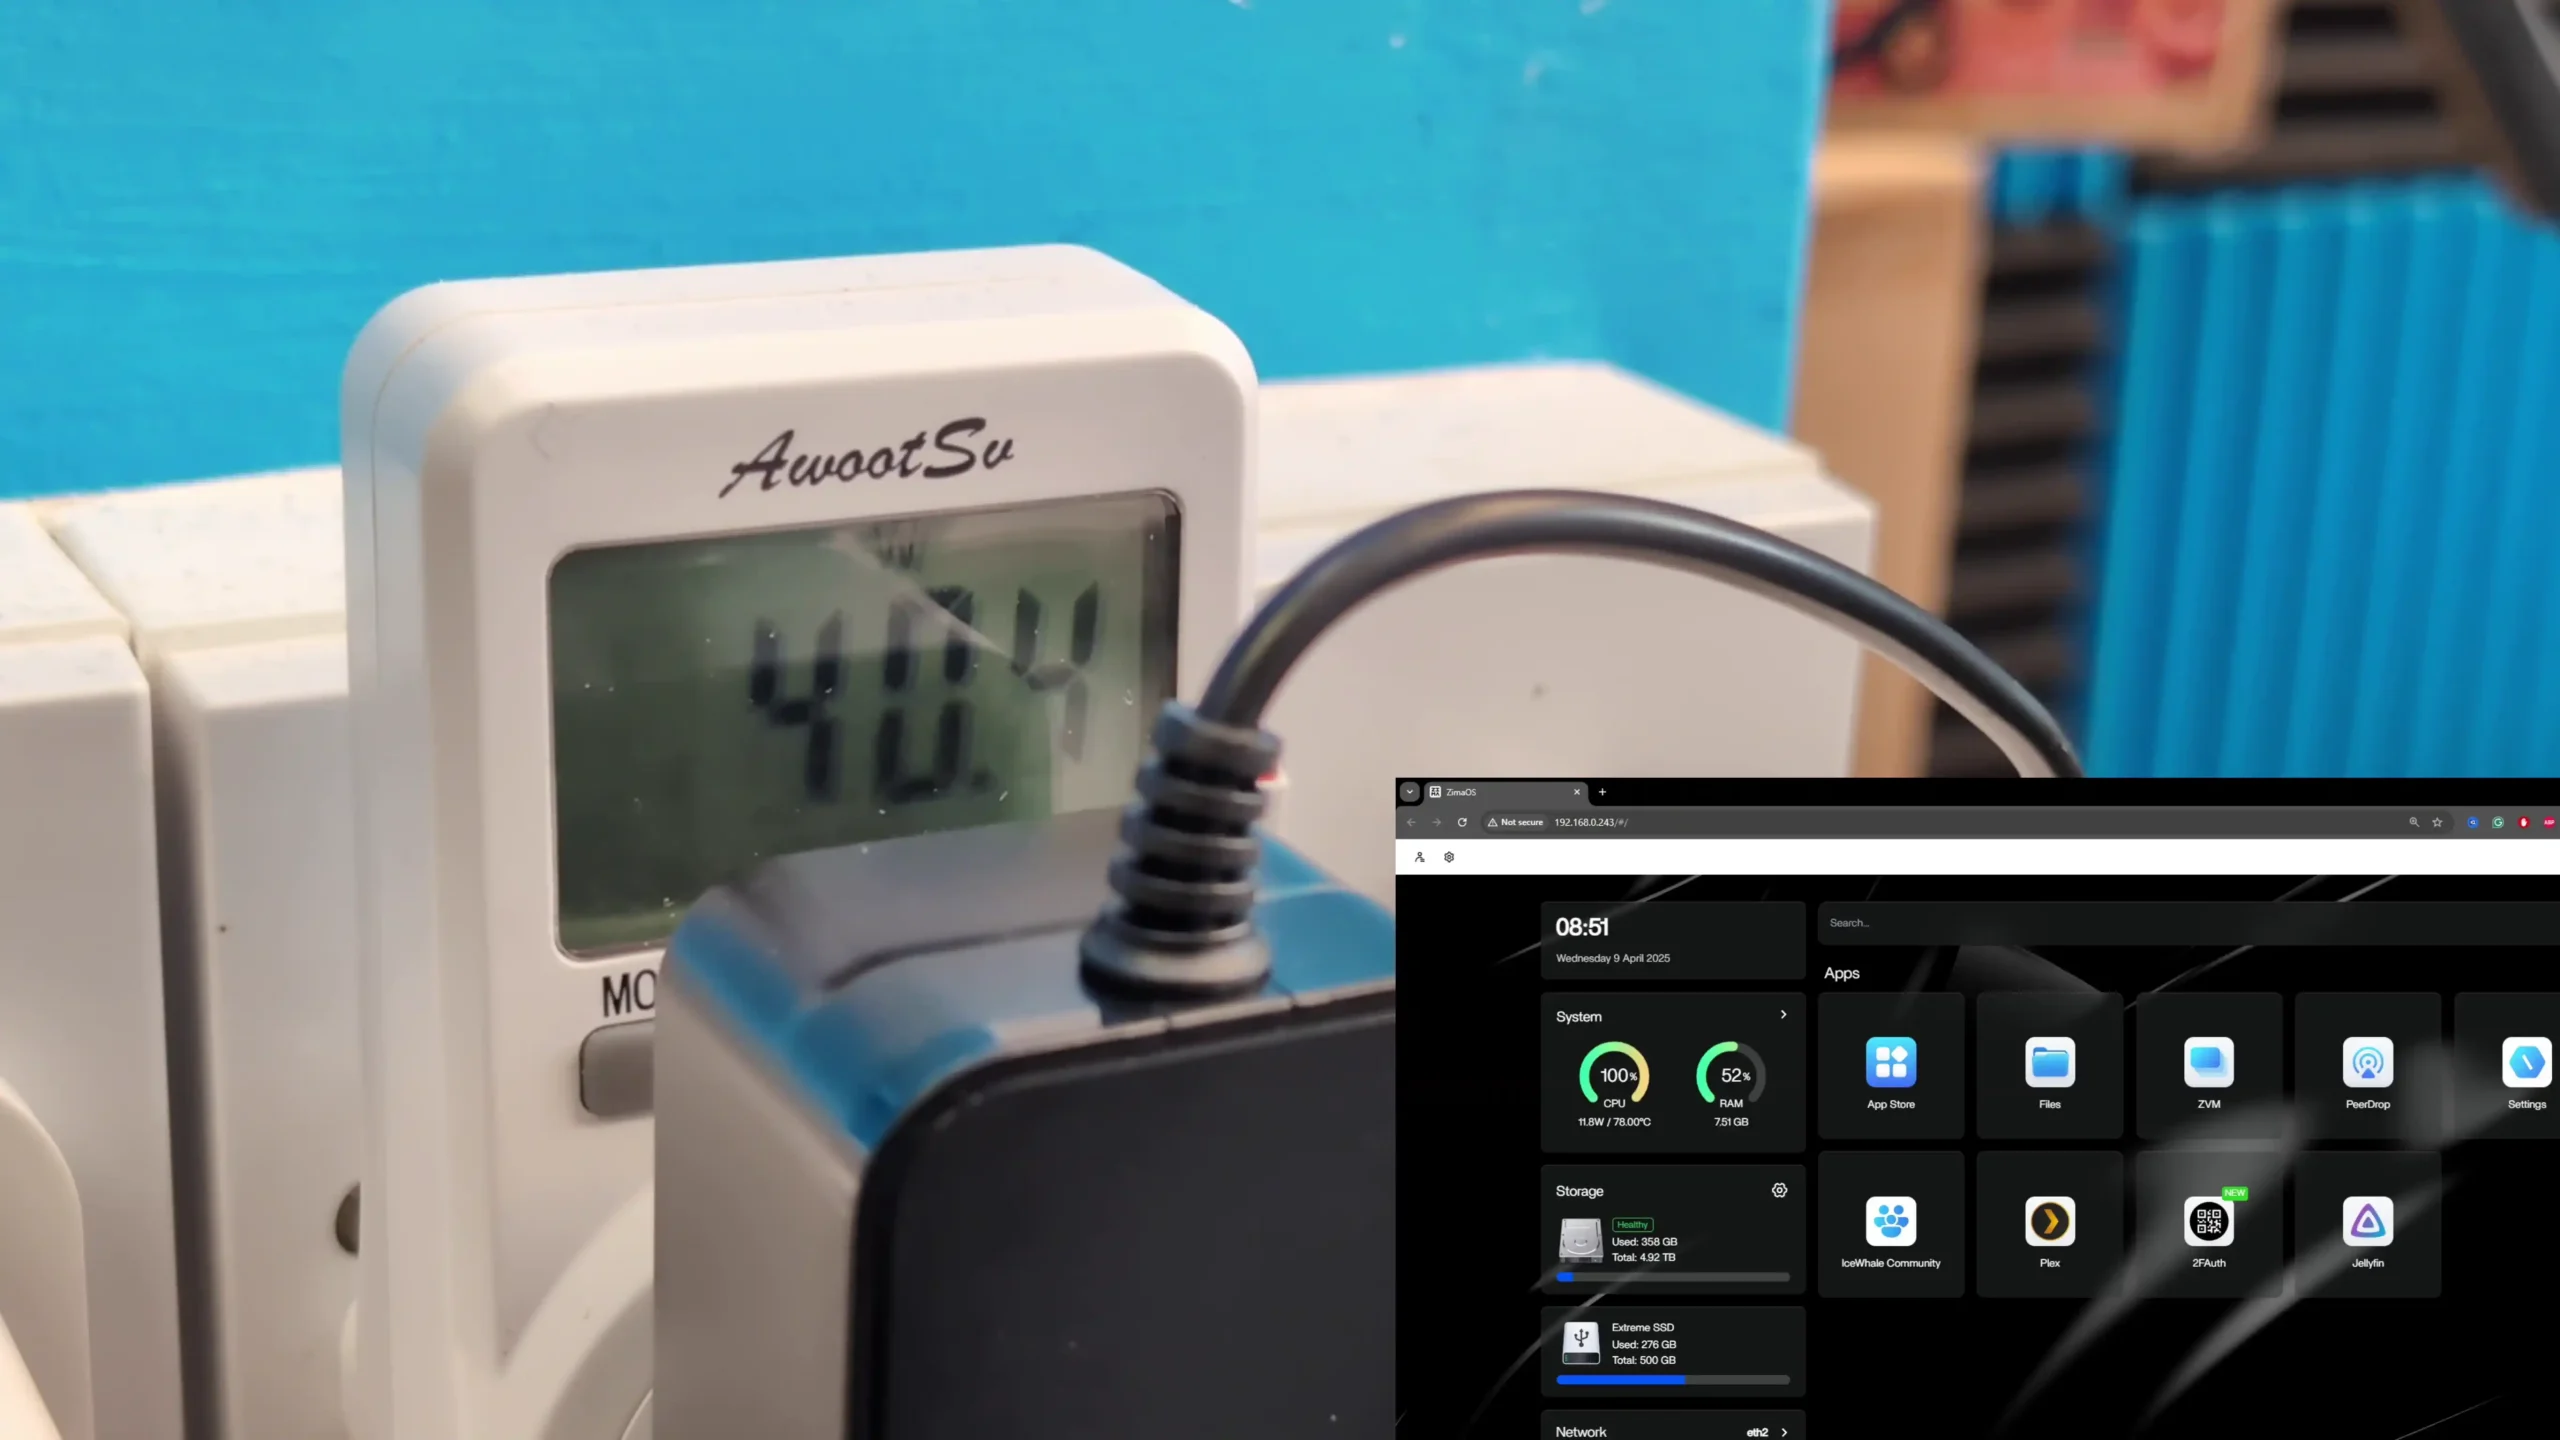
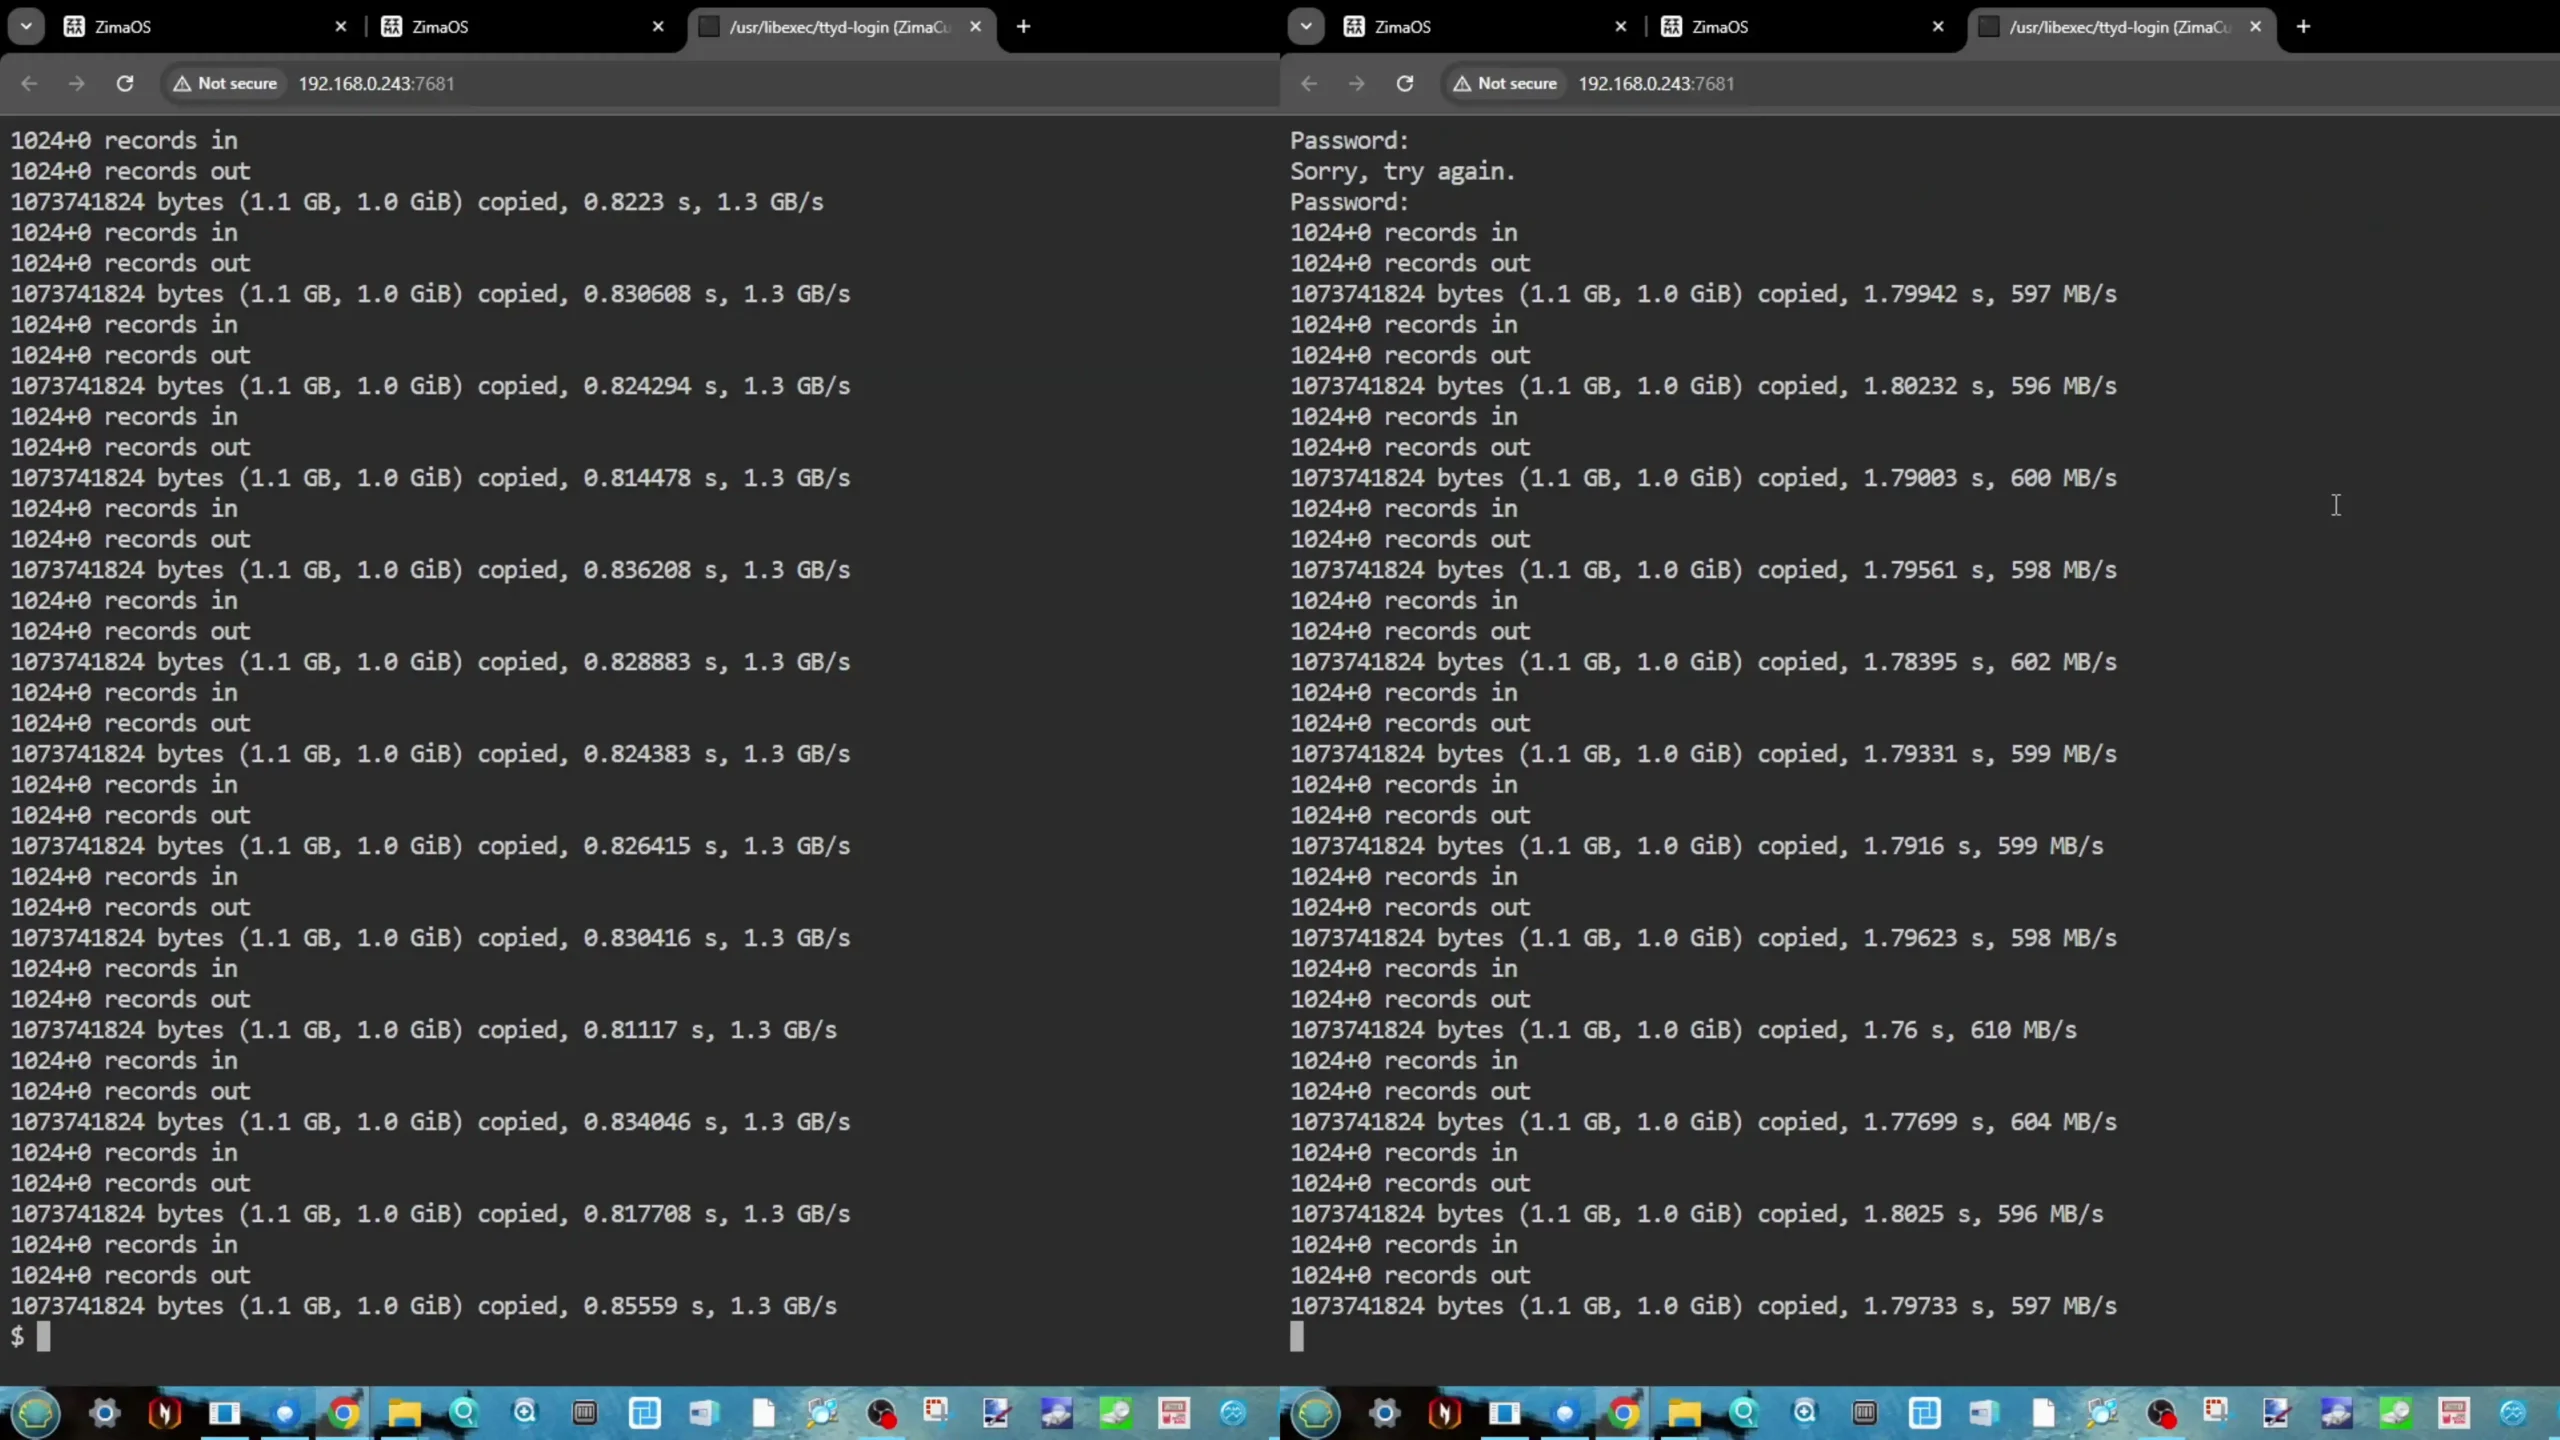
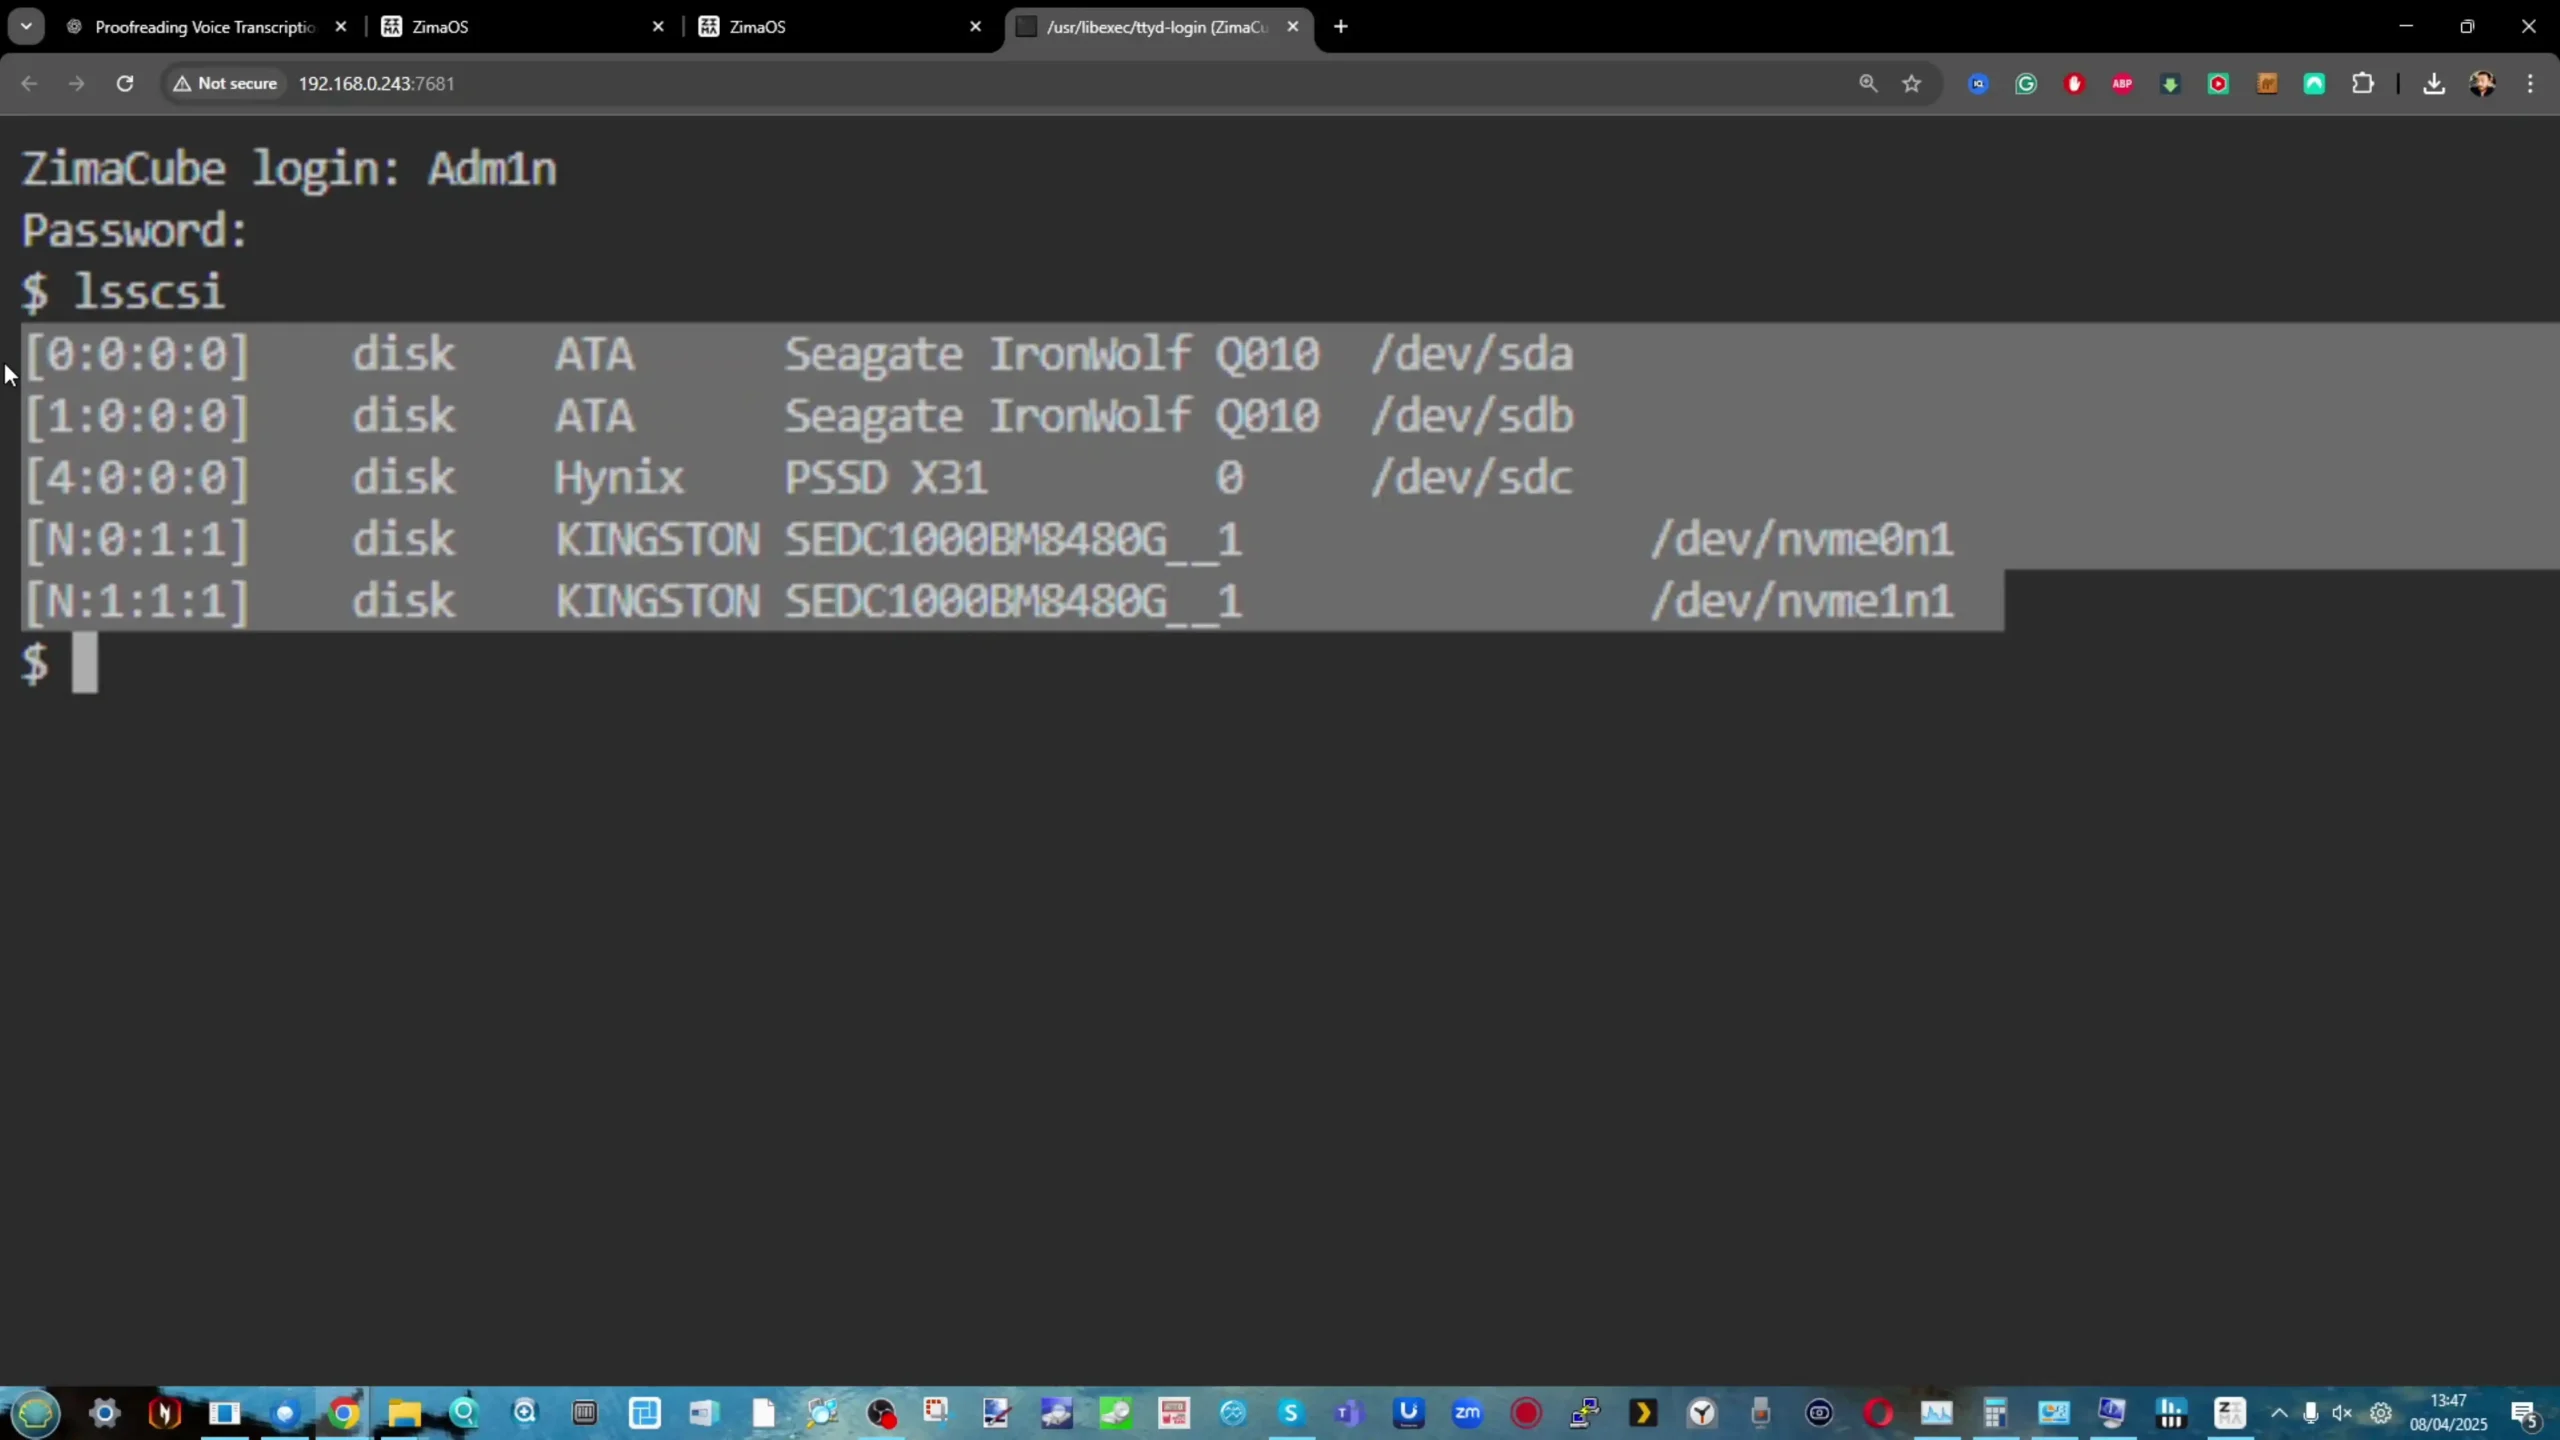
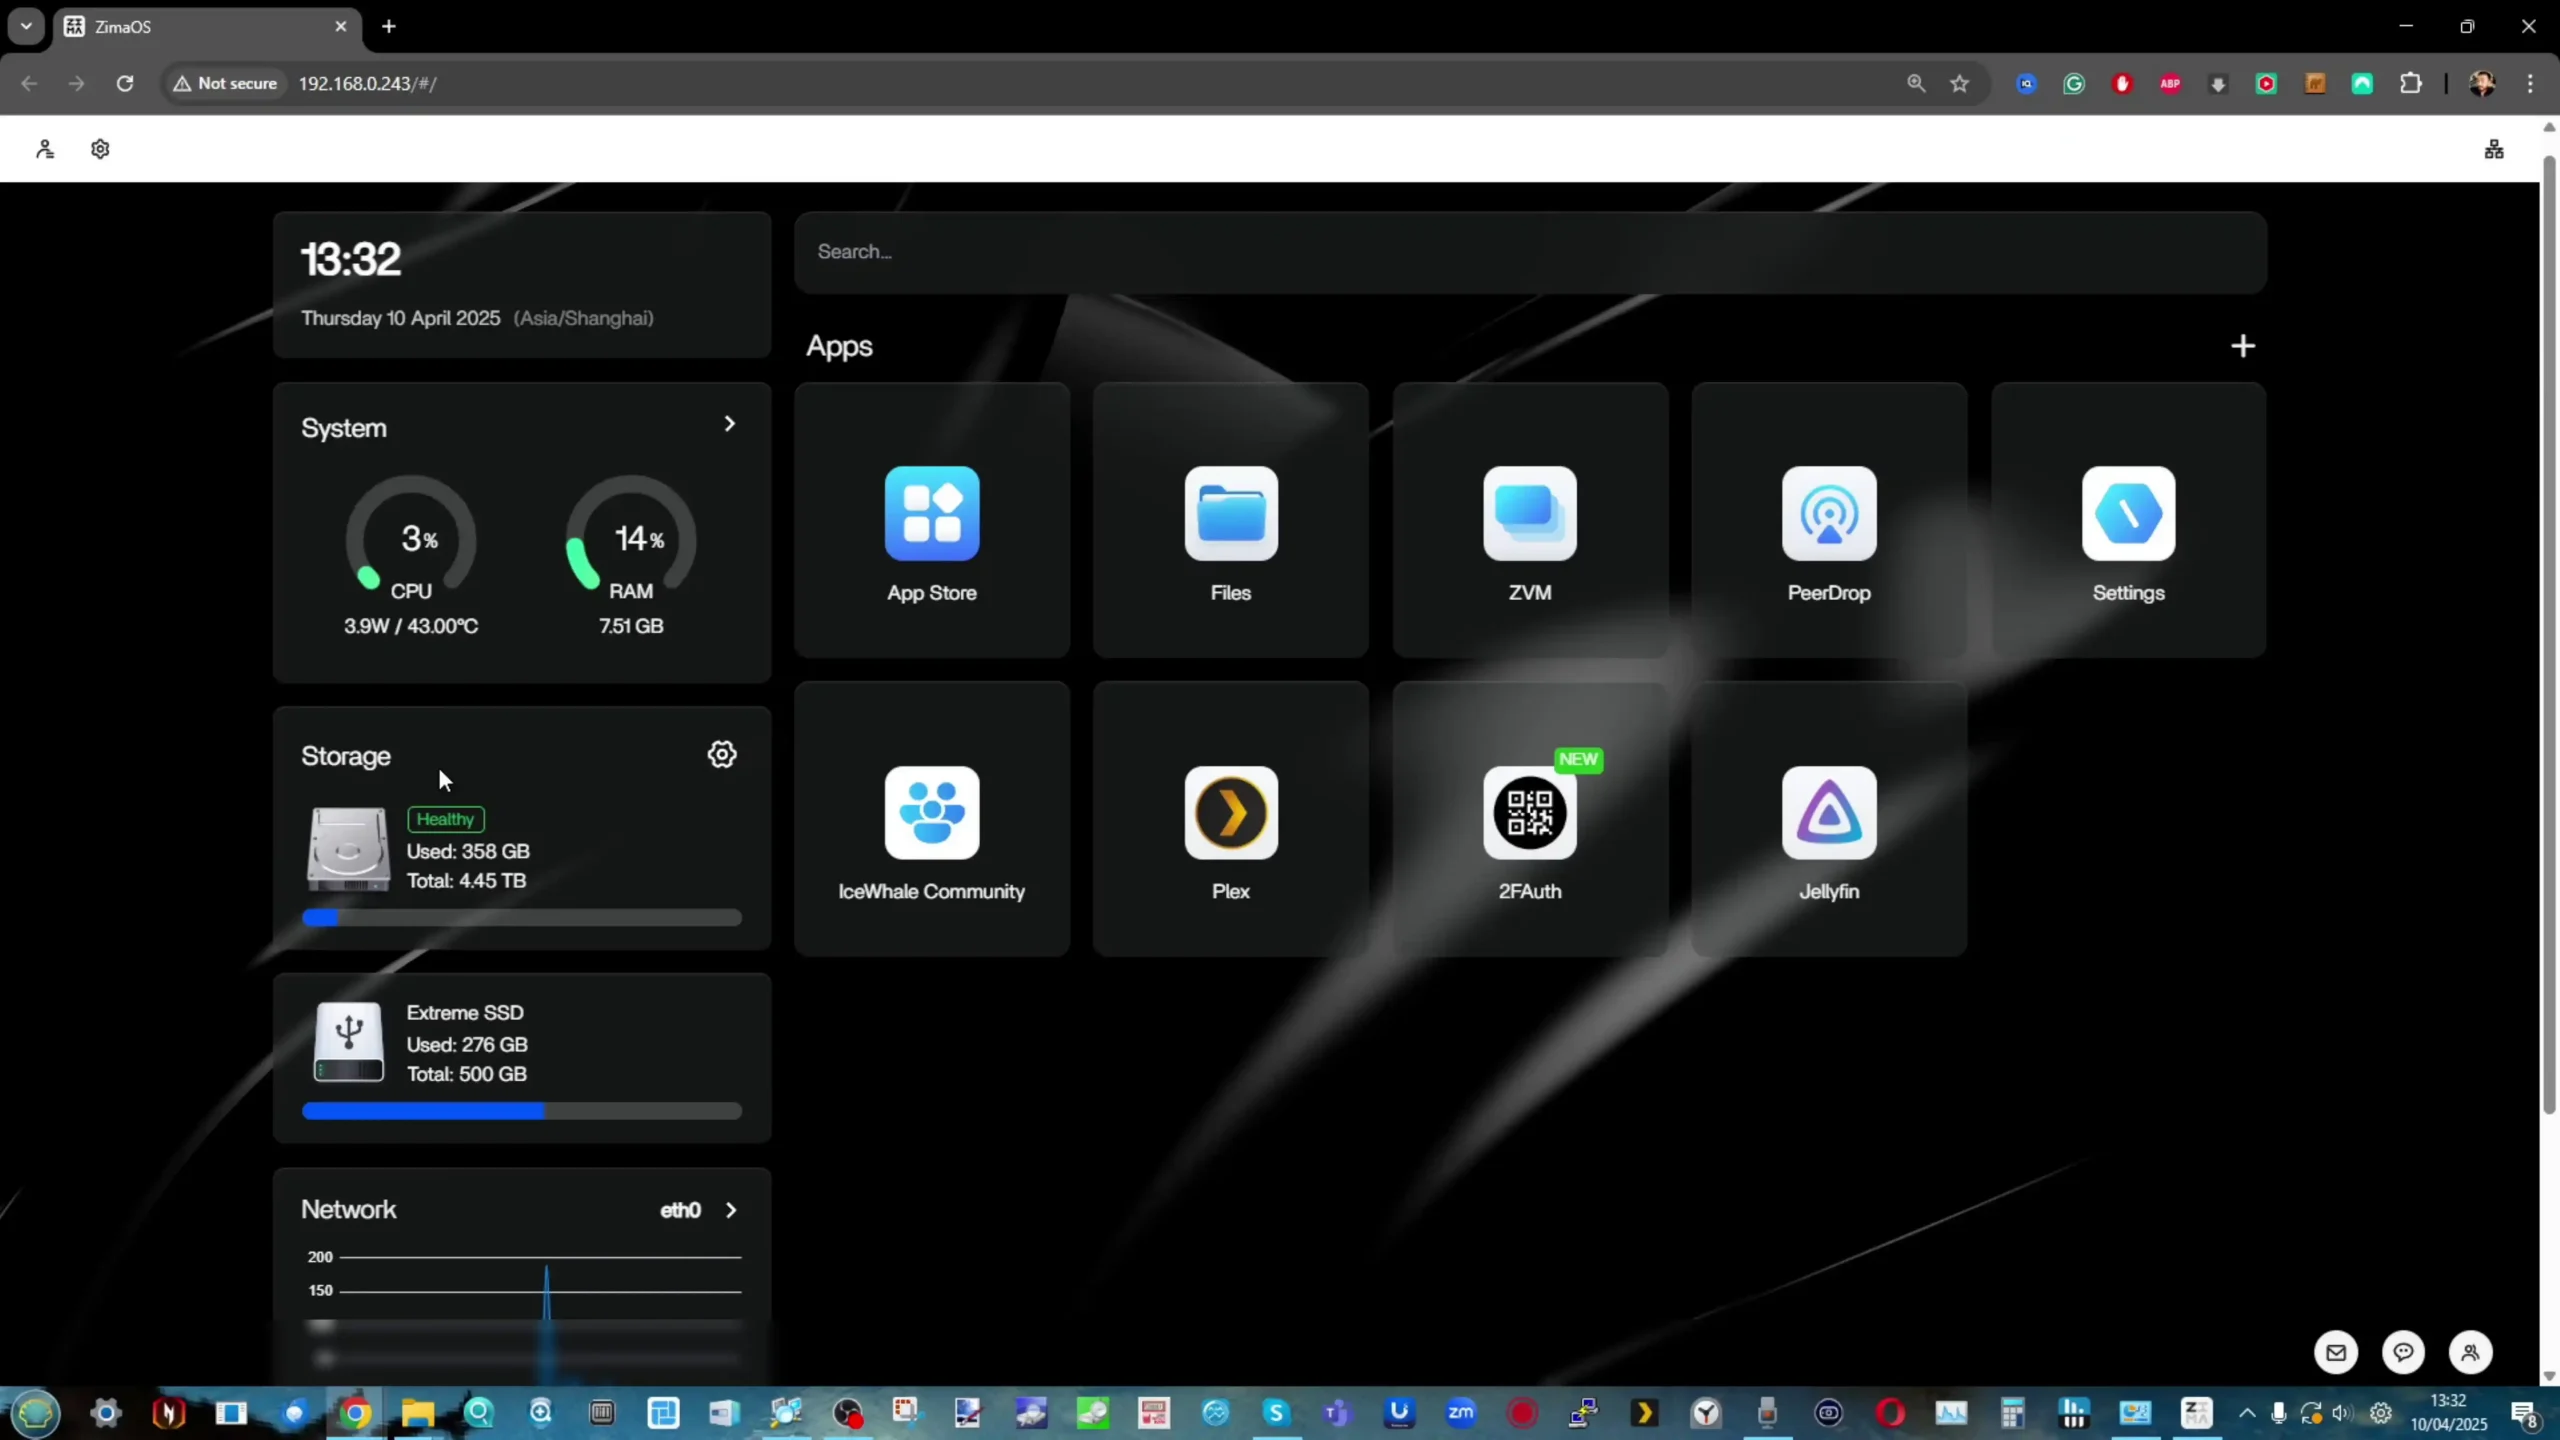
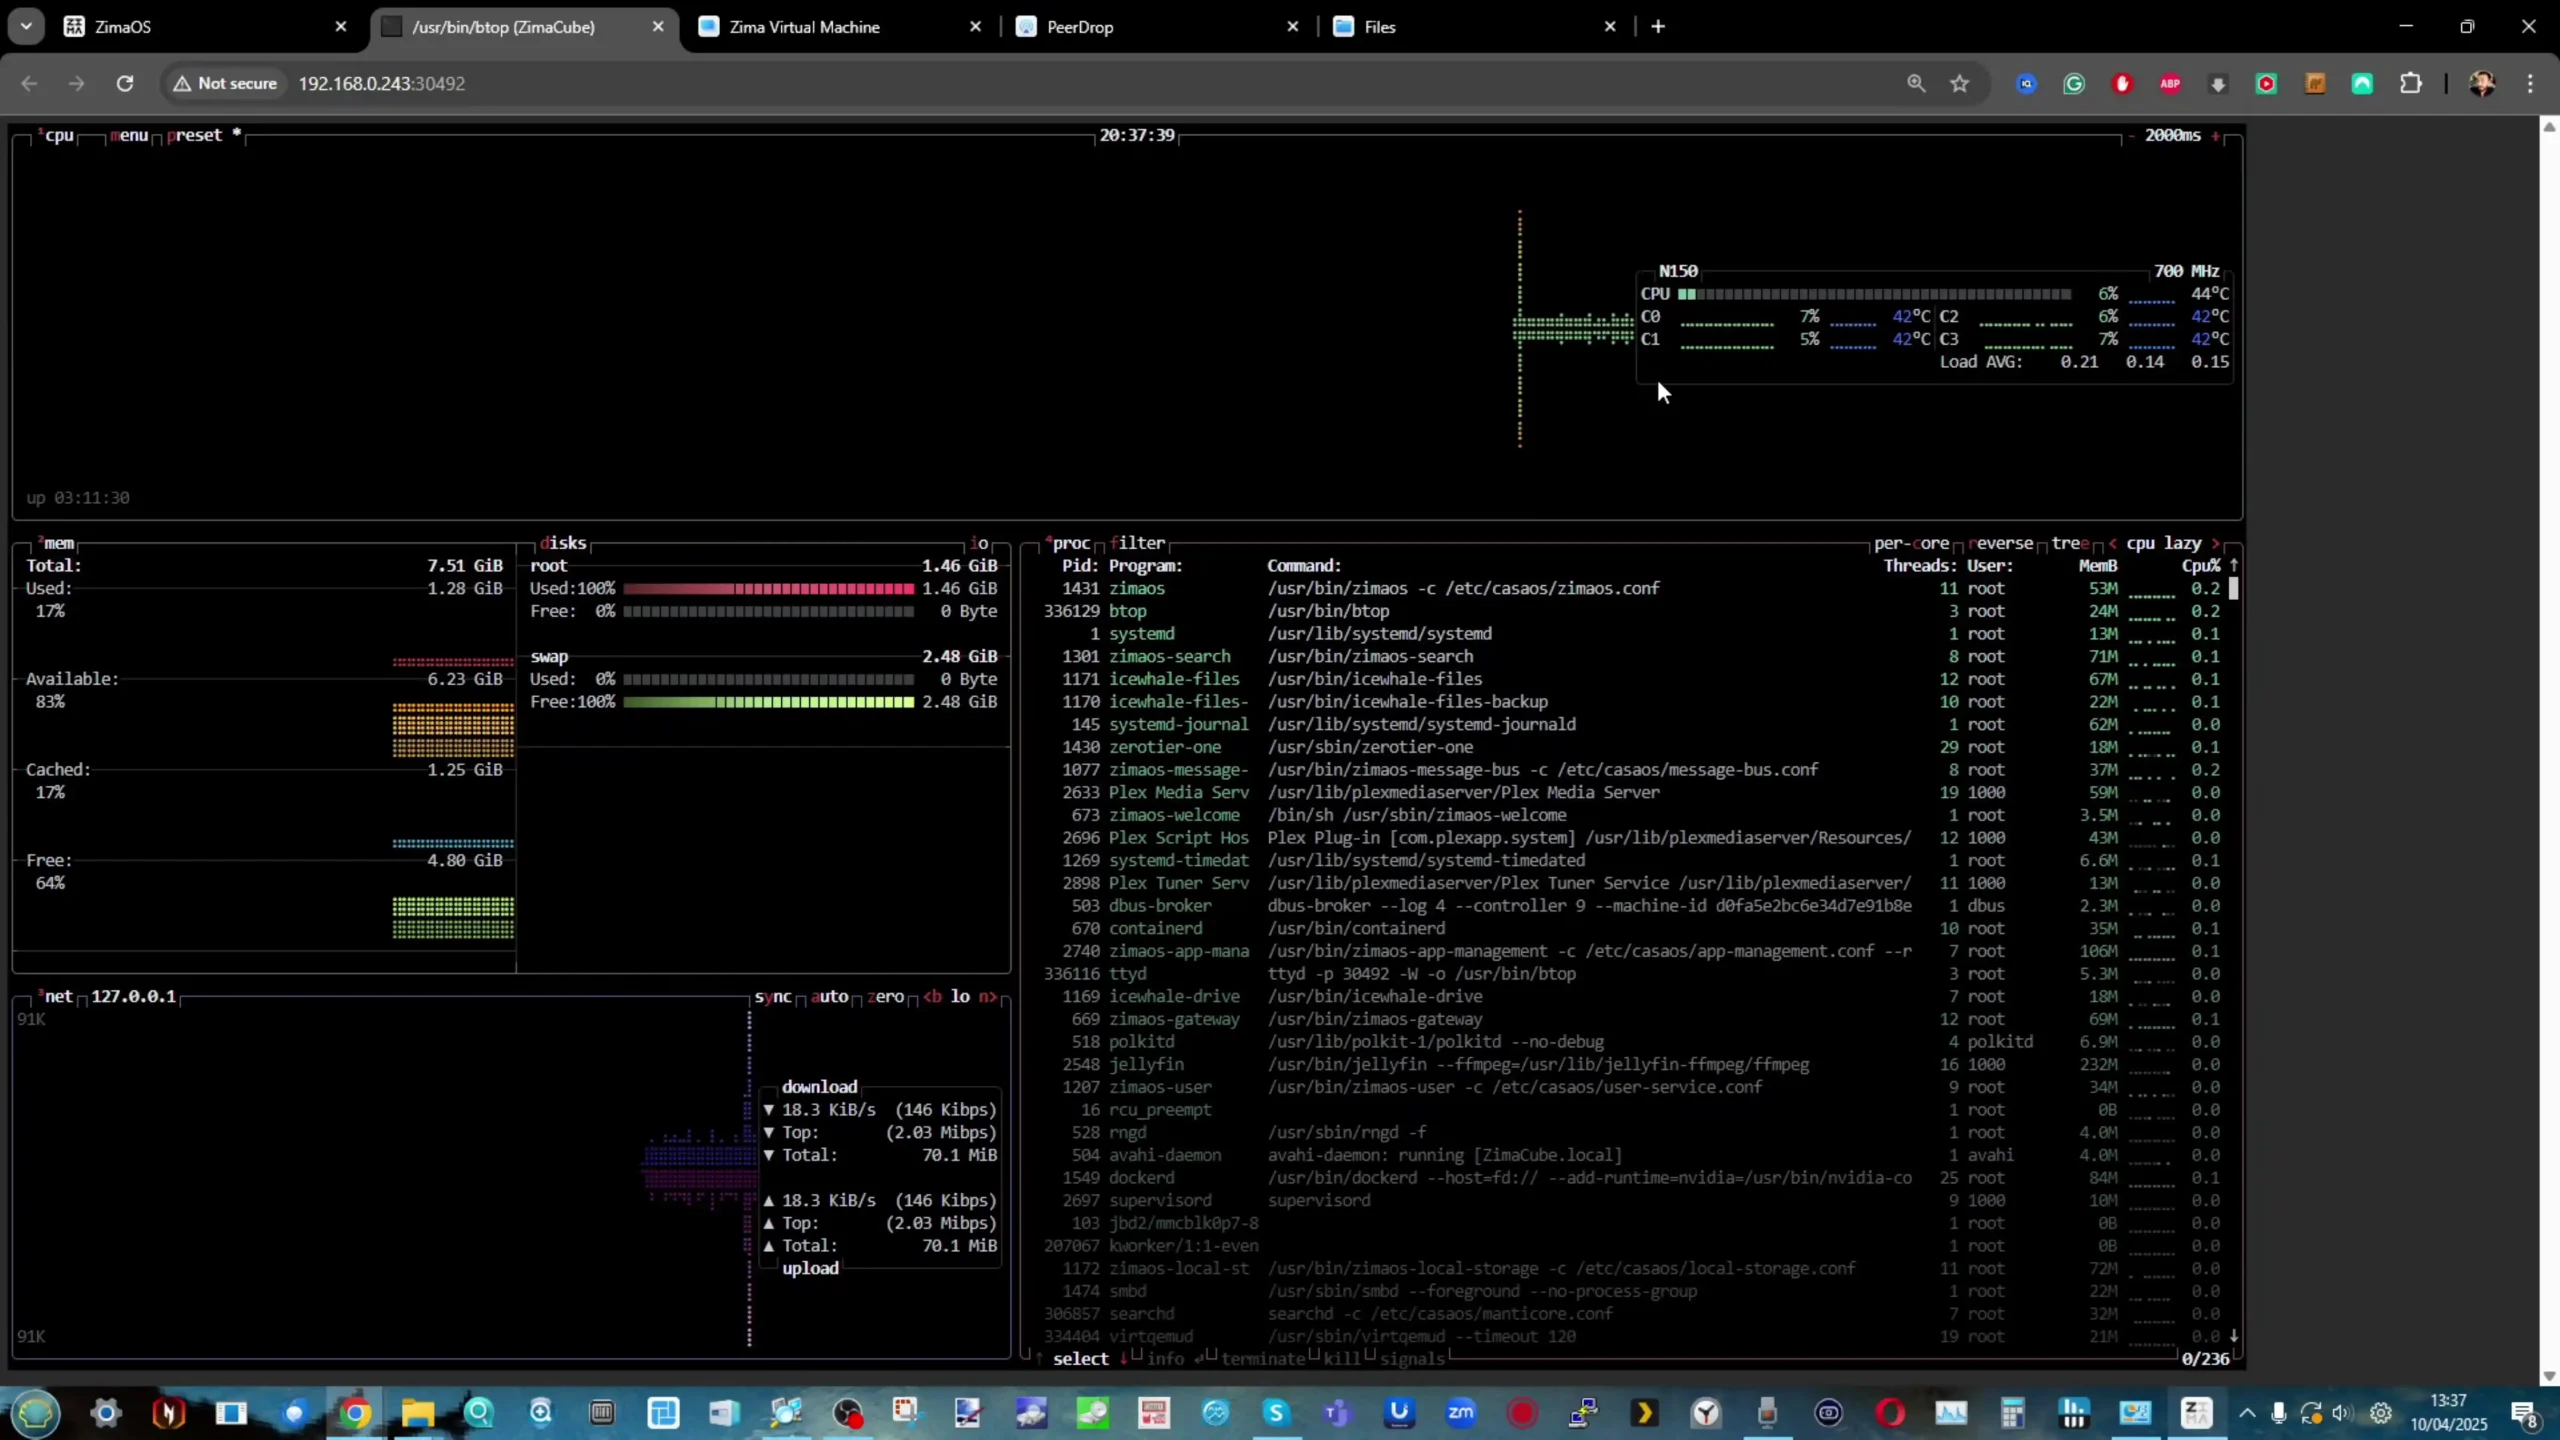
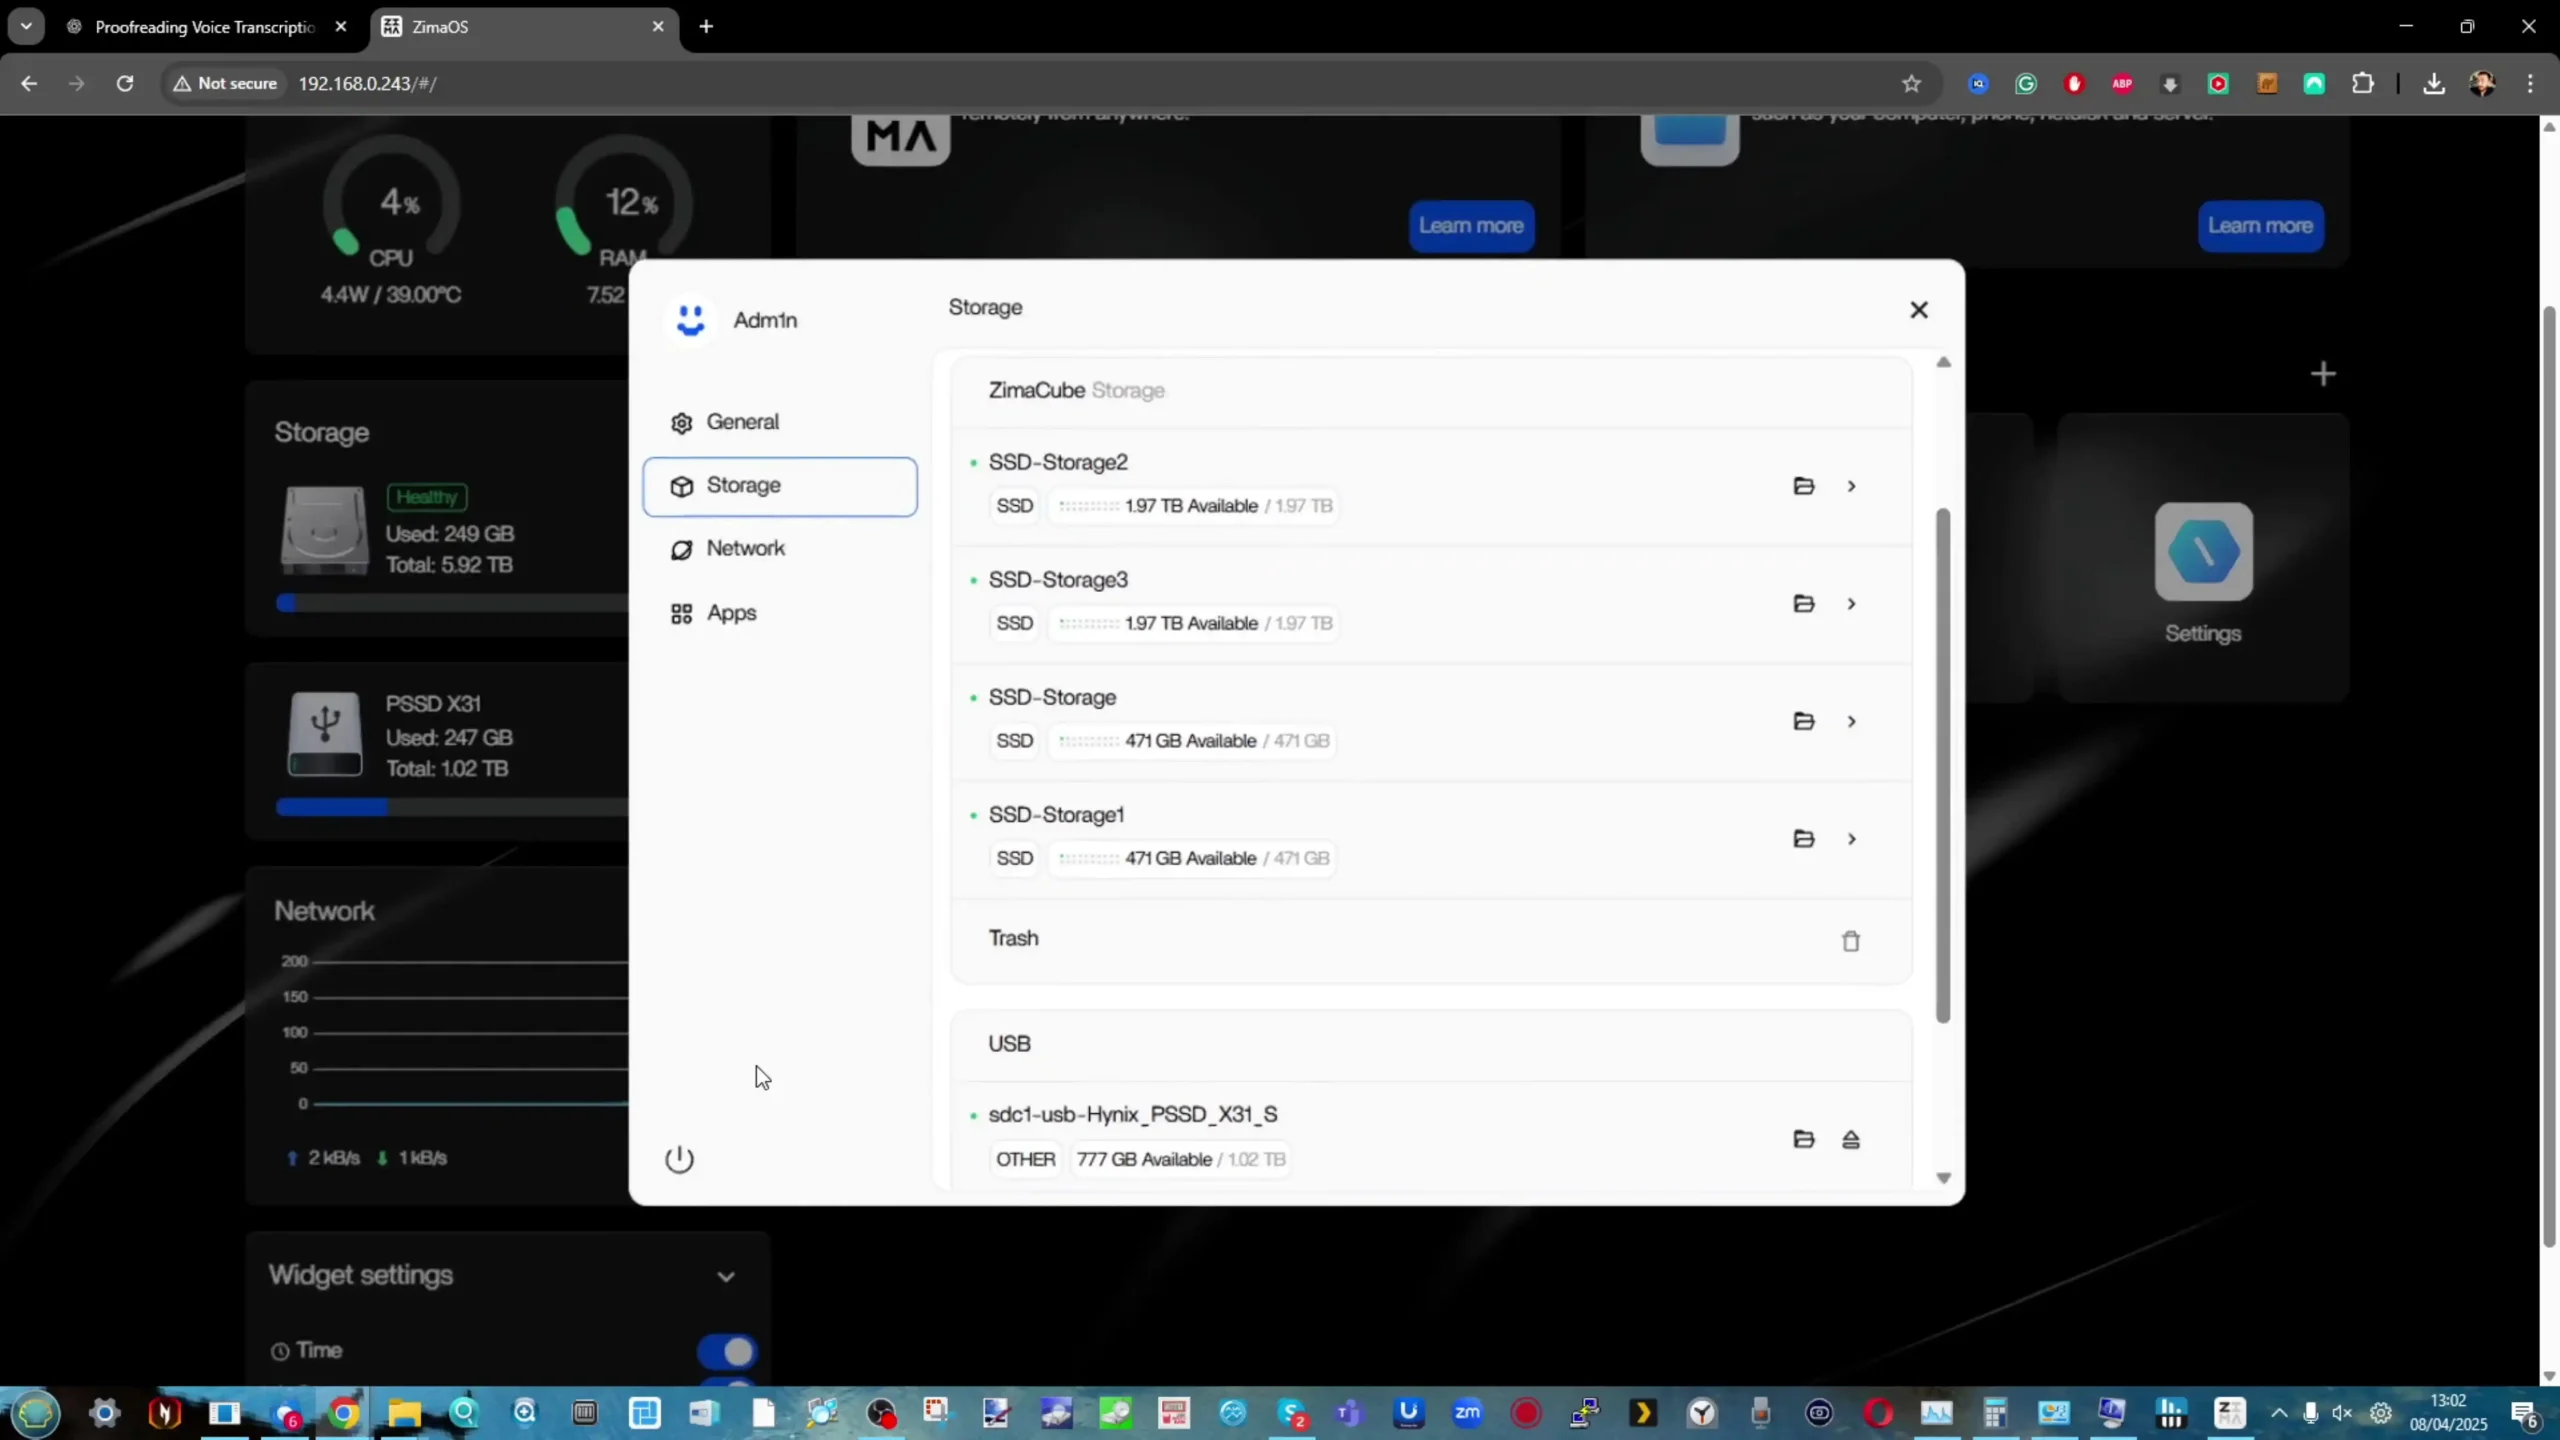
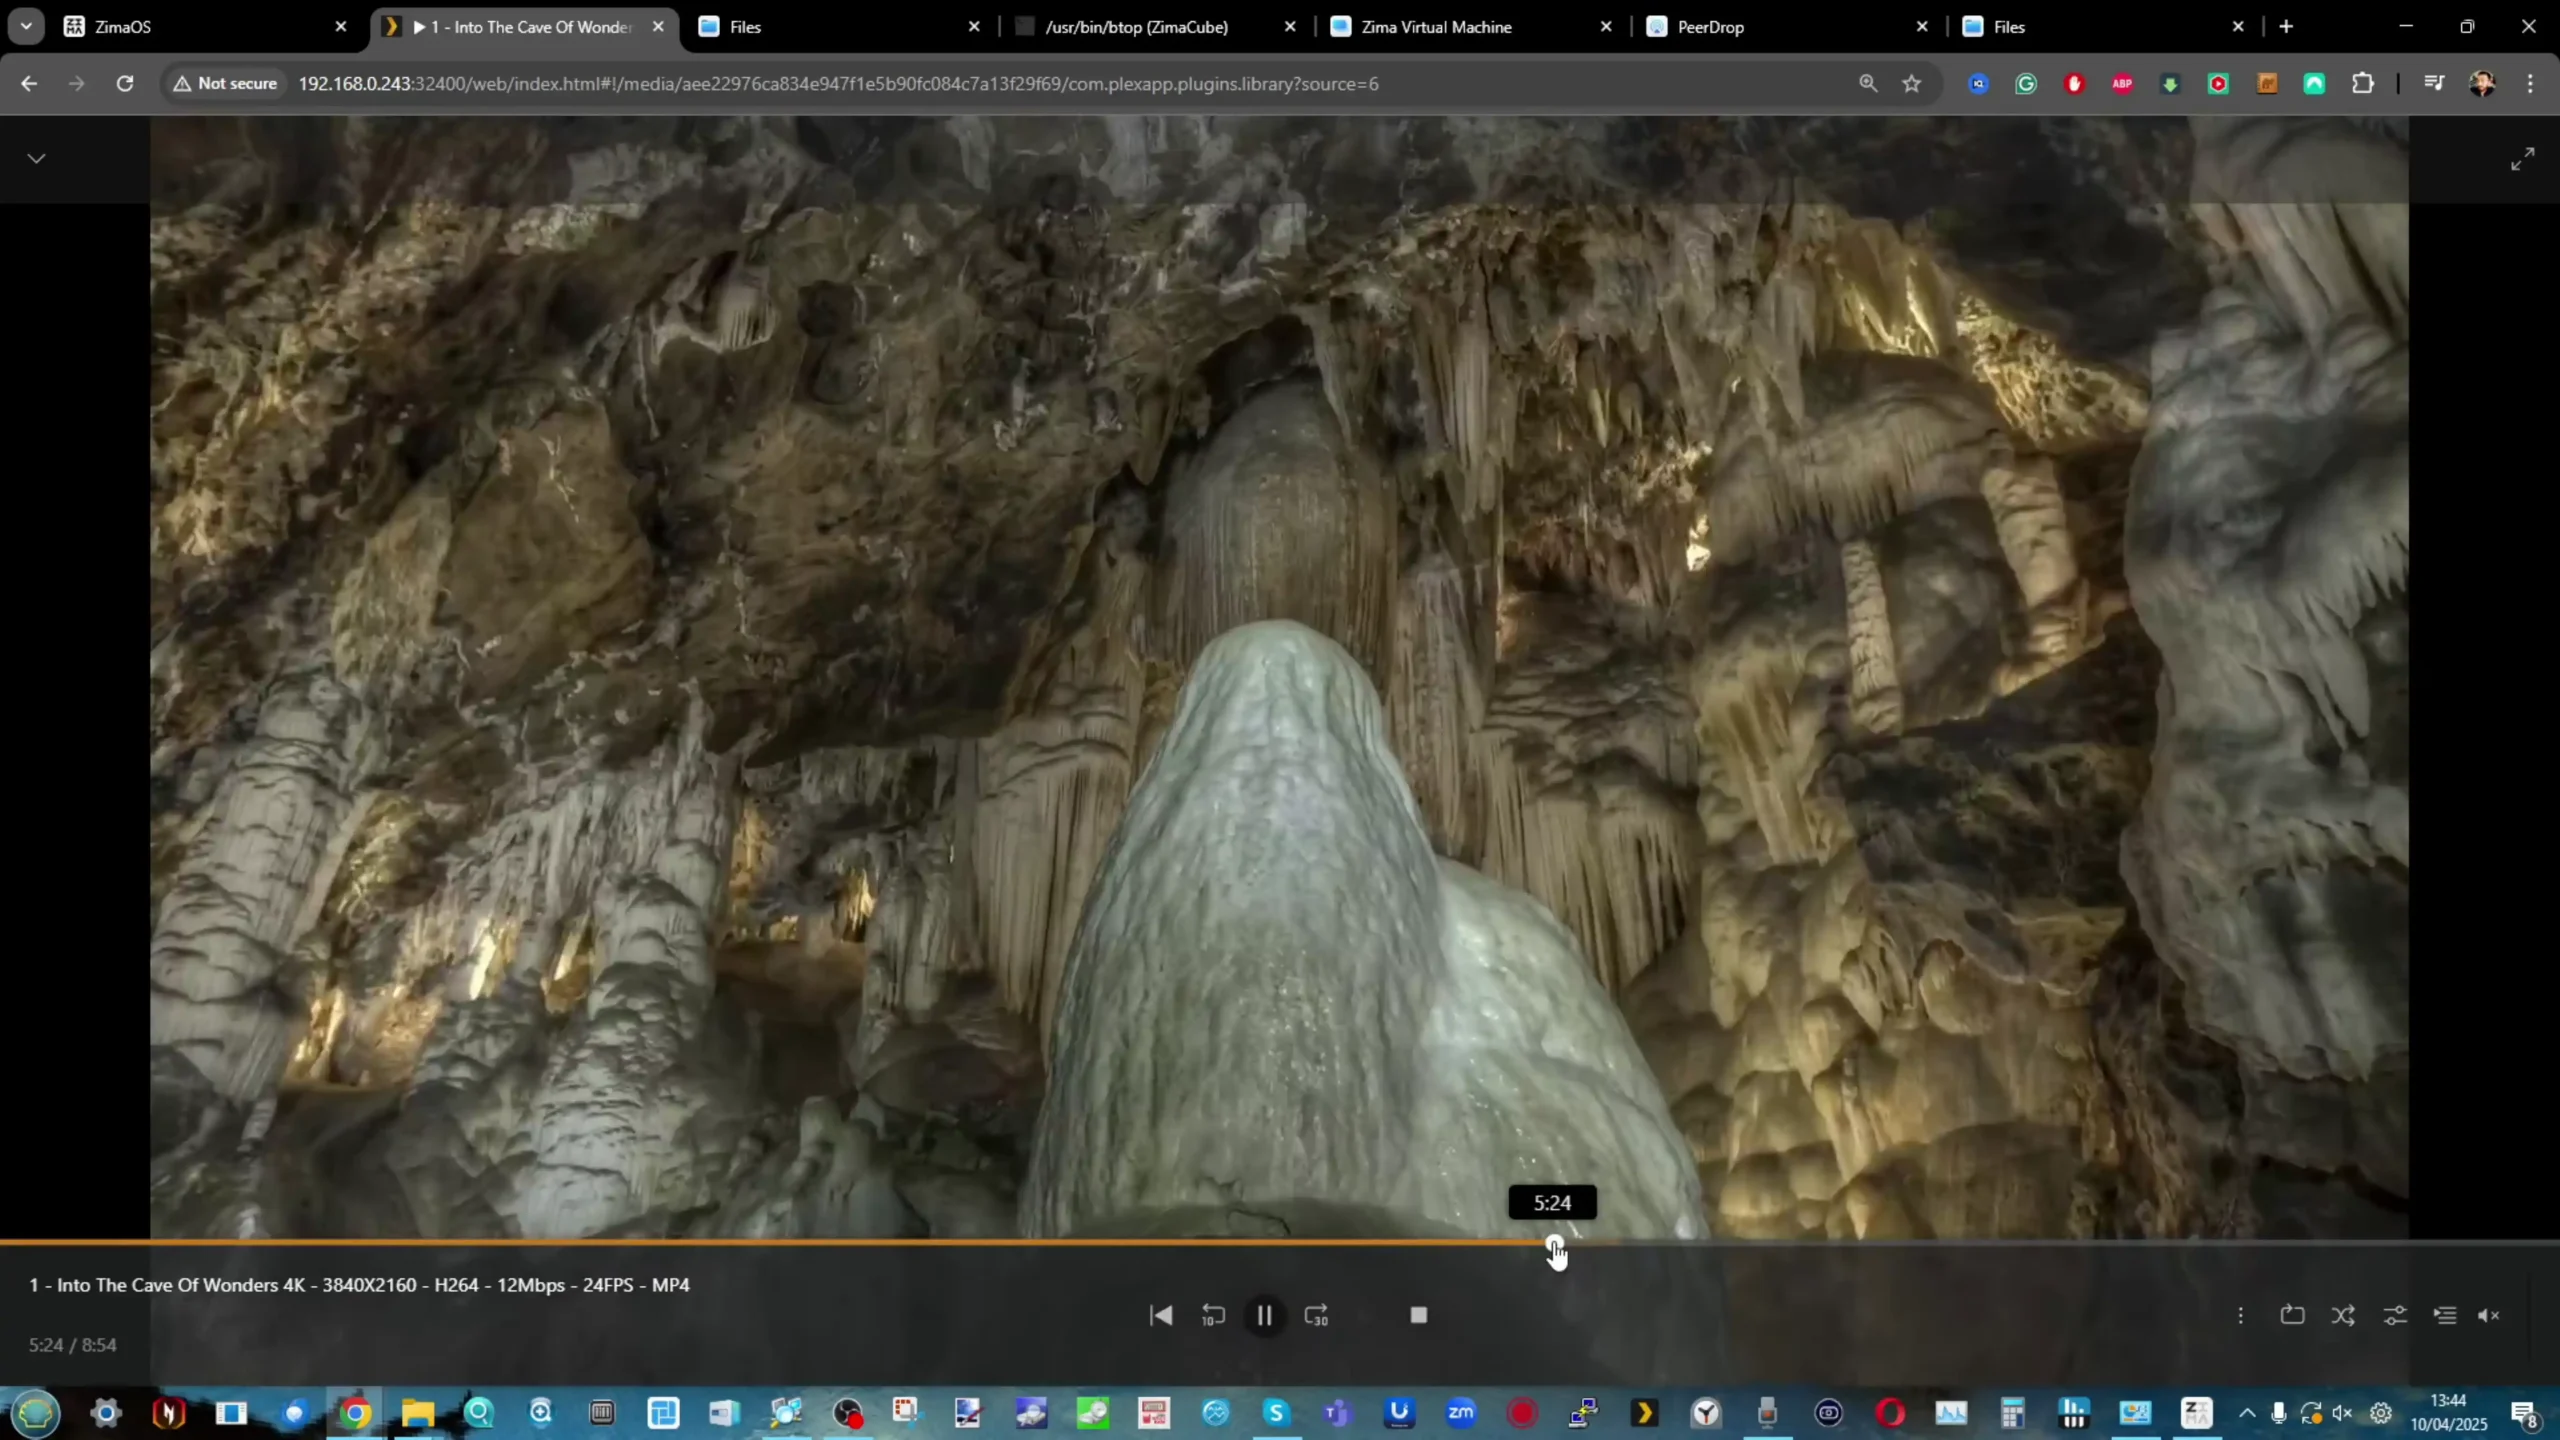
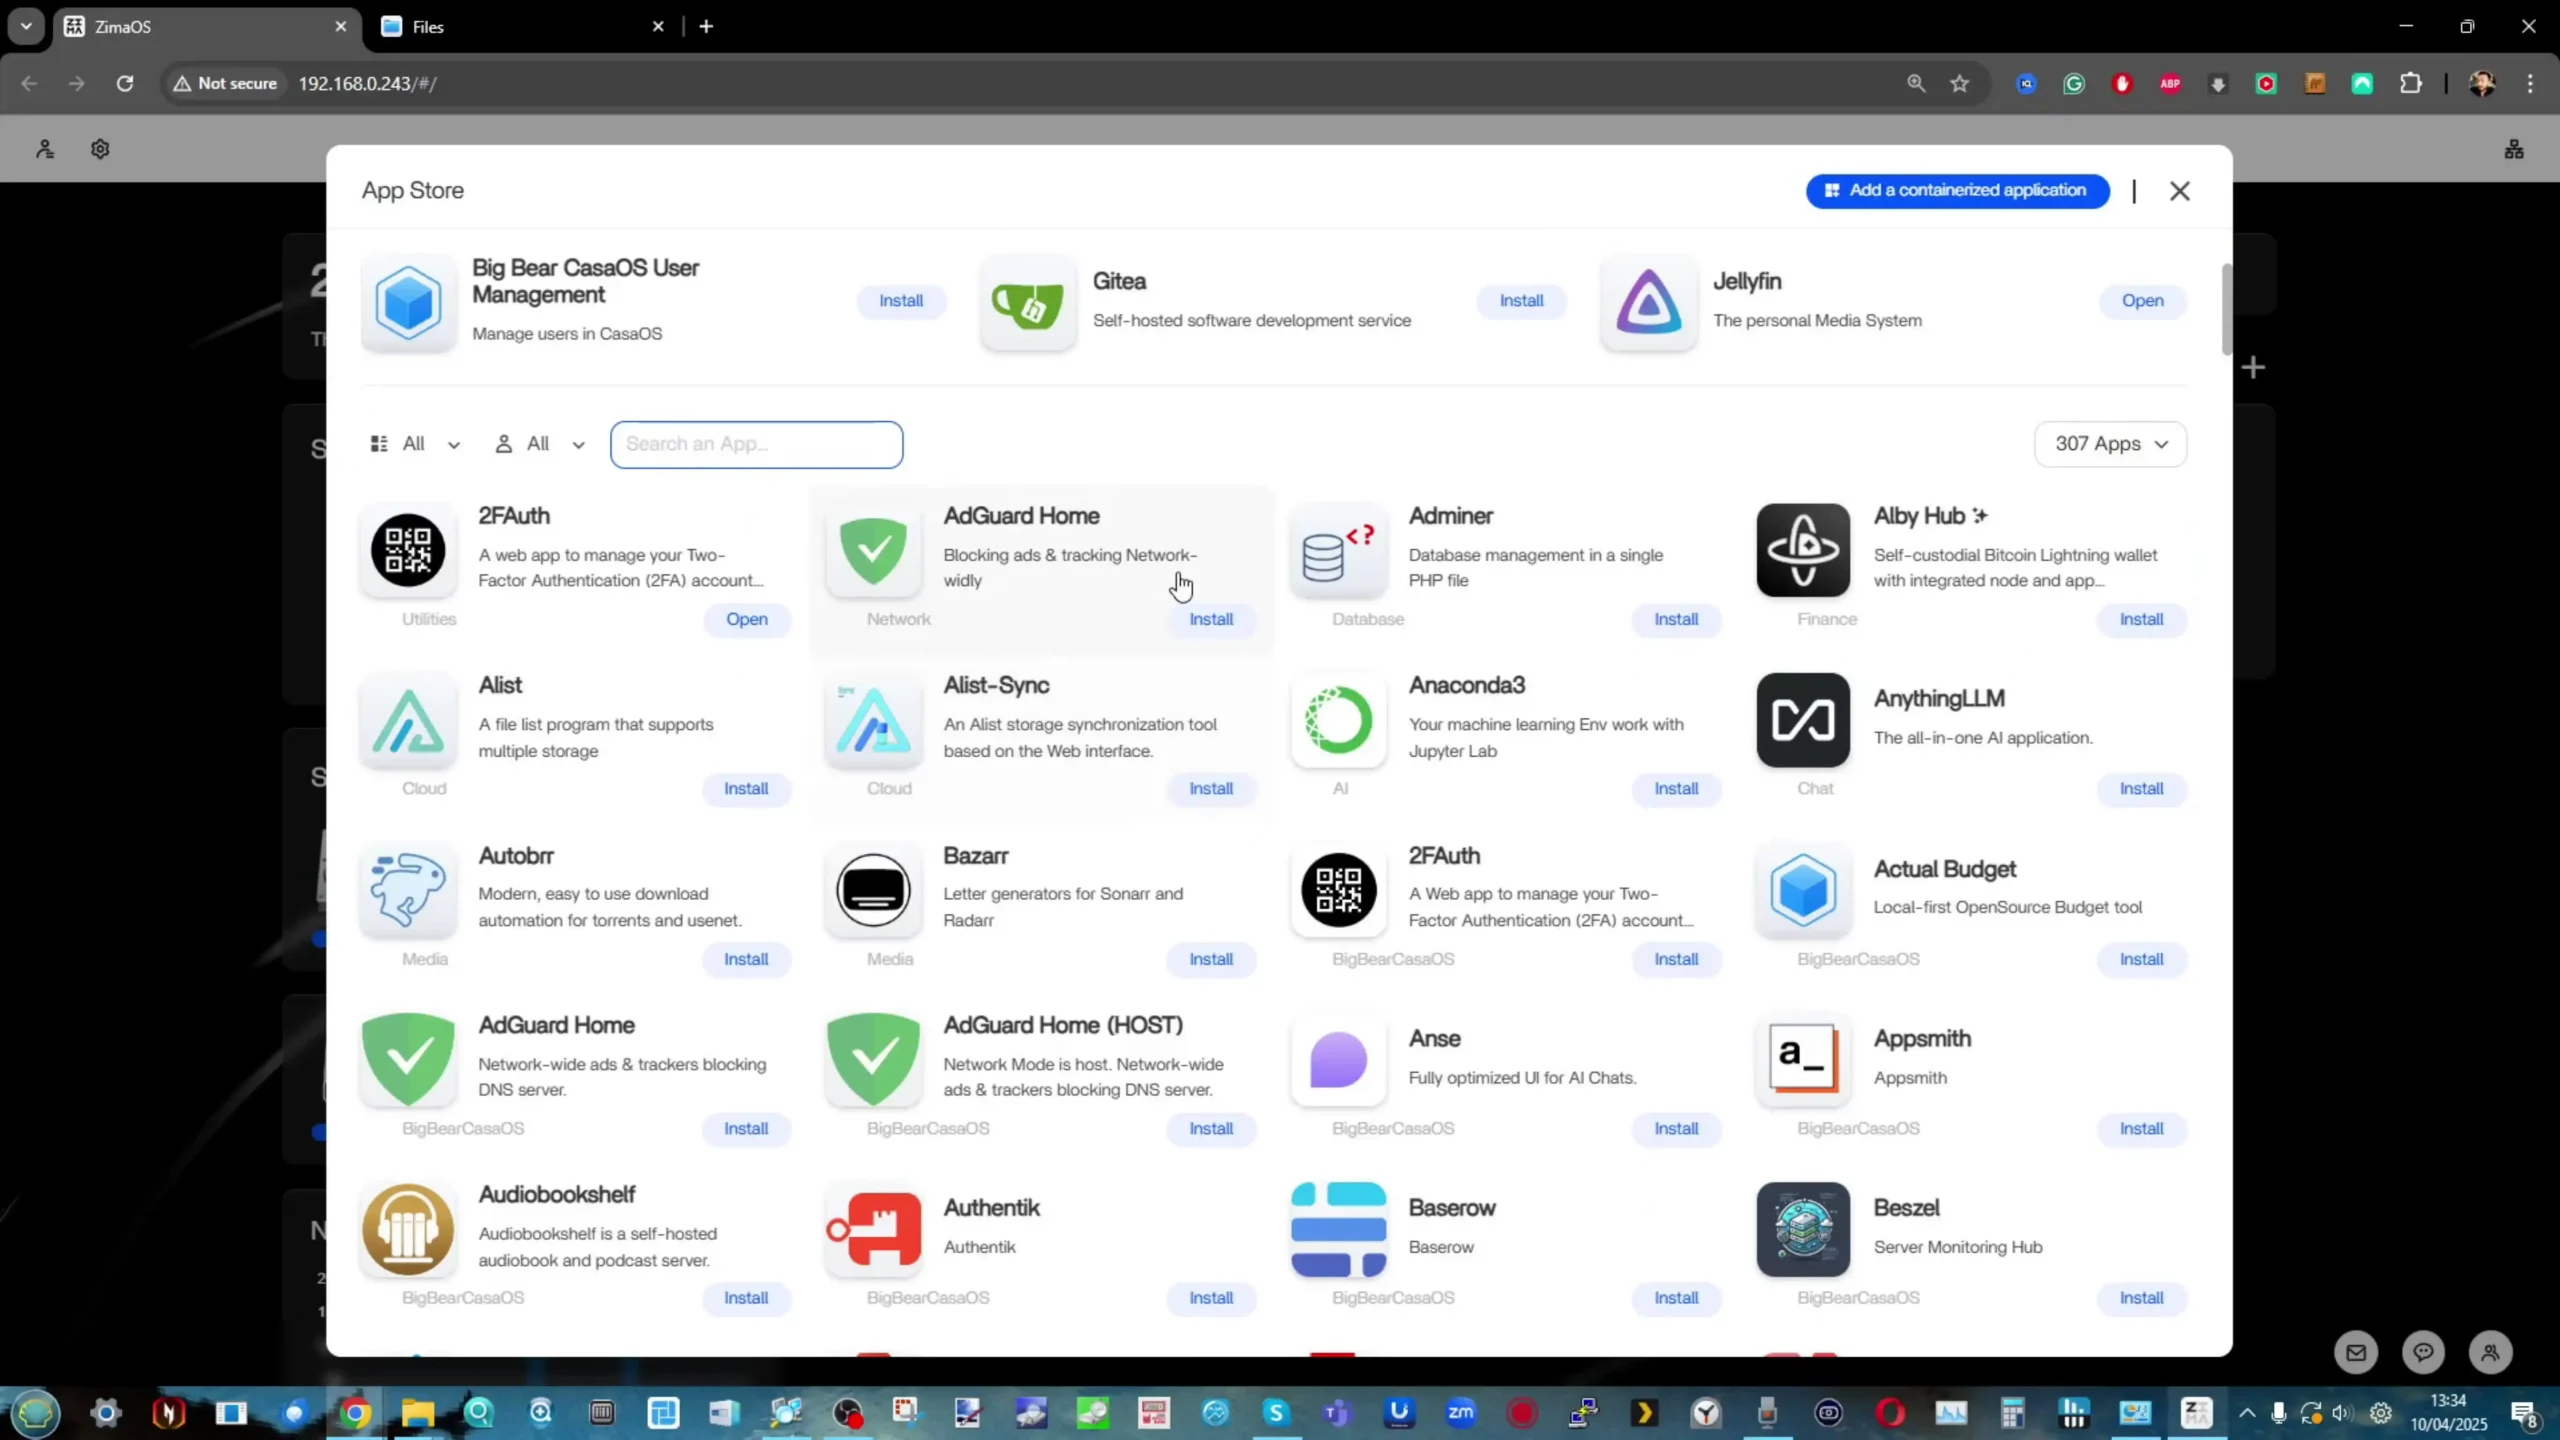
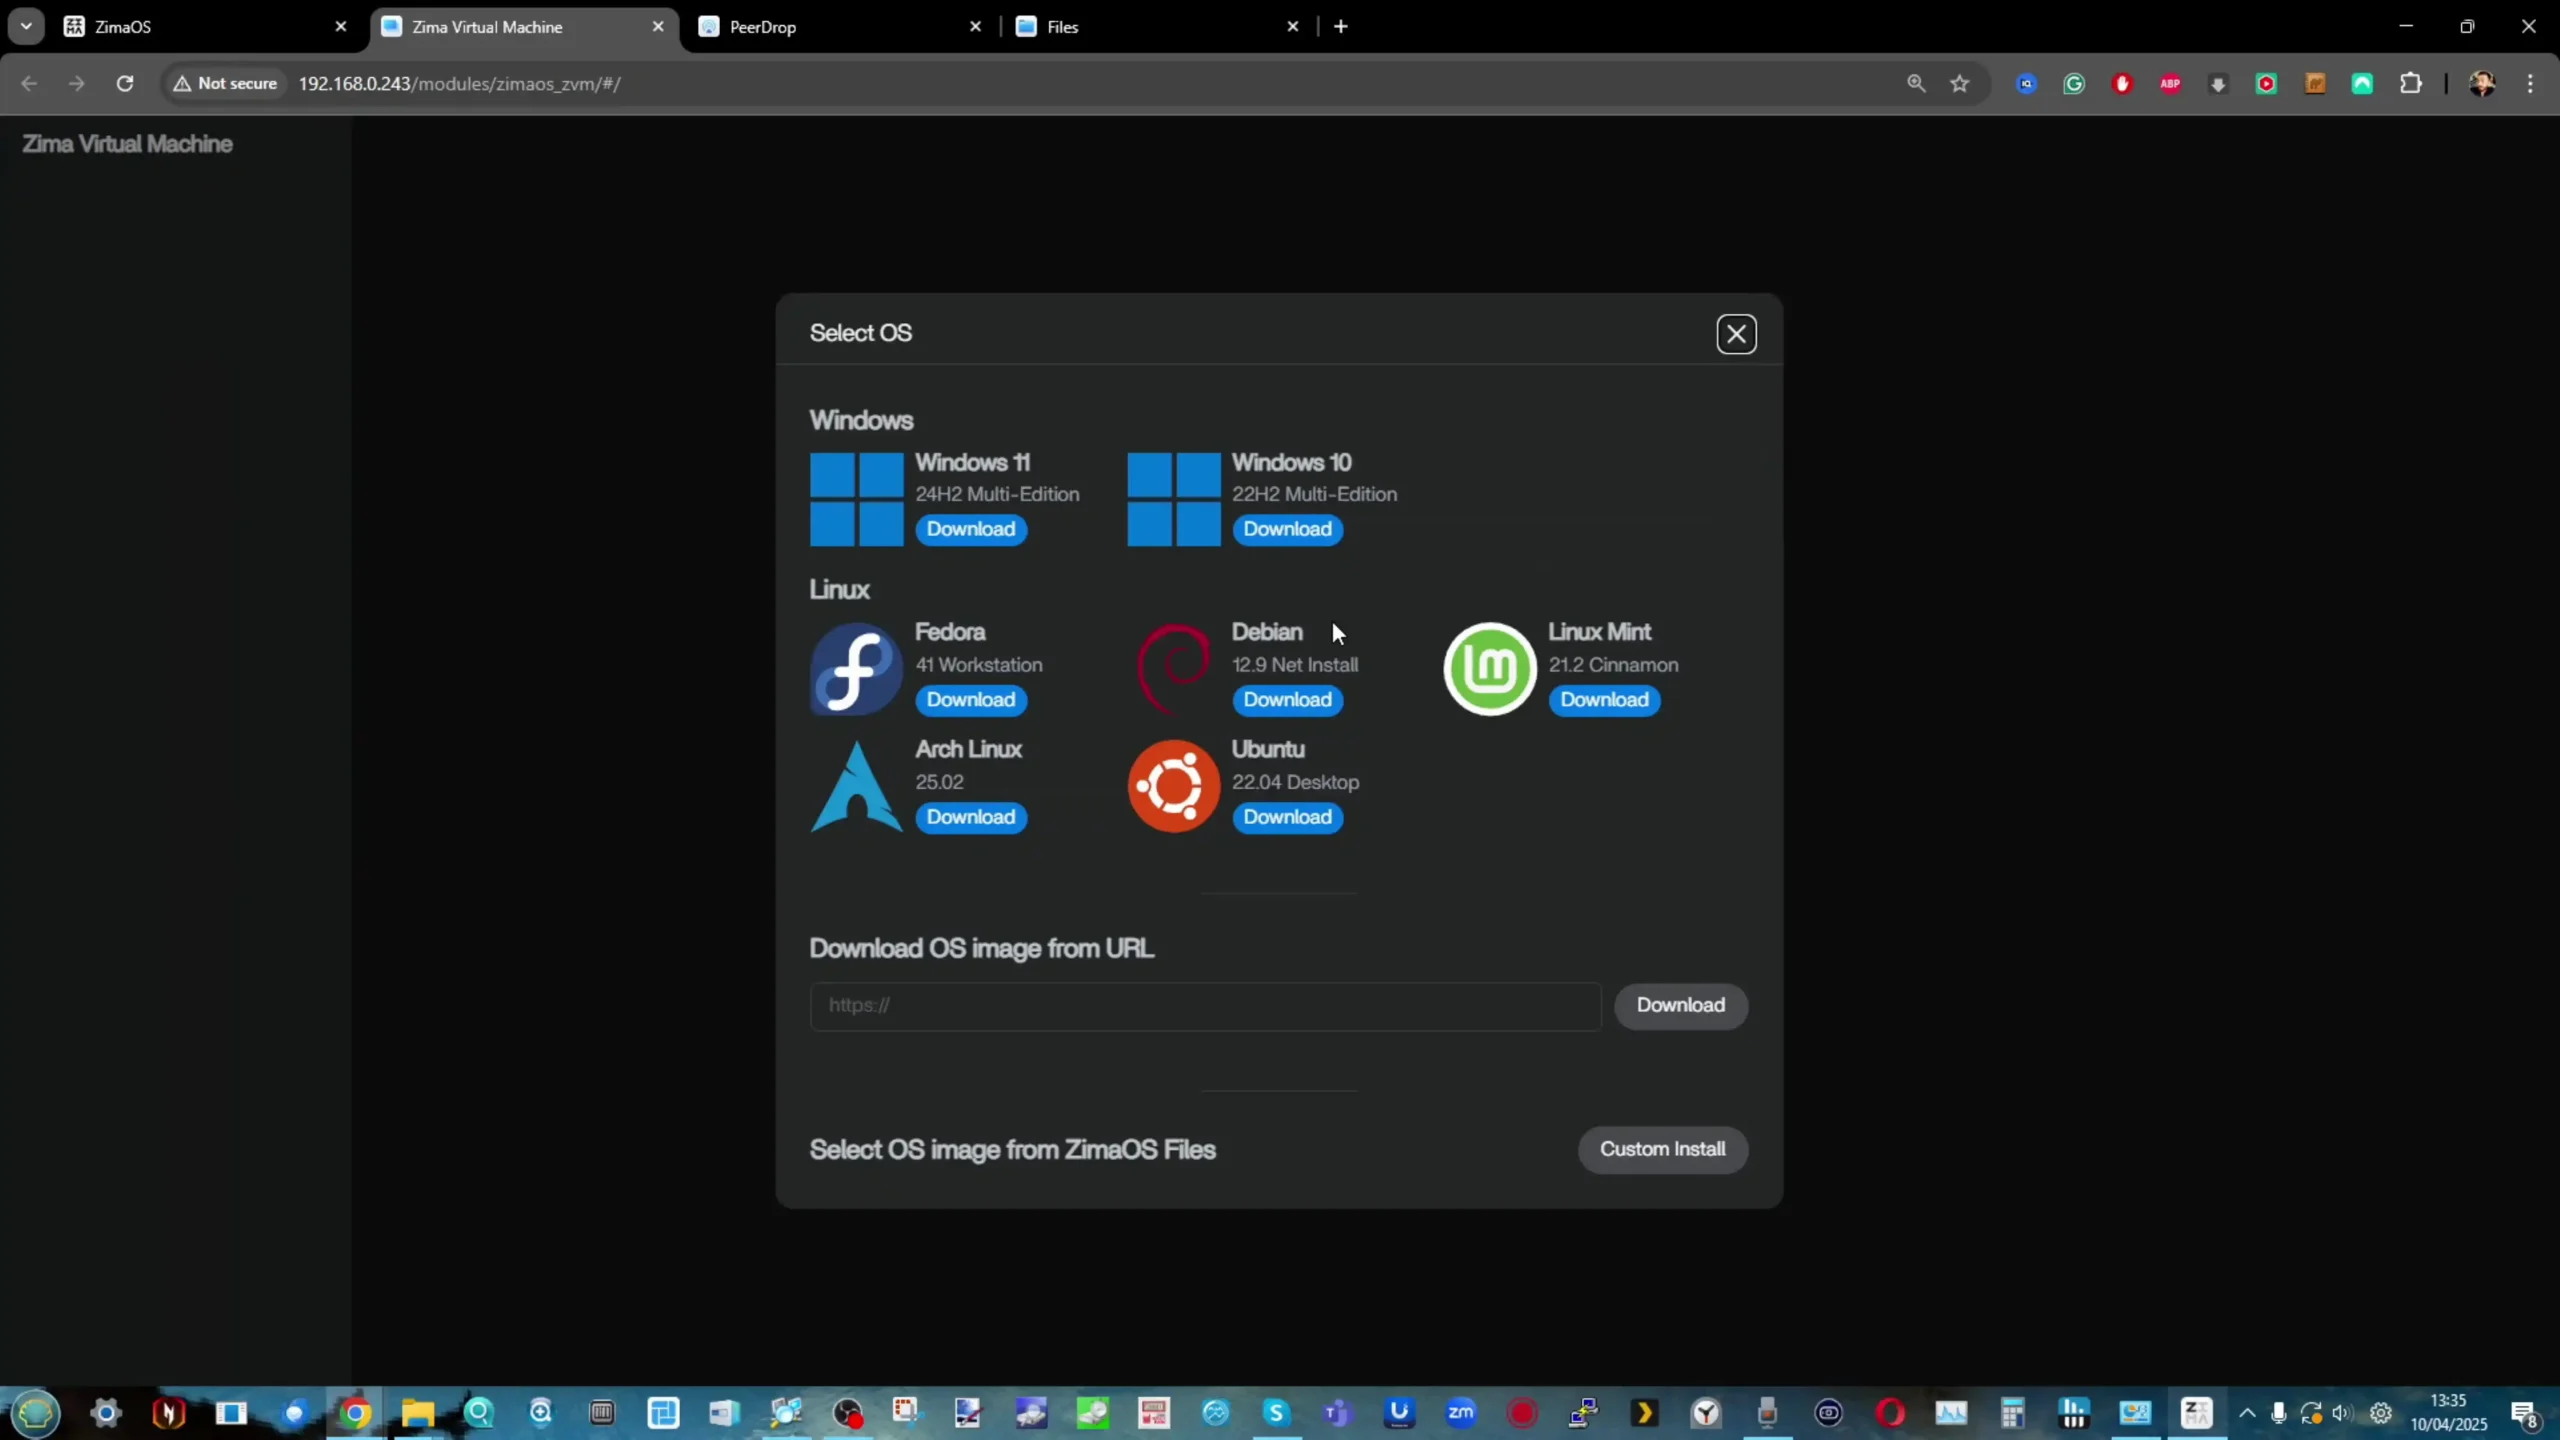
This is a very interesting one. 2023 and 2024 saw several companies arrive in the turnkey NAS space via the crowdfunding route (we already discussed UGREEN as the biggest example), wanting to break into the market. However, IceWhale benefits from having already launched two previous successfully fulfilled campaigns and is just completing their third one with the ZimaCube NAS system. Arriving with the lightweight containerized platform Zima OS (a modified version of their existing Casa OS), this new series is pretty impressive for its scale and price point at launch. Add to that the significantly unique design, impressive use of 10GbE and Thunderbolt over IP, and a 6x HDD / 4x NVMe system in a compact case, and you can see why they have made a fairly significant splash for a brand that is comparatively unheard of compared to Synology, QNAP, etc.
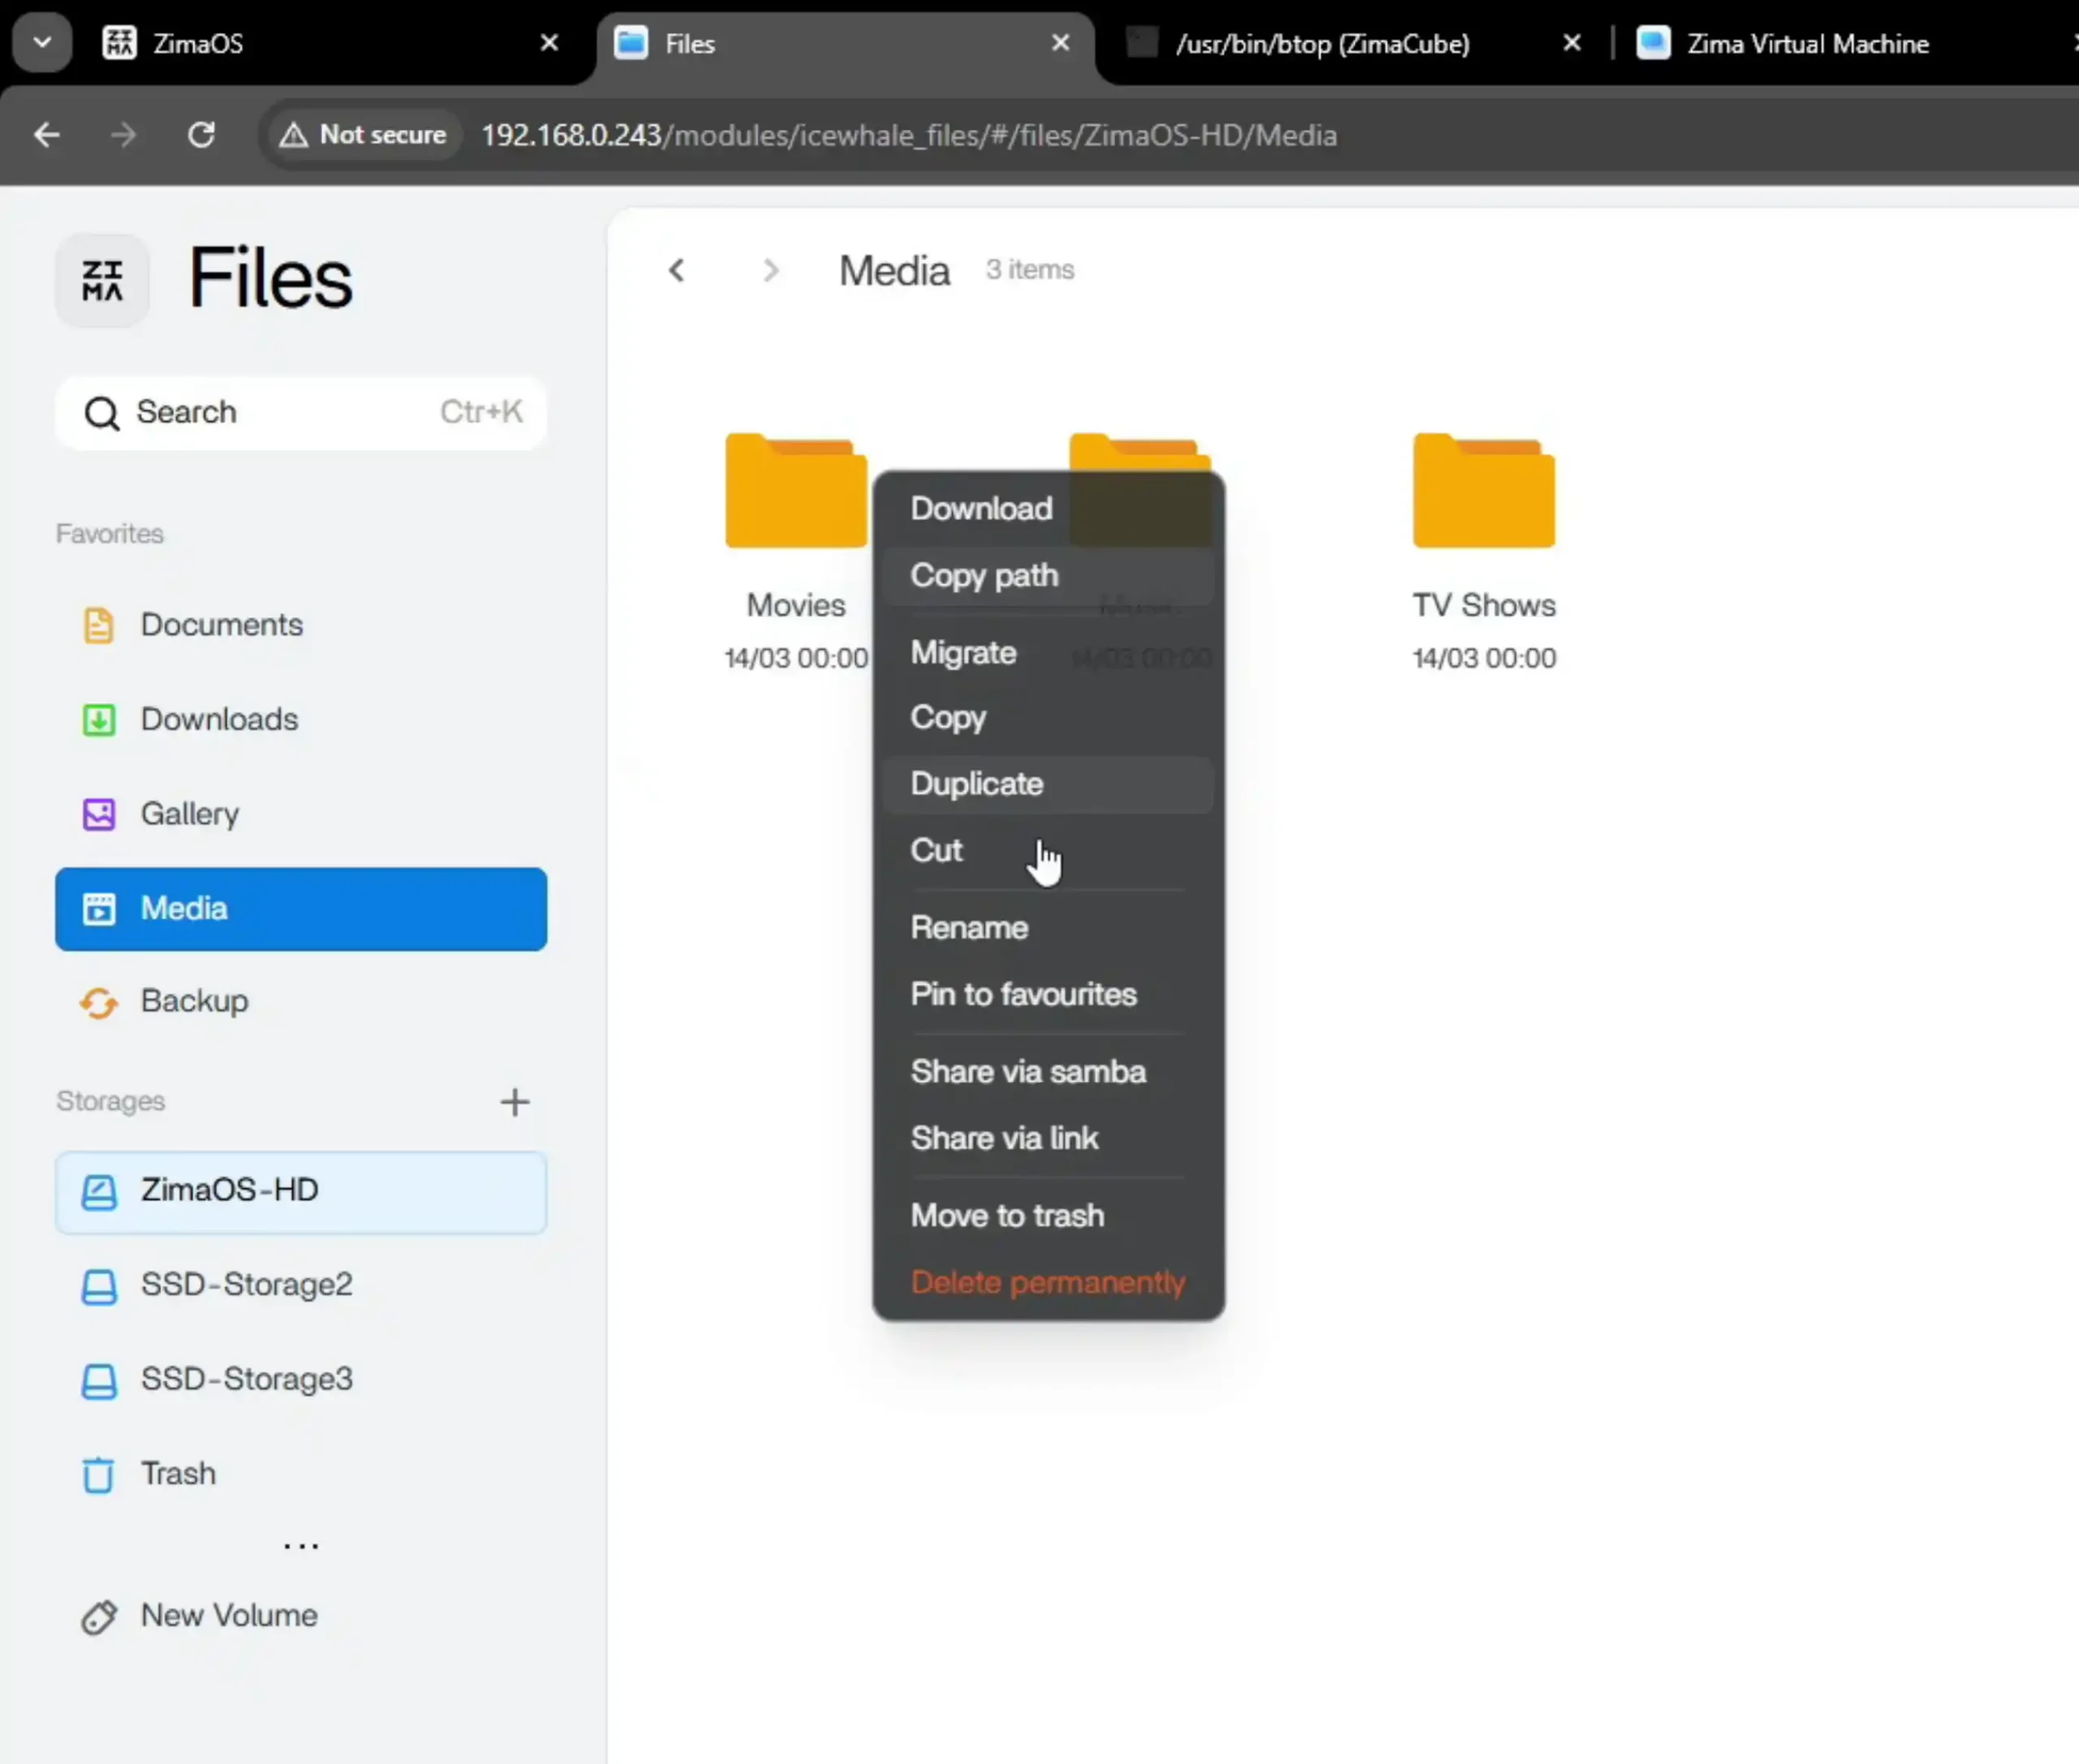
However, as robust as their range of solutions is (ZimaBoard, ZimaBlade, and ZimaCube), the software is still very rudimentary compared to the bulk of other browser GUI and more “operating system”-stylized UX. There are virtually no client applications, except for their own system search and connection client tools. An eventual successor to Synology, if they moved upwards toward bigger and more business-oriented solutions, would need to hit the software functionality and user experience exceedingly early and exceedingly well.
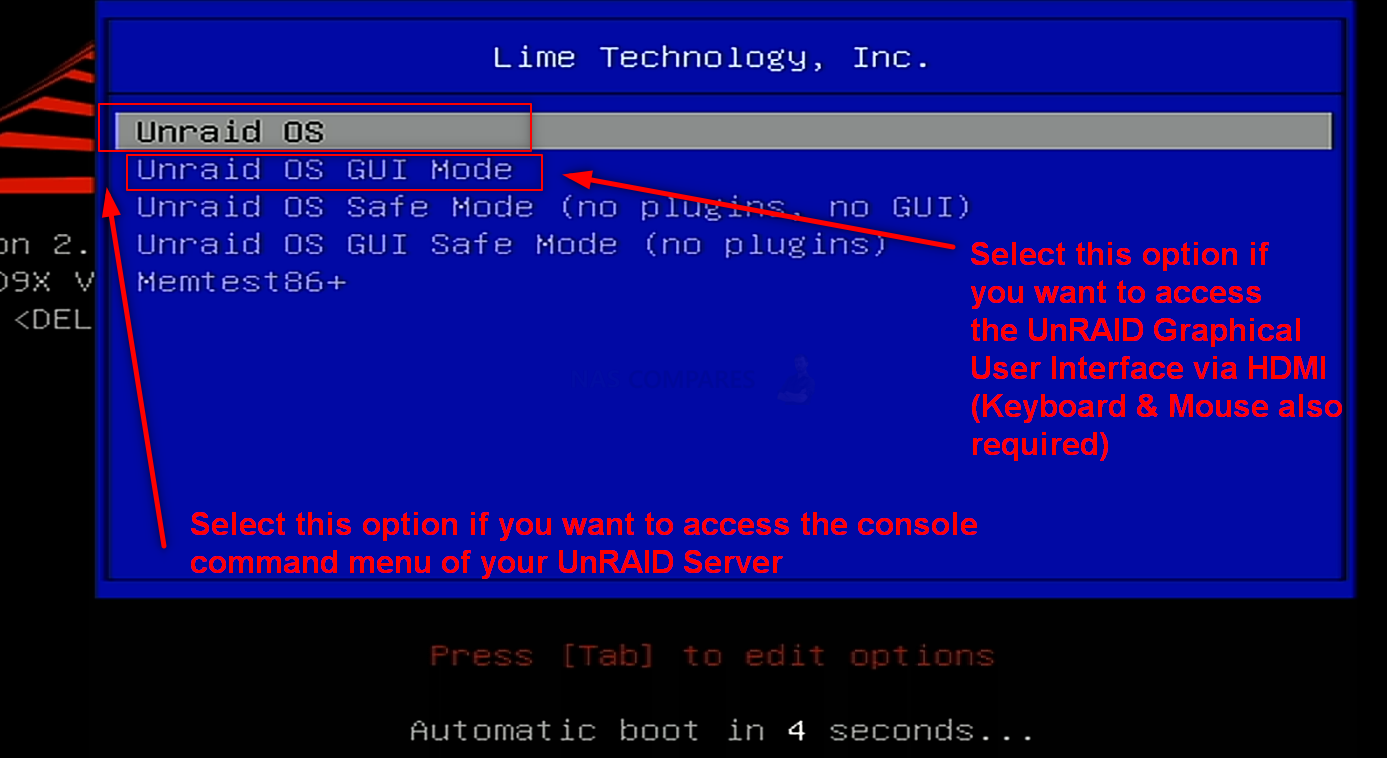
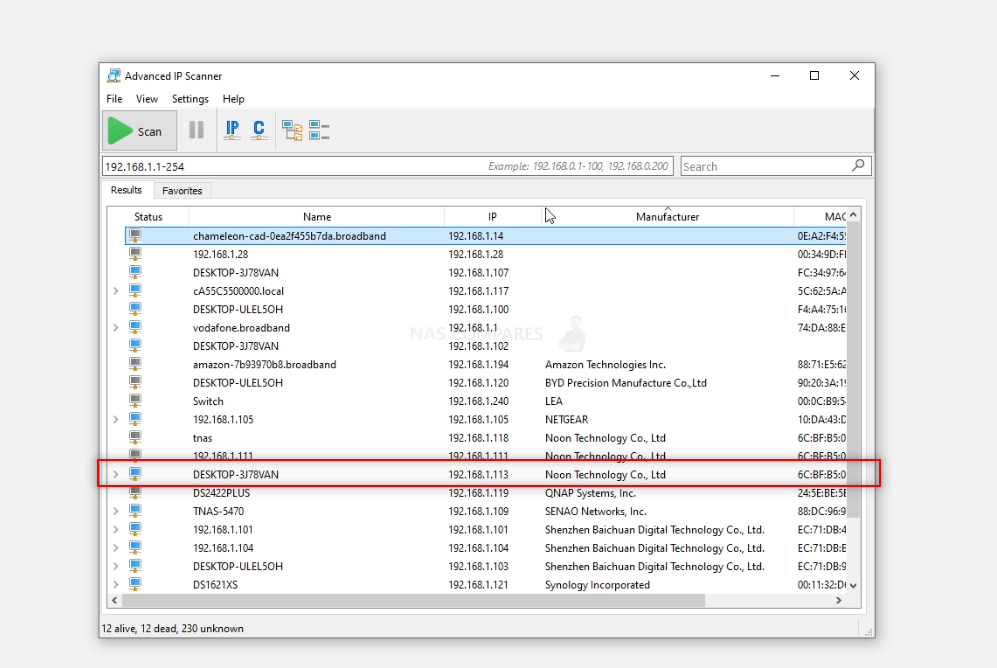
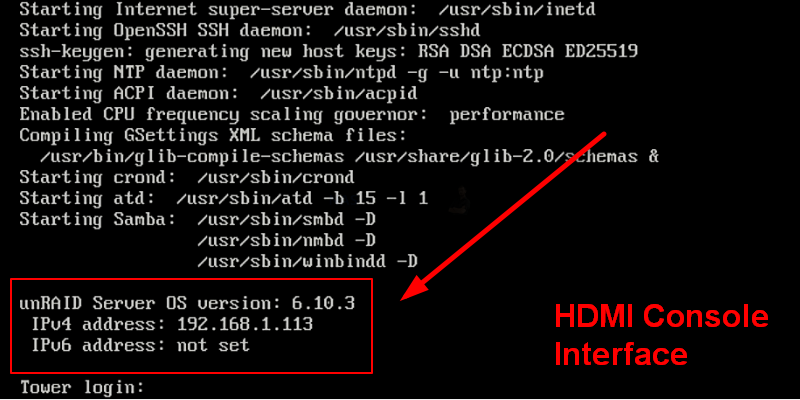
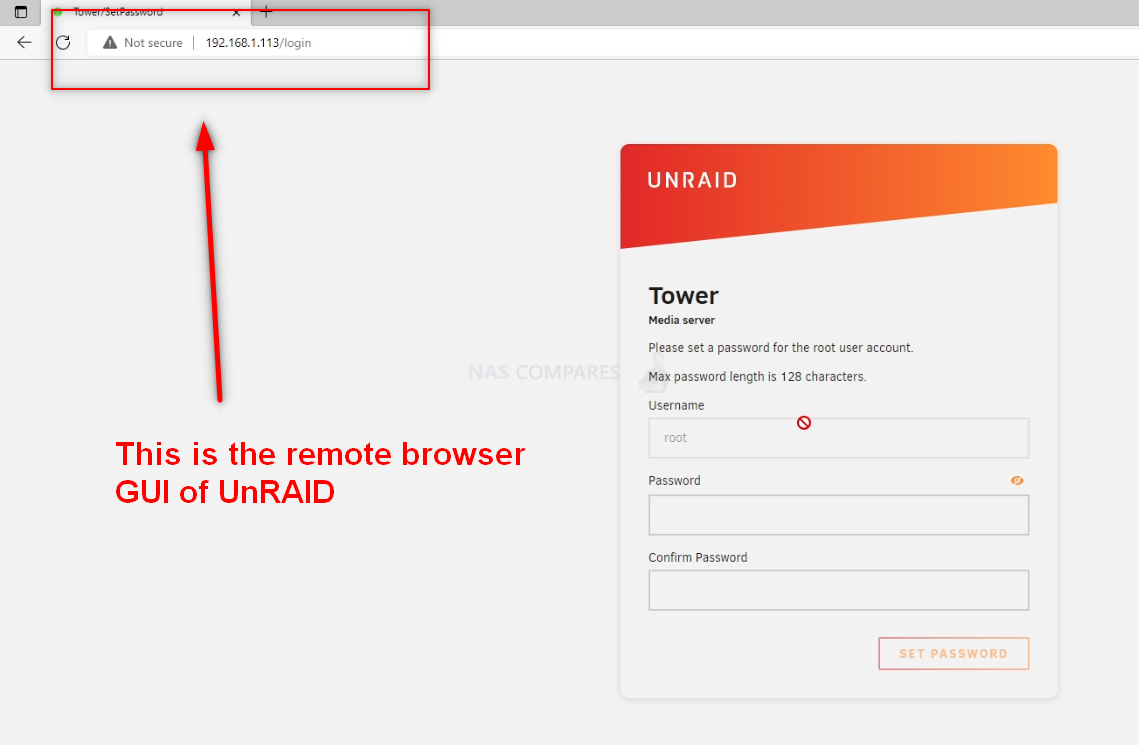
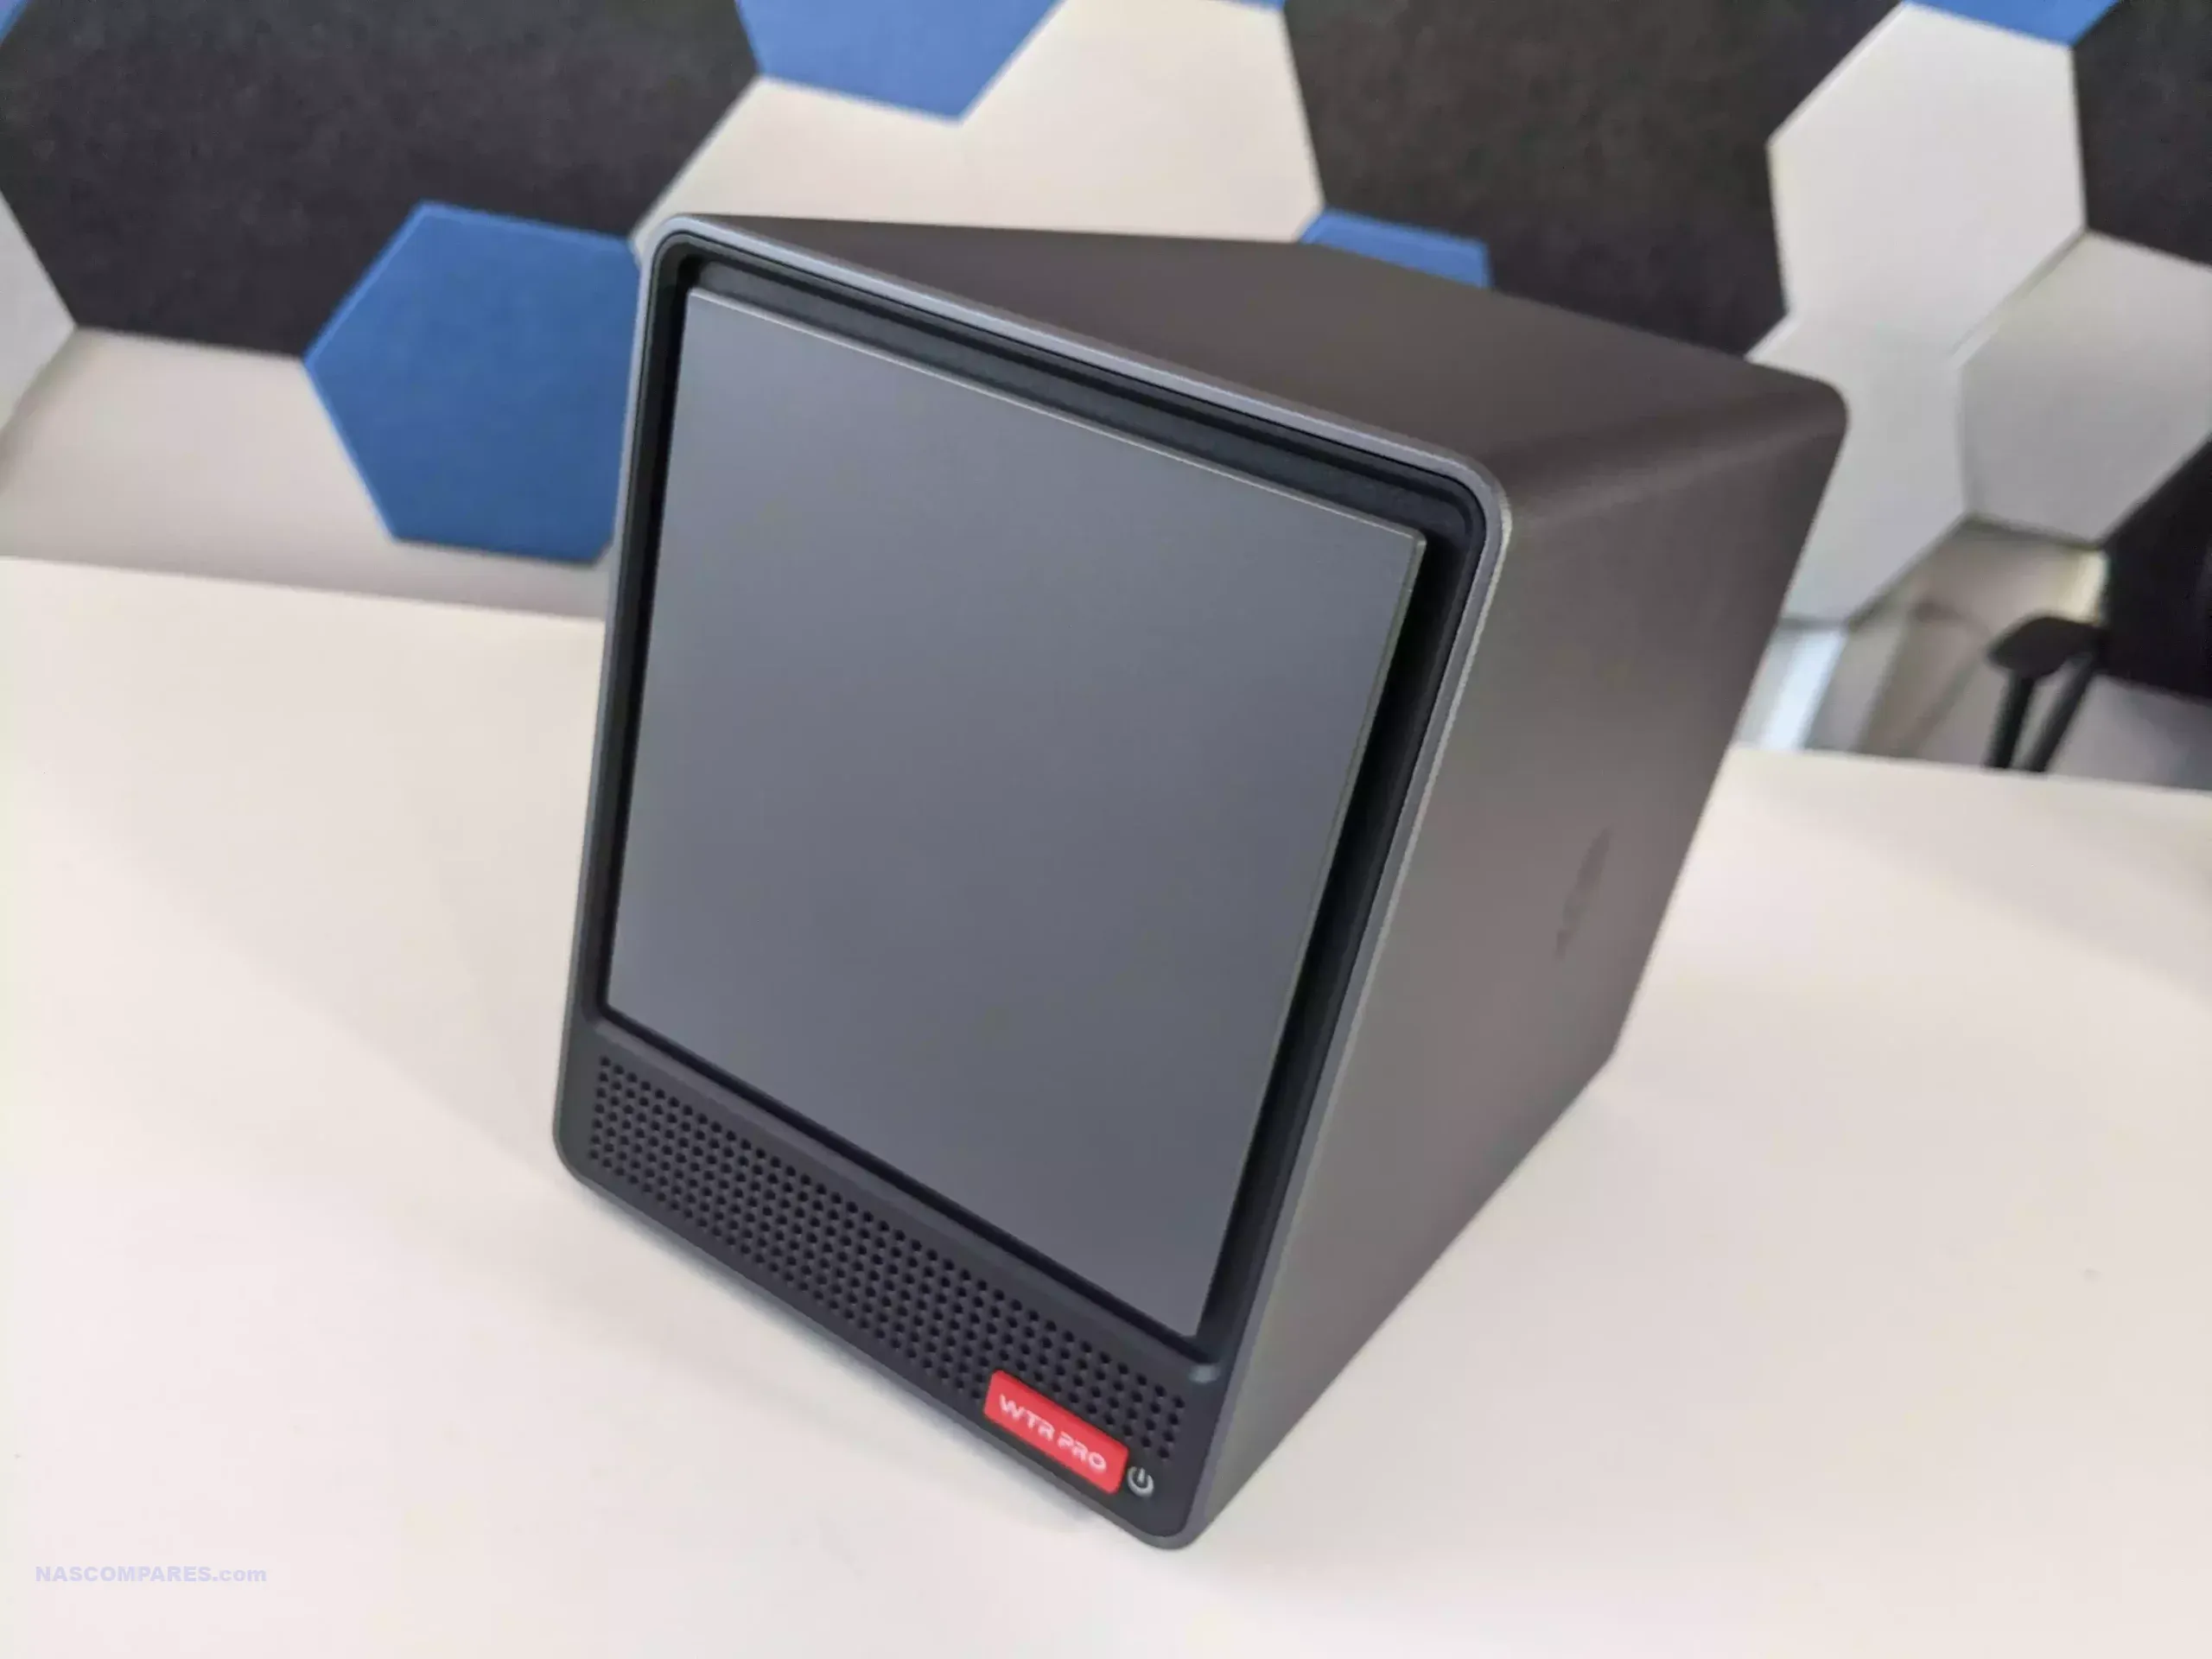
Mini PC Brands – Lincplus, Aoostar, etc.
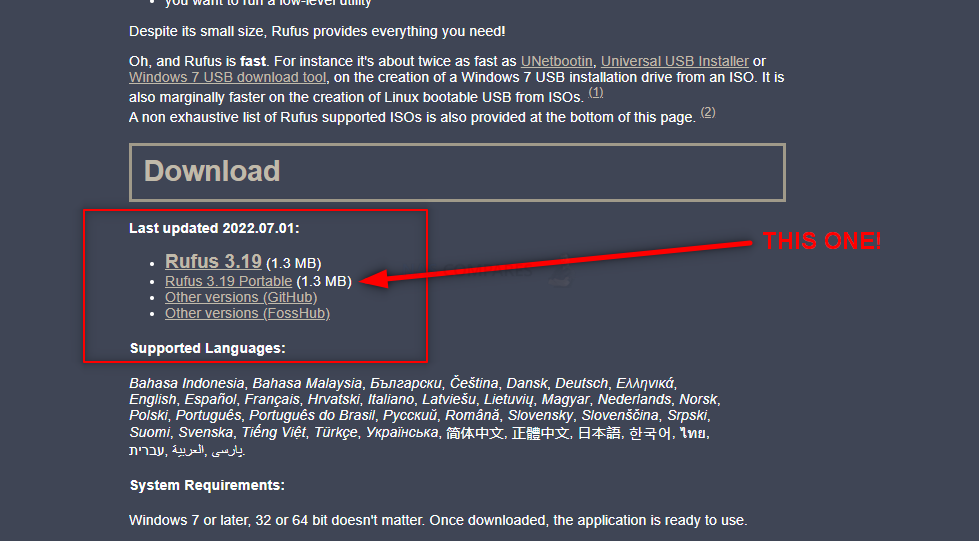
This is an odd one. There have been a large number of solutions appearing on sites such as AliExpress that arrive as “OS-Free” services, allowing a user to get a pre-built NAS hardware solution (i.e., no need to build one yourself, which takes longer and requires a degree of technical understanding). The end user can then choose to install popular and well-established solutions like TrueNAS, UnRAID, OpenMediaVault, and more.
| Value Option | Best All Rounder | SSD Focused NAS |
 |
 |
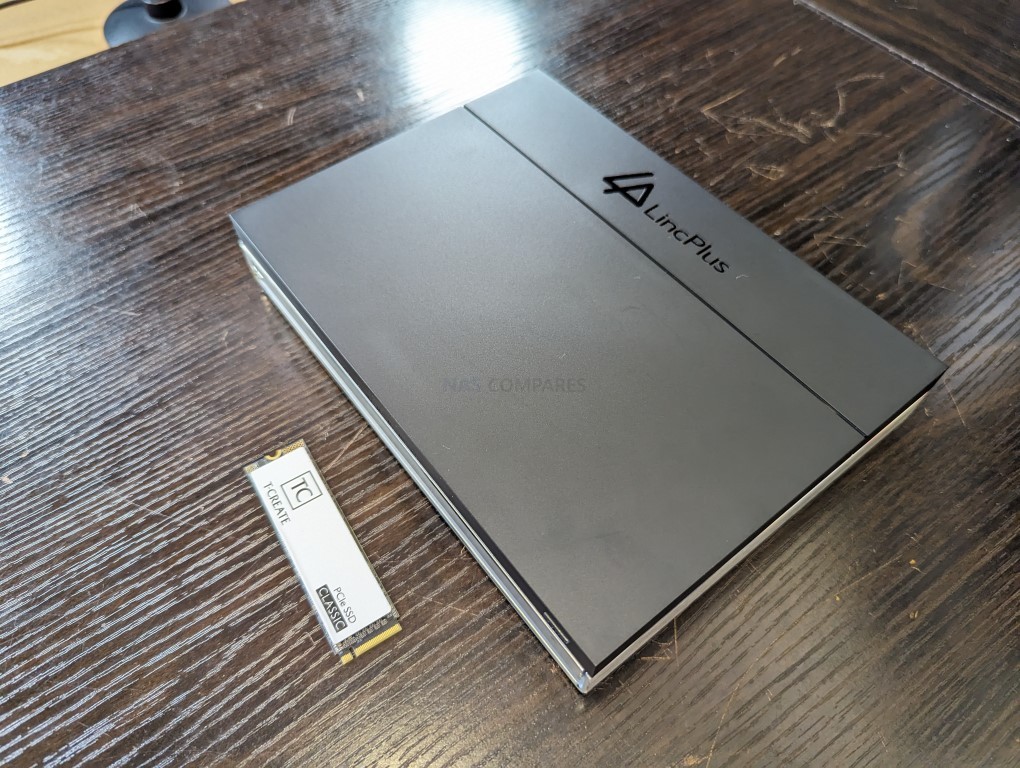 |
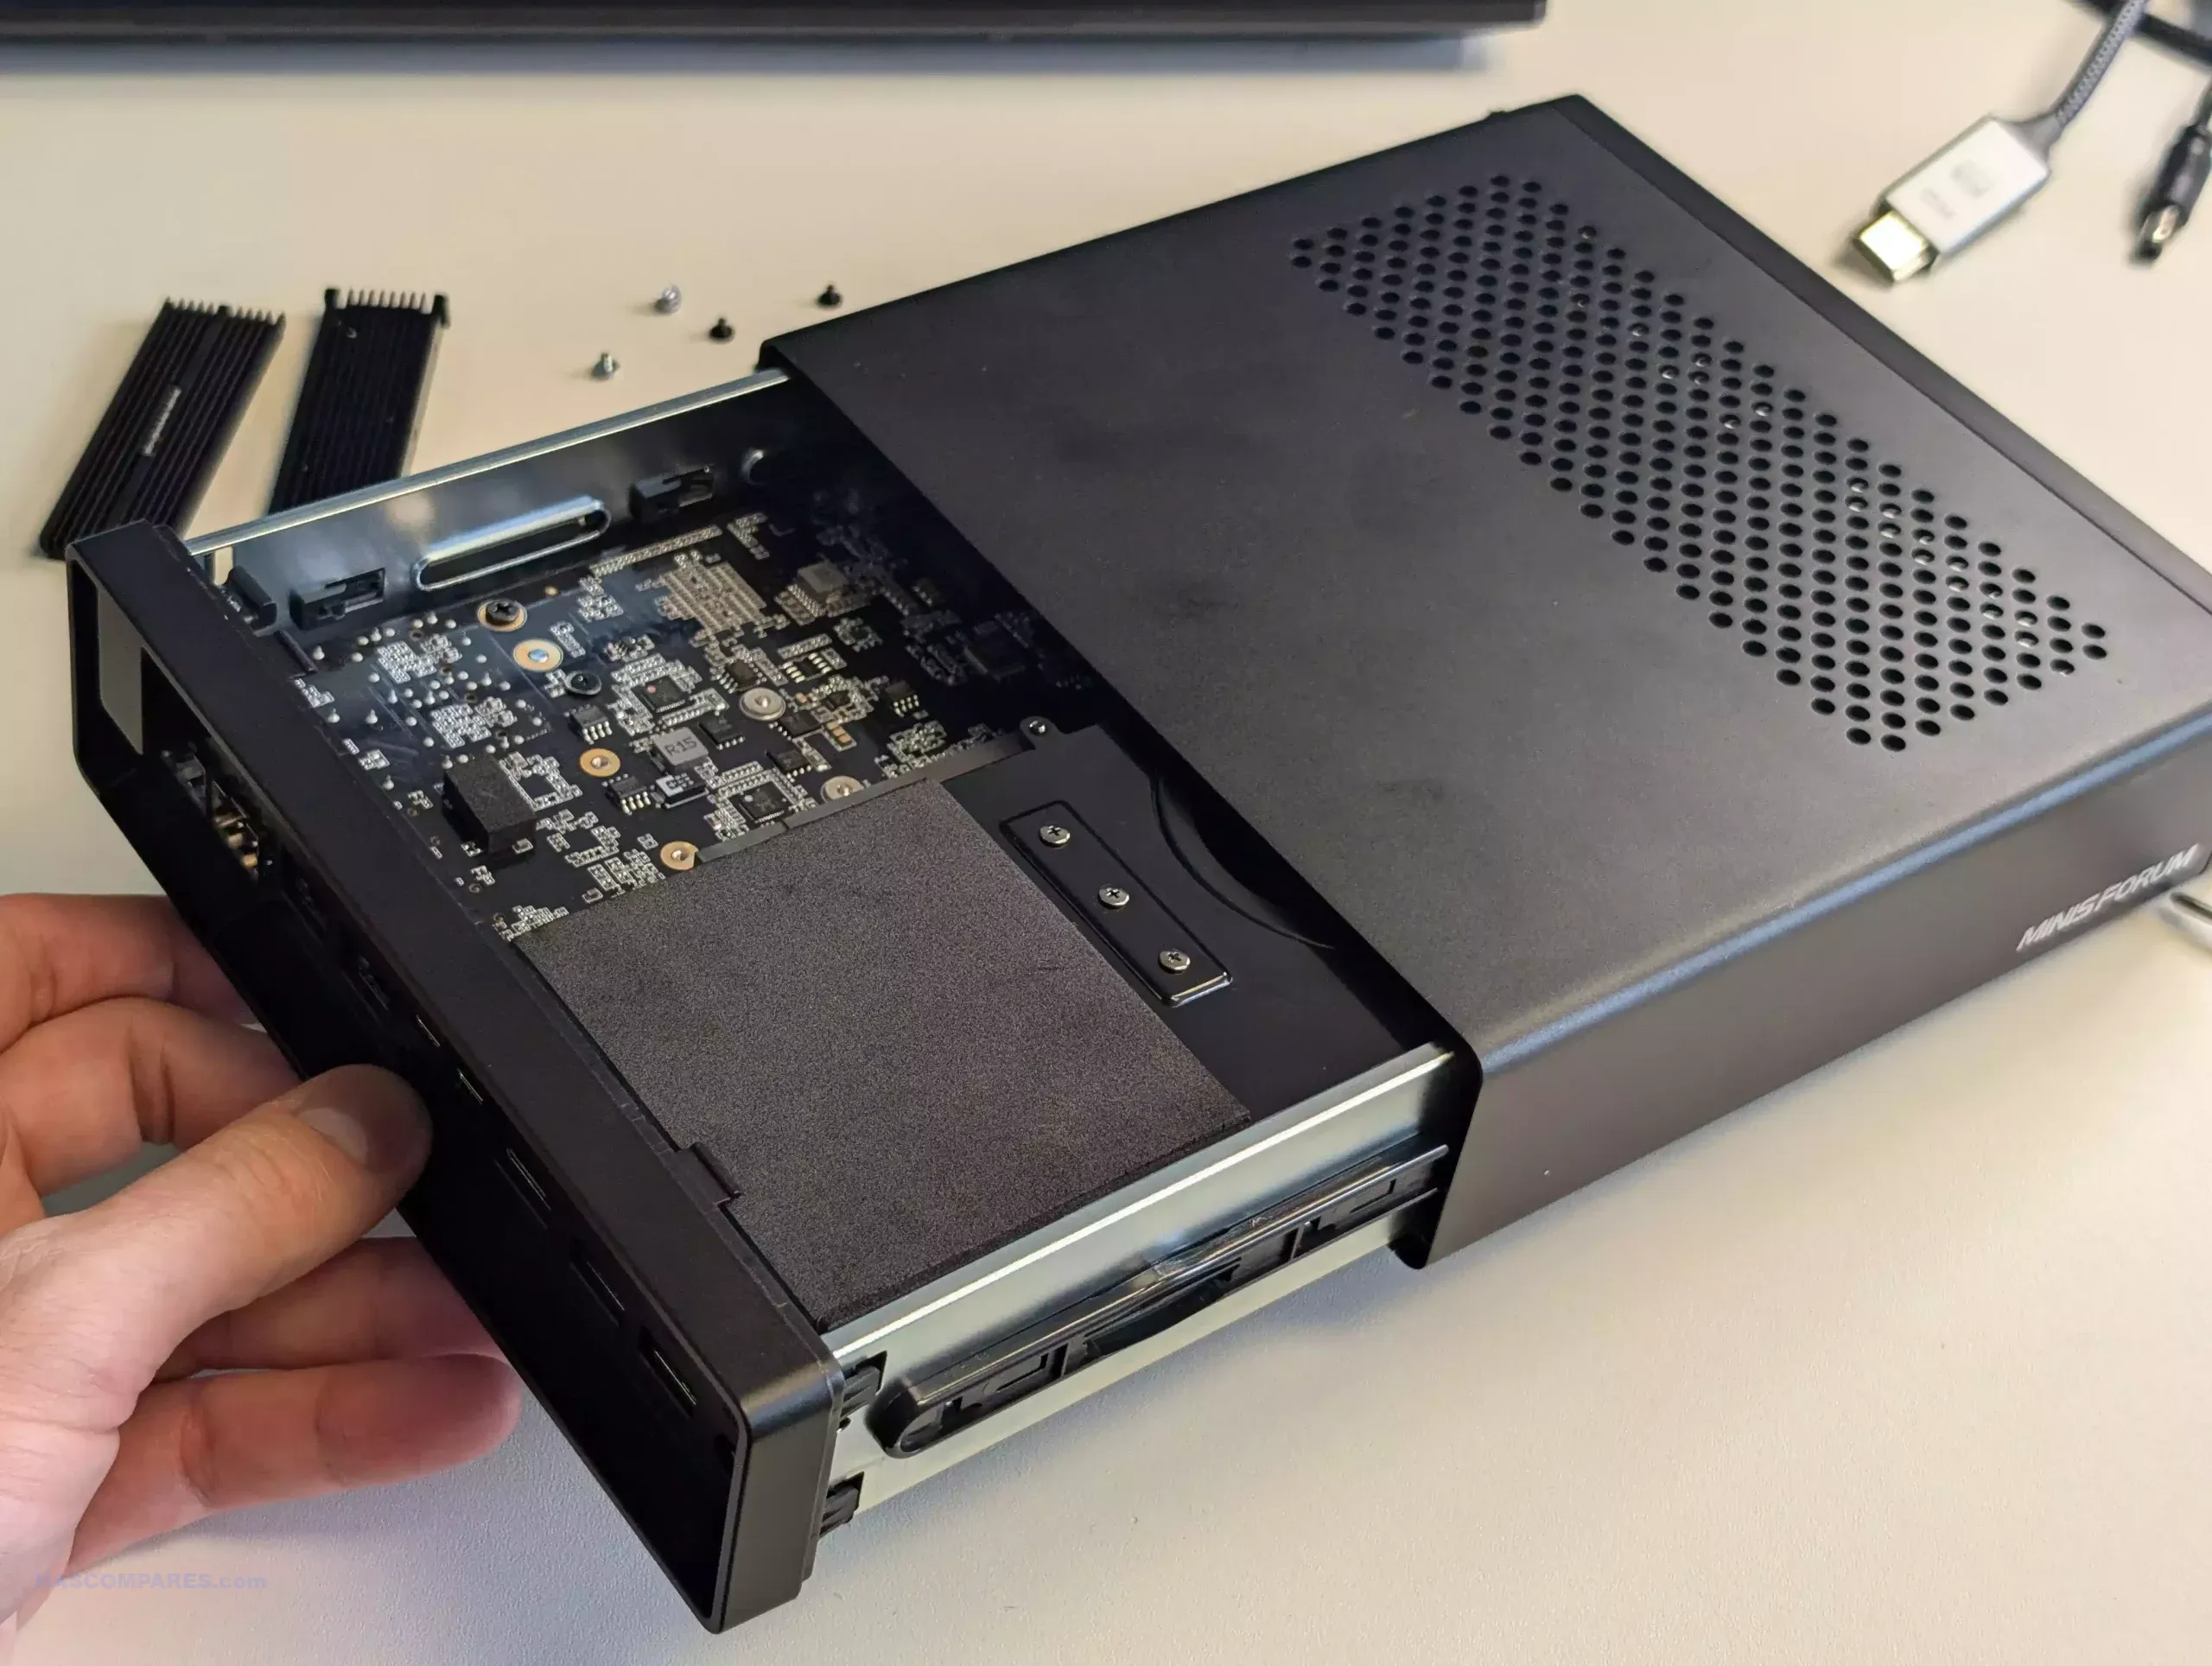
| Aoostar WTR Pro 4-Bay NAS | Minsiforum MS-01 3/6-Bay NAS | Lincplus Lincstation N1 6-Bay NAS |
| $399-799 on Amazon (Check Here)
|
$399 on Amazon (Check Here)
|
$399 on Amazon (Check Here)
|
This serves as an impressively economical solution and has significantly grown in popularity in 2023/2024, but these 3rd-party software platforms lack a lot of the ease of use and quality of life client tools for modern devices that Synology features. Indeed, despite efforts like UnRAID 7 making its day-to-day use much easier, and TrueNAS working with HexOS for a more user-friendly output, these still pale in comparison to DSM and will also require a greater degree of technical user input in the long term to maintain stability, versus Synology’s rather more “it takes care of itself” design.
Synology vs EVERYONE ELSE – Conclusion and Verdict
If Synology were to leave the home/enthusiast/prosumer/small business tier very soon, I do think QNAP would stand to reoccupy this ground. However, give it 2-3 years, and I do think players like Terramaster, Asustor, and yes—even UGREEN—are poised to give QNAP some serious consumer competition. No doubt Synology is still keeping an eye on their competition (big and small) and would not willingly or easily give up this sector without a fight. However, there is no denying that the turnkey NAS industry is no longer the 2-3 horse race it was just five years ago!
 SUBSCRIBE TO OUR NEWSLETTER
[contact-form-7]
 Join Inner Circle
 Get an alert every time something gets added to this specific article!
Subscribe
This description contains links to Amazon. These links will take you to some of the products mentioned in today's content. As an Amazon Associate, I earn from qualifying purchases. Visit the NASCompares Deal Finder to find the best place to buy this device in your region, based on Service, Support and Reputation - Just Search for your NAS Drive in the Box Below
Need Advice on Data Storage from an Expert?
Finally, for free advice about your setup, just leave a message in the comments below here at NASCompares.com and we will get back to you. Need Help?
Where possible (and where appropriate) please provide as much information about your requirements, as then I can arrange the best answer and solution to your needs. Do not worry about your e-mail address being required, it will NOT be used in a mailing list and will NOT be used in any way other than to respond to your enquiry.
[contact-form-7]
Need Help?
Where possible (and where appropriate) please provide as much information about your requirements, as then I can arrange the best answer and solution to your needs. Do not worry about your e-mail address being required, it will NOT be used in a mailing list and will NOT be used in any way other than to respond to your enquiry.
[contact-form-7]
 Ko-fi or old school Paypal. Thanks!To find out more about how to support this advice service check HEREIf you need to fix or configure a NAS, check Fiver
Have you thought about helping others with your knowledge? Find Instructions Here
Ko-fi or old school Paypal. Thanks!To find out more about how to support this advice service check HEREIf you need to fix or configure a NAS, check Fiver
Have you thought about helping others with your knowledge? Find Instructions Here


|
 |


 Not supported
 Allows Unraid, TrueNAS without voiding warranty


 Test du TerraMaster F8 SSD Plus : un NAS full-flash performant
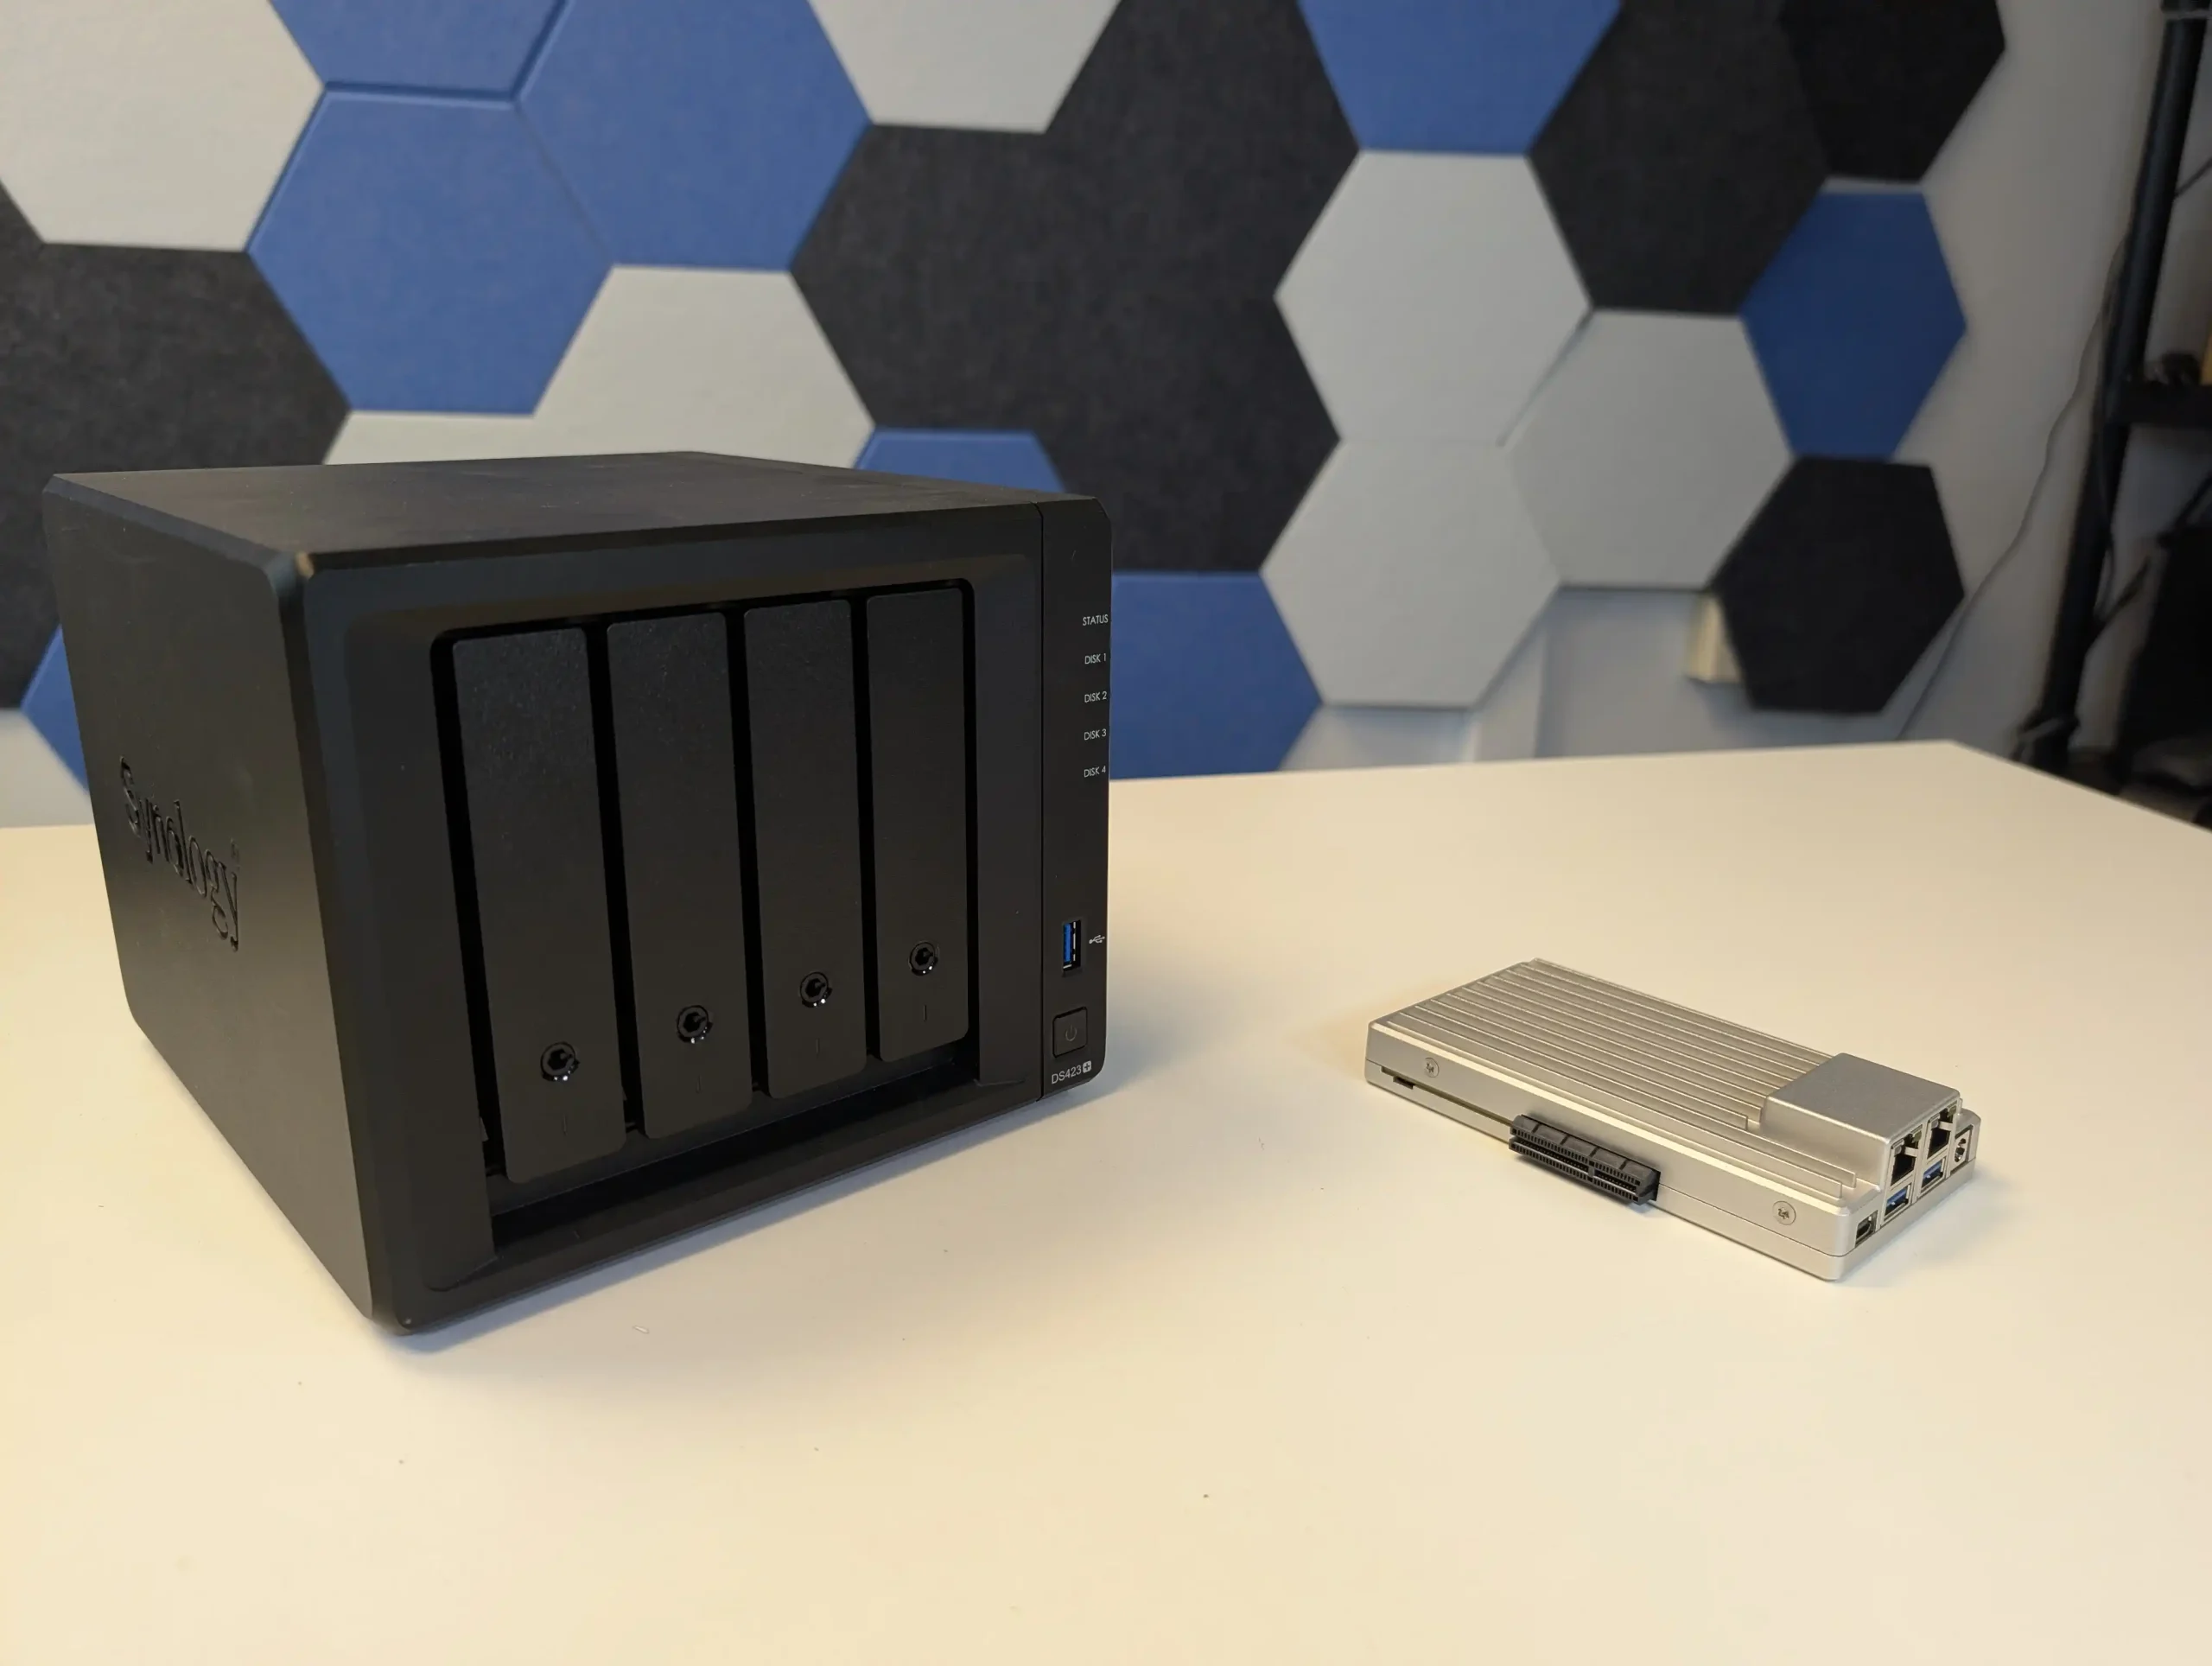


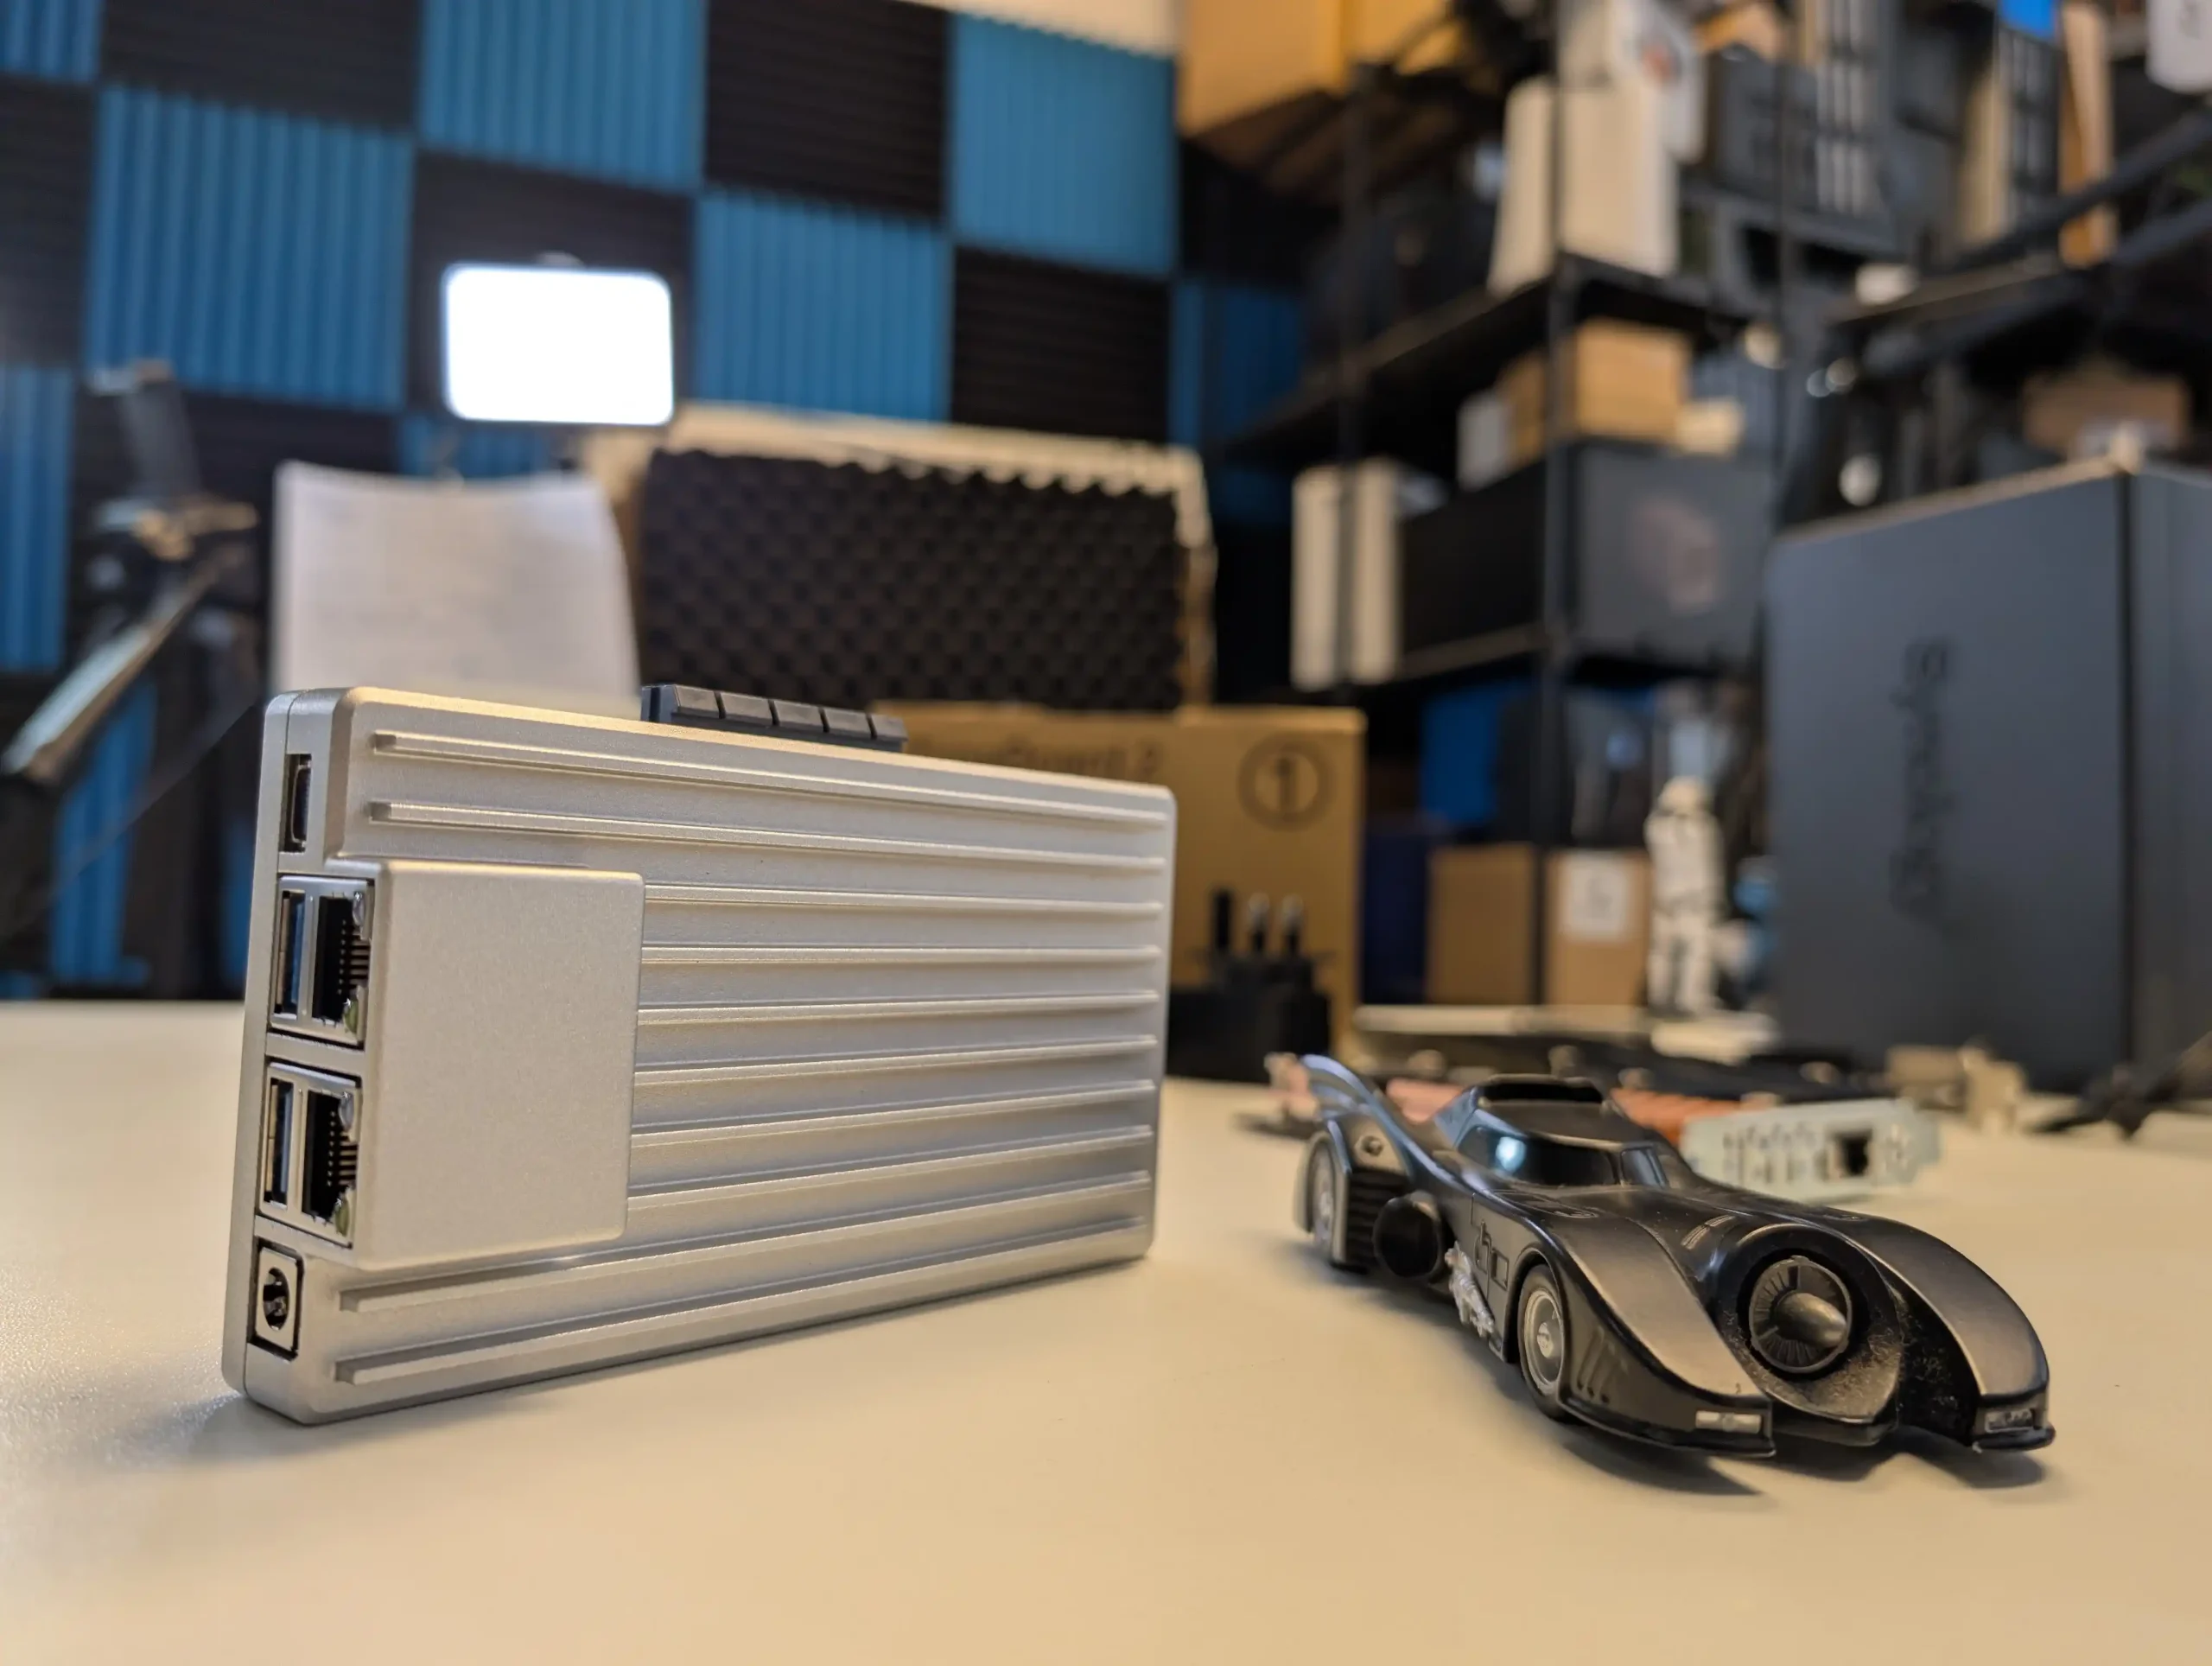
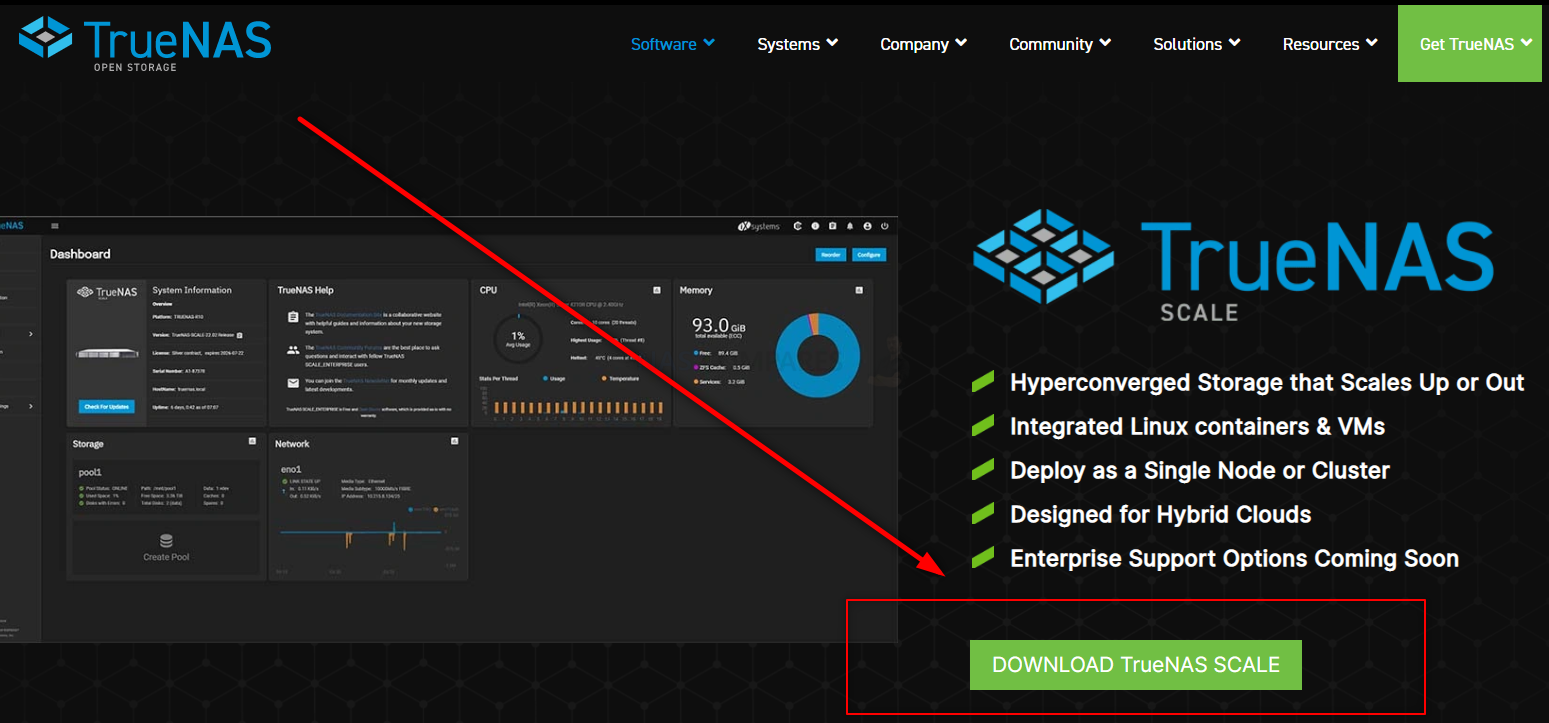
 x86 Architecture – Compatible with a wide range of operating systems including ZimaOS, Unraid, TrueNAS SCALE, and Proxmox.
 Non-Upgradable RAM – 8GB of soldered LPDDR5x limits long-term scalability for memory-intensive tasks.
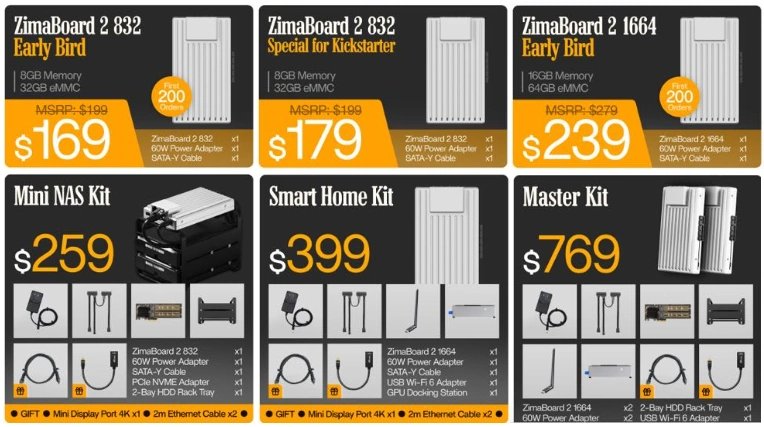


 Test du NAS TerraMaster F4-424


 Meilleurs NAS 2025 : Choisissez le stockage réseau parfait pour vos besoins


 Powerful Hardware: Intel i5-1235U with 10 cores and 12 threads for resource-heavy tasks.
 Higher Price Tag: At just under $1K, it’s more expensive than TerraMaster’s other models, which may deter budget-conscious buyers.
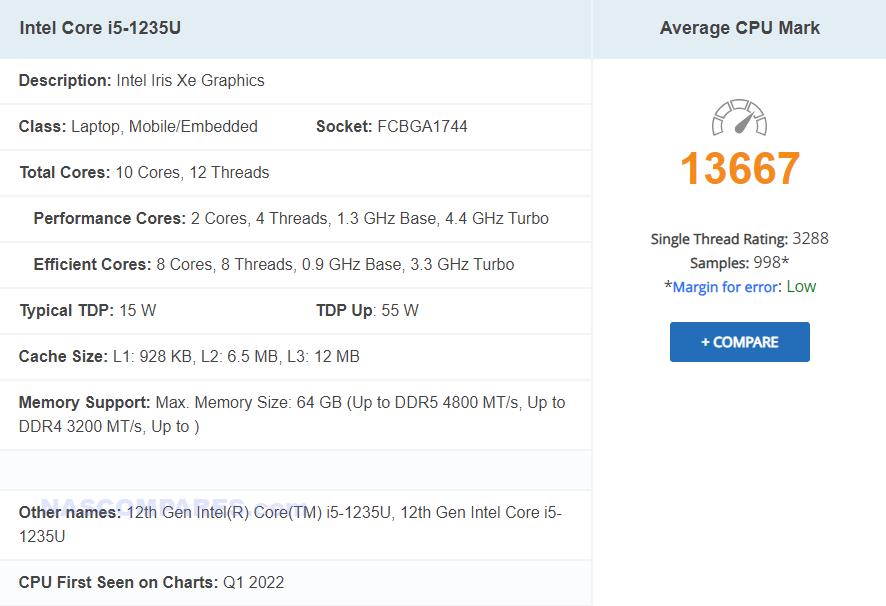


 SUBSCRIBE TO OUR NEWSLETTER