Windows 11 Mouse Cursor Disappeared: Top Fixes
While using a mouse, there are a few problems users have run into. Some of these include mouse cursor flickering and moving from left to right. However, we explore a different problem for this guide: the Windows 11 mouse cursor disappeared issue.
This issue makes navigating and using the computer very unpleasant. When the mouse cursor disappears, it is often caused by any of the following:
- A hidden mouse cursor
- Outdated mouse drivers
- Conflicting applications
- Corruption of system files
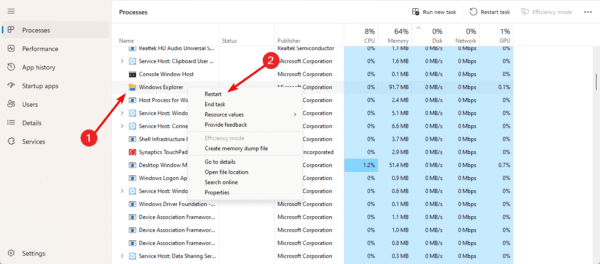
1. Restart the Computer
Before going to any more complex solutions, you should restart your computer. A reboot is often powerful enough to fix problems caused by minor system bugs. This is because rebooting the computer will force all processes to shut down, including problematic processes that may trigger the problem.
2. Unhide Mouse Pointer
There is a setting to hide the mouse while you are typing. If this setting is enabled, it may seem like the mouse cursor disappeared in Windows 11.
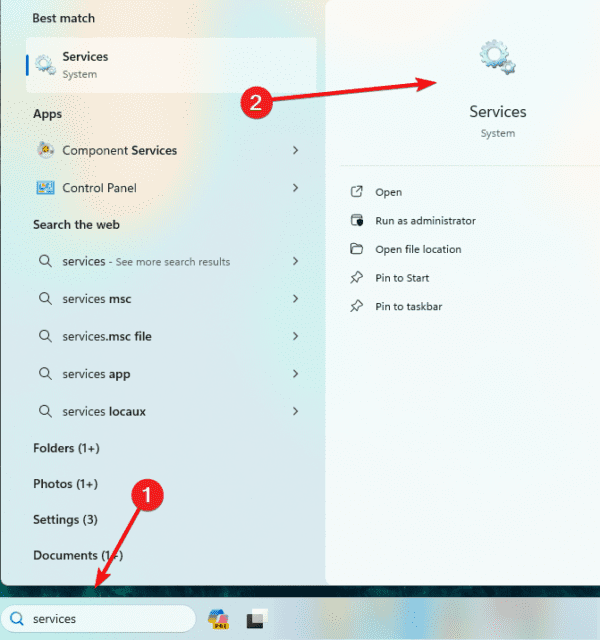
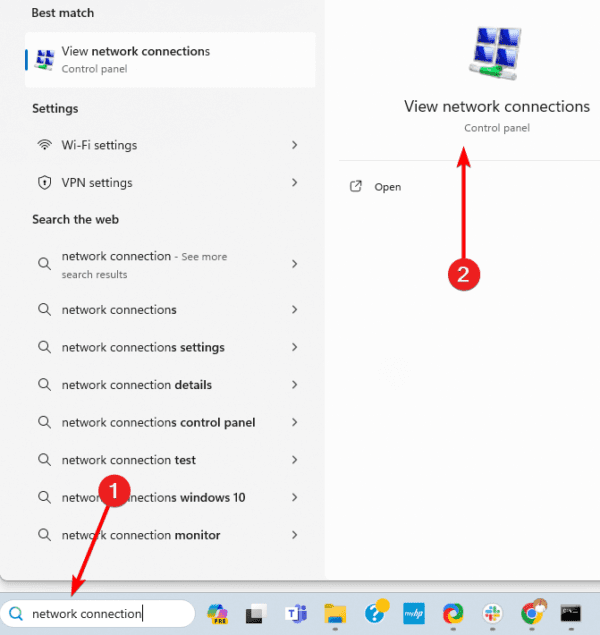
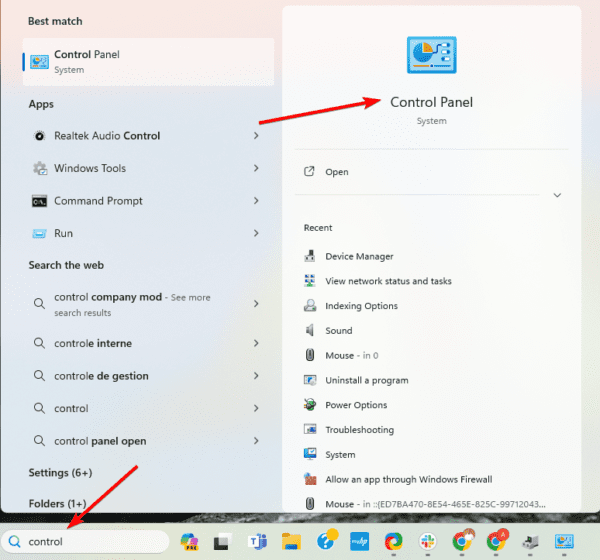
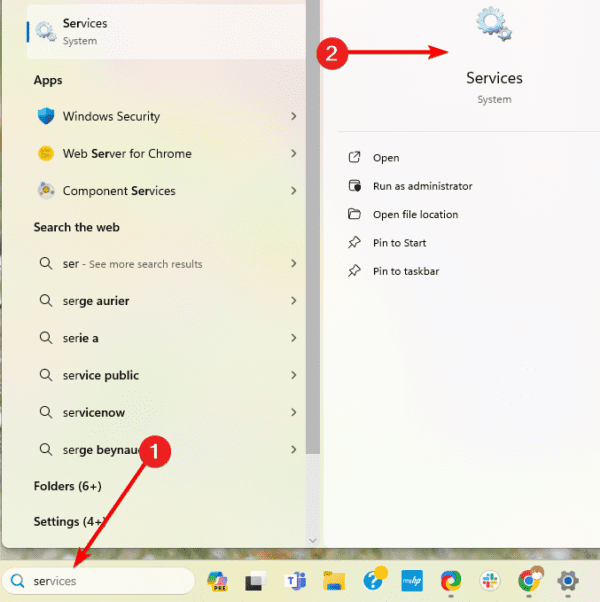
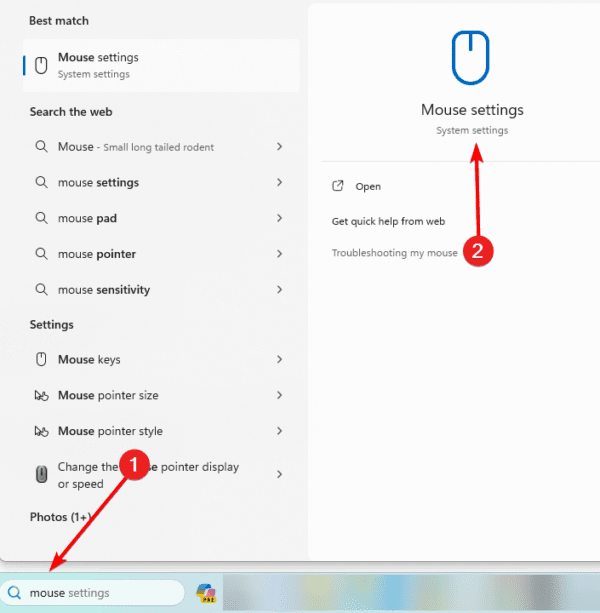
1. Press the magnifying lens on the Taskbar, type mouse, and click the Mouse Settings app.
2. Click Additional mouse settings.
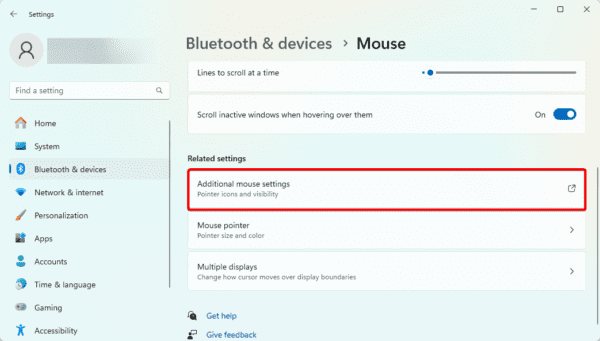
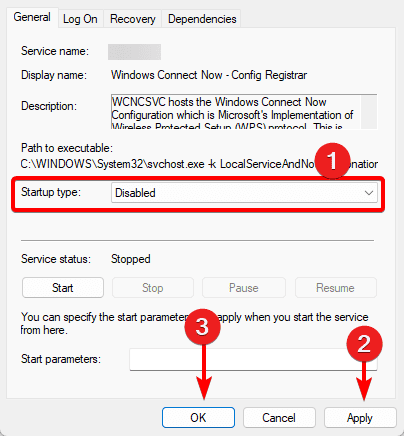
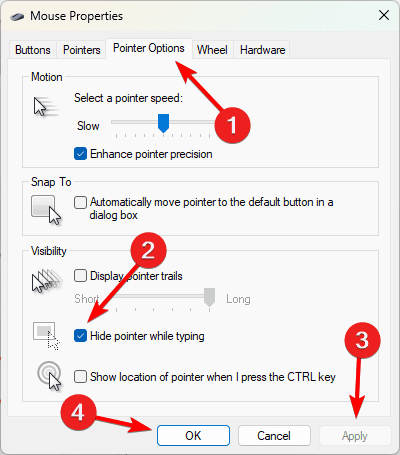
3. Click the Pointer Options tab, uncheck ‘Hide pointer while typing’, then click Apply and OK.
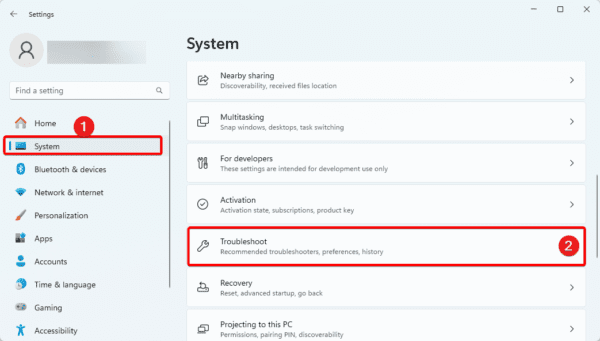
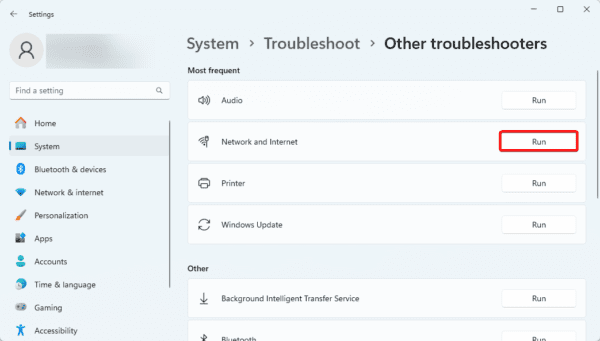
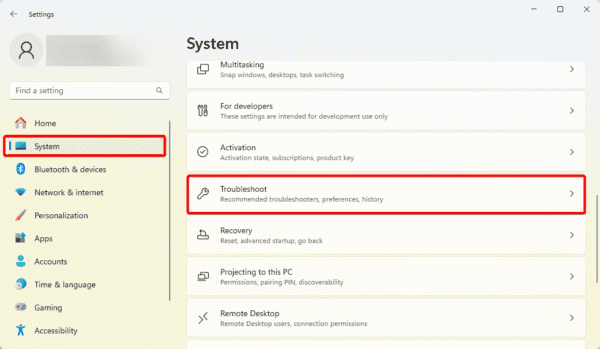
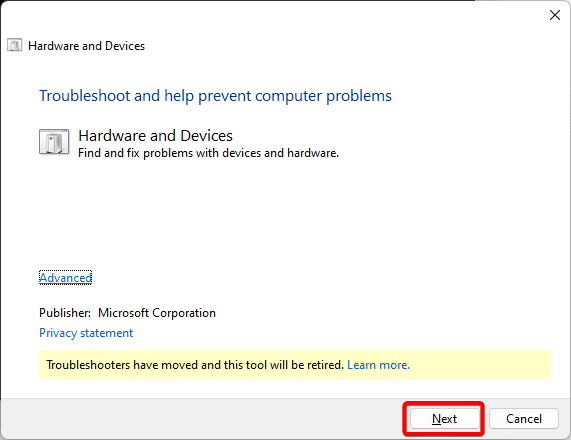
3. Run the Hardware Troubleshooter
Windows 11 comes with a built-in hardware troubleshooter. This tool effectively fixes hardware-related issues and should be your go-to when the Windows 11 mouse cursor disappears.
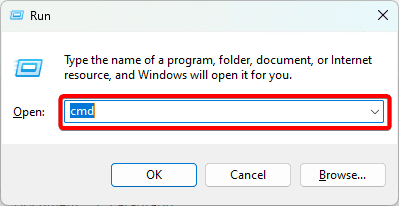
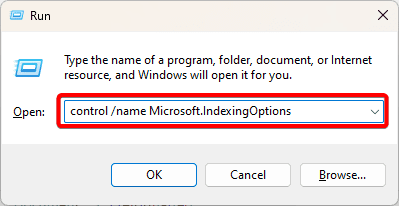
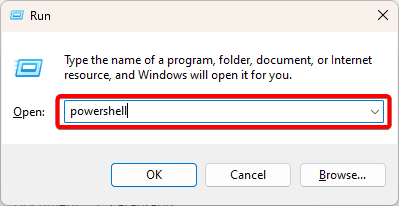
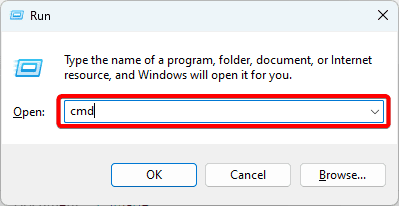
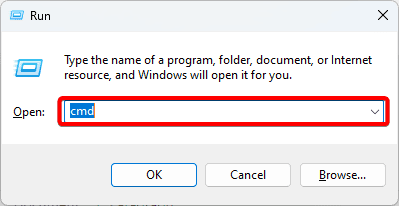
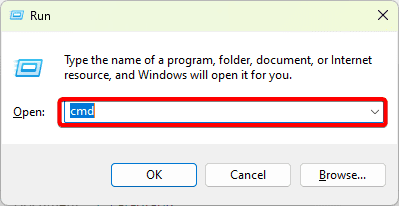
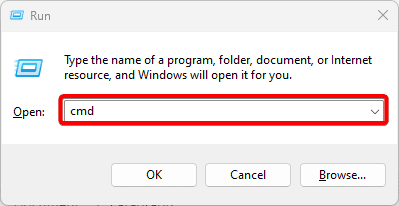
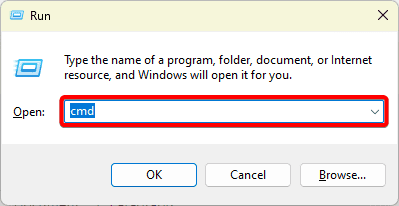
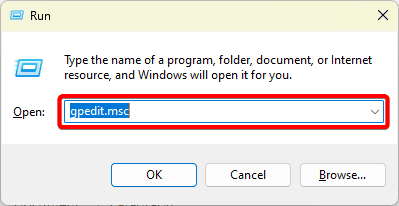
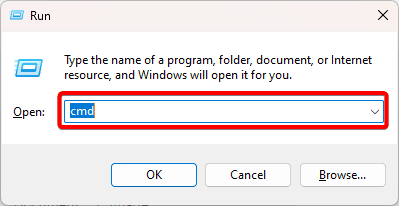
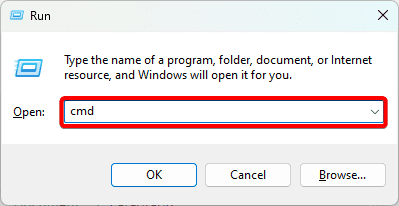
1. Press Windows + R to open the Run dialog.
2. Type cmd and hit Ctrl + Shift + Enter to open the Command Prompt.
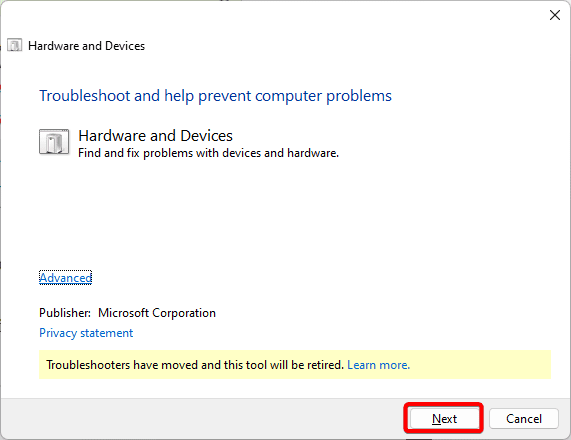
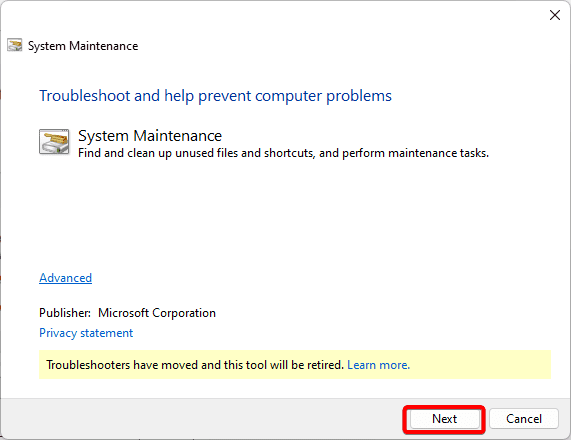
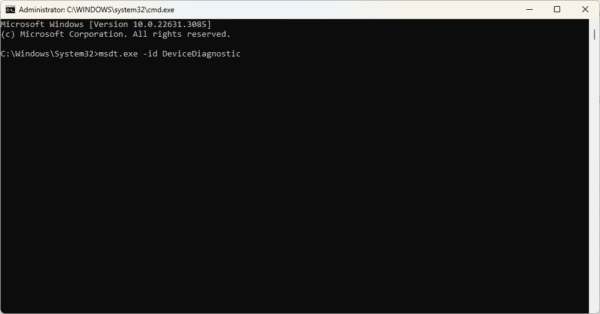
3. Type the command below and hit Enter to launch the Hardware troubleshooter.
msdt.exe -id DeviceDiagnostic
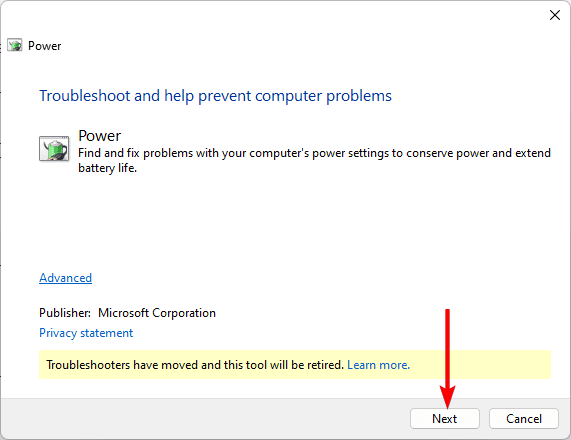
4. Click Next and follow the wizard to complete the process.

4. Enable Your Mouse or Touchpad With the Function Key
Some computers have a special function key to enable the mouse or touchpad. If these hardware units are disabled using this key, you will observe that the mouse cursor has disappeared.
Simply press the appropriate function key, and the problem should be resolved.
5. Replace the Mouse
Mechanical failure is one reason you observe that the Windows 11 mouse cursor disappeared. None of the solutions in this guide will work when this is the case. You will have to fix it or replace it.
A good way to know if the mouse is bad is by testing it on another computer. If it also does not work, then you should replace the mouse.
6. Use a Different Port
While the mouse may be faulty, this is not always the case. If your mouse is connected via a USB port, you may also have problems with a bad port.
You may clean the USB port and blow dry air through it to remove particles or debris spoiling the connection. Additionally, try connecting the mouse via a different port.
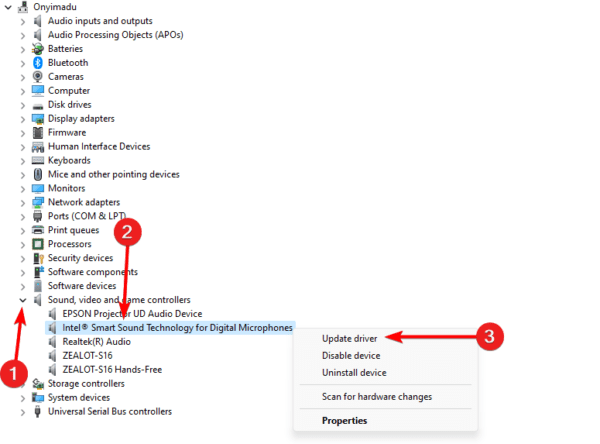
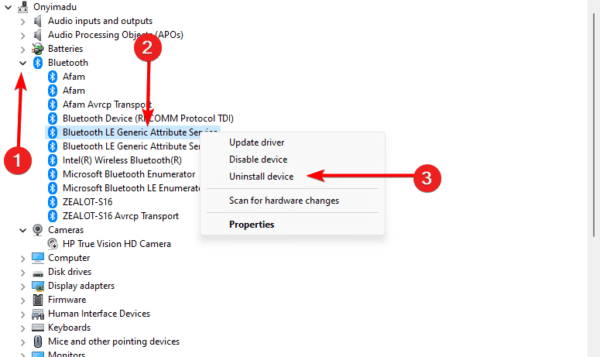
7. Reinstall or Update Mouse Drivers
Mouse drivers are essential in transmitting signals from the hardware unit to the OS. When the drivers are corrupted or outdated, you may expect some problems. Follow the steps below to reinstall the driver.
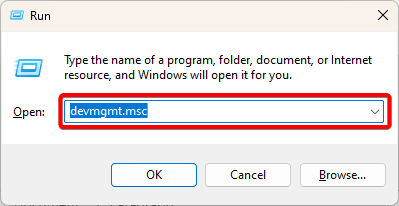
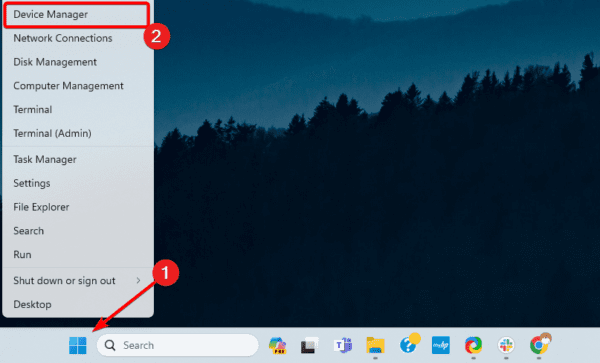
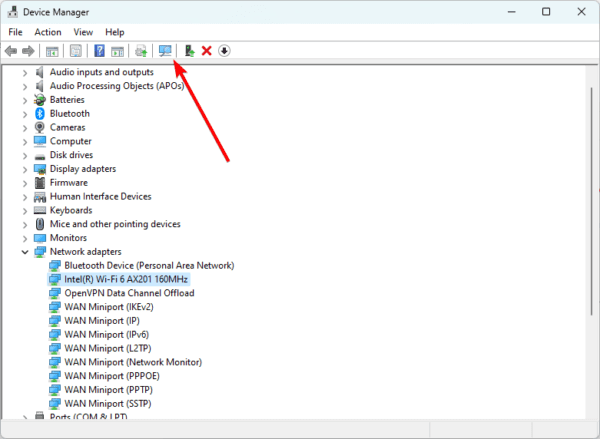
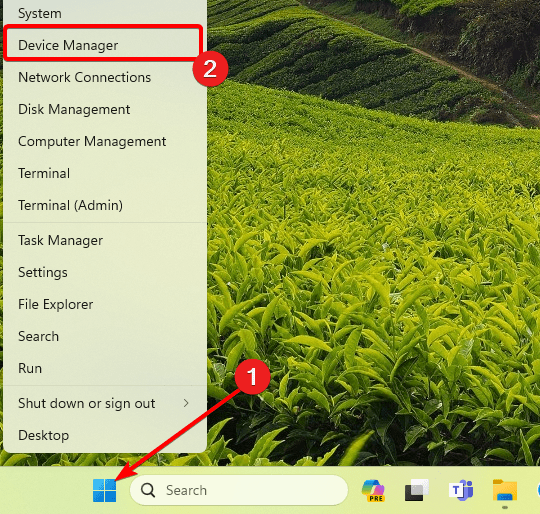
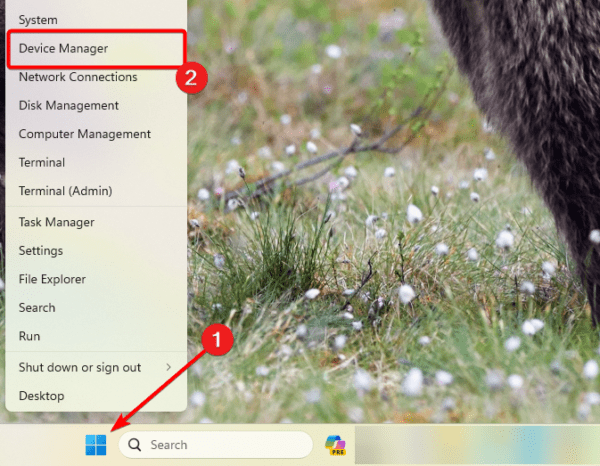
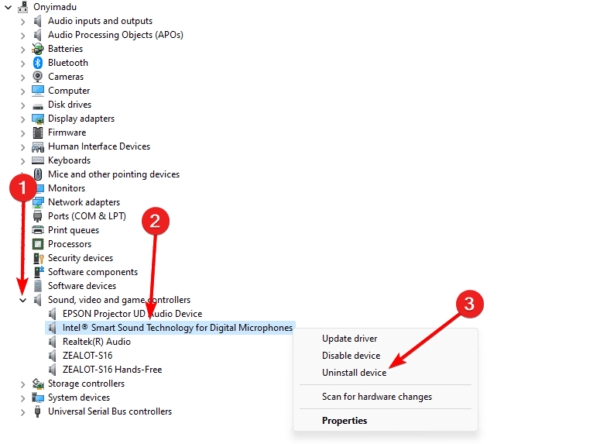
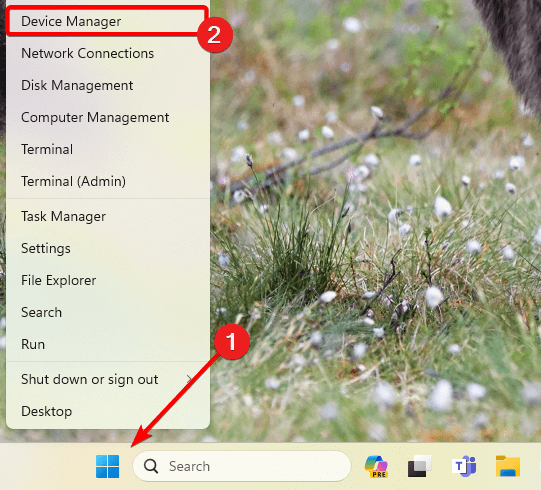
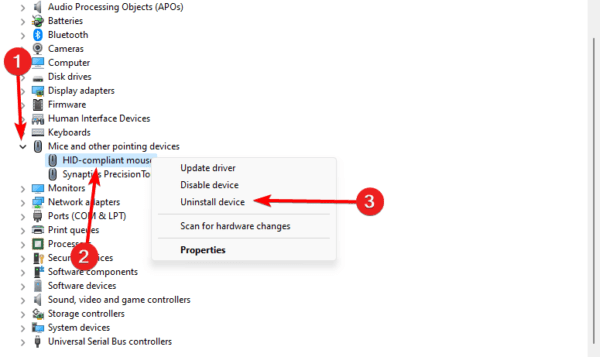
1. Right-click the Start menu and select Device Manager.

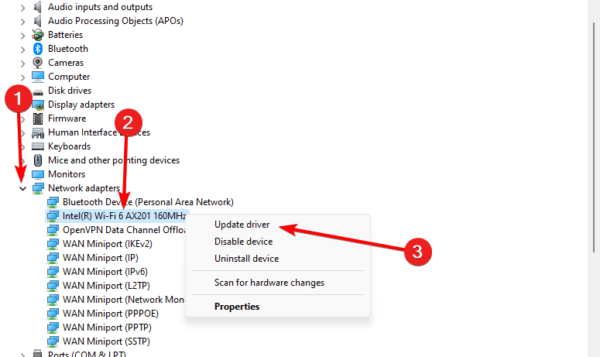
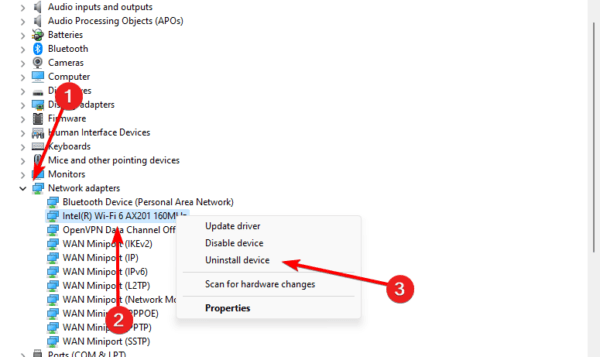
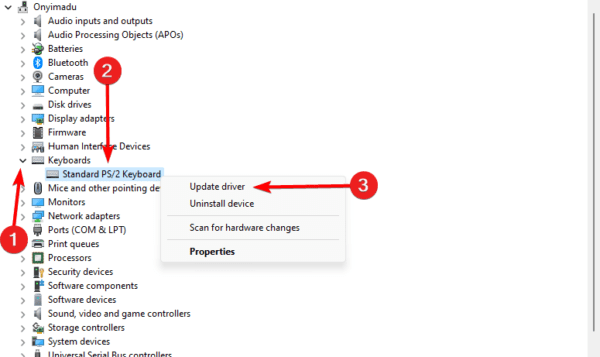
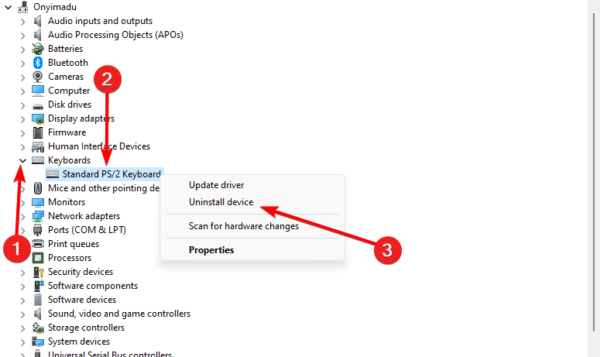
2. Expand the Mice and other pointing devices category, right-click on your mouse driver, and select Uninstall device. You uninstall the touchpad driver from the Human Interface Devices category.
3. Confirm your choice.
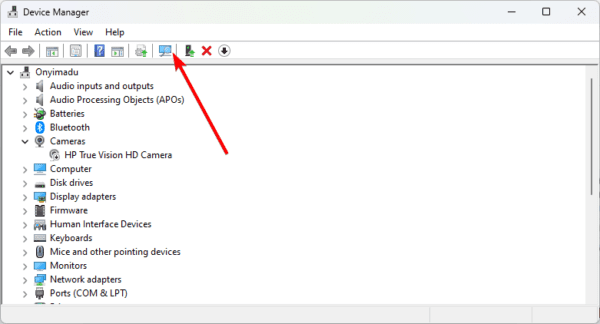
4. Restart your computer and reopen the Device Manager.
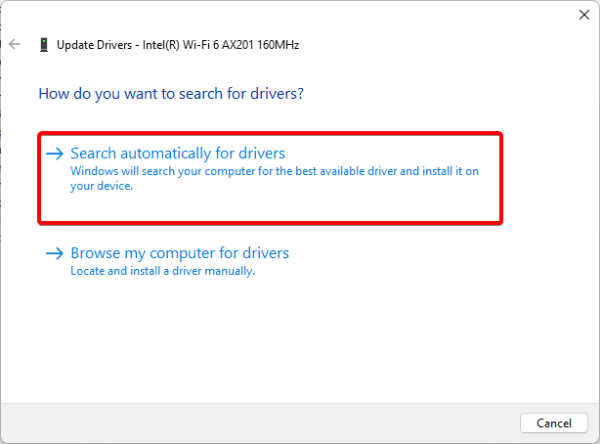
5. Click the Scan for hardware changes icon, and the uninstalled driver will be reinstalled with an updated version.

8. Run the SFC Scan
Cases of system file corruption can be fixed by running the SFC scan. If your mouse cursor disappeared on Windows 11 because of bad system files, this scan will be an effective fix.
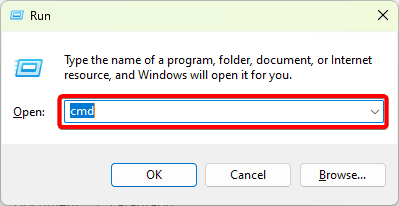
1. Press Windows + R to open the Run dialog.
2. Type cmd and hit Ctrl + Shift + Enter to open the Command Prompt.
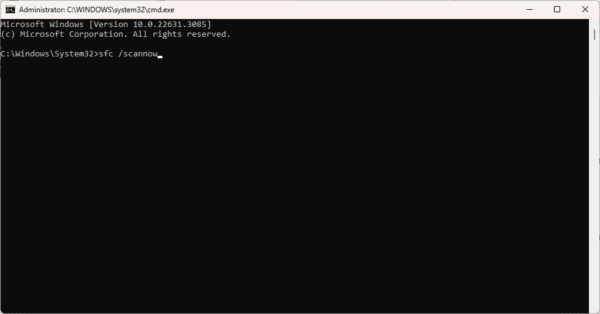
3. Type the command below and hit Enter.
sfc /scannow
Moving Past the Mouse Cursor Problem
With the solutions we have shared in this guide, you should have moved past the disappearing mouse cursor problem on Windows 11. You may reset the computer as a last resort, but remember that you may lose important data.
That is as much as we cover in this guide. Please let us know in the comment section if you have additional questions.
FAQ
The mouse pointer in Windows 11 may vanish for a number of reasons. Driver problems, system errors, or mismatched settings are common causes.
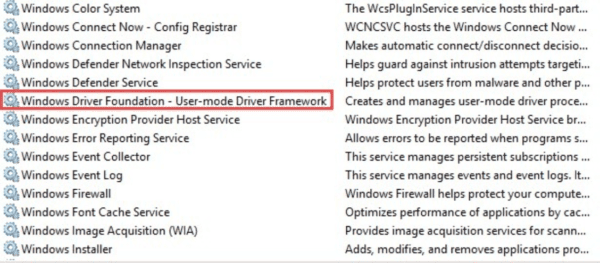
Open the Device Manager and open the Mice and other pointing devices category. Your mouse driver may be malfunctioning, so you’ll see an error message or warning indicator.
The post Windows 11 Mouse Cursor Disappeared: Top Fixes appeared first on Next of Windows.