Your Device Is Missing Important Security and Quality Fixes: Fixed
If you have tried to update your computer but cannot install some critical updates, you may get the error message that your device is missing important security and quality fixes. This error may include the 0x80070643 error code.
This error is similar to the 0x8024ce16 Windows update. In this guide, we will walk you through some of the most effective ways of fixing the Windows 11 problem.
1. Run the Windows Update Troubleshooter
On Windows 11, you have several troubleshooters built into the operating system. The Windows Update troubleshooter is one of them. It will scan the computer for potential causes of your device missing important security and quality fixes. It will fix the problem or recommend solutions.
1. Open the Settings app by pressing the Windows + I keys.
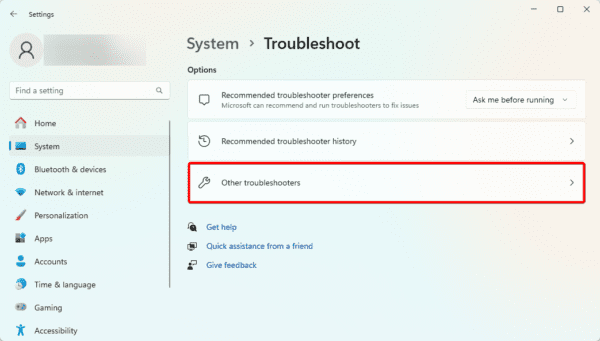
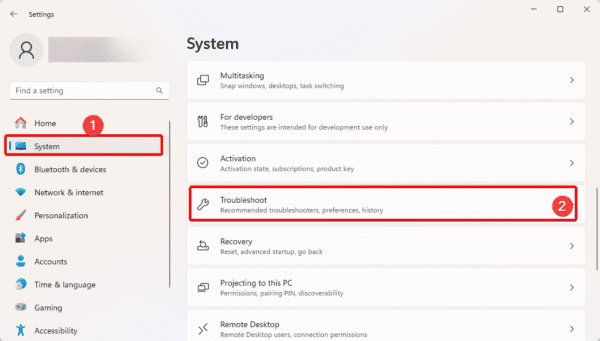
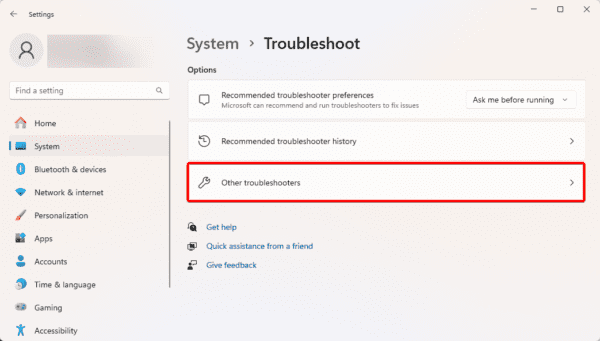
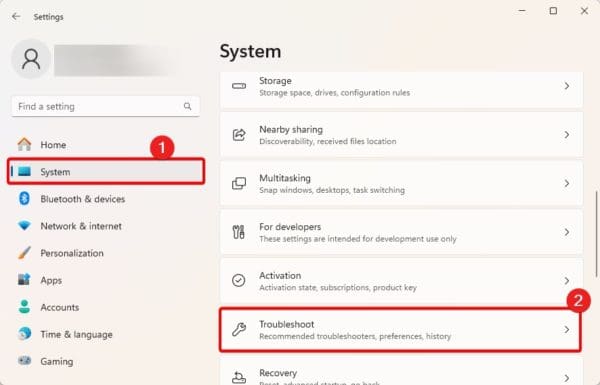
2. Click the System option on the left, then click Troubleshoot on the right.
3. Click Other troubleshooters.
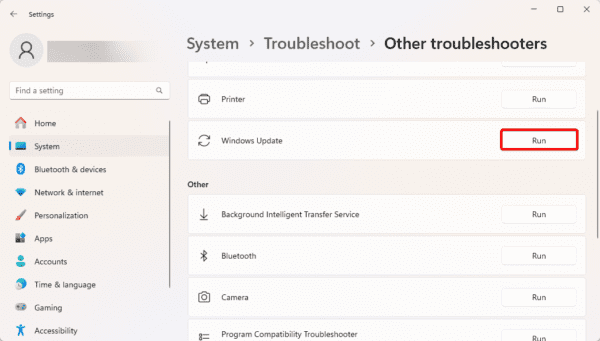
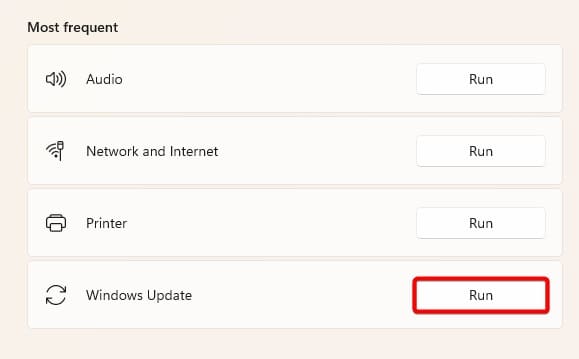
4. Click the Run button for Windows Update.
5. Follow the wizard to complete the process, then restart the computer if needed.
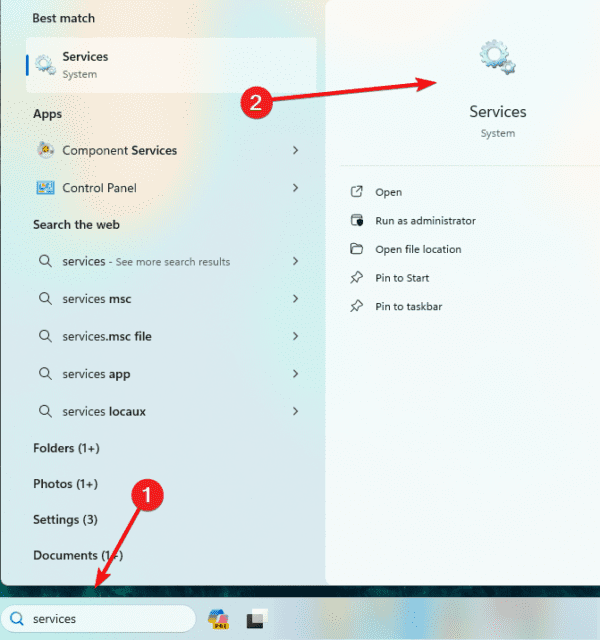
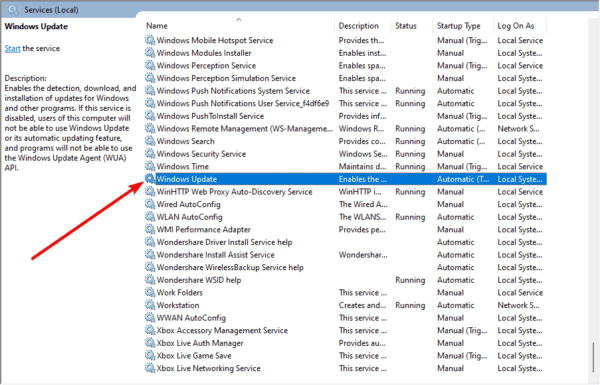
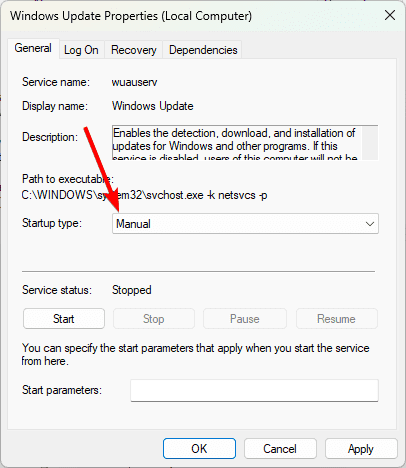
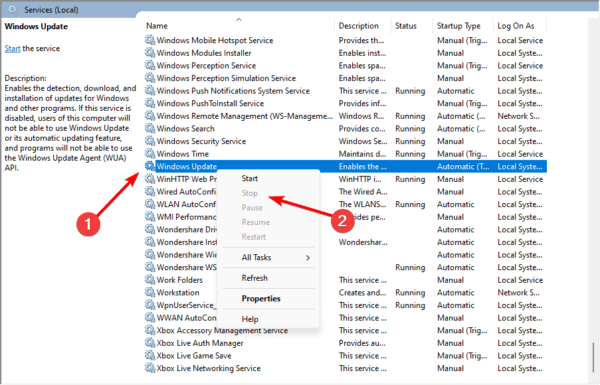
2. Reset Windows Update Components
When you encounter the error that your device is missing important security and quality fixes, you should reset Windows update components. This reset will fix corruption or missing files that may contribute to the error.
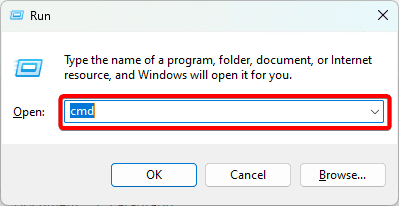
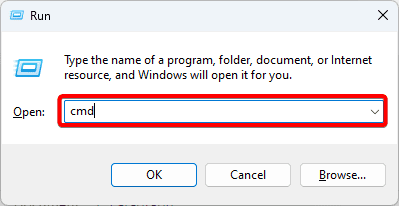
1. Click the magnifying lens on the Taskbar, type cmd, and hit Run as Administrator.

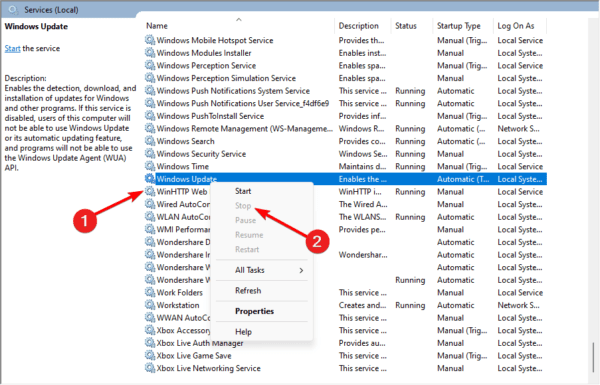
2. Run the commands below by typing them in the command prompt and hitting Enter after each one. This will stop all update services.
net stop wuauserv
net stop bits
net stop appidsvc
net stop cryptsvc
3. Optionally, delete your temporary files by running the command below:
cd %systemroot%\SoftwareDistribution
del /f /s /q *.*
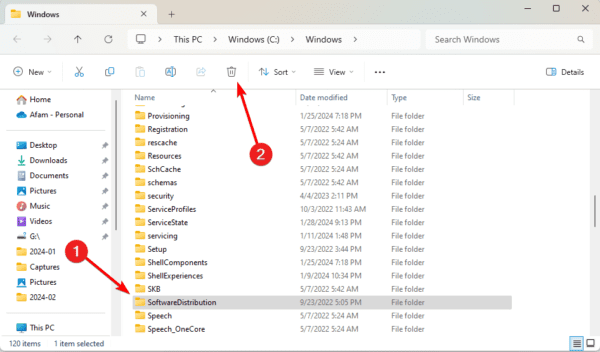
4. Run both commands below to rename the SoftwareDistribution and Catroot2 folders.
ren %systemroot%\SoftwareDistribution SoftwareDistribution.old
ren %systemroot%\System32\catroot2 Catroot2.old
5. Finally, restart the update services by running the command below, then restart the computer.
net start wuauserv
net start bits
net start appidsvc
net start cryptsvc
3. Fix Image and System File Corruption
File corruption is a common cause of update errors: your device is missing important security and quality fixes. On Windows 11, you may use the DISM and SFC scans to fix said corruption. These scans will replace or repair any corrupted files.
1. Click the magnifying lens on the Taskbar, type cmd, and hit Run as Administrator.
2. Run the two DISM commands below to scan for image corruption and fix any discovered corruption.
DISM /Online /Cleanup-Image /ScanHealth
DISM /Online /Cleanup-Image /RestoreHealth
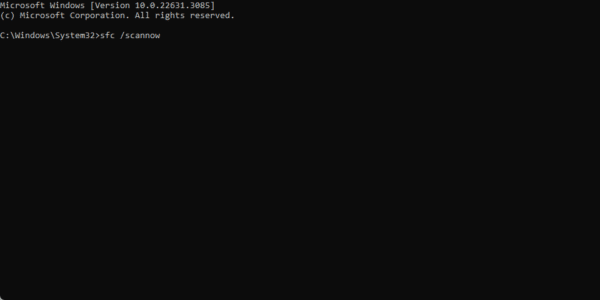
3. Fix system file corruption by running the SFC scan below.
sfc /scannow
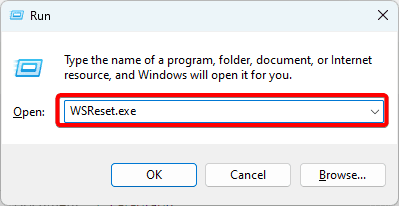
4. Delete the Windows Update Registry Log
You may suspect log corruption if you are still experiencing the update error after all the solutions above. In that case, you should consider deleting the Windows Update registry log. Follow the steps below.
1. Click the magnifying lens on the Taskbar, type cmd, and hit Run as Administrator.
2. Type the commands below, and hit Enter after each one.
Reg delete HKLM\Software\Policies\Microsoft\Windows\WindowsUpdate
Net stop wuauserv >NUL
Cd C:\windows
rmdir softwaredistribution /s /q
Net start wuauserv >NUL
3. Lastly, restart your computer and retry the update to see if the error: your device is missing important security and quality fixes is resolved.
Successfully Updating Windows
The solutions in this guide will help you successfully update your computer without the error: your device is missing important security and quality fixes.
You may reset the computer as a last resort; however, the solutions we offer should suffice in most cases.
Were you able to resolve the error? Please tell us what worked in the comment section below.
FAQs
Common causes may include corrupted system files or problems with update components.
It is safe; however, it should only be a last resort because you may lose valuable data.
Was this article Helpful?
The post Your Device Is Missing Important Security and Quality Fixes: Fixed appeared first on Next of Windows.